Stickers, Anyone make custom ones?

If you haven’t you should get that over to the show and tell thread. and apologies if I missed it over there.

2 Likes

I had to break down and bought 100 yds of the stuff lol. I’m going to go for it. When you do the multi-layered signs do you free hand the layers or do you have tips for lining them up?

1 Like

I know of a couple methods of lining up layers. one way is to use registration marks on one side. Align them and the layers should be fine. Another way I line up decals, especially on vehicles, is to use a transfer solution like “Splash”. Transfer solution is a liquid that you spray onto the adhesive side of the decal, and it lets you slide the decal into the exact right spot. if there are any bubbles after squeegeeing them, they will be full of water instead of air, so they just evaporate, leaving a clean finish.

7 Likes

That splash way seems to me like what you do with putting on that clear screen protectors for cell phones, where you spray the sticky side, squeegee out the water then it adheres with in 24 hours. That makes sense. Could you do that on the actual normal backing before applying it though so when you are ready to apply it, it can all be applied at a later time and store the sticker till ready I wonder.

Splash is just like a soapy water, it evaporates, so there is only a short while before the sticker becomes tacky again. You would use it right as you are applying it.

2 Likes

I figured as much, would be nice to have several made and then pull out as one whole unit once ready to use/sell it… Just going to have to do the marking and line them up for that.

I will usually just use triangles as registration points. I have the two tips touch when aligned, like this ►◄. I have two sets of these alignment marks, and they are easy to see if they are aligned.

1 Like

Splash is one of several application fluids. I use RapidTac for final surface prep, and it works as an application fluid as well, although I rarely use it as such, because you have to wait until everything is dry to pull the transfer tape, and it is possible to bump the graphic out of alignment while the app fluid is evaporating.

When lining up graphics that don’t nest, I use registration points as @jeremiah suggested, although I often use a single square in two opposite corners. Often, as in the case of the Lein Lab graphic, I can just use the graphics themselves for alignment, using a light-table (or a big window, but working vertically is more difficult most of the time!). Whatever the registration system, I use the same technique for layering. I had some scrap already loaded in the plotter, and I’m waiting for some paint to dry so…

Pretend I used two different colors. I want the name inside the frame. I have decided to mask the name and layer that on top of the frame. If you are doing more colors be aware of the tape placement. You can block the path to the next color really easily here. I learned through failure, and so will you. That’s ok.

I also made sure that the masking on the name would be big enough to cover the entire frame. It will serve as the transfer sheet for both layers. That’s another spot that is really easy to mess up, and you probably won’t notice until it is too late. Be aware.

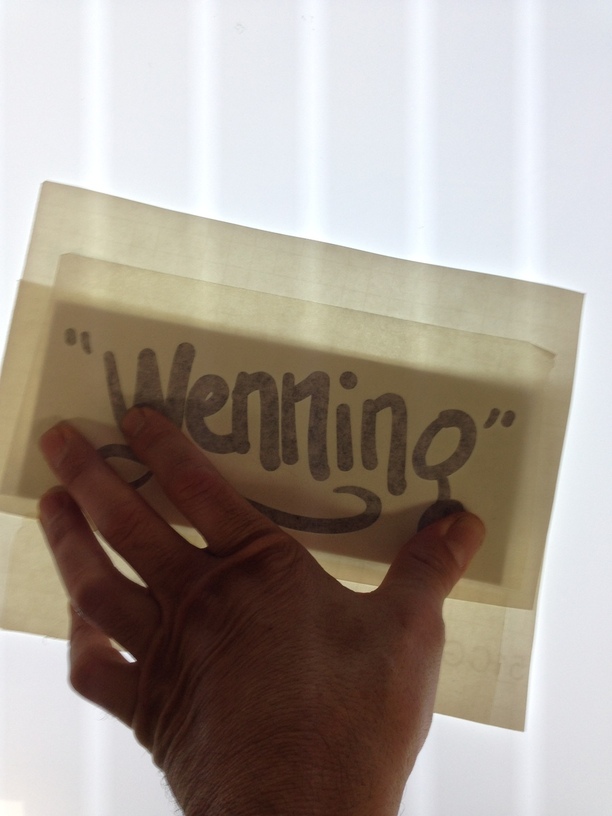
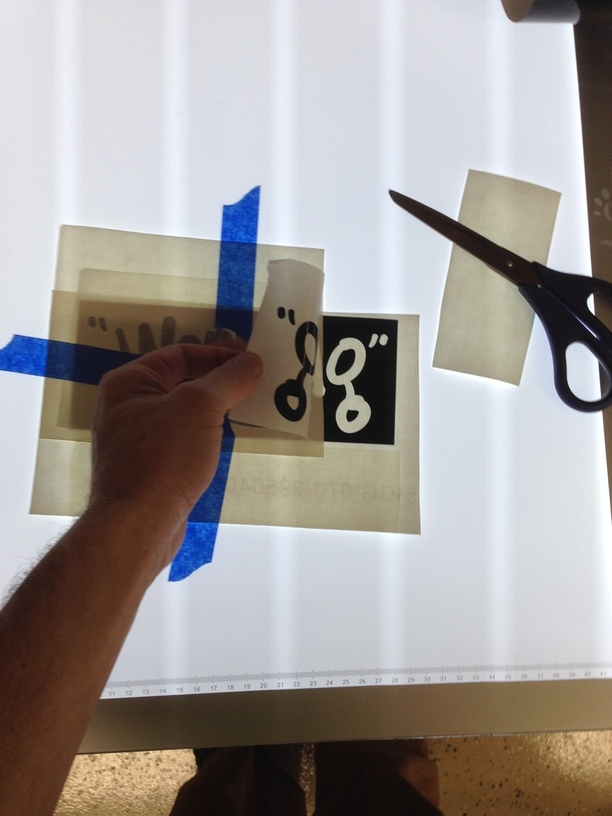
I use the light table to line up the layers. Make the light disappear. It takes some nudging.

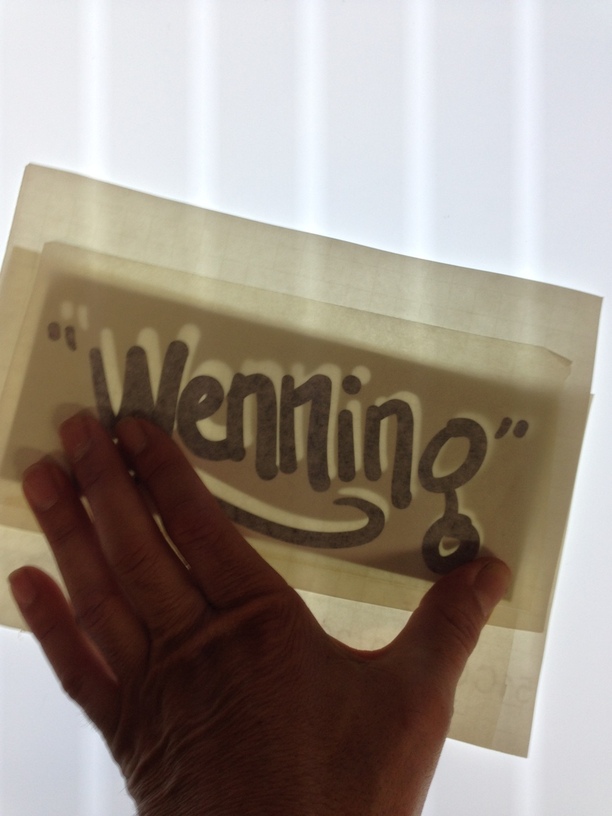
That looks good enough.

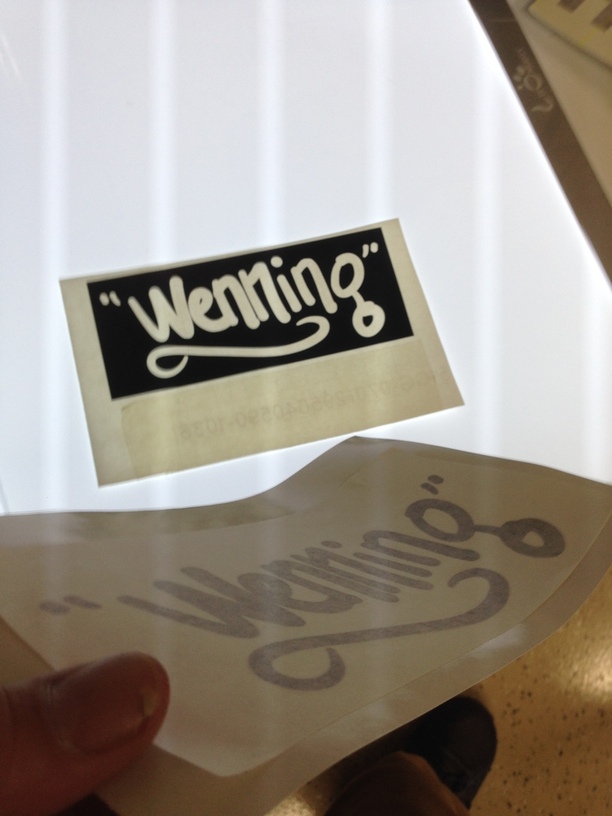
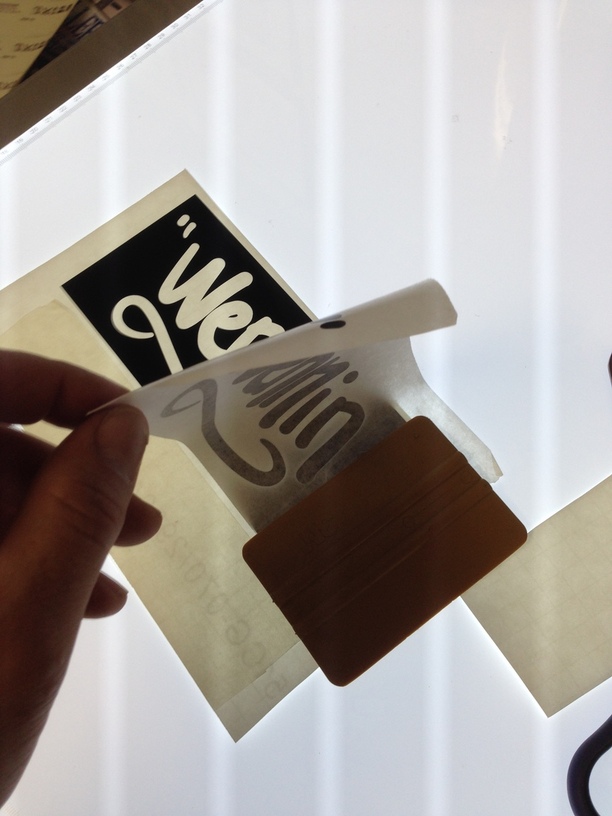
I use the three-point tape method I described earlier. It won’t stick to the bare backing sheet of the lower layer well enough to hold it in place, so I have put some squeegeed some transfer tape onto the blank area on the bottom layer for the blue tape to grab onto. It is easy to bump a layer out of place. Peel the backing away from the decal and transfer sheet, cut off the end, squeegee it down from center to outside.

Pull the backing away from the other side, squeegee it in place again working from the center to the outside (this is to avoid trapping air bubbles btw)

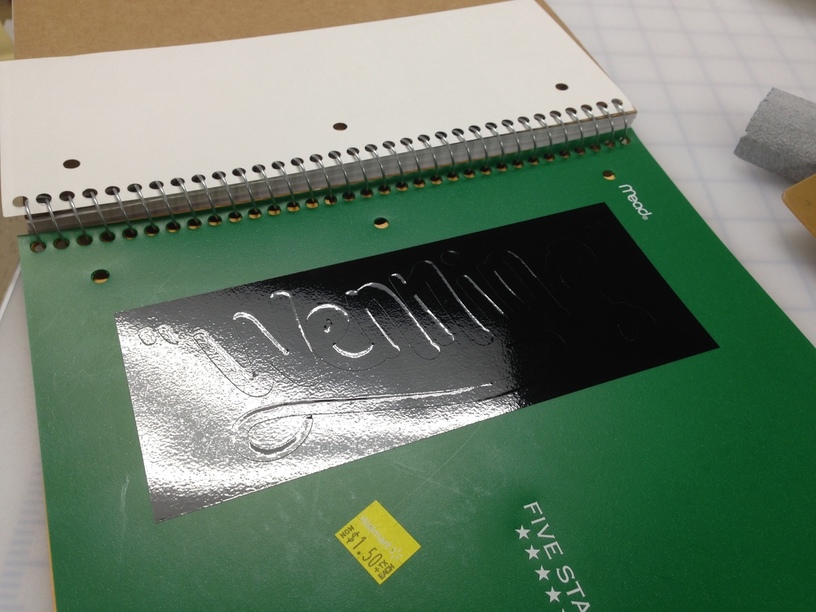
Now you have a two-layer sticker on a single level. You can apply it to something now. Maybe a binder.
Look at the color contrast between the name and the frame! So cool! (lol)

25 Likes

Wow, thanks for the detailed layout looks cool. I will definitely be either buying a light table or if cheaper building one lol. Going to dedicate and entire side of my glow forge room to this lol. :grin:

4 Likes

When I was making vinyl graphics (stopped and closed business 8 years ago) and needed to align multiple layer designs, I would add a rectangle completely around the artwork itself. This rectangle then became a handy weeding border, and vinyl would be left on the edges of the sheet which made it easier to tape down to the work table for weeding, masking, aligning, and final trimming.

RE: light tables. Commercially available tables are too expensive and too small. I built my own. I went to the local St. Vincent’s (second hand charity store) and found a glass shower door that was free of hardware. The glass was smooth on one side and textured on the other, which diffuses the light. I built a wood frame, stuck a fluorescent light fixture in it and the glass door just sits on top.

13 Likes

The pictures of my light table make it look like there are tubes in there, but when you look at it in person it just looks like a solid white field of light. It is a few layers of acrylic, that has a strip of leds down each side. It would be perfectly feasible to make one using the Glowforge. It’s essentially an edge-lit acrylic sign laying on it’s side.
Best part is that it is so thin that you can just slide it around under you graphics on the layout table, finding one corner than finding the other, no matter what size it is. The old-style light tables were deep, to accommodate the fluorescent tube, so they took up a lot more room.

I do love the idea of using a shower-door, and incorporating it directly into a workbench.

8 Likes

Holy smokes, those are cool!!

2 Likes

I suppose one could use a sheet of electroluminescent film for lighting that would be nice and consistent throughout. I just used a single 2-lamp fluoro fixture, and the frame is made of 2x6 lumber, not too deep.

The glass top is not only great for vinyl work but works for artwork and tracing. I’ve also used it for making flat, glossy sheets of carbon fiber, and it’s the work surface I use for silicone and urethane mold making and casting, because it cleans up easily with a straight razor.

4 Likes

@jbv I just got my transfer tape in that you suggested… It… is… AWESOME!!! So much better than the other kind.

Made this… Cost was if I had to guess total about $1.17 to make it lol. So awesome!

This is a mirror by the way thats why I had taken angle shots to get max detail. I was even able to leave the “new box edges” on it so it looks like I bought it straight off the shelf like that lol, would be good for resale.

18 Likes

Nice! I’m glad that tape worked out for you.

1 Like

Well now, completed another trip around the star have you?
Enjoy your Birthday! :tada:

7 Likes

I’m trying to get the settings right. I’ve tried to render things on vinyl, but it usually melts the crap out of the material. Any suggestions?

You do not want to cut vyinl with the laser. These where done with a cricut cutter before the laser came out. If you cut with a laser it can damage your machine and be harmful to health.

2 Likes

You don’t want to cut pvc. The c is the bad part. If you had actual vinyl, it’d be perfectly safe.