Most the jigs I make for my GF are ones where I cut the jig on the crumb tray and then when using the jig I have the crumb tray out. So I decided to make something that helps me line back up with the placement of the crumb tray.
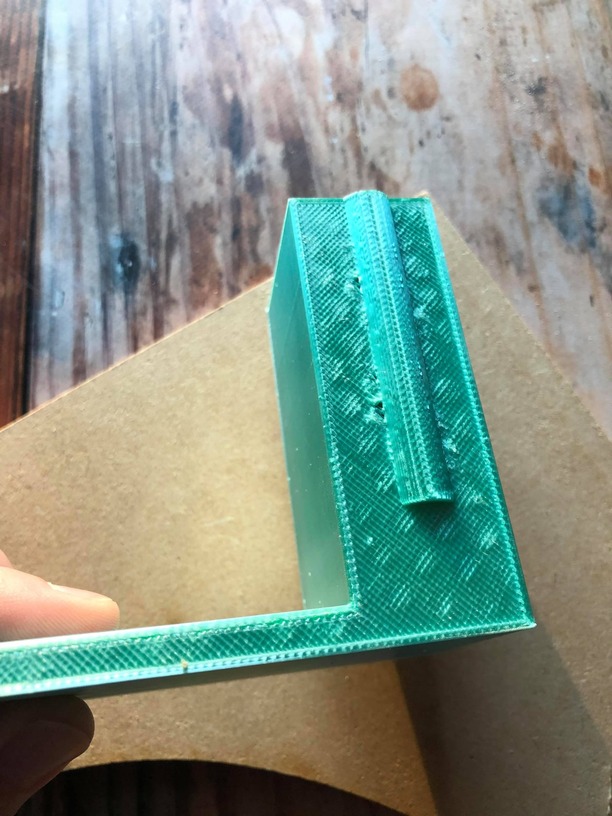
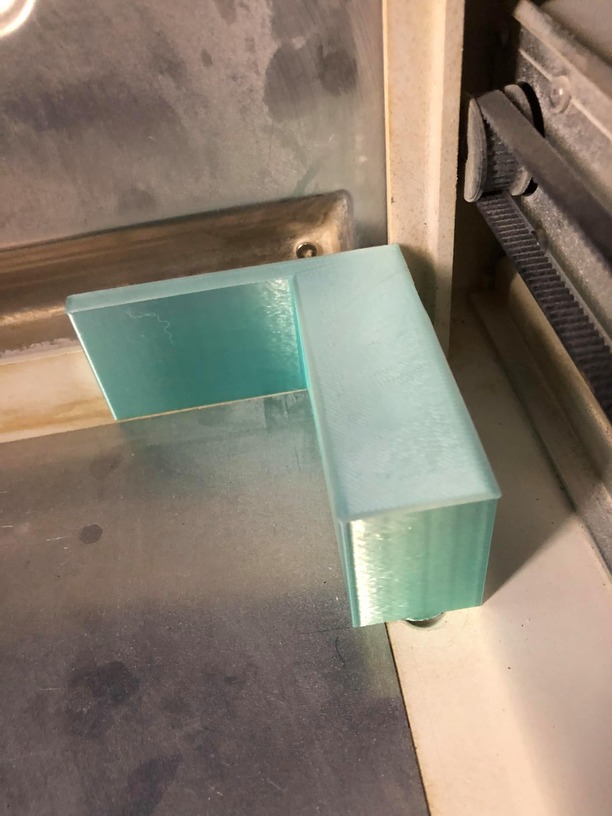
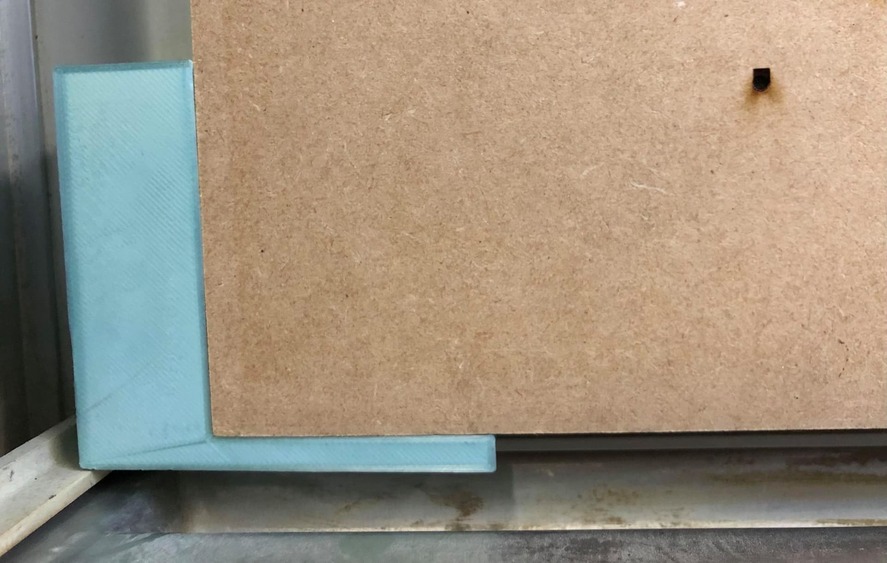
And then when I have the crumb tray out I put the 3D printed part in the front left. It has a little foot to it that will sit in the same slot that the crumb trays foot sits in.
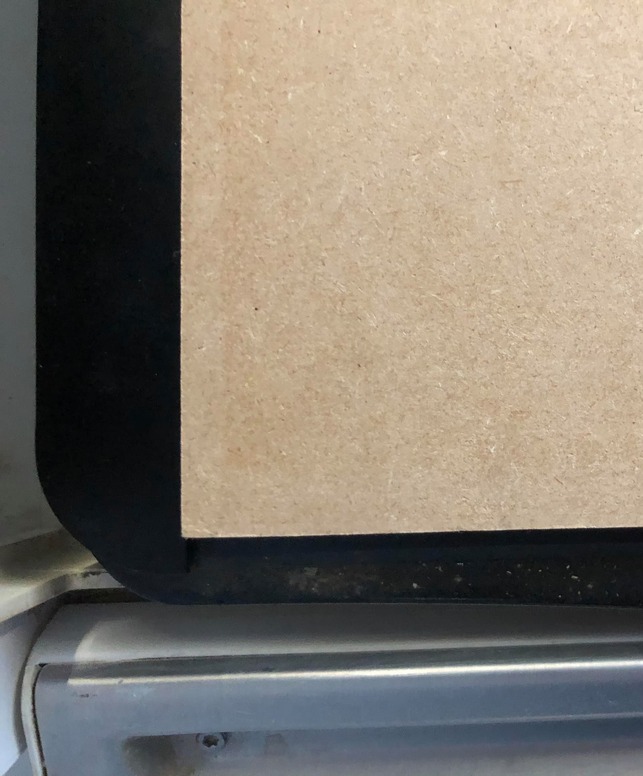
And the results turned out pretty good. To test it I had the GF engrave a circle are a set coordinate with the crumb tray in. I then had the GF engrave a square at the same coordinate with the 3D printed jig and below you can see the two shapes were pretty spot on with each other:
Here is the STL if anyone is interested in it. The second piece in the file (the smaller piece that does not have a foot) is just for lining up the other corner of the material against the front of the GF: No crumb tray lineup.stl (7.7 KB)
There are several of us on the forums with 3D printers. If you run into one of these parts and would like one printed I am sure one of us could do it. I would probably charge about 10.00 before shipping for something like this.
You can also make one on your Glowforge by using the same STL file and using a slicer program for laser cutters and then gluing up the resulting layers. You may need to do some filing or sanding on the locating ridge to get it to fit.
With the actual dimensions it would be an easy build on the Glowforge. or brought into a 3d program and parted out. I only have Blender, but anyone building their stuff in 3D it would take only minutes.
I can provide dimensions I will follow back up with that this afternoon and how I prompted my GF to get the measurements in the first place. I also don’t mind 3D printing anything people need but the filament I have is usually glittery or colorful.
If only someone in the Tampa Area had the chops to help walk through the last steps here setting up the 3dprinter. I am 95% there but the brain is still having trouble with what I am sure will be molehills after but are mountains atm. It is supposed to blend colors enough to make rainbows.
If you make two 1/4" holes inside the outline of these parts, you can cut the outline with the holes on your GF and stack multiple cuts on a 1/4" dowel to guarantee all your layers are aligned before gluing.
Building them up this way is basically what a 3D printer is doing, only you have fewer much thicker layers…
Sorry for the delay, lots of traveling. If anyone wants to take this file and print and sell them, that is fine with me. I have a love hate relationship with my 3D printer. So others printing as well is also nice.
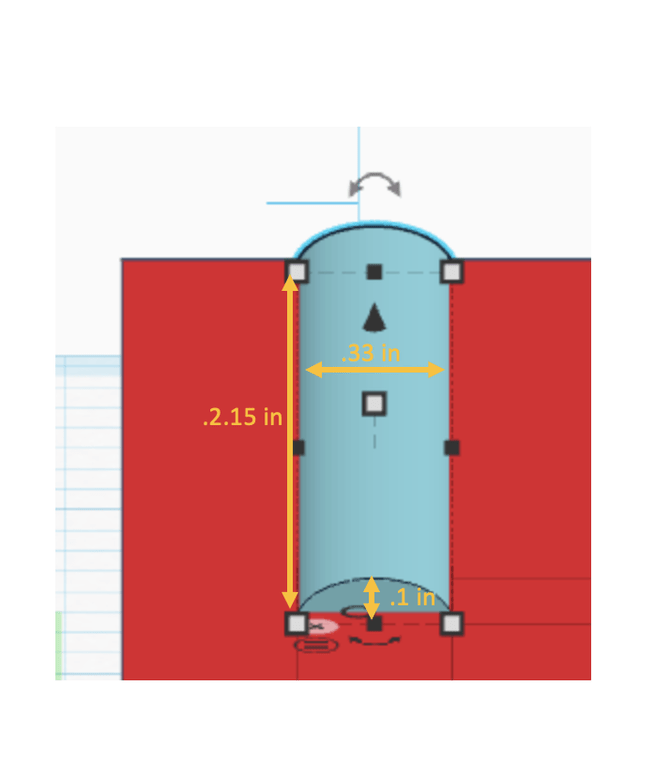
Here are the measurements if tinkercad is not as user friendly for you.:

 I will follow back up with that this afternoon and how I prompted my GF to get the measurements in the first place. I also don’t mind 3D printing anything people need but the filament I have is usually glittery or colorful.