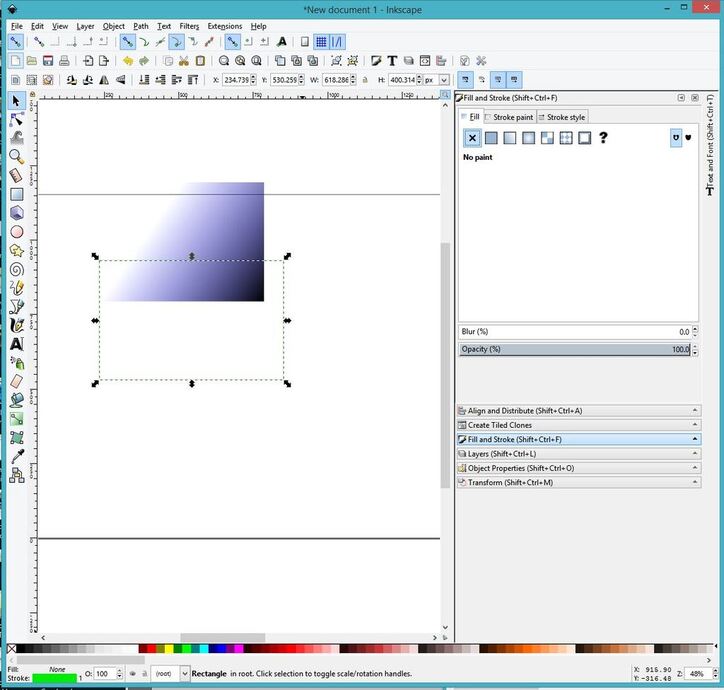
What you have to do is rasterize the gradient. The GF interface does not handle vector gradient engraves yet (I don’t think), so if you create a vector gradient in Inkscape, just turn it into a Bitmap before saving it in the SVG.
The interface does handle bitmap gradients just fine.
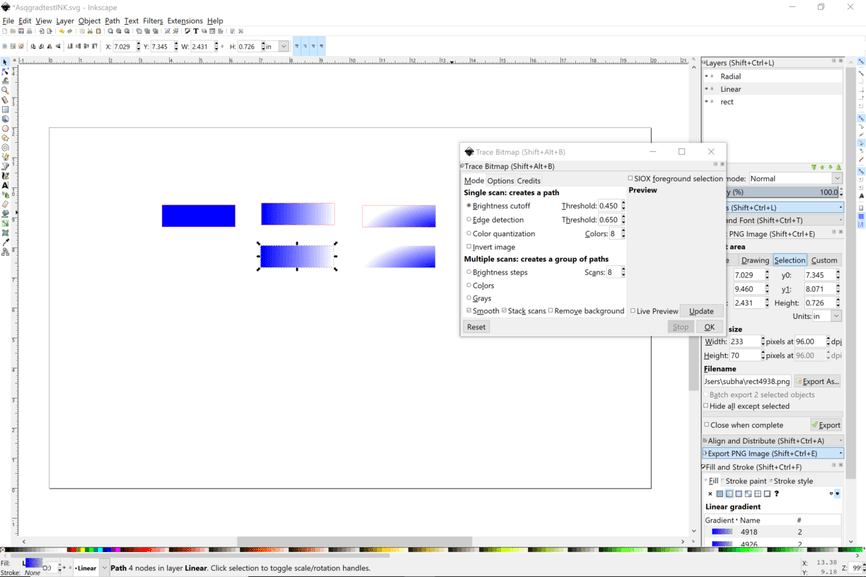
That’s in AI. I can’t seem to do that in inkscape. I tried both linear and gradient fills - (with or without a stroke line). First I convert the object to path and then trace bitmap. Perhaps I have the settings incorrect there? I do see that they come up as an engrave in the GFUI - but as a block/single color no dpi or density option.
(attaching my test file):
Your test file came up really small in your post, it’s a dumb discourse thing, but you can alter the display size pretty easily by going back and editing your post.
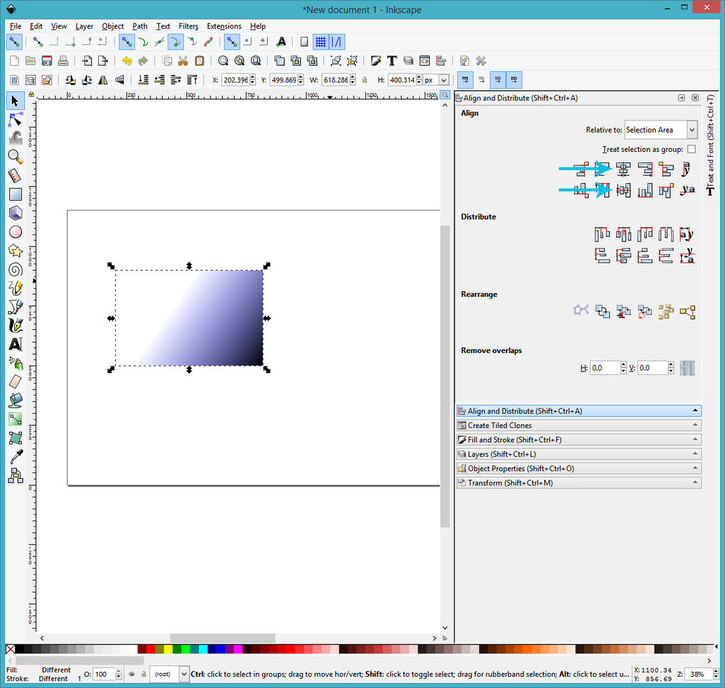
Thanks - that works but issue was that if a png version is used uploaded into GFUI separate from the cut/score file then it shows up at a different spot in GFUI
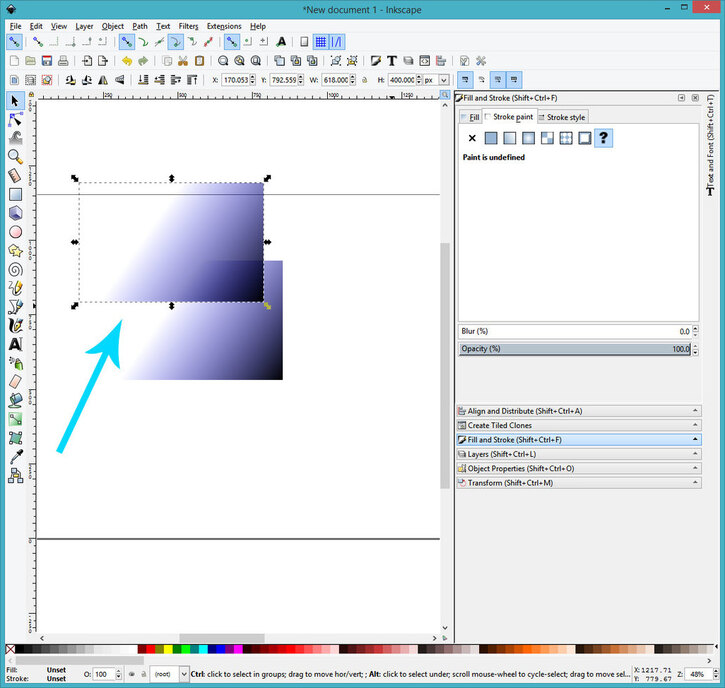
The step I glossed over: You would then drag the png back into your SVG drawing. This will embed the PNG into your SVG. Sorry, I left it off because I figured you knew how to do this already. Once embedded, you can align it with your existing rectangle/any other cuts you wanted.
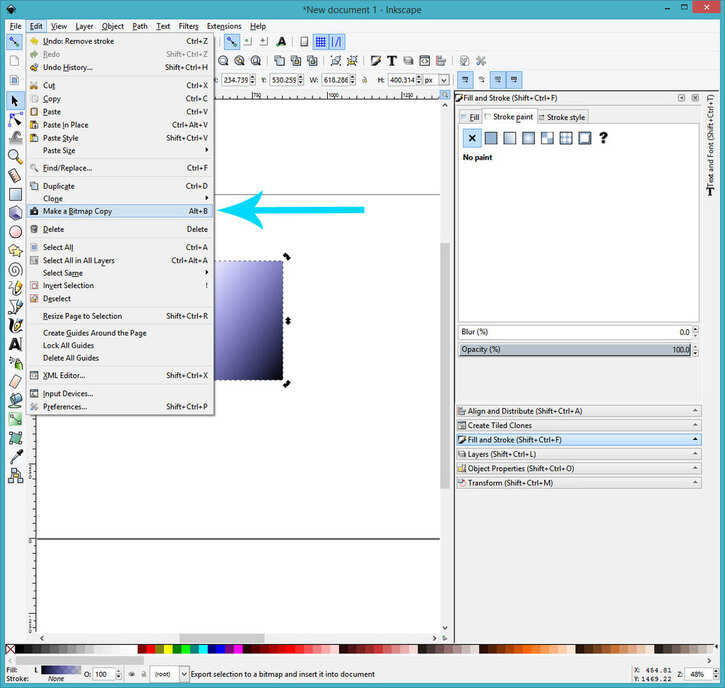
2: Making a bitmap copy has one negative you should know
Make a bitmap copy gives you no (simple) control over DPI, it defaults to 96. This will seem pretty jagged in an engrave on all but the lowest LPI settings.
Luckily, you can change the default DPI.
go to Edit->Preferences
scroll down to the Bitmaps section
change the default “Create” DPI
3: Bitmaps aren’t as capable as PNGs
Also as a rasterized image, a bitmap will not support transparency, which may be something you want later when engraving.
4: PNG export gives you a static copy of your raster
If you save it out as a PNG, you can do post processing in GIMP/photoshop/etc to get it exactly right before importing back into your SVG. This won’t always be necessary, but if you get into serious fiddly tweaking, this is the way to do it.
So for quick and dirty, yeah that make bitmap copy works well enough. I'd just up the DPI before you export a bitmap copy. Exporting the PNG is the more thorough way to do it and may be a welcome part of your workflow to have separate asset files for later adjustment.
Thank you! That’s awesome. I wasnt thinking correctly - and importing separate png to the GFUI, rather than back to the original svg. Initailly didn’t seem much different - at 96 or 120 dpi, but upped it to 300 and it’s smooth - at least onscreen - we’ll see how different the engrave is.
Jules noted elsewhere as I checked that then the lpi (rather than dpi) makes a difference because of very close burns.
But excited, thanks for making me realize that I can now edit the png with photoshop (I have a bit of experience/smattering with that) - so now it’s possible not just to make a circular gradient to depict a rabbithole, but also to put in a teeny rabbit in it…