Nancy and I are getting into woodworking, so of course we started by building jigs for our table saw. Our crosscut sled needed to have a stop block so after looking around and finding flip-down stop blocks for $18 and more, of course I decided to make my own.
My T-track takes regular 1/4" hex head bolts, so this design is set up for 1/4" bolts. However, you could of course use M6 hardware with this design without any change.
Use 6mm / 1/4" / Proofgrade thick acrylic to make this.
The rectangular pieces make a stack of five with the split piece in the center. The pieces with square holes go on the outside of the stack.
I stacked the pieces, then stuck a 1/4"-20 carriage bolt through the stack and put a washer and nut on the other side, tightening the nut to hold the stack together. Then I stuck masking tape to one flat side of the stack and removed the bolt. This allowed me to put CA glue in between each of the pieces. The one loose piece in the center took a bit of extra attention; after gluing the pieces I used a clamp to hold them together and adjusted the position of the loose piece before the glue cured.
After the glue cured, I put the stack in a vise and used a 1/4" drill to widen the center hole for bolt clearance. If you’re using M6 hardware, you may not need to do this step (depending on how thick your acrylic is, of course).
To assemble the stop piece, I again bolted the two parts together and loosely tightened the nut. I then put CA glue on the inside of one piece and slid the two parts together and tightened the nut.
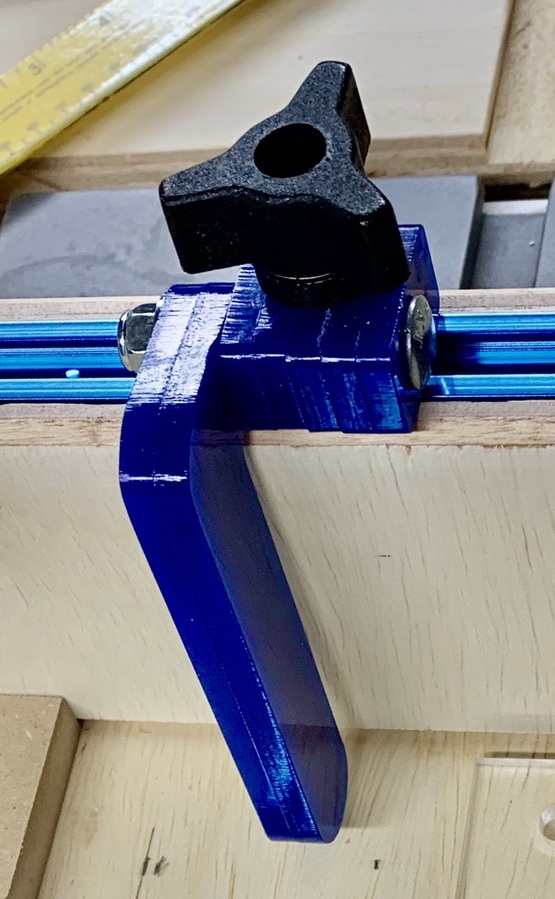
For final assembly I used a 2" long 1/4"-20 carriage bolt, a 1/4" washer, and a 1/4" nylon stop nut for the horizontal bolt, and a 1/4"-20 hex head bolt, washer, and hand nut for the T-track attachment.
The front fence on my crosscut sled is about 95mm tall; if you need a longer or shorter stop, just edit the SVG file.
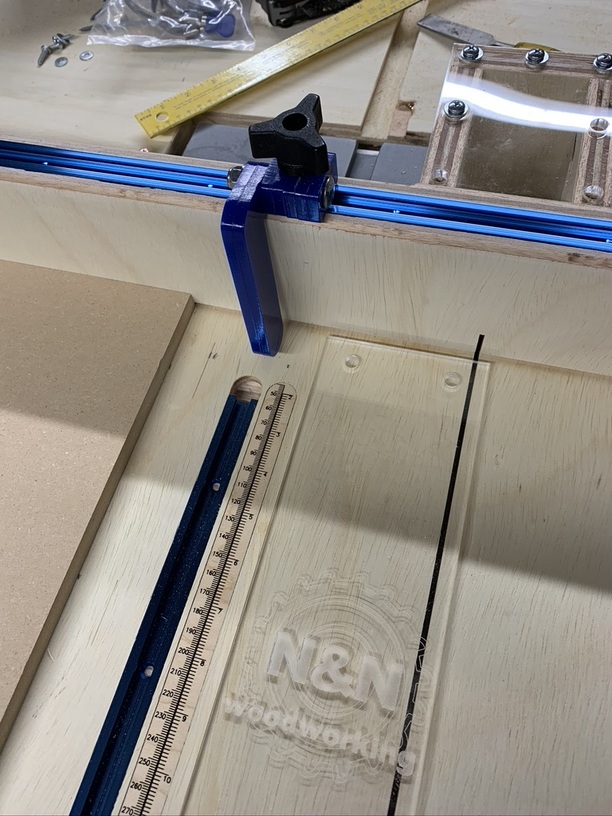
(The photo that shows the larger view of the sled also shows a laser-cut ruler that I added to cover up an incorrectly routed channel (it is directly above one of the slide rails and the rail screws were in the way). Now I can tell people that that is an intentional feature.)
45 Likes
That’s a cool solution Ned! Thanks for sharing. 
So often when making something, as I’m watching the laser complete the work - it dawns on me how easy it would be for me to add an engraving embellishment… 
Enjoy your adventure in Ned & Nancy woodworking!
6 Likes
Another practical cut! Awesome!
5 Likes
I love practical cut. Great job.
3 Likes
The perfect fit!!! Can’t get better than that!
2 Likes
I’d like to make this, but I don’t see the SVG file. Am I missing something?
It’s the very tiny little red squiggle under the last photo in the original post.
2 Likes
I edited the svg file – the original is only 11x8 px and the stroke was set to 0. I suggest verify the sizing before cutting one.

3 Likes
I think I’m blind, I can’t see a wquiggle even sooming in on my screen.
1 Like