If anyone wants to have a go at my “Joined Hearts” stacked cardboard sculpt, here’s the template:
heart.pdf (75.6 KB)
I modeled the joined hearts in Tinkercad (online at http://tinkercad.com) and sliced the resulting 3D object for cardboard with Autodesk Slicer for Fusion 360 (a free download at Autodesk App Store).
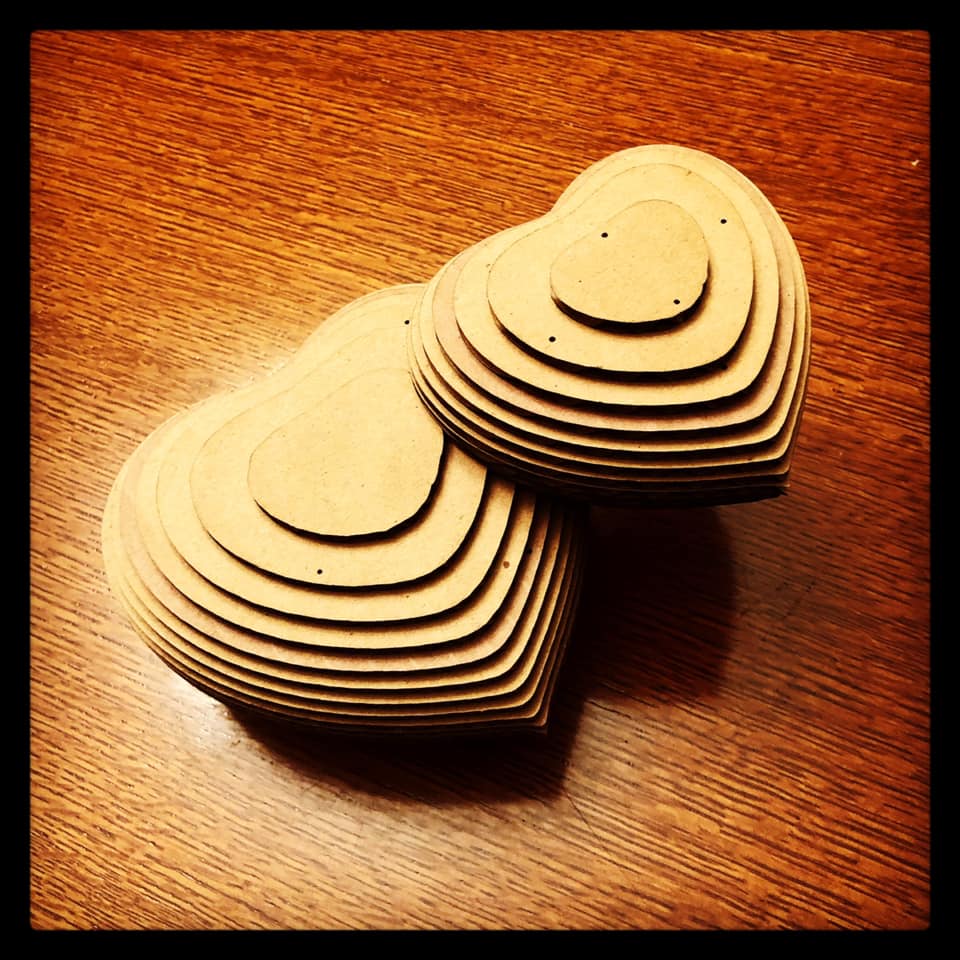
When finished, it’ll look like this:
Things to note:
-
The attached template is a PDF, so you can drag the individual pages right into the GF interface. You can open it in Illustrator or Inkscape if you want to alter it.
-
The pages are sized at 12" x 12", but feel free to rearrange the pieces in your favorite editor to take advantage of whatever sheet dimensions you have. Be careful not to alter the size of any piece (unless you’re scaling all of them, but I can’t guarantee you won’t have alignment issues if you do this).
-
The blue lines are meant to be cuts (and to punch the registration holes). The red lines are meant to be scores, with numbers in the order in which the pieces are to be stacked. You could ignore the red layer and just refer to the sheets, but the numbers really help. For a cleaner presentation, I actually re-cut just the last piece (number 28) without the score layer.
-
The geometry works out just like pictured if the cardboard is 4mm thick. The soft shapes of the hearts are forgiving, so a little thicker or thinner material shouldn’t make much difference. This would also work with plywood, MDF, hardwood or just about any sheet material.
-
Edge tip: If you want clean-looking edges, make sure that all of your cardboard sheets are oriented the same way with regard to the internal baffles as you’re cutting your pieces. If you don’t, you’ll get some crazy edge patterns between layers (though you may be cool with this).
-
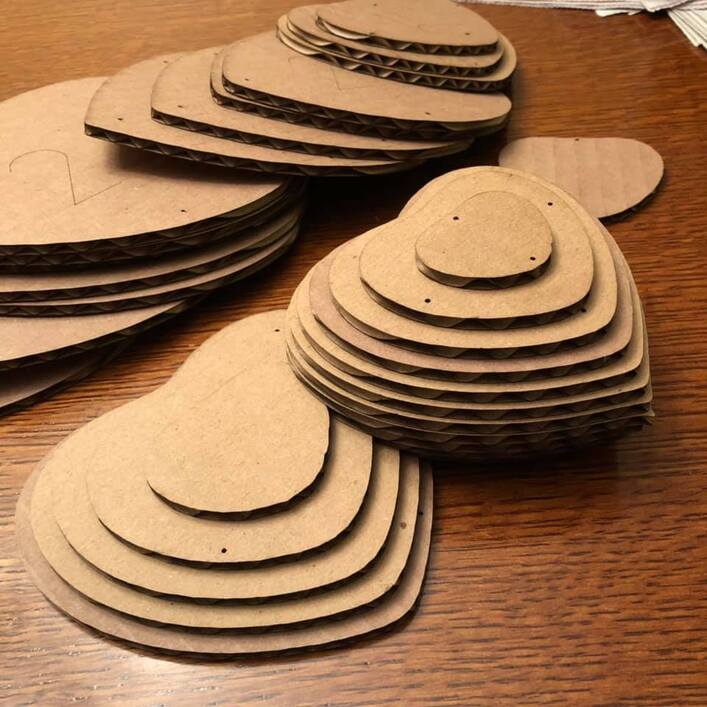
To assemble, you can work in any order you like, as long as you mind the numbered sequence and front/back orientation (all numbers should be facing the same side). In this case, I started with the larger middle pieces where the hearts overlap and join, working upward to the smallest piece on the front, and then backward down to the smallest in the back. This is a mid-build view:
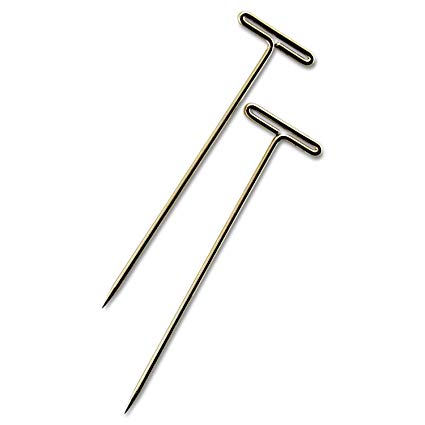
- The little holes are there for registration. You could edit them out of the design, but they really do help you align everything. It’s a little hard to explain and you’ll have to practice, but for each layer there’s one set of holes you’ll use - two holes opposite each other - and they generally alternate between pairs, layer-to-layer. The pin will go down through the hole and mate with the the hole in the layer below. They only need to stay until you’re sure the adhesive is set and you can move to the next layer. You can feel it out before gluing anything. I used T pins like this:
- Any glue suitable for paper will work - I used Elmer’s school glue stick. For small projects, you don’t need much.
Enjoy! I hope you find this easy to follow. Let me know if you have questions.
