Greetings Glowforge Community,
I have seen people asking about, and others showing their exhaust setup. I could not find a solution that worked for my specific situation. So I wanted to share and do a write up on what I came up with , why and how in case any future users searches these forums and has a situation similar to mine.
Goals
Something that can be setup and then taken down easily every time I wanted to use the Glowforge. While having little to no leaks to avoid smoke smell. Additionally, I wanted something that when I am ready to have a permanent setup I could already use what I have. This could be for apartment living, a situation where having hoses out is aesthetically unappealing etc.
Note: If you want to do this yourself it does require some assembly and modifications to get everything set up and working well. If you are fine with that then read below to see what products I used and the steps to set it up.
Products
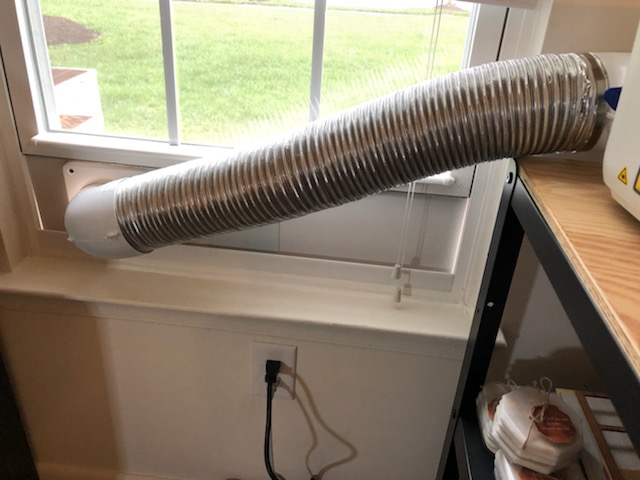
- Dryer Hose kit with 90 degree adapters - This type of hose expands and collapses a good bit, it also holds its shape better than the stand hose the Glowforge ships with.
- 5" Windows Adapter - Note: this adapter is 5 inches and the standard dryer hose a glowforge uses is a 4 inch hose, the exact hose kit I linked to has the solution to this problem.
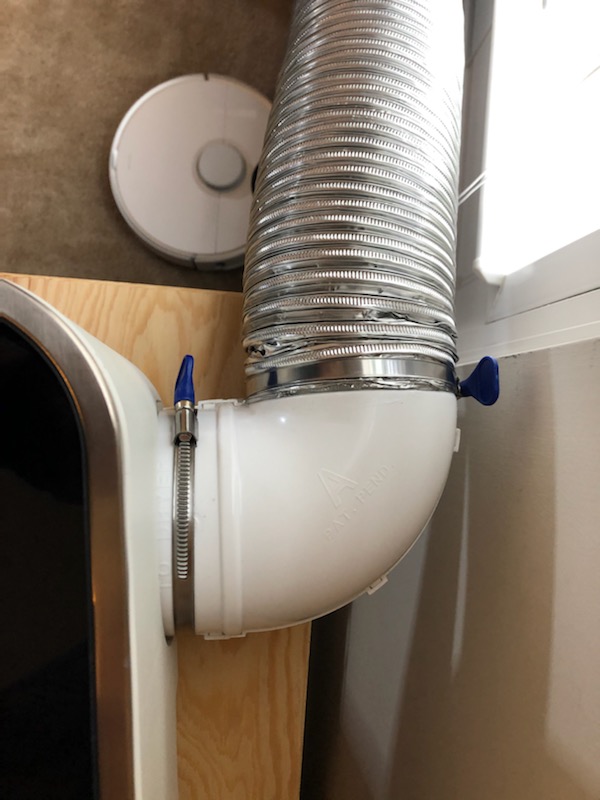
- 4" Hose clamp, Thumb screws - Highly recommends these style clamps, they form a much better seal
- Some Caulk
- 4 screws, I used #8 x 1/2 inch self-drilling screws because that is what I had lying around
Build
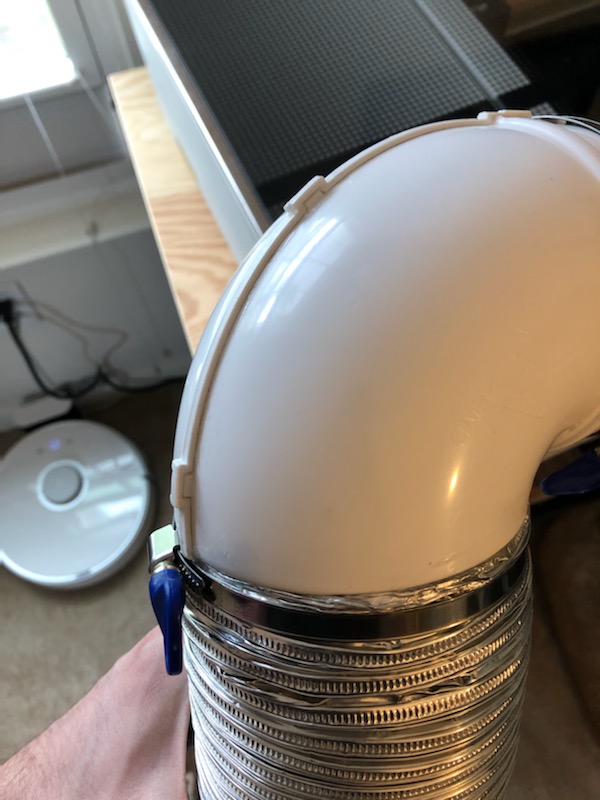
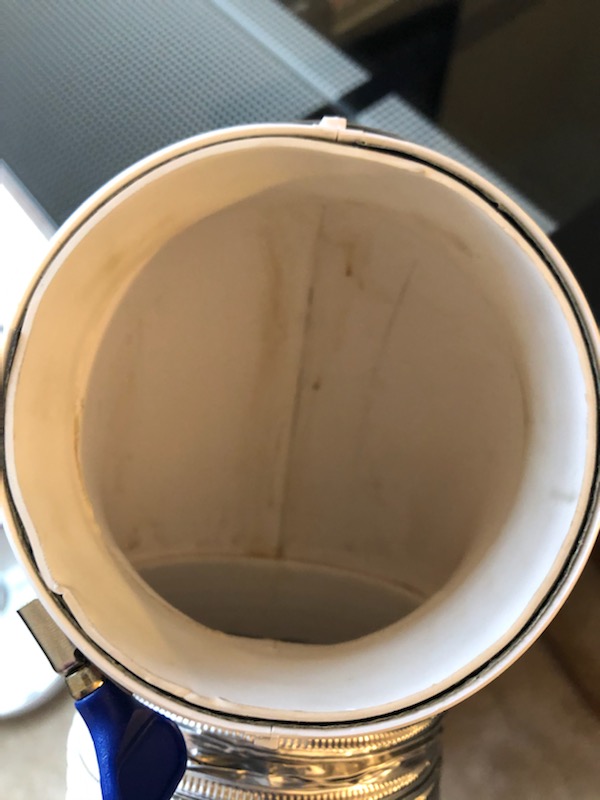
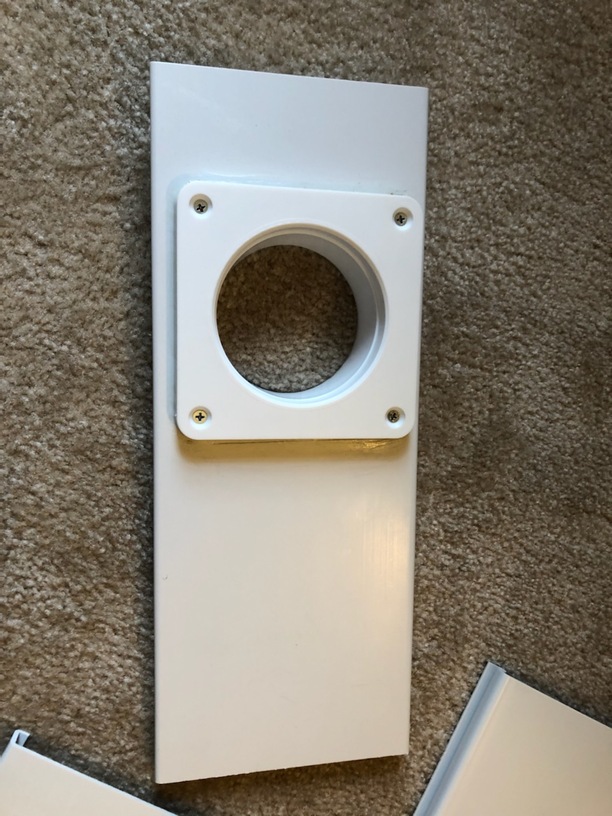
- Seal the connectors - Each right angle part is actually two pieces that fit together, but its not air tight. Using caulk or some other sealer to fill where to two parts meet will go a long way! I even used caulk where the adapter and the hose meet. I ran a job without doing this and there was a faint smell that got into the room, but after caulking it was odor free. Dont worry caulking something like this is pretty easy, just squeeze the bottom and use a damp finger to smooth it out.
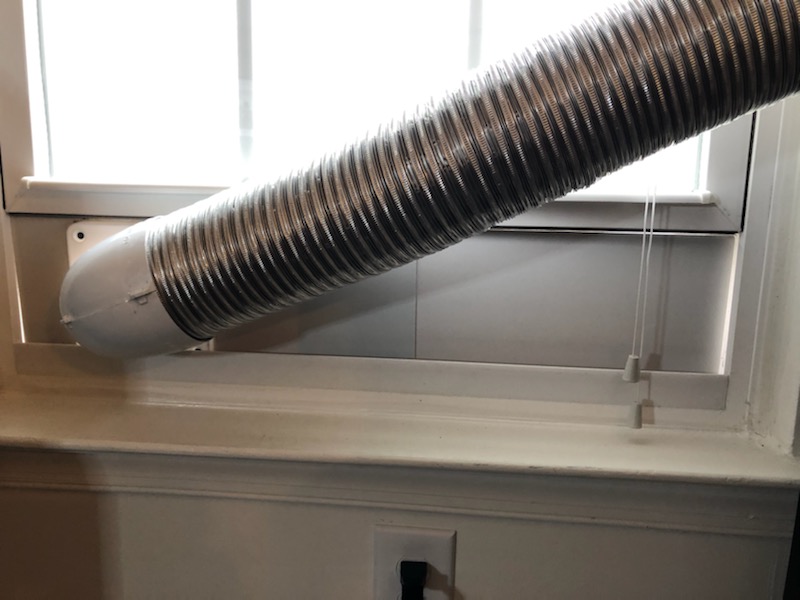
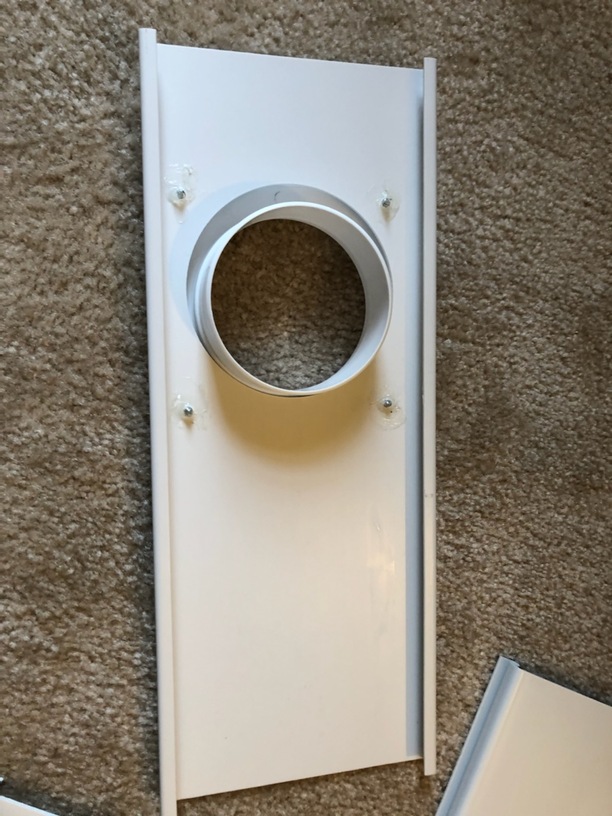
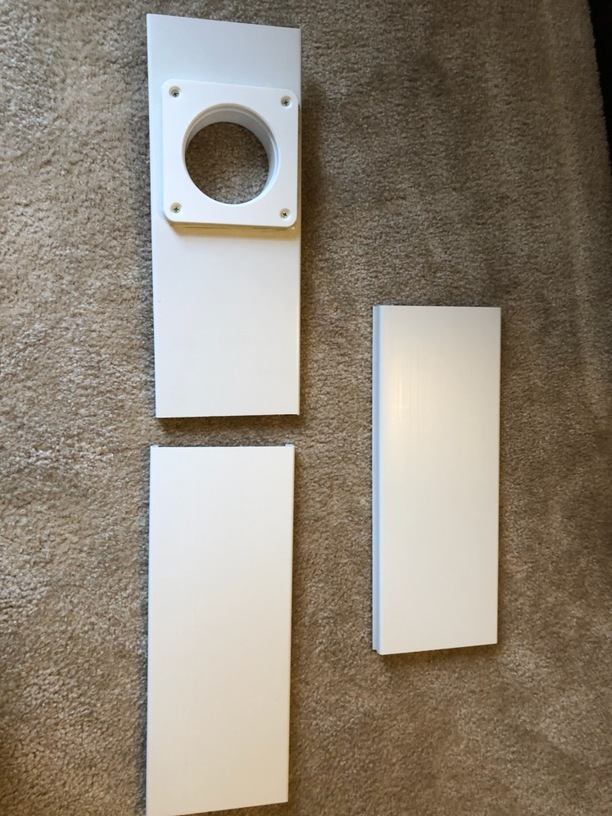
I did both the inside and outside - The window adapter comes with three pieces that slide together. They are used to expand out and fit to your window, for most standard windows you will only need two. I used screws to attach the square connector base from the hose kit to the window adapter and ran a bead of caulk around the entire thing. This allows the hose to plug into the window part and hold by friction. There is a rubber gasket which is strong enough to hold it in place.
- use an adjustable hose clamp! One that connects the adapter to the hose I leave on just to keep the hose and connector from moving and ripping the caulk seal. On the side that connects the hose adapter to the glowforge unit absoutley NEEDS a clamp! I tried to do it without one and it constantly falls off. There is a rubber gasket on the hose adapter but it is not enough, I even tried padding it and no go. USE A CLAP! I found the ones i linked worked much better than the one that came with the Glowforge.
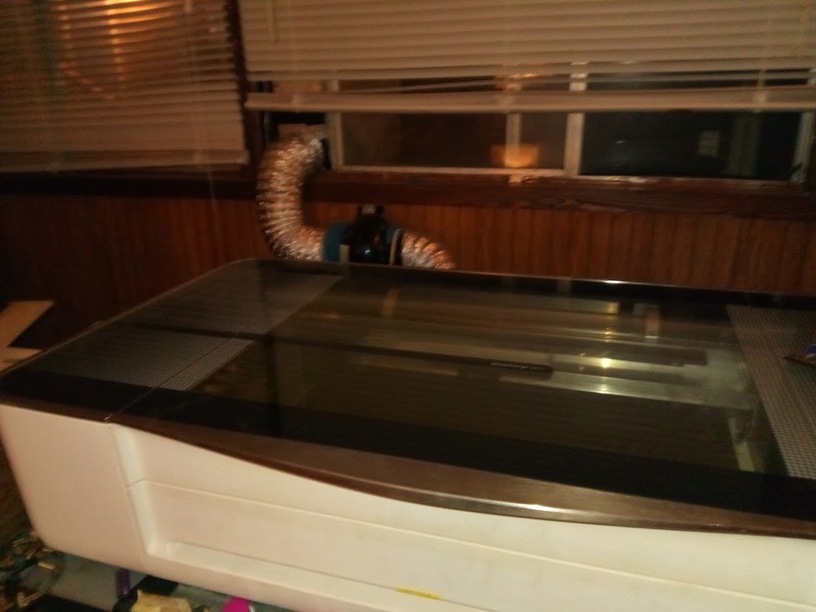
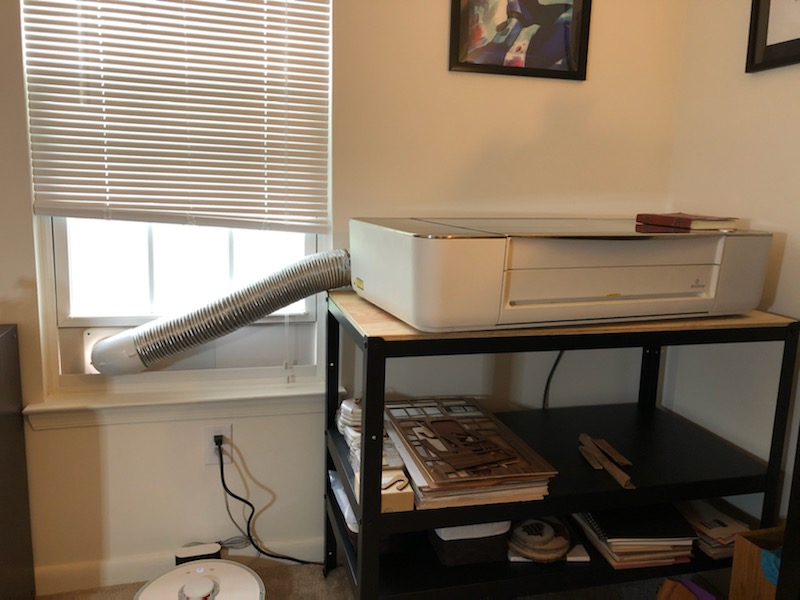
The entire things disassembles and I can store it on some of the shelves I use for my laser materials with easy. The right angle adapters are great (after they are sealed) and make it even easier to fit closer to a wall. It is compact but the hose extends if I need it to go further. Since the hose kit is for a standard dryer set up once I am in a place where having a permanent vent is an option I can replace the window adapter with a vent that goes though the wall and out and everything will attach neatly.
Done!
When you are finished the hose easily comes free of the window adapter and the Glowforge unit then goes back into its box. The window adapter slides right out of the window for storage.
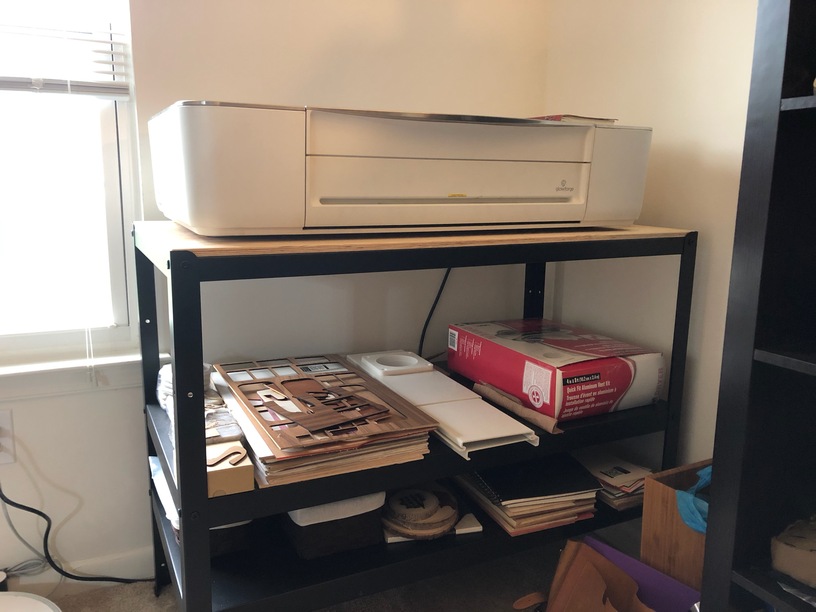
The stand/table I use is an Ikea Bror. The frame is metal and the shelves have adjustable heights if anyone was curious.
Possible Upgrades
- Window Adapter Gasket - I think I want to design some sort of removable gasket to fit between the window itself and the window adapter. It is hard plastic and there are a few gaps I can see around the edges.
- Inline fan - For now my setup has such a short run to the window with minimal bends I will probably keep it as is. But, from recommendations from bbum an inline fan can help the glowforge run quieter.
I will probably edit this a few times after posting (seeing my own mistakes or how to explain something better) But, if you have any questions about this set up let me know!