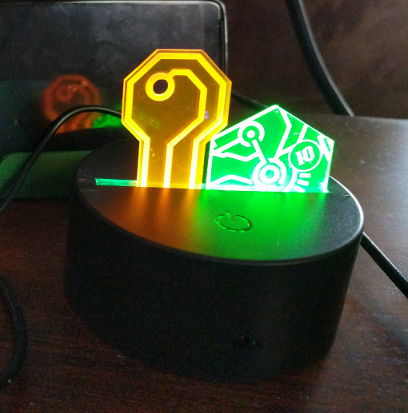
Thanks to the efforts of this forum, I found a nice base to use for my LED lamps. I haven’t cut one of the designs I’ve set aside for this yet, but I did have a test game token and a LARP prop that’s supposed to be a futuristic key, both engraved on neon acrylic. They look FANTASTIC when the light is on, so I can’t wait to make some real lamps.
(I haven’t received my email from Glowforge yet…though I’m patiently waiting. Currently, I do all my laser-ing down at the Techshop in Pittsburgh, PA.)
Really nice. There’s an Instructable (or maybe Thingiverse?) that this reminds me if - it was for Star Trek computer chips as I recall. If I remember correctly there was a lot of Arduino & LED work required to make it work. Dropping them into the slot like you did would be so much easier. Your key design is similar to the chip patterns I remember.
Yeah, I made a bunch of keychains a while ago that were modeled after the isolinear chips from Star Trek. This was the same idea, except it was supposed to be a key for resetting some futuristic computer.
I should maybe “warn” you as I (and others) noted… The slot is slightly wider than medium acrylic. As such, there’s a little play forward and backward. To me, it’s an annoyance, not a showstopper. I bought a dozen of these bases. And I’m happy I did. So far I’ve made something for my wife, a couple for their wedding, and I sold one piece. The kids haven’t come up with any designs just yet.
Bought one and liked it so much I bought the dozen deal.
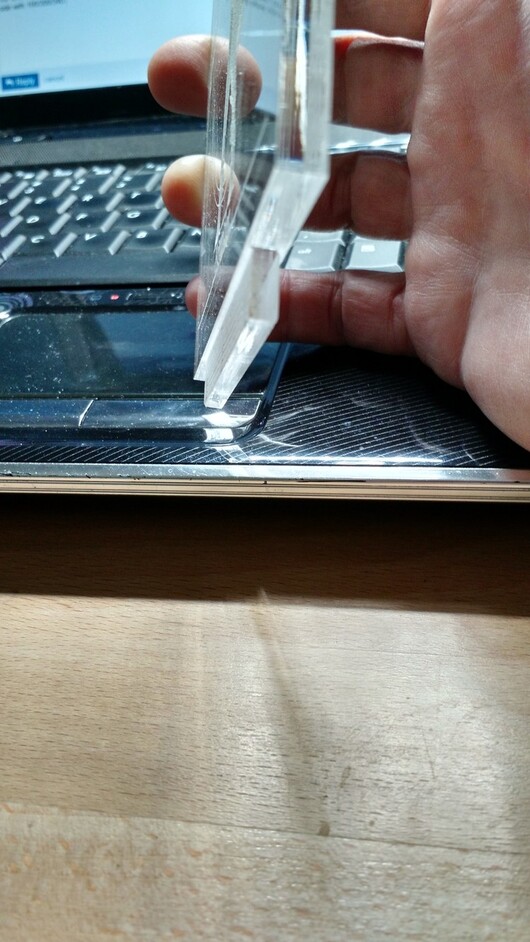
1/8" is loose fitting but 1/4" acrylic works great - if you engrave the tab that inserts into the base on each side with 100/300/340.*
I use 1/4" with a profile engrave on the bottom that’s shaped to the base so it doesn’t show but it fits tightly in the slot. I like it better than a piece of filler material that may come off with people pulling it out & putting it back together
I’ve only used acrylic a couple of times so far, and I love it. But I’ve only used 1/8". I’m curious… With 1/4", are you better served with a reverse engrave on the back? I imagine it maybe lighting better, but I really have no idea.
I prefer thicker for engraving (vs. cutting or scoring). Deeper engraves with lighting will tend to show better than shallow engraves. The reverse engrave leaves the front smooth and glasslike which tends to highlight the engrave as well. Since I can do a deeper engrave with quarter inch than eighth inch that’s what I use (or sometimes thicker but that stuff I often use for mixed media like painting, fills, etc.).
I like the look of rear engraved, just be sure to reverse the text
To me, the edge thickness speaks of quality, besides being able to do nice deep engraves. The available thickness comes in handy because engraving on the bottom tends to slightly ‘shade’ everything above it. So to do a lot of engraving, start shallow at the bottom and progress deeper as you go up. 1/4 gives a lot of dimension to work with!
Those settings I gave will center the piece over the slot, and the LEDs - concealing the slot for a nice clean finish. I’m with James on filler pieces. Use the 1/8" for other stuff
The idea could even be improved on by engraving deeper not only farther from the LED, but also deeper for features that have shadows cast on them by other features. Sounds like a fun programming project!