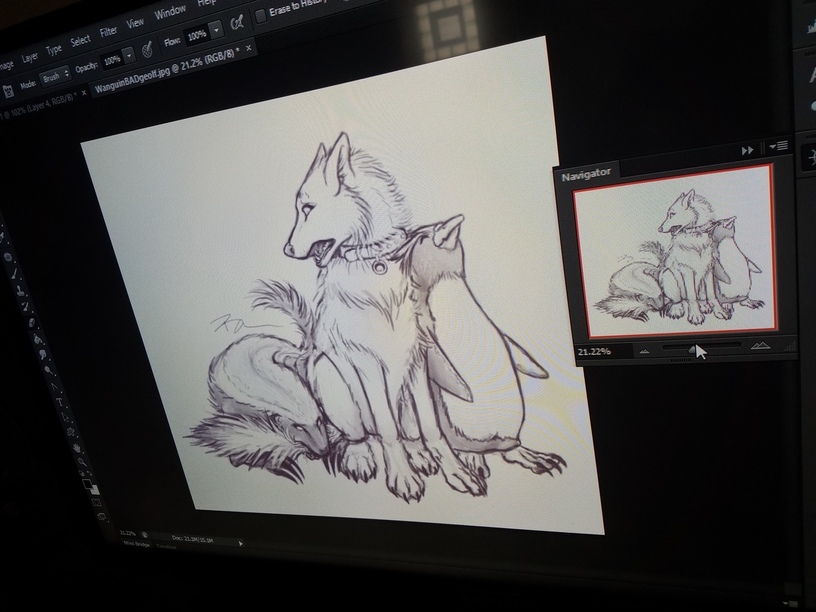
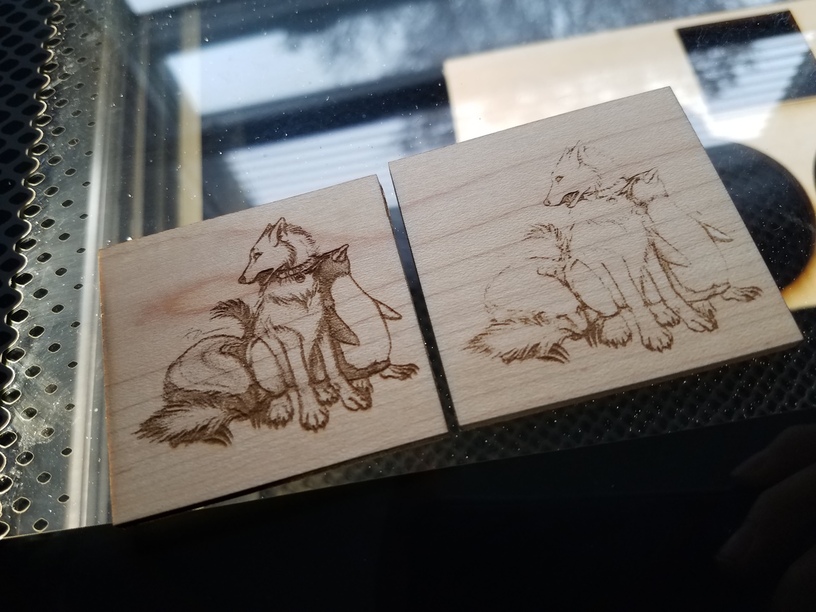
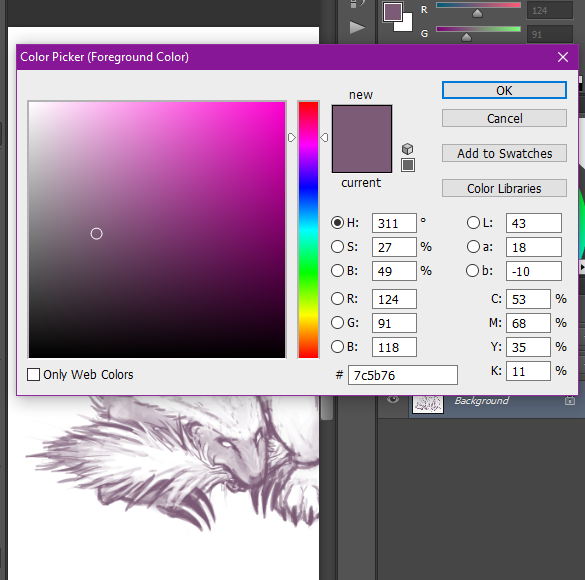
So I tested engraving this lavender colored sketch using the HD photo setting. The one on the right is with the masking paper in the one on the left was with the masking paper removed before engraving.
I tried punching up the levels, curves, darkness and contrast but it didn’t give me the effect that I wanted and this was also through the masking paper.
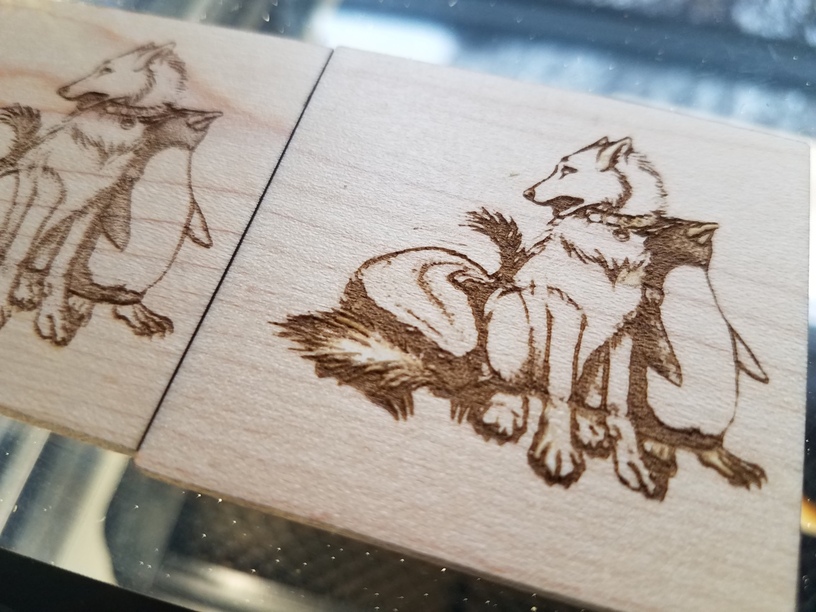
Well, my design had very light tones and no true blacks, so scorching wasn’t going to be an issue. So yes, on Maple Hardwood it worked nicely without the masking paper to get those subtle tones.
Engravings with lots of gradients/subtle shading (photographs, pencil work, color 3D logos) will often lose a bunch of the light detail if done with the masking in place.
I did a photo-engrave last week (with masking in place) that has a particular shade of grey which turned out to be just the right amount of power to vaporize the paper layer of the masking and leave the adhesive layer untouched… so I ended up having to scrub and clean it a lot more than if I had just removed the masking altogether. They will normally require some cleaning afterwards if the masking is removed.
Engravings with a single color, or a few well defined shades (sharpie drawing, inked sketch, basic graphic logos, solid/filled text) are what seem to greatly benefit from leaving the masking in place, in terms of time-savings from not having to clean.
Perfectly described what happened to me. The shades of grey were too low to do more than either mark the masking or to burn the masking, but not the adhesive.
I usually bump the min power to 5 (gets through the paper) or 10 (takes care of the adhesive too). That way I can still leave the masking on and not have to clean other parts of the project.