Greetings -
Just thought I’d do a short run-through of my first Leather & stitching work. I did a progression of ‘prototypes’ just to get a feel for how to stitch and work out the hole sizes vs. cording, and learn to stitch ![]() , then one working sample of the finished design, then the final. I won’t show step by step on this one as I didn’t take pics along the way. So here we go -
, then one working sample of the finished design, then the final. I won’t show step by step on this one as I didn’t take pics along the way. So here we go -
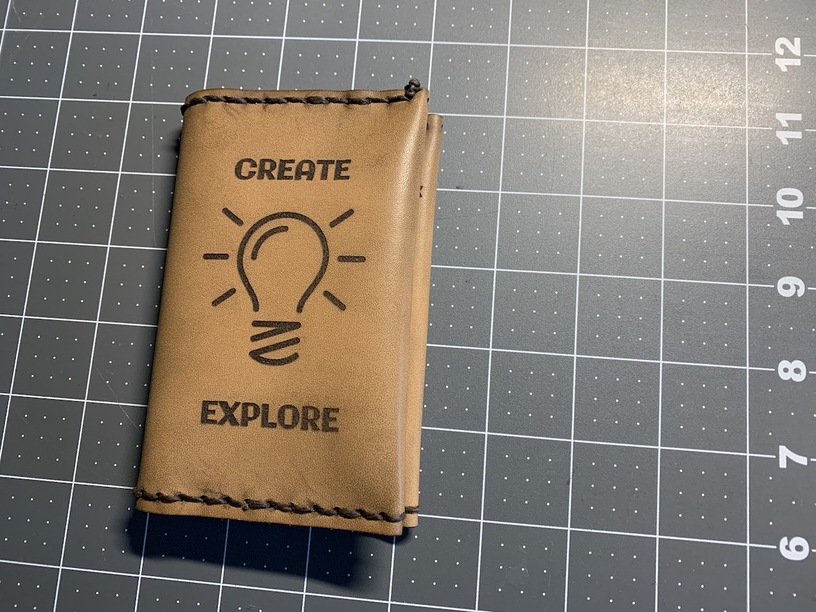
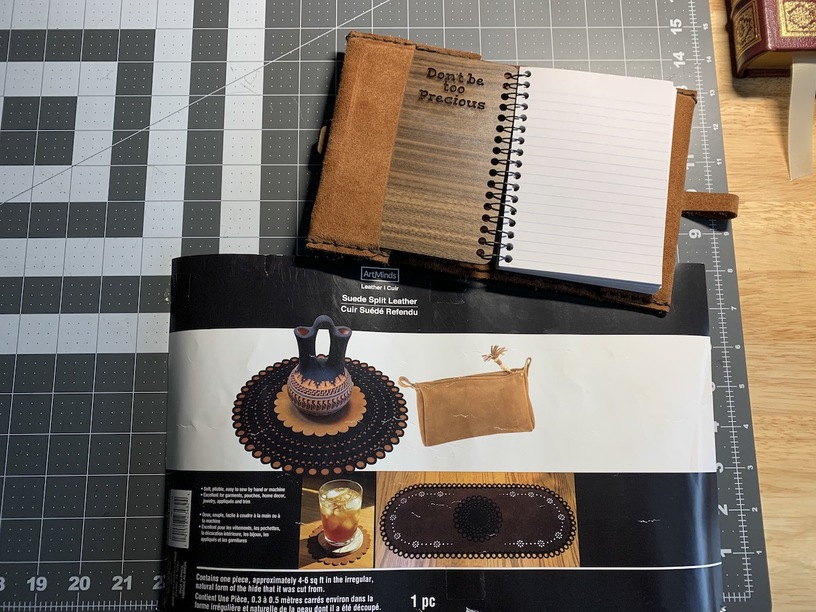
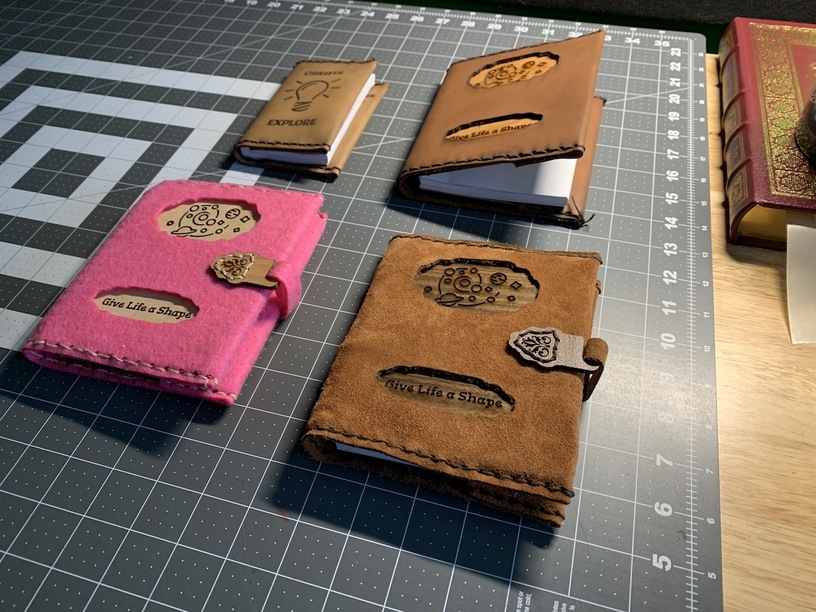
The first notepad cover I did on my ‘small standard’ notepad. I worked out how to space the wrap and the holes over the edge of the cover, and learned that making a thick cover (leather) over a flimsy paper pad cover page, makes it flexible, like a wallet. And I covered a bunch of available space with engraving to get a feel for what it looks like masked vs. unmasked. I didn’t cut it quite long enough so the paper stuck out, and I had to cut it all off. Yada, yada, it was a learning experience. But it worked well enough for this pad so I’ll call it a win -
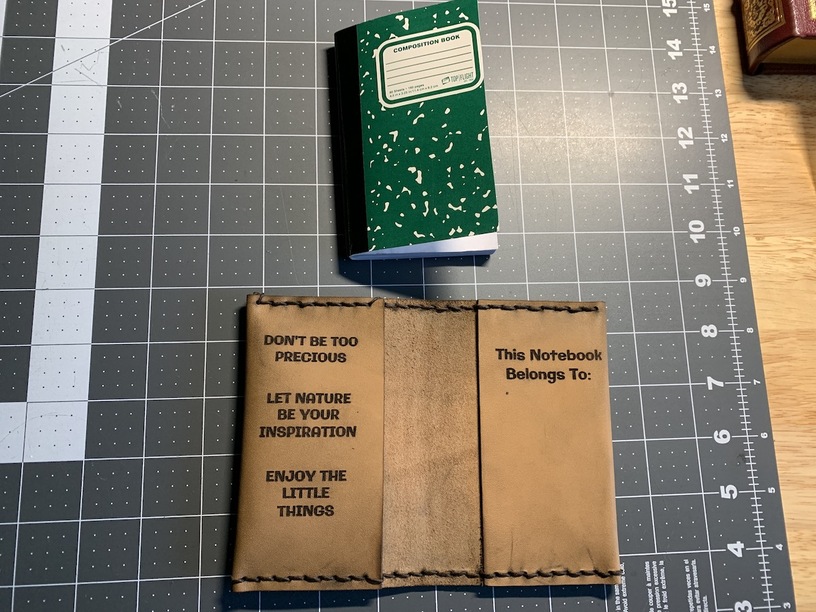
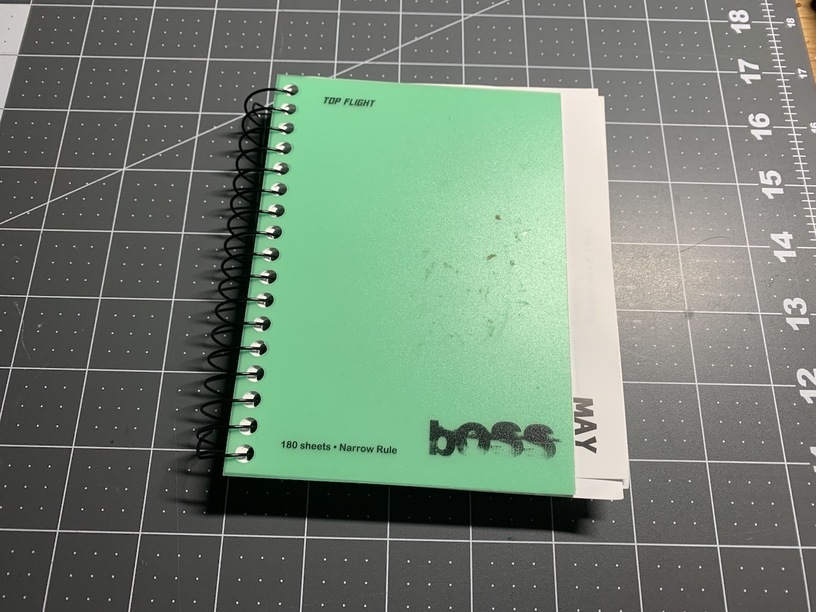
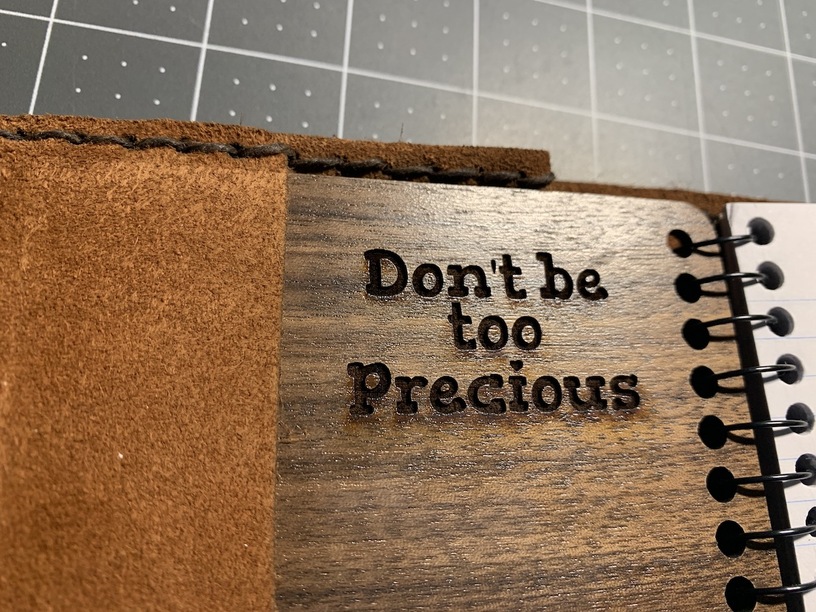
Next up, make one for my ‘Standard’ Notepad. I use the ‘Top Flight’ labelled brand of pads as they are spiral bound, so I can add pages, and they are a good size to write down the details on one page, like specific measurement, products or cut settings for a build. And of course I had to make a ‘hard cover’ so it wasn’t too flexible like the smaller one. Trouble was, with the stiff leather, and tight fit, the book wanted to stay ‘open’. But for the first cover, the fit was good and I was satisfied.
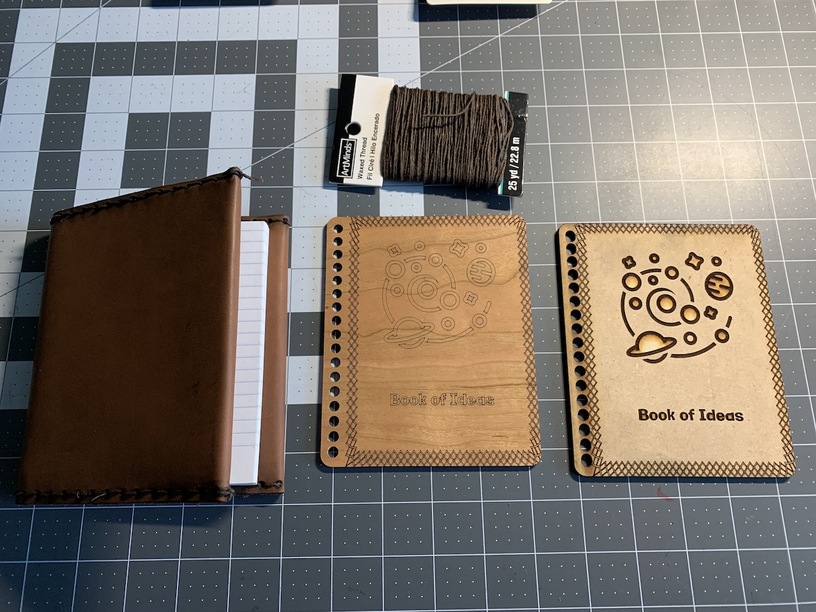
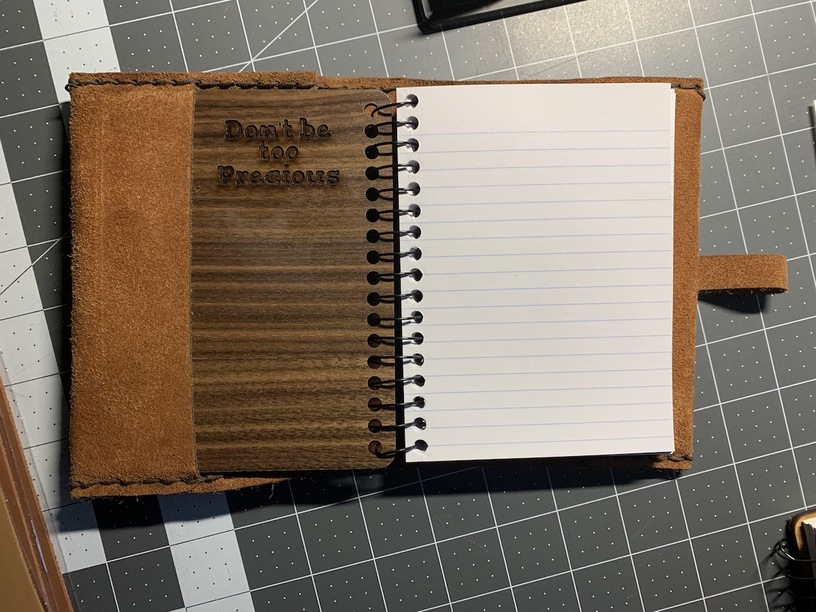
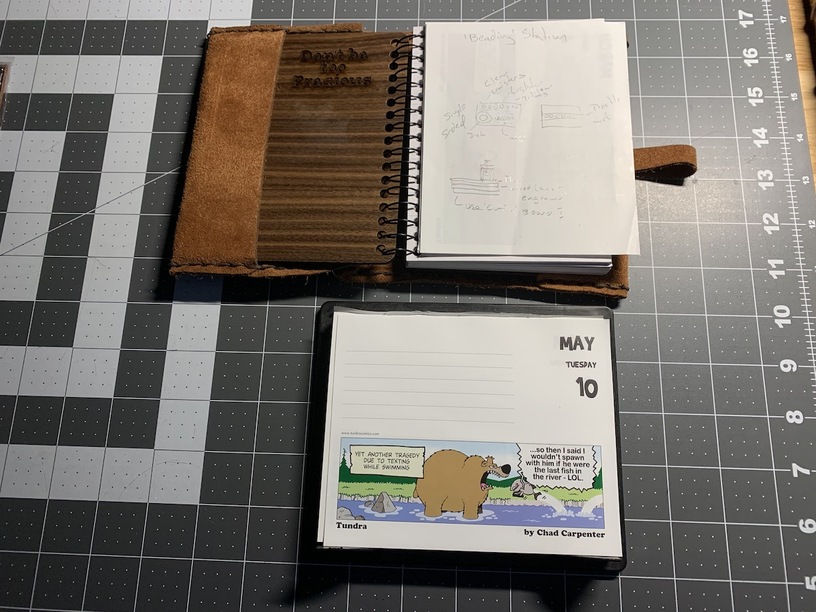
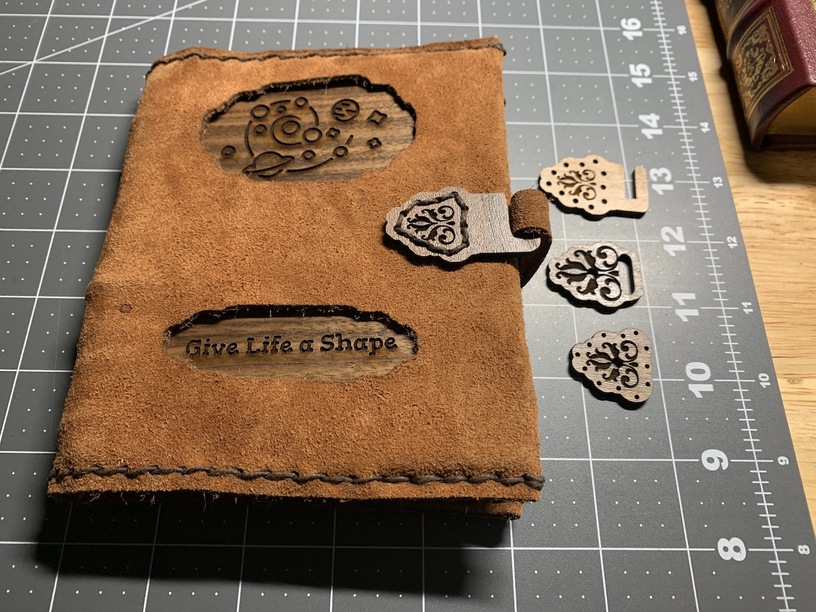
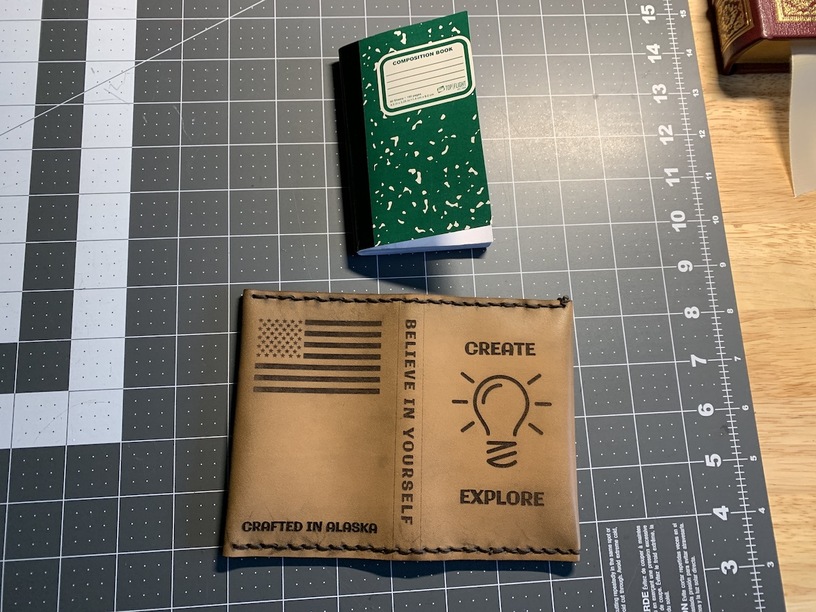
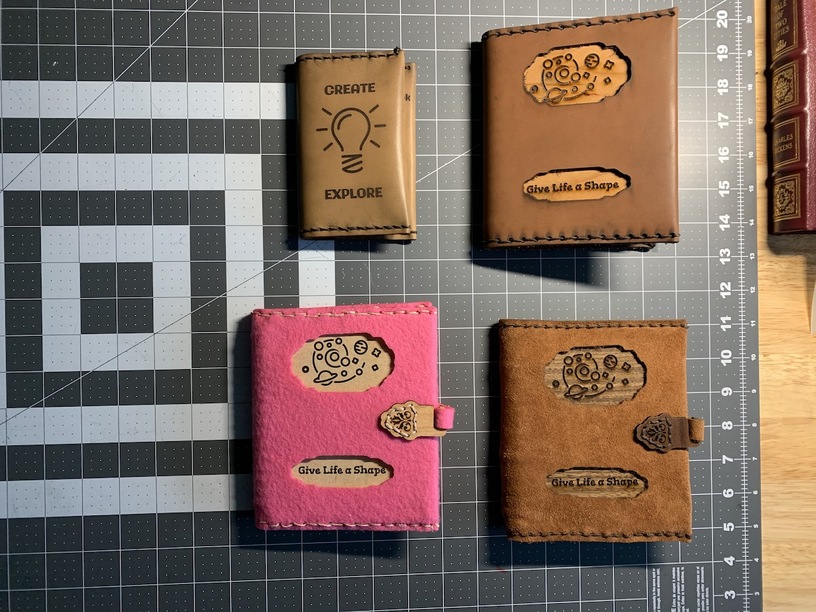
Seeing this, I knew I wanted to make some ‘cut outs’ in the cover and engrave something on the nice wood hard cover behind it to show through. I used cherry and adjusted the hole to center it on the Leather outer cover, as opposed to the wood pad cover, as there’s also the spiral binding to consider. So that was some faith based calculations as I wasn’t going to unstitch the thing and redo it. But I got it pretty close. And just so happens, the smallest post it note pad fits perfectly.
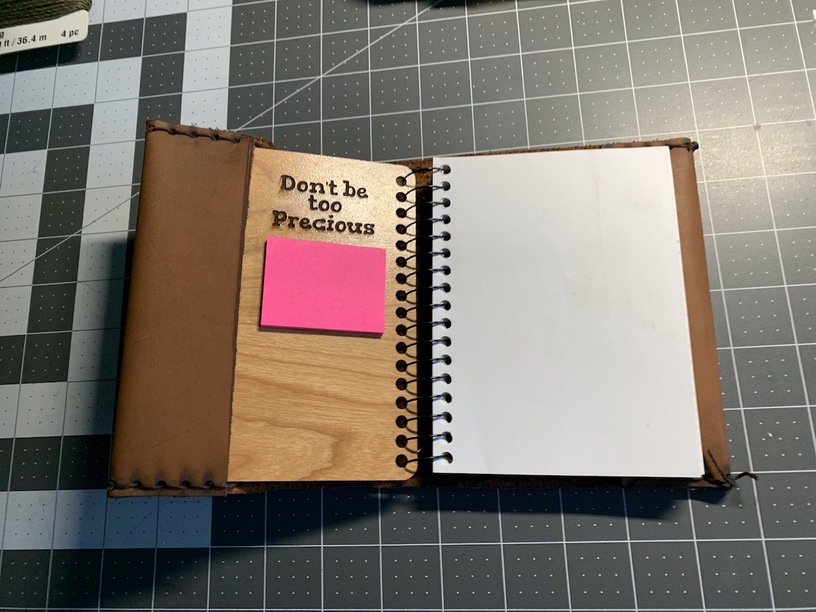
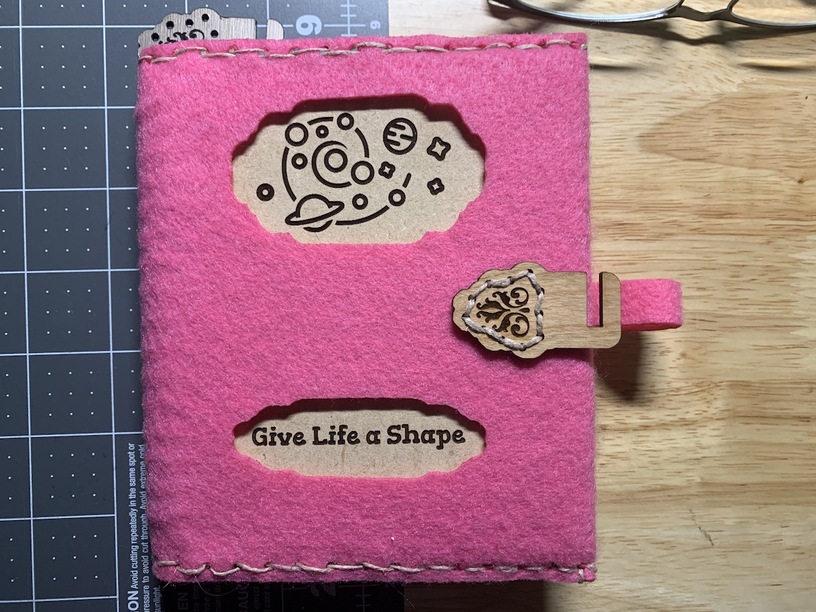
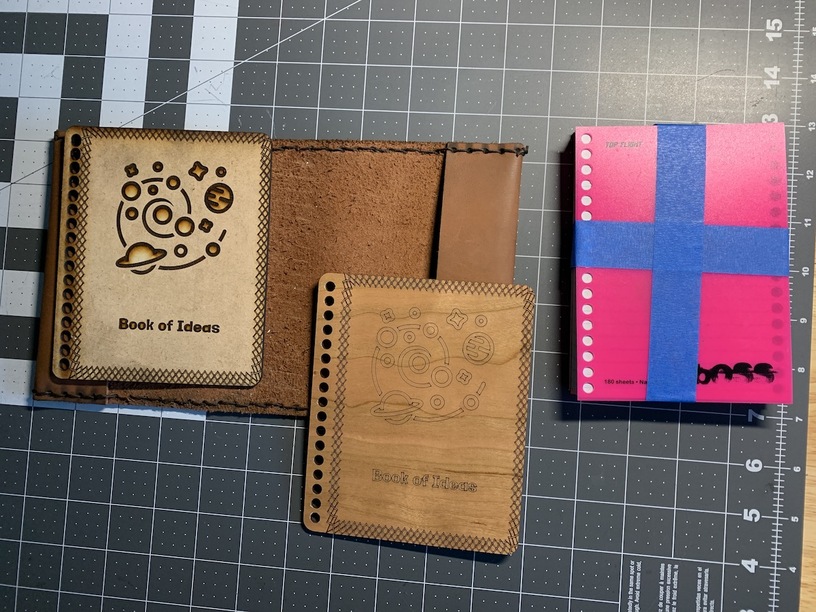
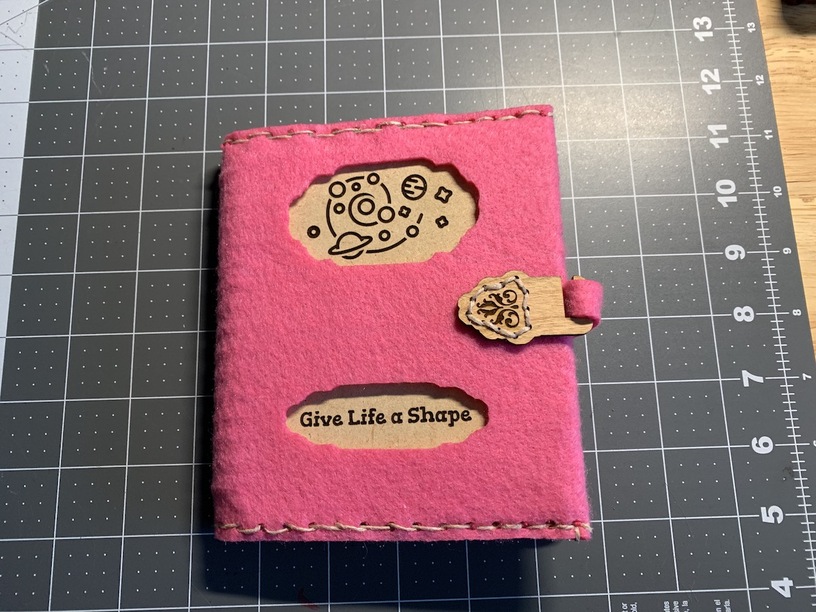
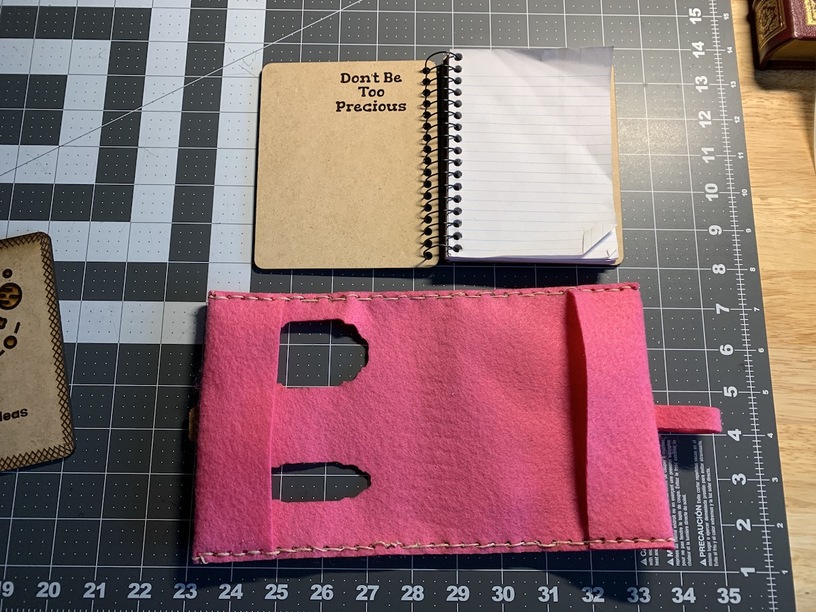
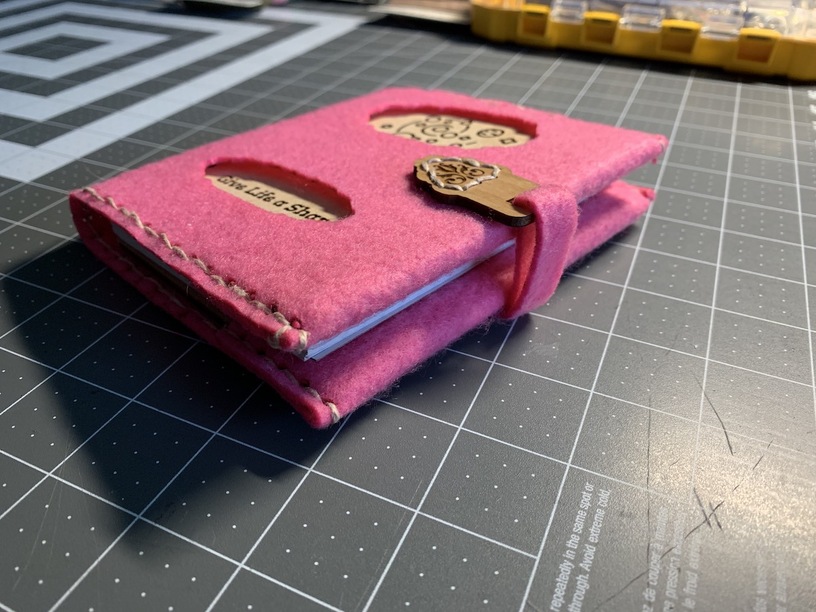
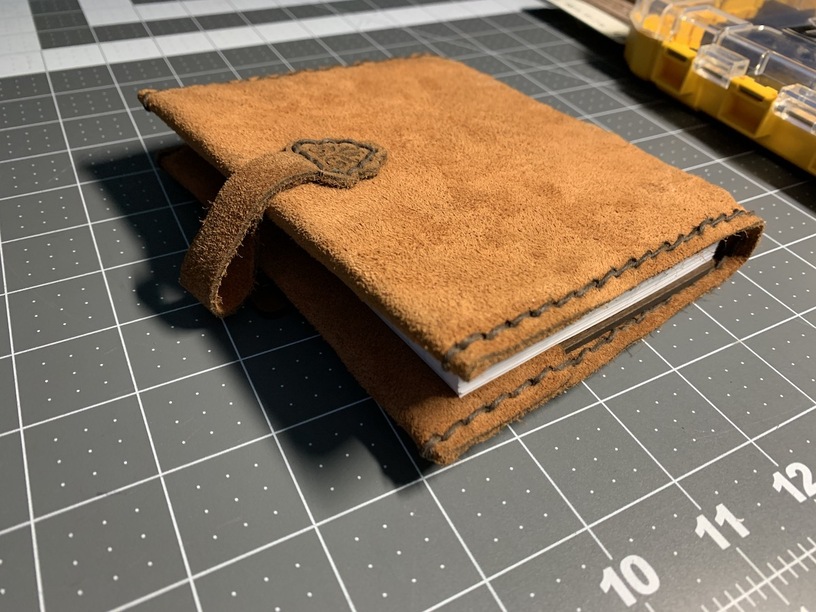
Next, I was ready to go for a final design prototype. I didn’t like the light color of the cherry, And I wanted to line up and match the book face design and wording with the cut out in the cover, so I used fresh draft board. I also needed to add a hasp of some sort. I tried a lot of different types of clasp / closure methods and decided on a hook and loop style. To simulate the thickness of leather I used thick felt, and happened to have extra pink on hand so used that.

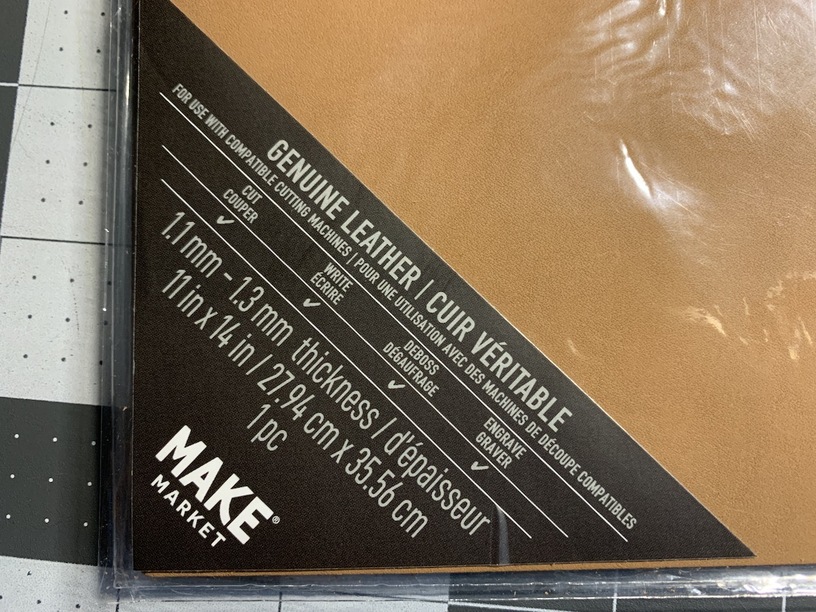
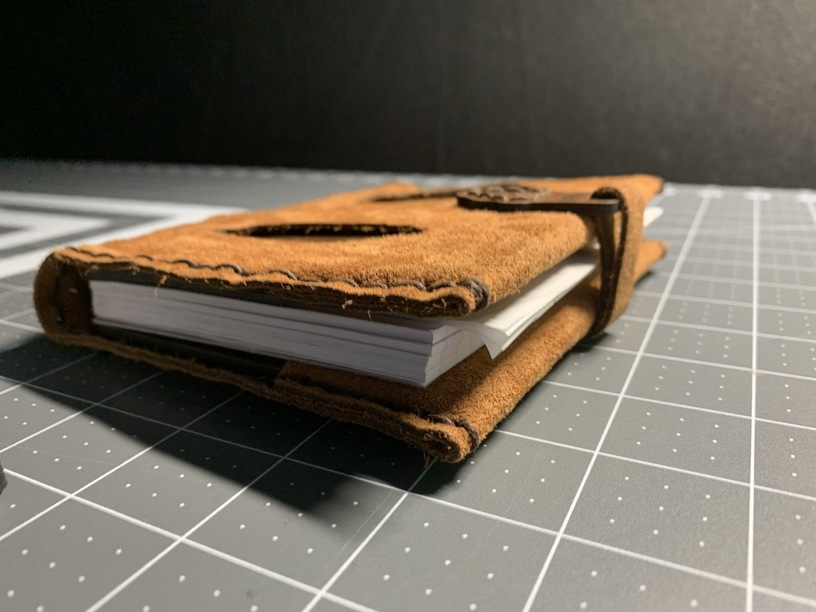
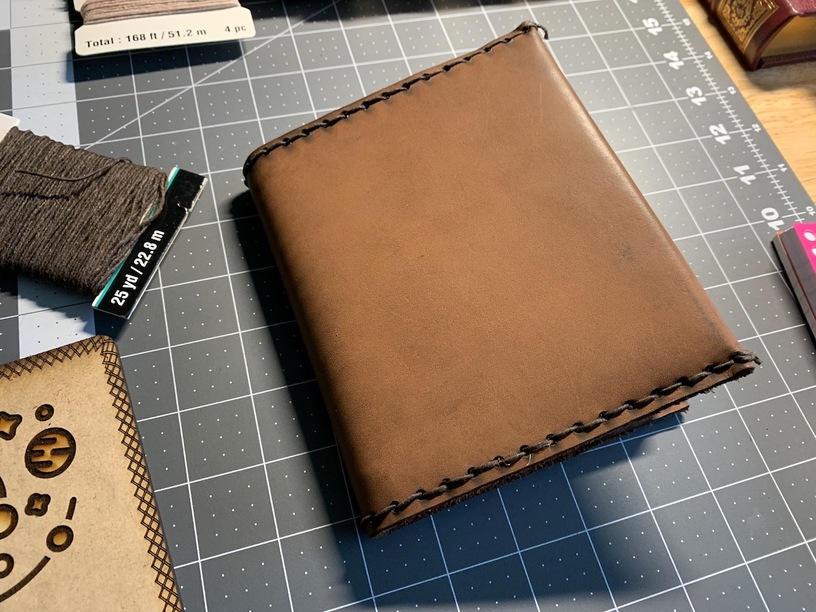
And now for the final. I preferred the softer feel of the felt, over the thicker, hard leather. I also wanted a darker, old English feel to it. So, I went with a saddle brown suede and walnut combination, along with dark brown waxed stitching. Which I also worked in strictly over / under pattern to keep it more consistent and tidy looking.

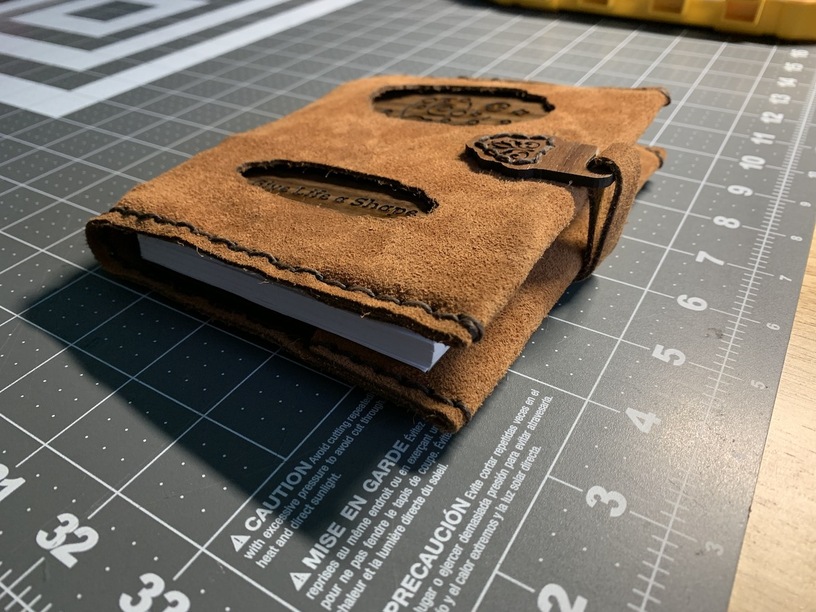
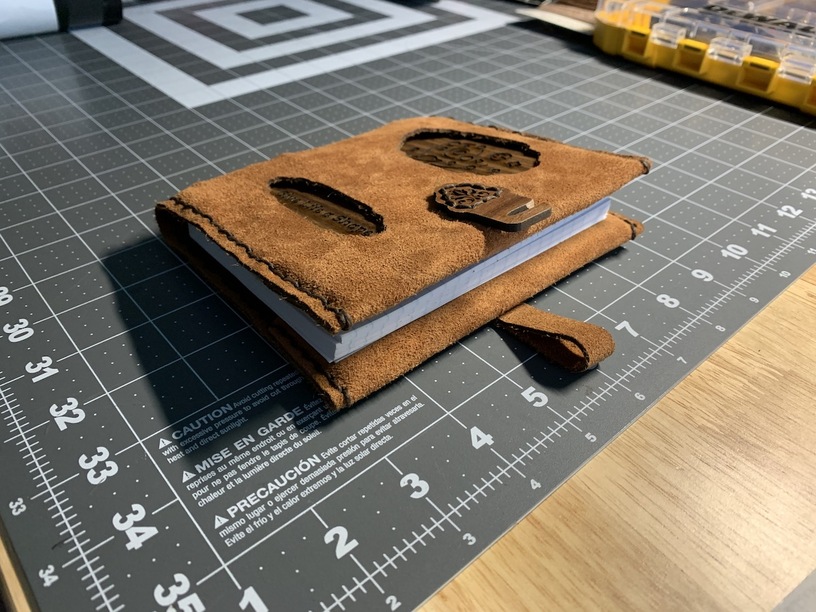
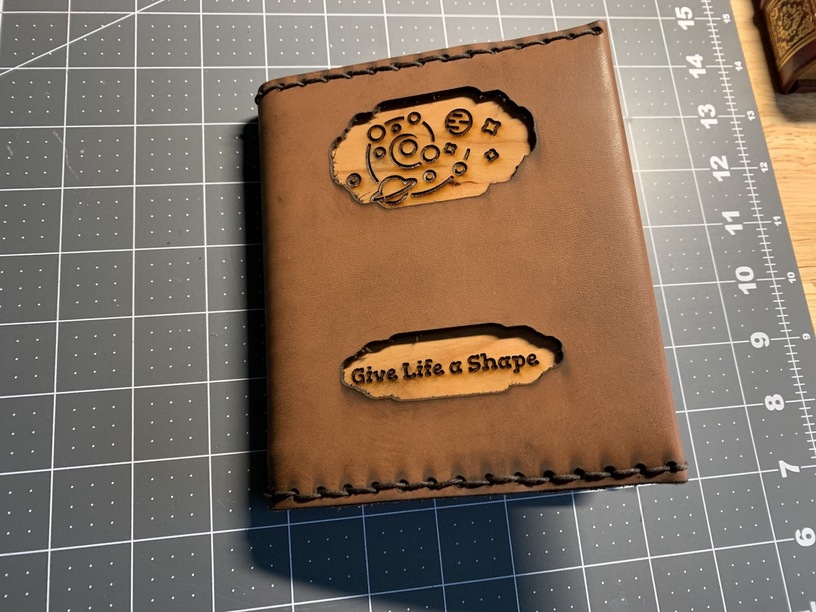
Not too bad I’d say. The final item met my vision totally, so I’d call it a success. If I could change two things, I would move the holes ‘out’ toward the edge a little more, and I’d give the top and bottom stitching courses a little bit of ‘cinch’. But I’m good for now. Couldn’t be happier considering they were my first ever leather cutting and stitching projects.
Thanks for checking it out,
HL