Greetings All -
Following up on my last post, The Shield where I did a 4 section, three layer piece. For this project, I give you ‘The Maze’. In this challenge I wanted to take a single large design and cut it in to multiple sections, with of course multiple layers, for added hair pulling. ![]()
I created on online maze using a generator found Here. The page is great in that it will output not only the image in SVG, but it will also output the maze in ‘lines’, as opposed to the ‘paths’. You’ll see why that’s important in a minute.
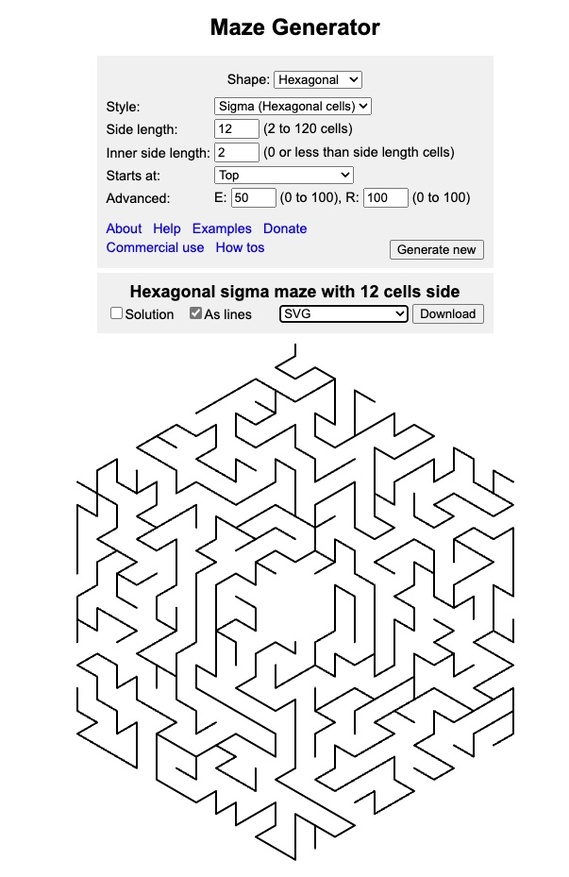
(Note, this image is not the same as the one I used, but done the same way).
With this image, I dropped it into the GF Dashboard, scaled it to the size I wanted, about 36" high, then drew an ‘outline’ to get the pathways and removed the inner lines, then added two broader outlines around the whole image to form a border. Here’s an idea of what it looks like.

Then I brought it into Adobe AI and drew a grid over it to make it 3 sections wide and 2 sections high, dividing it into 6 pieces. This was WAY too much work and not something I would do again in this way. But I powered through.
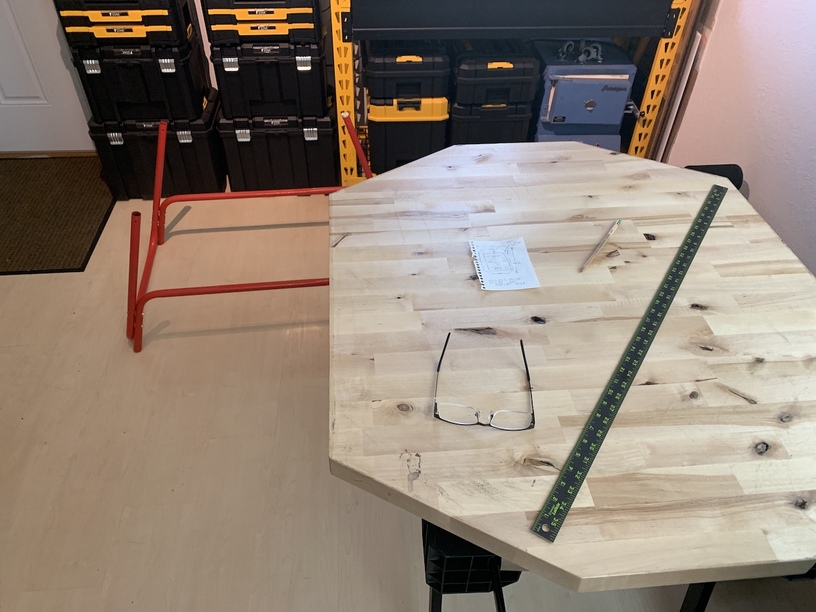
Next up was the table top itself. I just cut a piece of butcher block and sized it roughly large enough to incorporate the graphic and leave a border. My thought is, we’ll do board games on the maze surface, and then you have the border for monopoly money, drinks, or whatever around the edge.
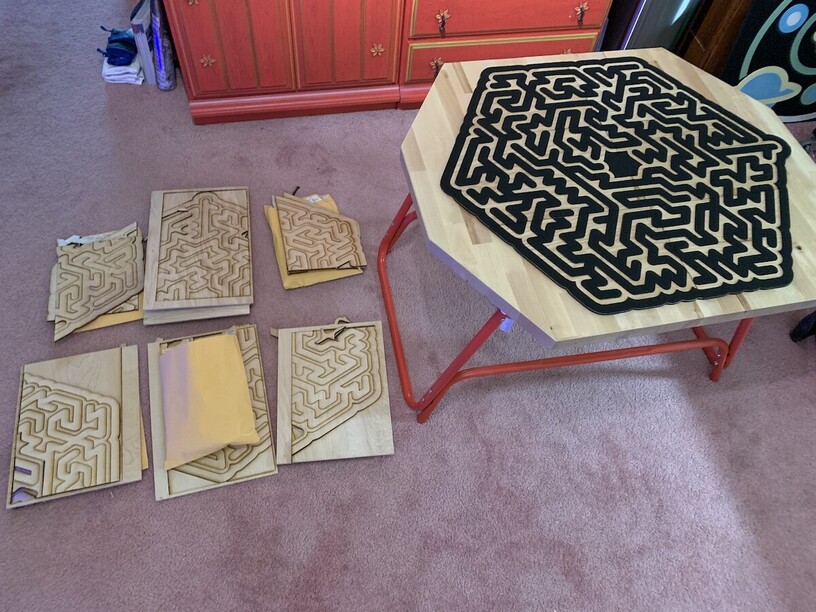
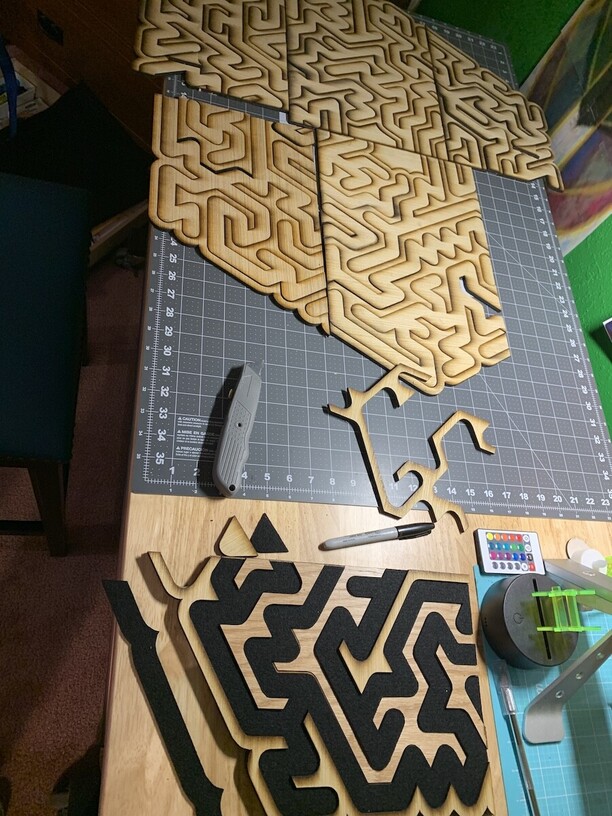
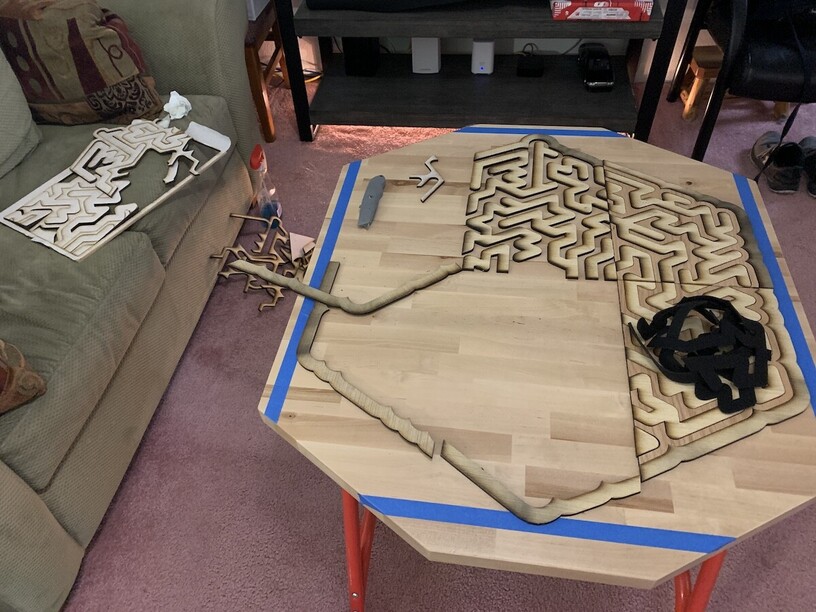
Cut time. Next I cut out three each of the 6 sections - One of sureply, which I’ll use as the paths & border, one set of masked, finished oak ply which I’ll use for the ‘frame’, and one full set in felt, which I’ll use to go over the Sureply paths & border. Here the test fitting.
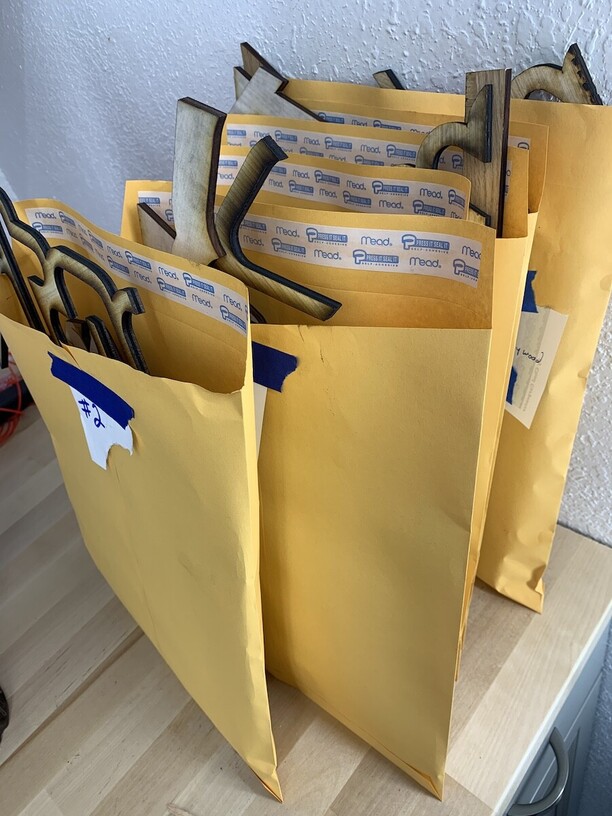
So if you’re keeping track, yes I’m only using one component of each (type of material) section, leaving me one full set of ‘alternate’ pieces to do a second version. Sureply & felt frames, and oak paths & border. Although, this project tested my perseverance, so I probably won’t be making that anytime soon. But I’ll bag it and mark it for a future project.
Next up, commitment time. I did a little test first to see what I wanted to do for adhesive. The wood glue locked in the felt like iron. But it took a long time to dry and is overkill for this project.
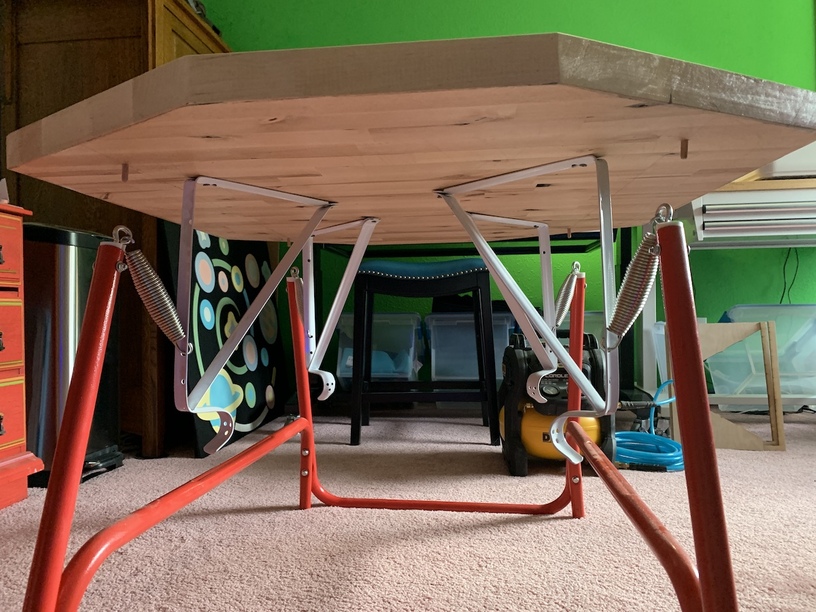
So I just pin nailed the sureply to the table top, and went with the trusty Elmer’s to glue the felt portions to the Sureply underlayment.
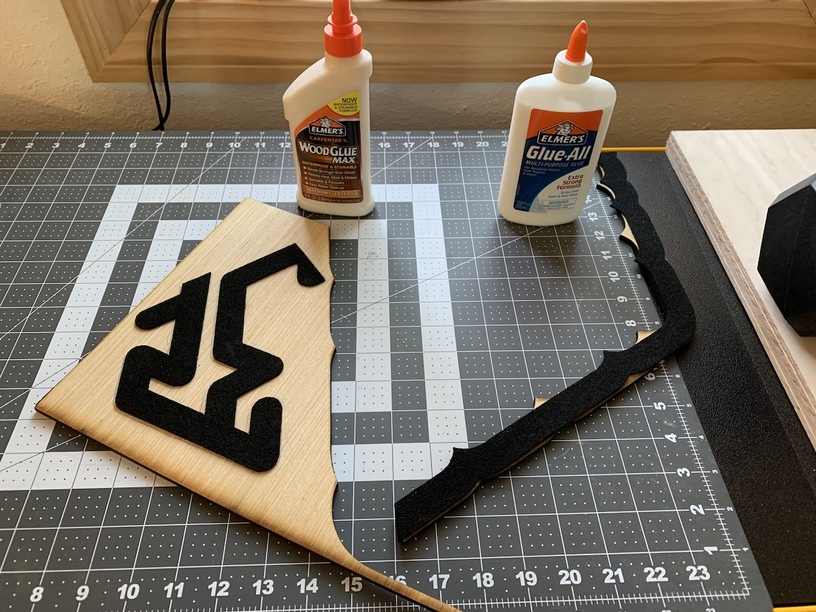
The Oak plywood is just a snap fit and I only used a few drops of the wood glue here and there to hold down pieces that were slightly warped. And here we go, assembly time…
Yes, this took FOREVER. But, eventually, it was project complete!
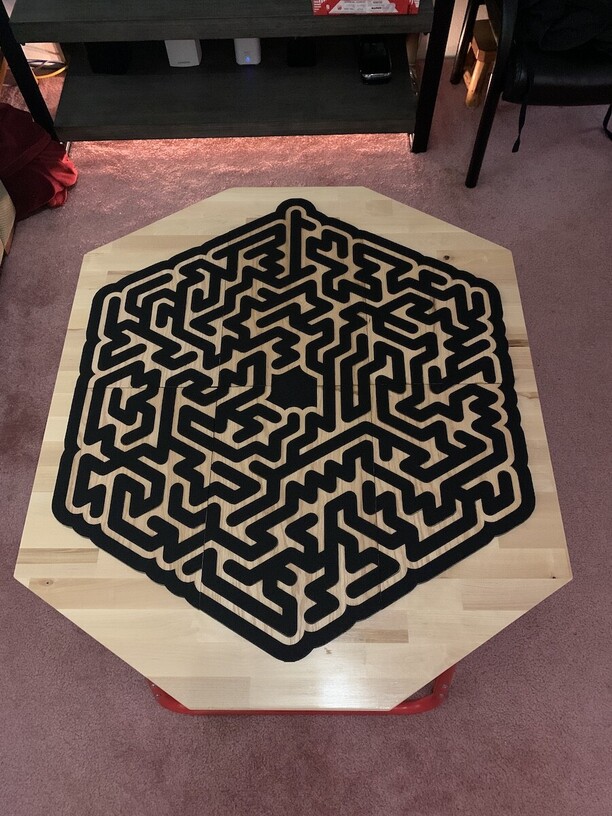
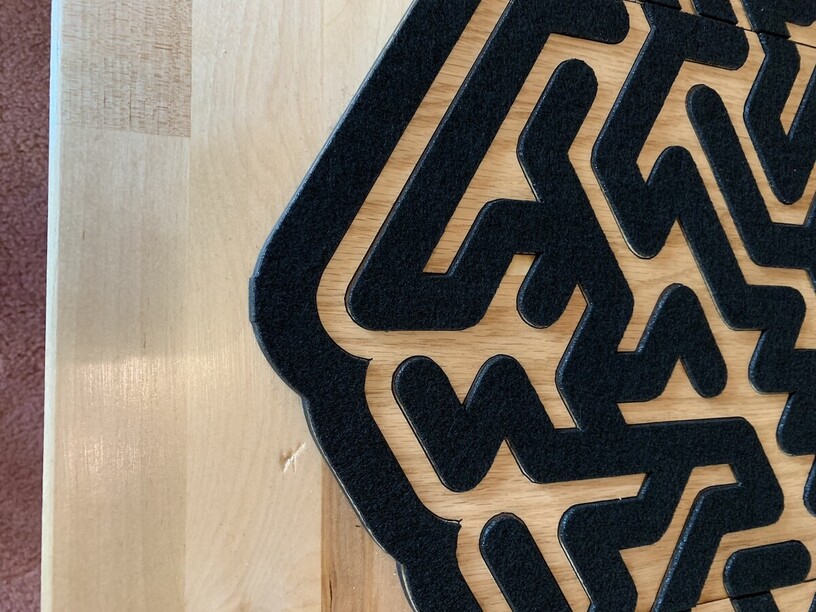
I’m pretty happy with the outcome, although there are a number of things I would do differently next time. When I started setting the pieces, I was pushing them together tightly. But as some sections had more cuts than others, that equalled more kerf loss in one direction or another. So yes, some sections ended up longer or shorter than others. Not by much, but enough to make it difficult to get the last two sections to line up correctly. And that also meant the sections edges are clearly visible.
But, the point of the project was to challenge myself, learn a new technique, and make a coffee table. So in that regard it was a success!
Next up, ‘The Galaxy’. Another 3’ x 3’ design but with individual pieces, laid out to form a specific image / pattern. I just completed it and I’m extremely happy with the results. It might even be the first project I’ve done that surpassed my expectations. So that should get a write up soon. I can’t wait to share it. ![]()
HL