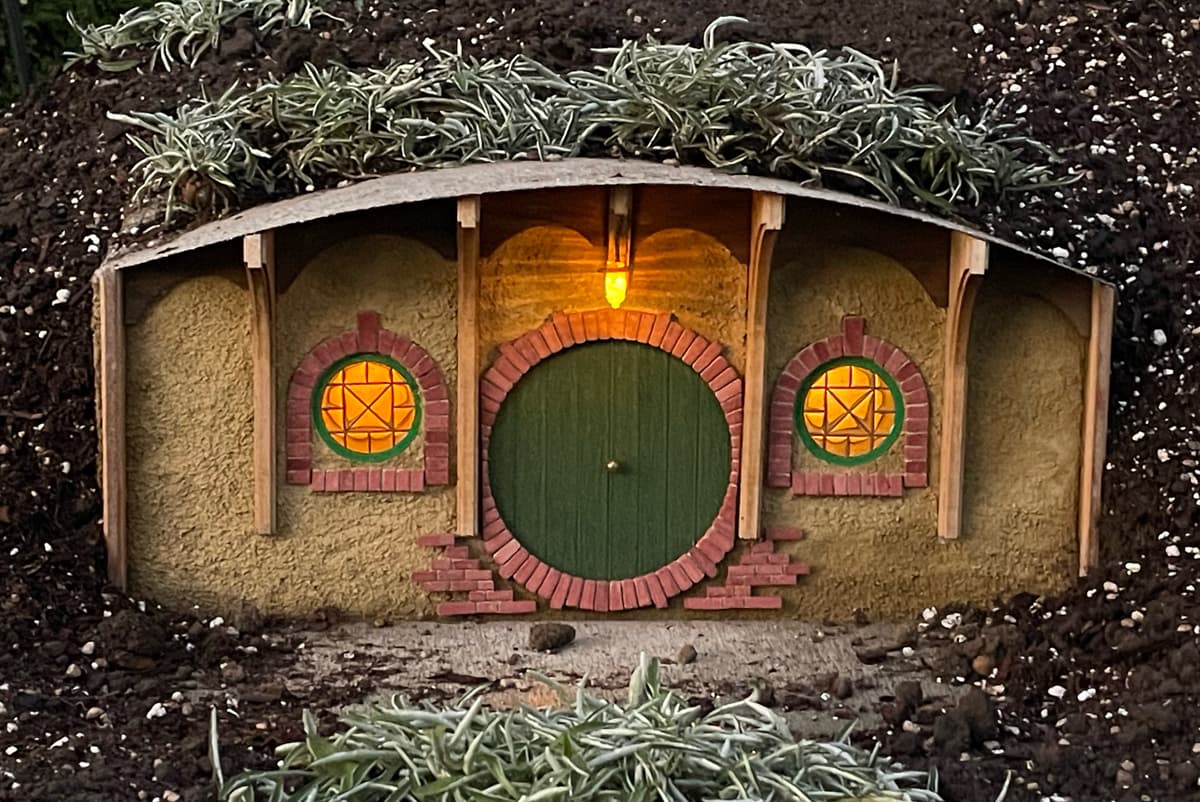
“The Shire”, two years in the making with another year to go. The final year will be mostly waiting for the very slow growing ‘Dymondia’, aka ‘Silver Carpet’, to fill in. It started, of course, with BagEnd, Bilbo Baggins’ hobbit hole abode.
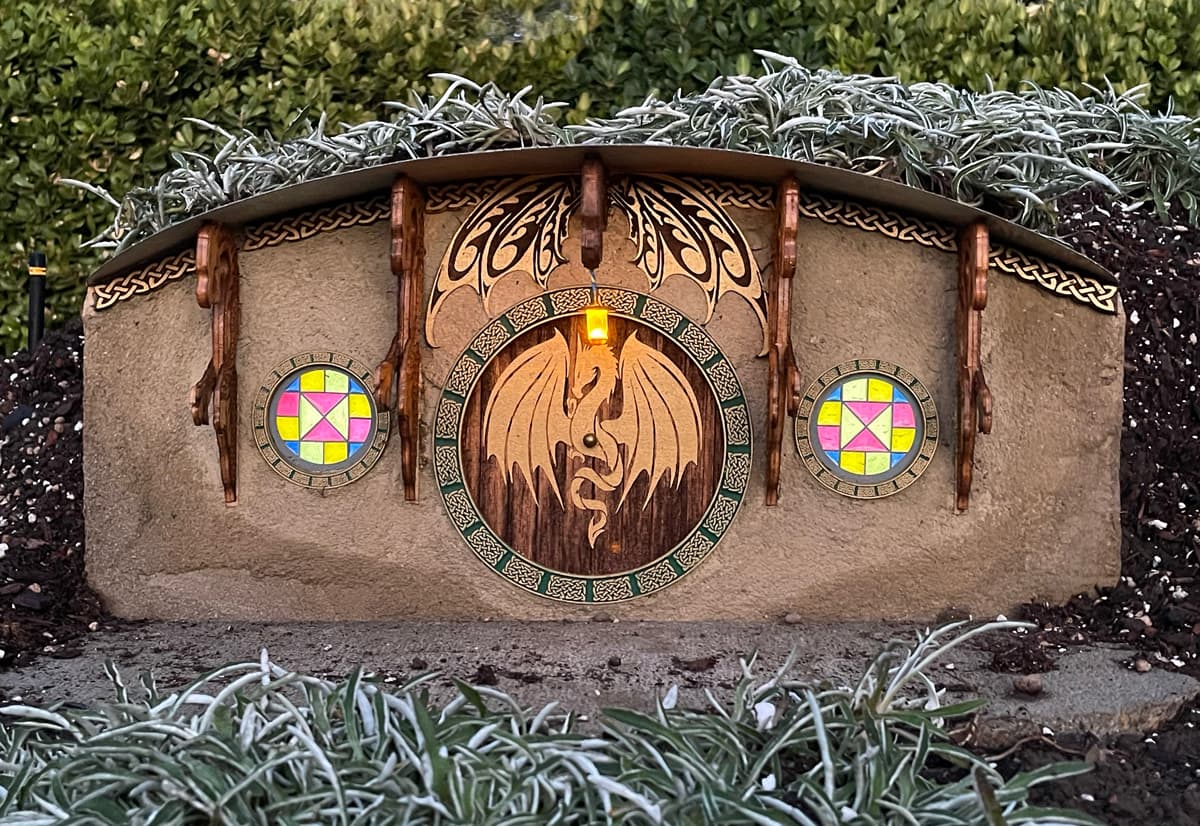
This quickly spread into more and more elaborate works like The Golden Dragon Pub,
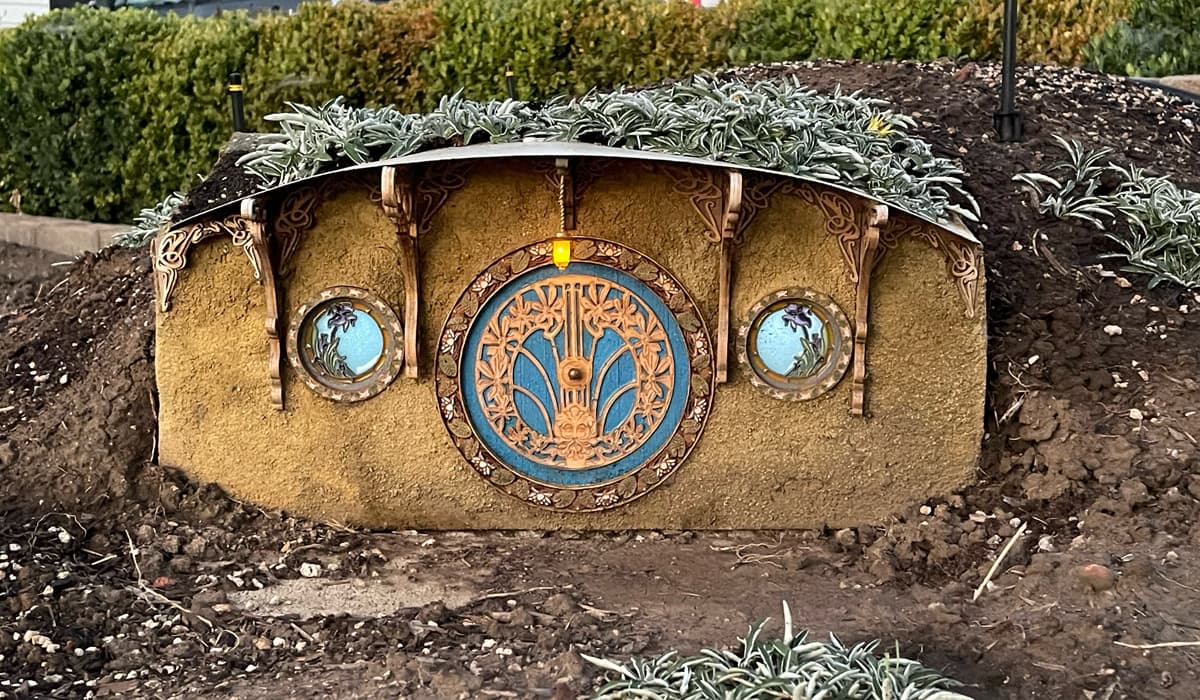
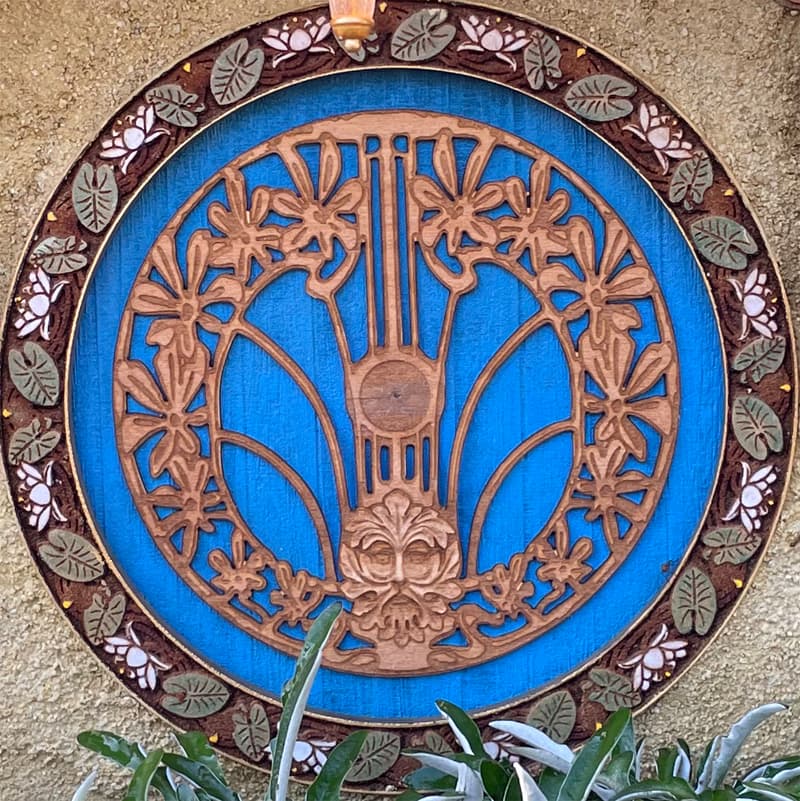
and an Art Nouveau styled version.
If there’s one thing to do with a Glowforge it’s get carried away.
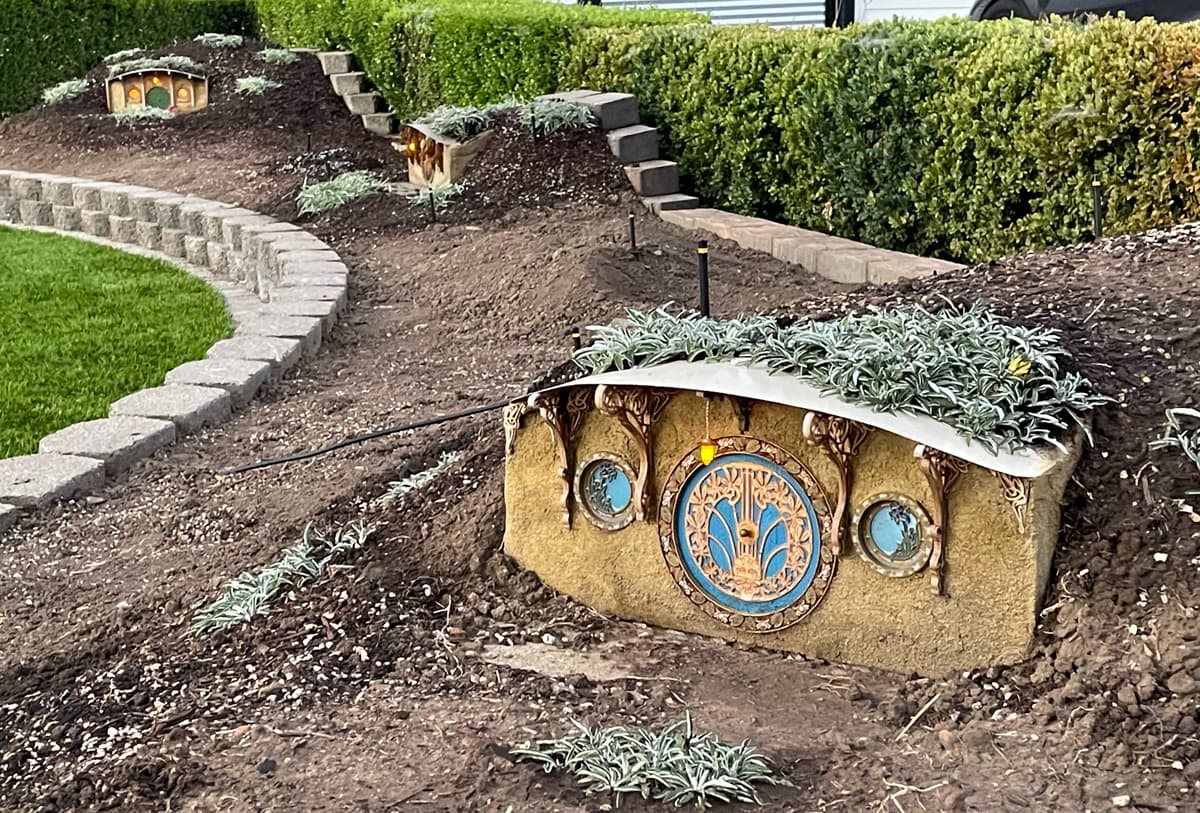
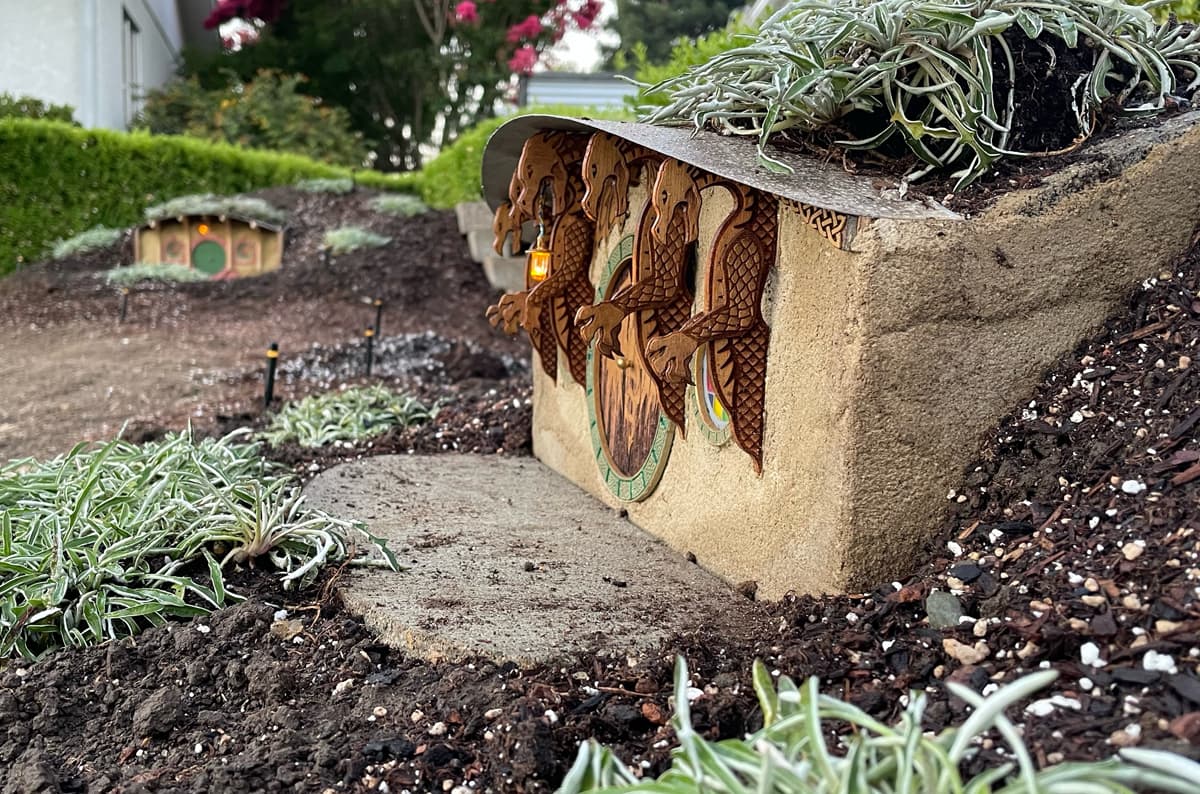
This is an overview of ‘The Shire’. The Hobbit Holes have just been put in place in the past few days with plugs of Dymondia added as recently as yesterday. As I said, it could take another year for the dymondia to fill in the entire area.
I made two early versions to test materials like draftbboard, hobby shop bass wood, stains, adhesives, acrylics, paints, LED’s, resistors, wiring and power supplies… phew!
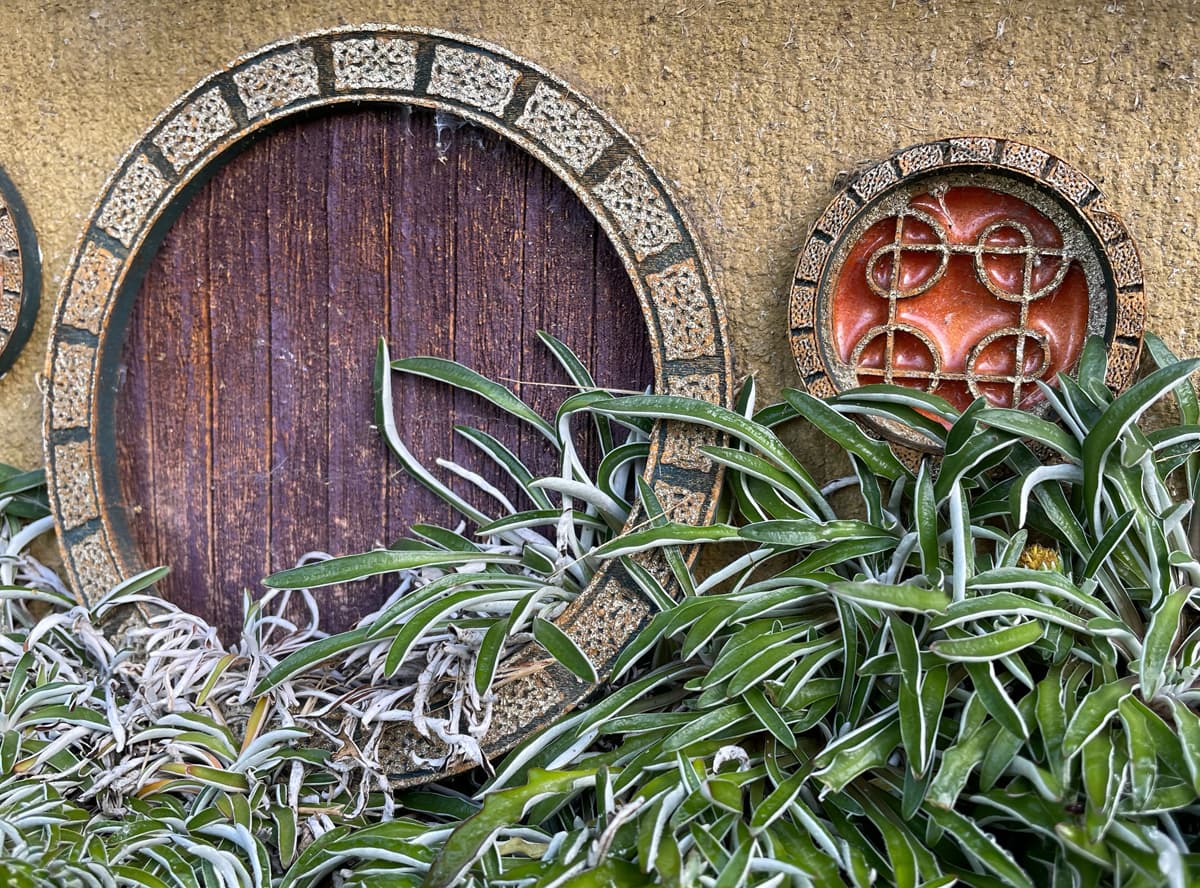
This photo shows just how thick dymondia can fill in.
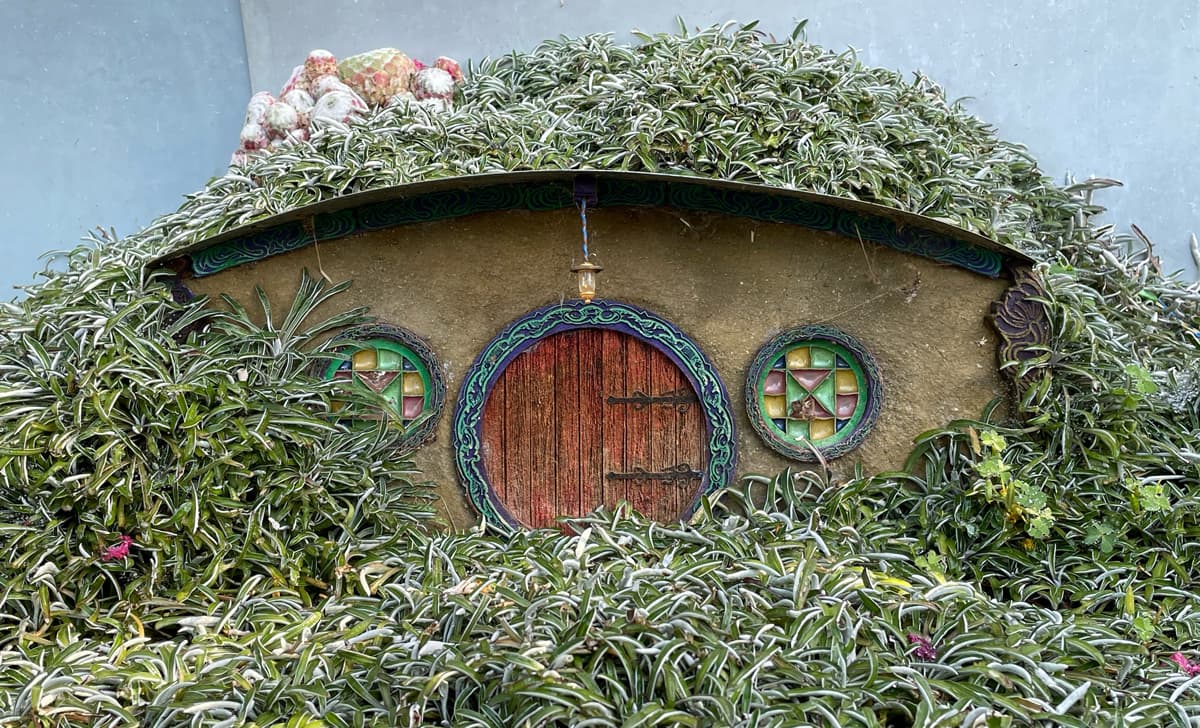
This was a test that shows that silicon glues were unsatisfactory. The dymondia has pried the door frame away from the stucco wall and grown through behind the ring.
LOTS of trial and error led to a great number of errors, but as ‘jamesdhatch’ pointed out to me, they’re not errors, they’re ‘learnings’.
I start with a common concrete block and cut an arch in the front for a porch roof, which I cut from sheet metal. I drill holes in the blocks with a 50mm masonry hole saw, but later found it best to not drill those holes too early as their locations may change as the designs unfold. PVC pipe with an end cap, a 5mm LED and a securely glued on window make a watertight compartment for a lit window. If one were to do a project like this and not bother to add lighting, it would be a whole lot easier.

I found it best to lay out the Hobbit Hole’s components before drilling the window holes. This is the Golden Dragon Pup on the workbench.
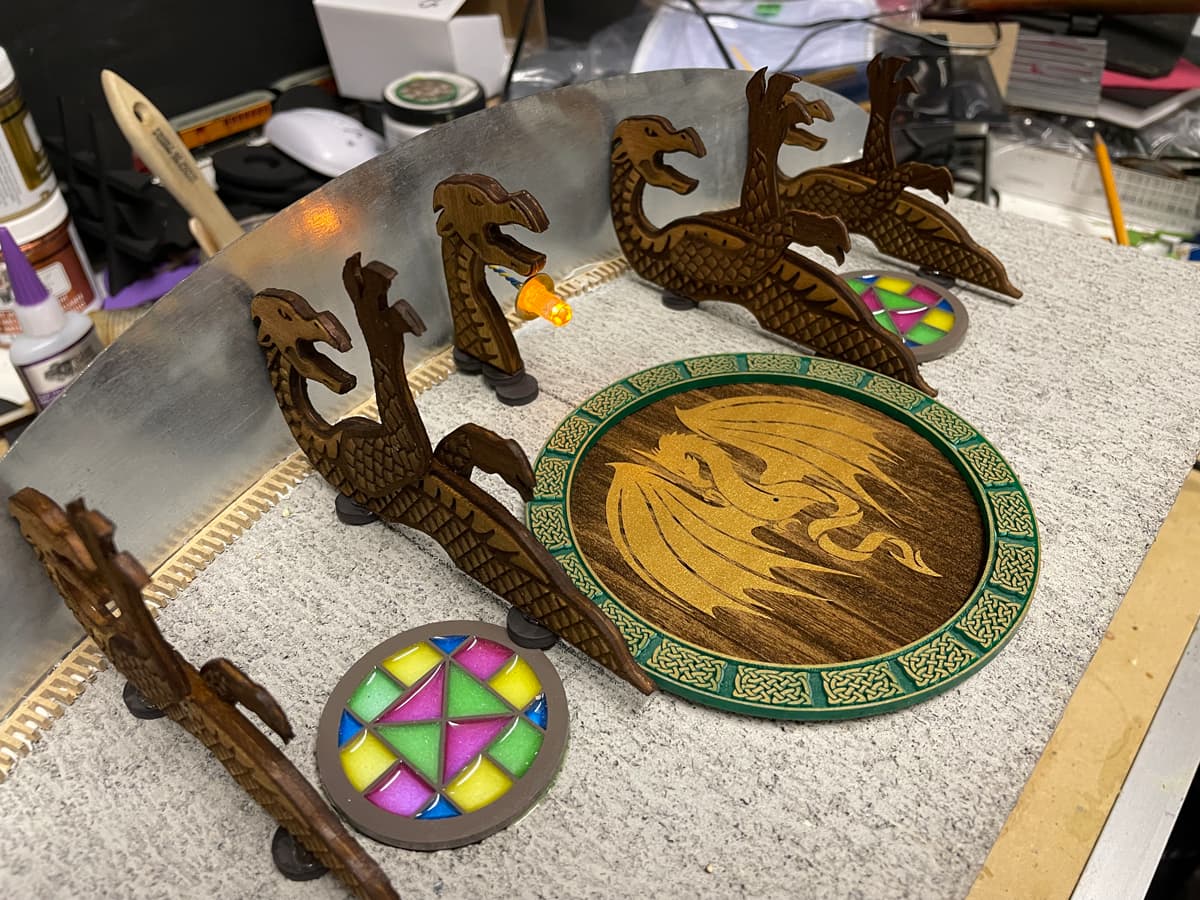
I felt the roof support dragons’ arms stuck out too far and were too subject to damage, so the final dragons have arms that, I hope, are safer.
Birds are always picking at the spiders and other insects that choose to live in my test Hobbit Holes, so I’m afraid some of this project’s finer details won’t last long.
Once the door was glued in place and it and the windows where protected with masking tape a layer of colored stucco (mortar with a colored powder) were spread over the entire face and ends of the block. With the mortar still wet the tape was peeled off. Borders around the door and windows were added as well a roof supports. Just when and how to add those extra pieces is still evolving and is too much to go into here. BagEnd and the Golden Dragon Pub were actually rejects, but the colorant I used to make the stucco the right color became unavailable and the minor errors were less troubling to me than settling for an unacceptable color. Maybe someday I will remake them.
The windows for the art nouveau style Hobbit Hole were some of this project’s most challenging which would make for an entire separate post.

The pattern on the door was ‘borrowed’ from Shelly1’s screen door post. I added the “Green Man” face into a blank area.
Thanks for looking.