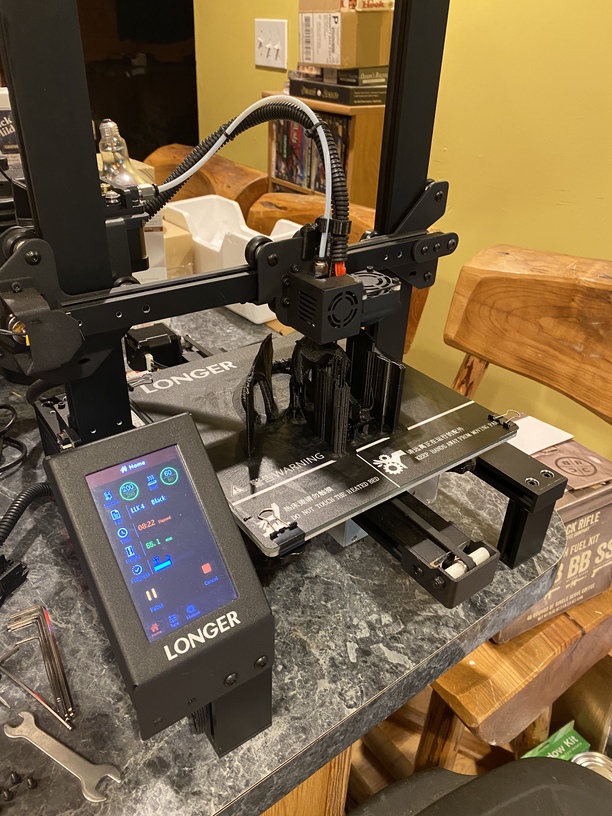
So last week I suddenly got energized for printing. I dusted off the longer lk4 on my kitchen island, went in the guts, moved the installed TO smoother off the Extruder to the Z axis. And printed out a successful benchy. Perfect.
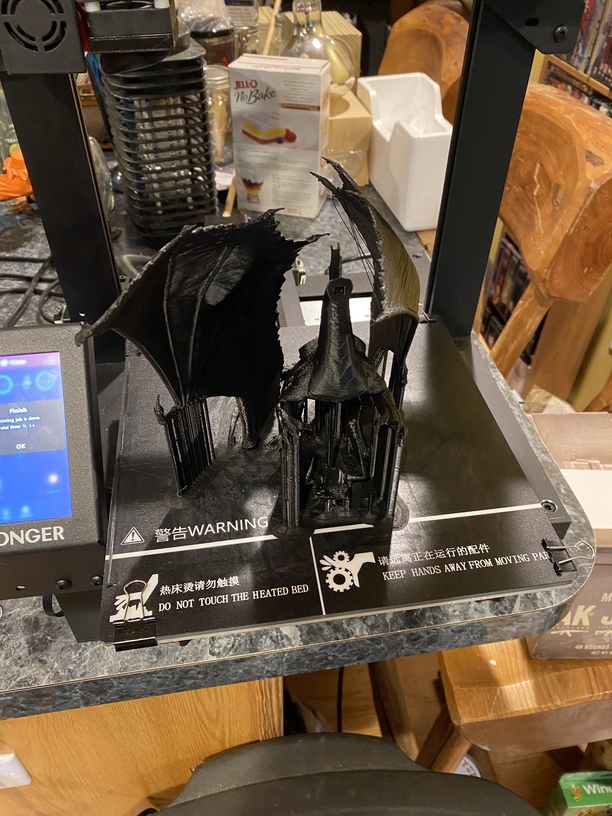
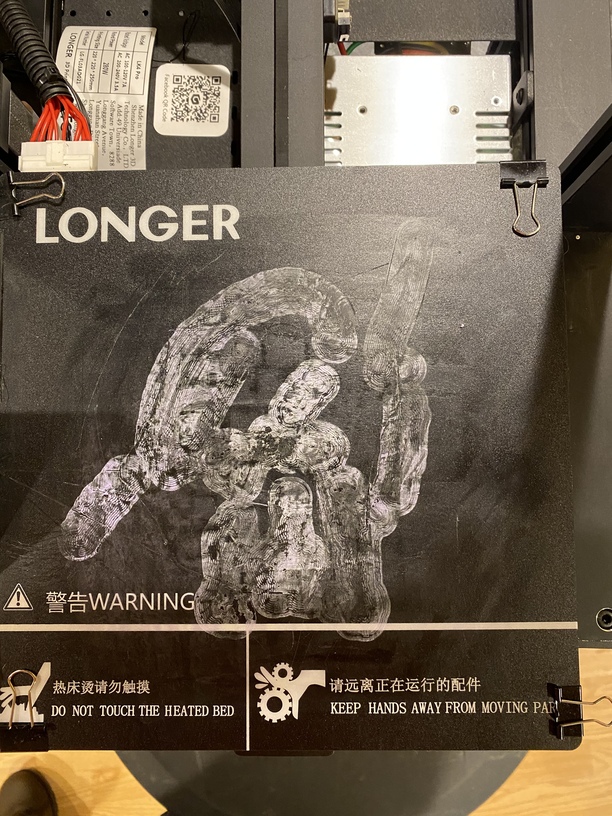
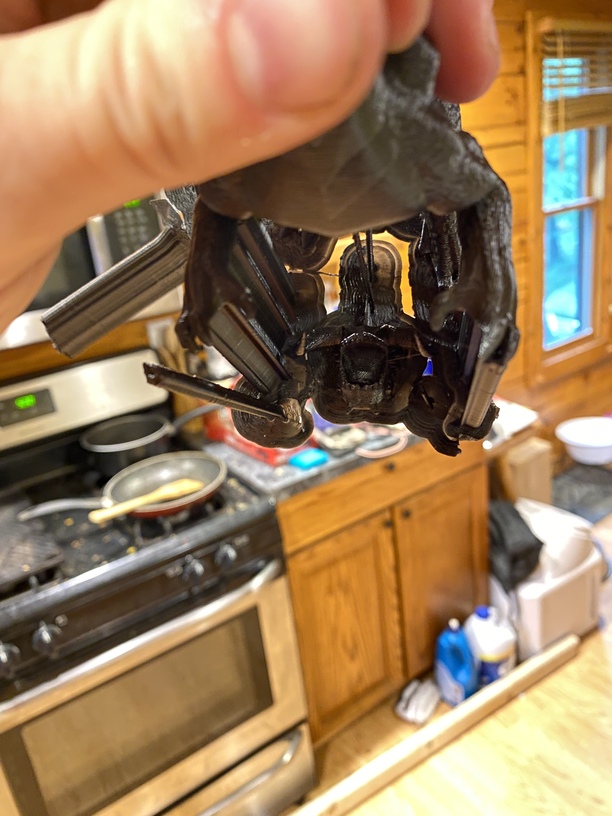
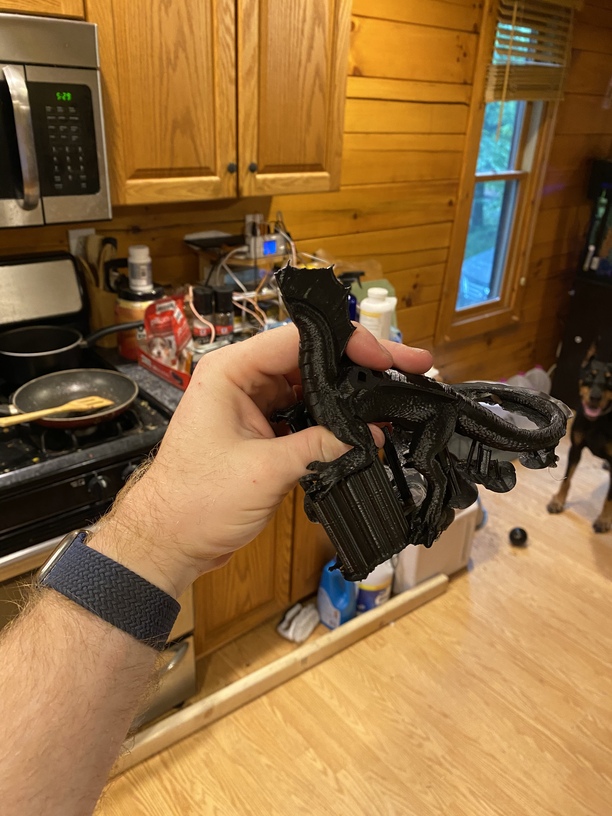
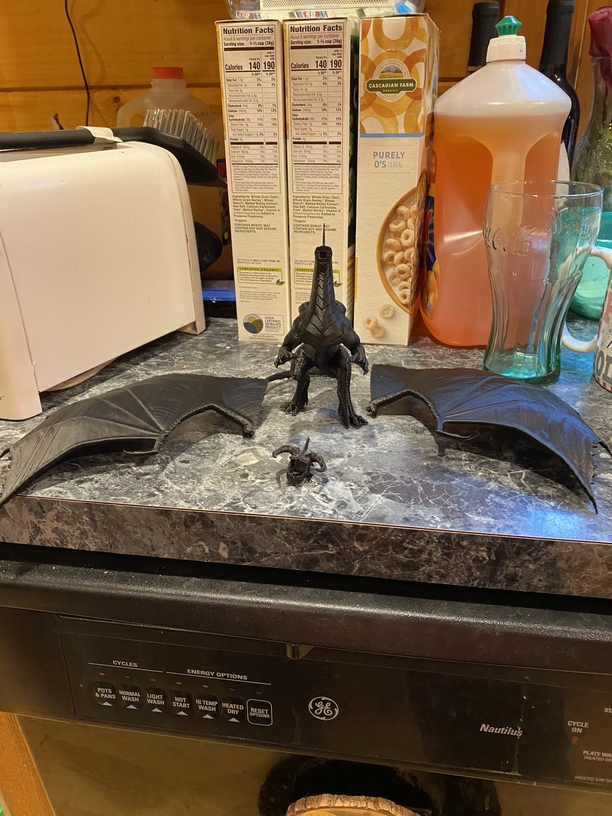
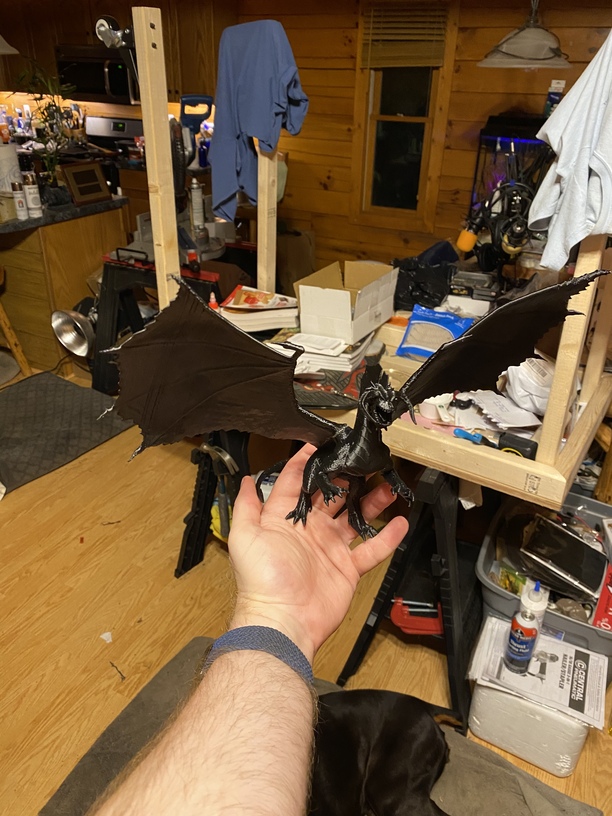
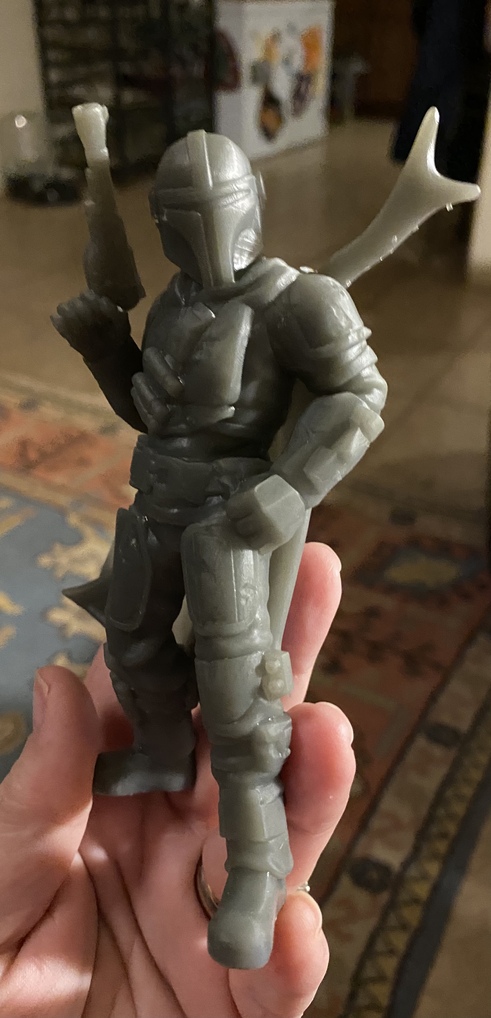
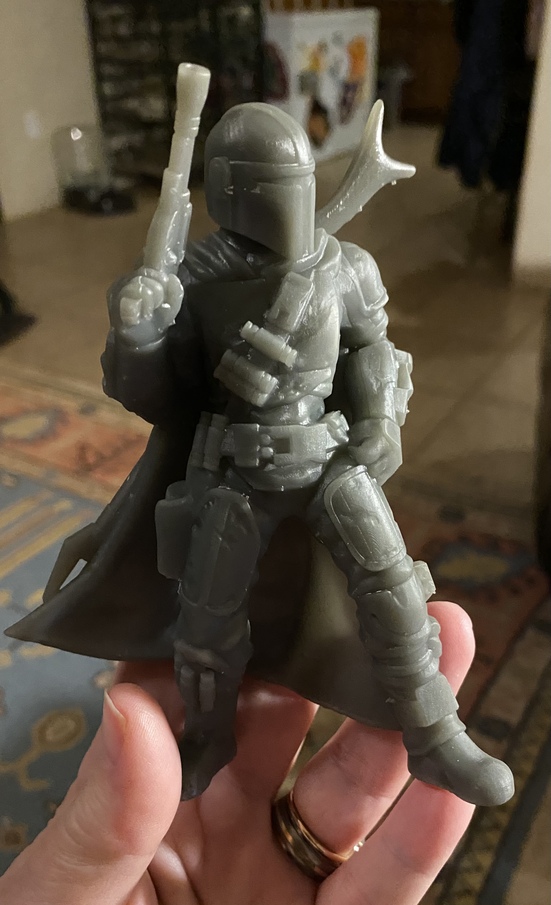
Unable to get filament to stick and a cleared nozzle clog, I came back the next night with hairspray and glue sticks. Went with the glue stick and 14 hours had this fine beast.
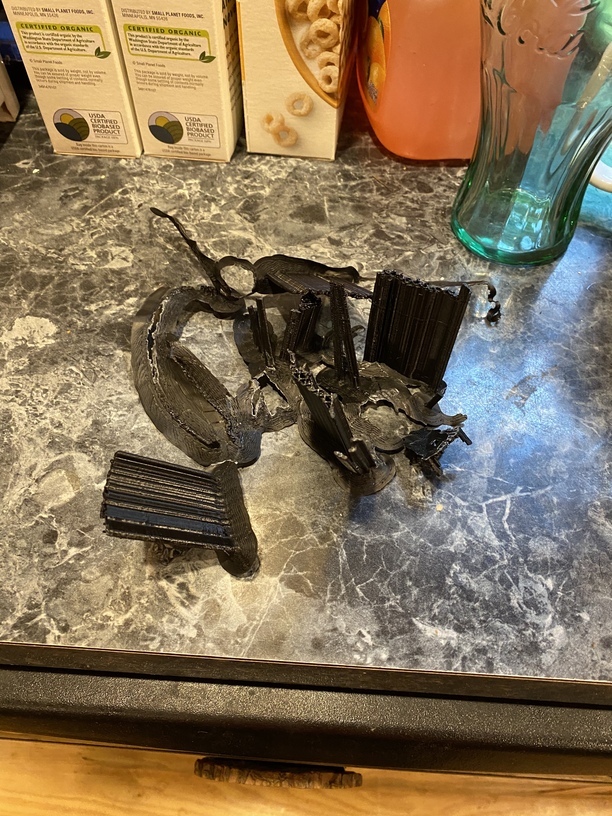
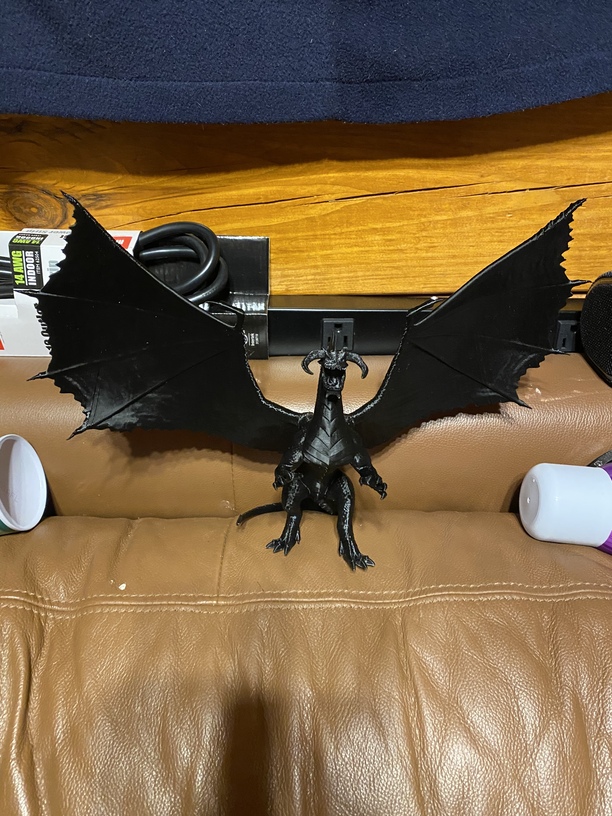
Do I attempt to oven anneal it and watch the wings warp?
Do I just go at it with a heat gun for a manual annealing?
Do I get some epoxy and smooth it over that way?
I’m not gonna try and do the layers spray paint and sanding around the finer details.
It’ll still allow some warping as the gun is more than capable of melting the plastic. I tried a bit before I glued it together. It’s right wing sits at a bit of a lower angle than left.
Looks great!
Heat treatment of any kind is going to be rough on those wings. Try the sealing product below, it leaves a perfectly smooth, self leveling, high gloss finish on 3D prints.
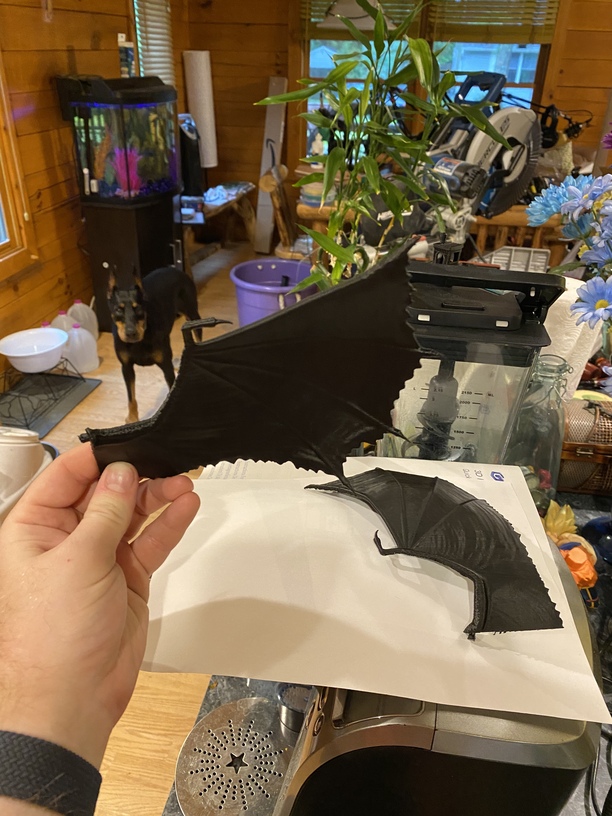
How difficult would it be to print half, or a whole wing? Use it as a sample of how much heat for how long before deformation. It’ll tell you something beforehand about the protection you will need to do similar work on the model.
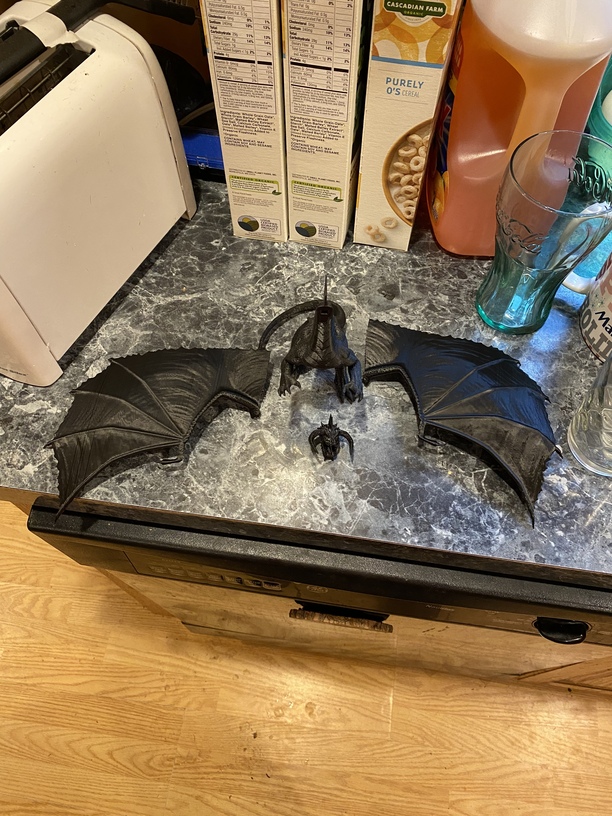
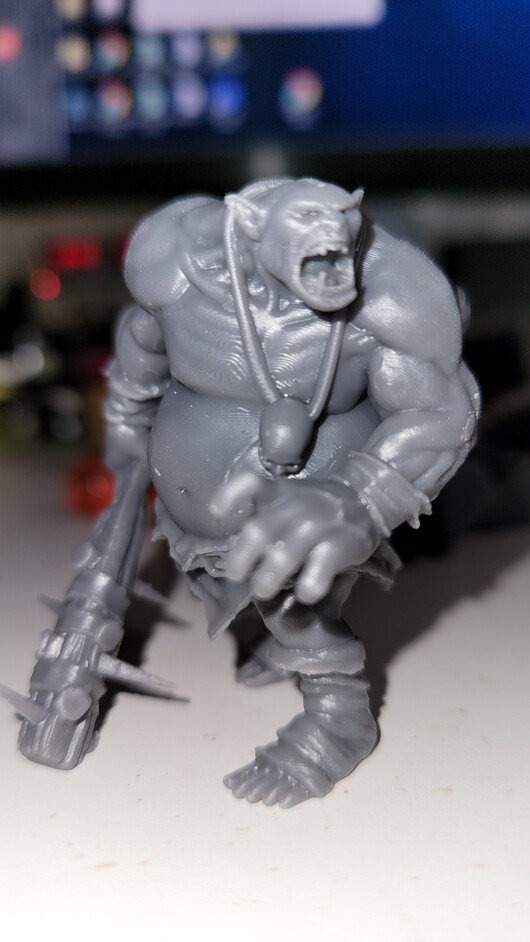
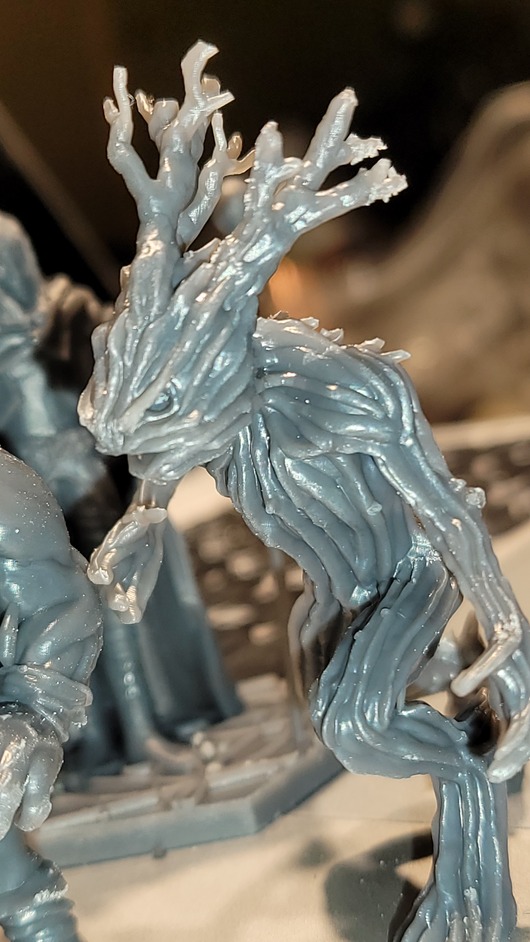
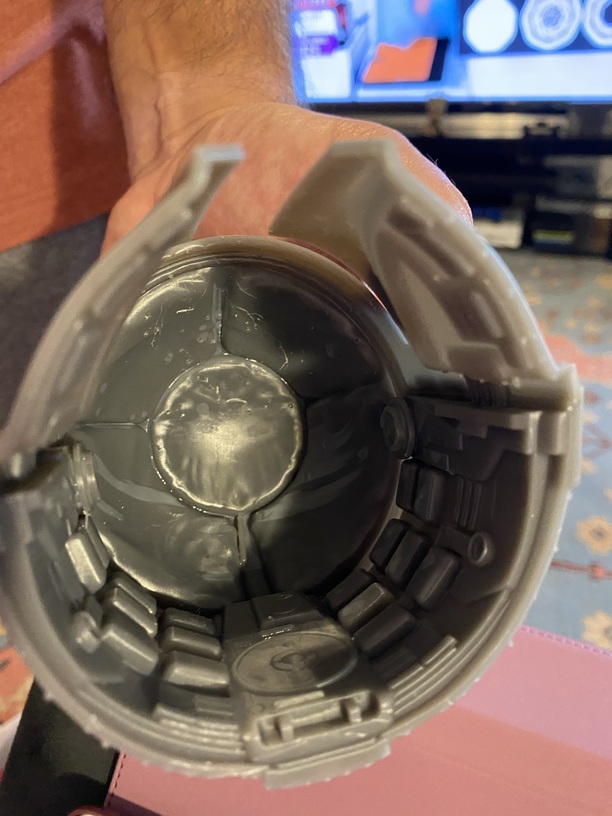
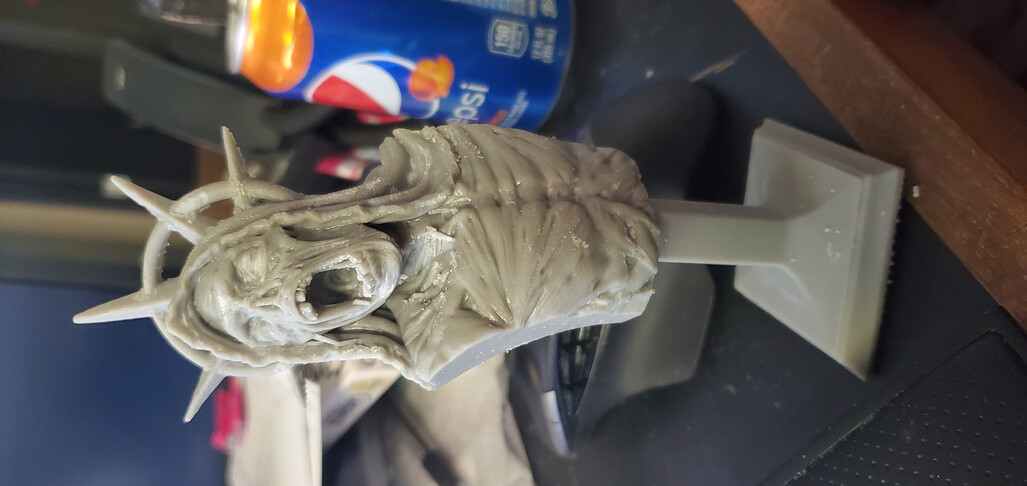
You need an SLA or MSLA type 3D printer that uses liquid resin. I didn’t even work hard to knock these out for my nephew (I’m not in to D&D stuff).
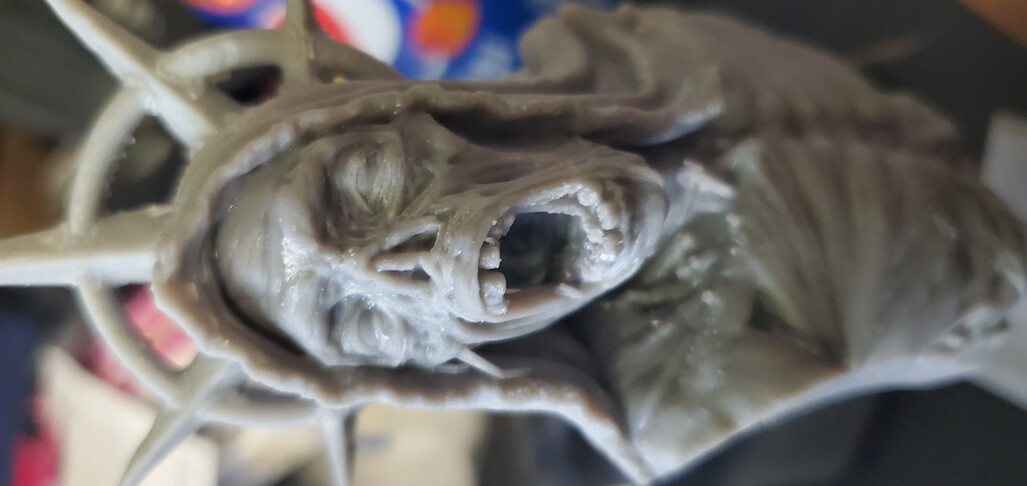
This is basically how they come off the printer (a Form3), once the supports are removed, but with no attempt to do any additional finishing. The tree gnome shows that a bit more than the ogre, since those branches all required their own supports.
Smoothing but secondarily for the strength. Helps strengthen the bond between the layers so it’s not as likely to pop apart at like the ankles like the ogres I printed after.
Also, from what I’ve read, acetone primarily works for PETG, not so much for PLA. I could be wrong.
I’ve looked into that exact one. I have a friend who is into epoxy and I’m seeing if she’ll help me out on some of these prints.
That’s pretty nice for an FDM print. I will throw another vote for resin printing into the mess though. I reserve my FDM printer for functional prints now and use resin for anything decorative or having fine details.
You can even stick with Longer with their Orange 30 printer (though there are better printers in that 200 dollar price range). Or even the Orange 10 which is only 100 dollars on their site right now (Big Sale ™).
ABS. You can melt an ABS print down to nothing but a puddle of plastic just from acetone vapor if you forget it’s in there. Don’t ask me how I know this. PLA, it has no affect on it at all. Don’t know about PETG as I’ve never tried to print with it.
Maybe it was ABS I was looking at. I just know it wasn’t PLA which is what I have though someone does now make a specific PLA that will react to isopropyl alcohol.