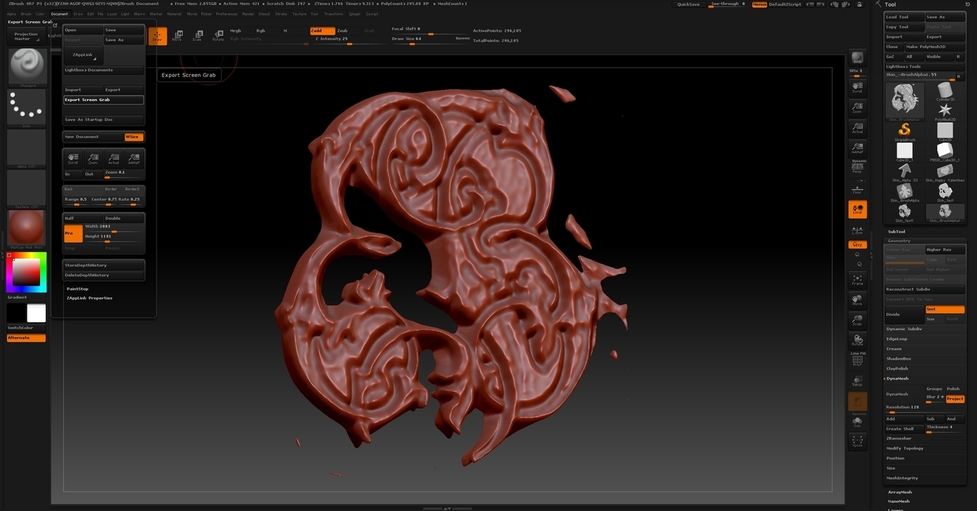
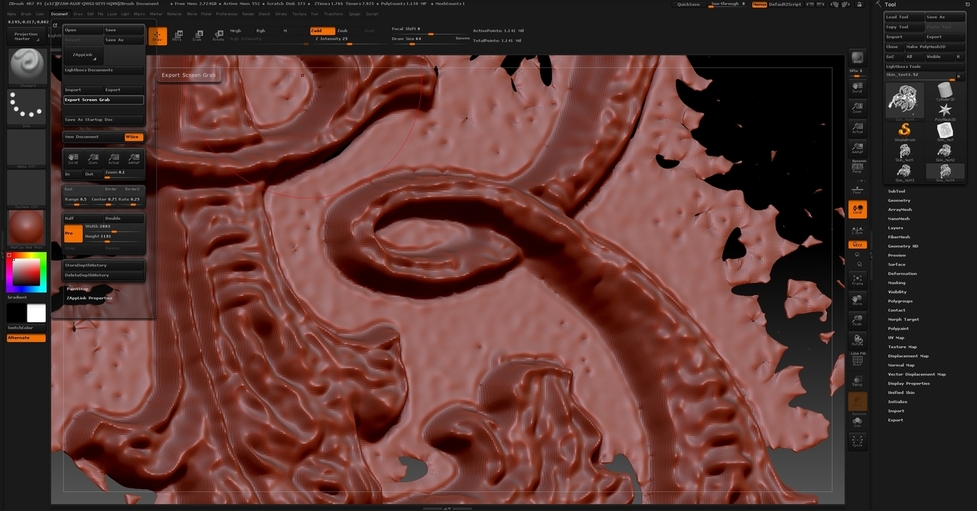
Here’s how it imported into ZBrush. I took a few minutes to knock part of the background out in GIMP first, just painted black over the background and that’s the area in this model that is completely gone.
you can see that the background areas I did not knock out, are actually higher than the adjacent shadowed areas, which makes sense as the lighter shades are “higher” surface features.
I’m still fairly green with ZBrush but thanks to @johnbrooker I learned a quicker workflow for utilizing bitmap images to make models instead of sculpting completely from scratch!
Great stuff mpipes.
It immediately suggest to me that I should, in fact, put the object on a black background. Any piercing would then show as just that.
I’ll try and get that sorted today.
John
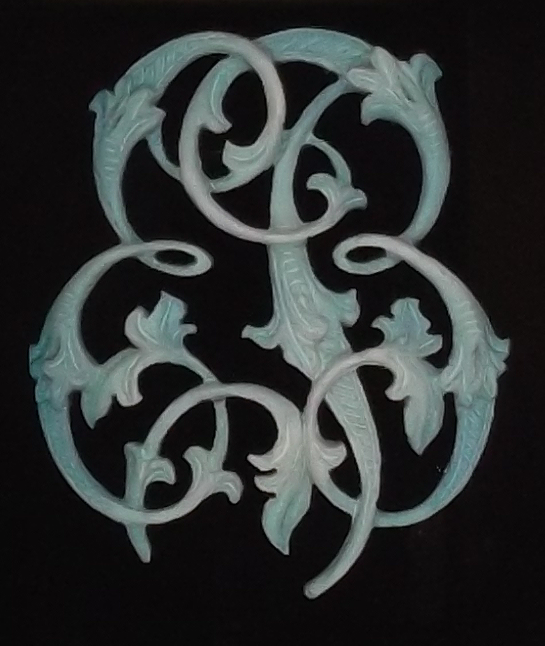
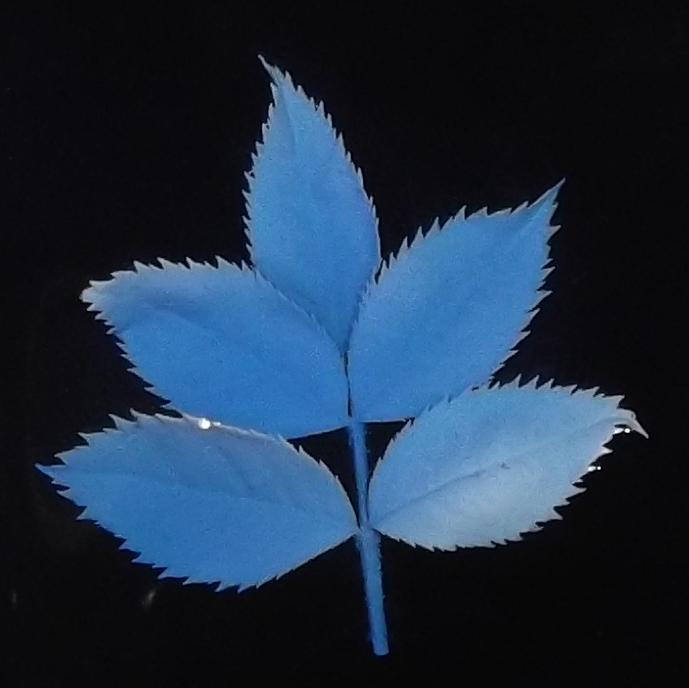
Latest attempt, still without a light tent, but the object sprayed white, and resting on a piece of matt black paper under a blue solution, as before.
I’ve saved it as a png file, so I hope that doesn’t present any upload/download problems.
John
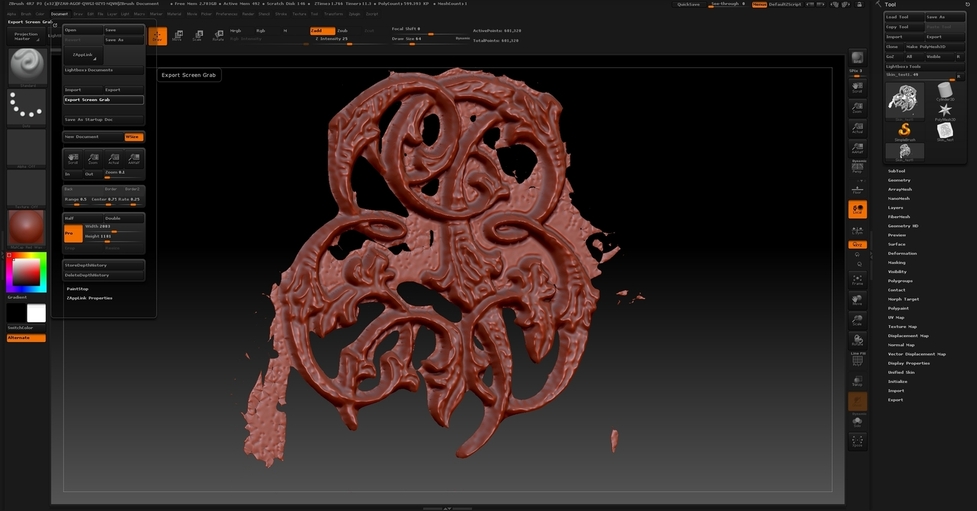
This one came in a lot better. I did need to adjust levels in order to get the background deeper black so it disappears but in reality you could simply draw a vector cut line around it for the laser to trim that out. In fact this is how you’ll probably need to do it anyway if you’re trying to replicate the part as closely as possible.
Can you post a higher resolution image? I have the resolution cranked up in ZBrush trying to pull those smaller details and it seems like it’s having a tough time resolving the small stuff. Then again it could be the smoothing within ZBrush washing the details out. I’ll try another run at it in a minute.
Also I dont think you need to save the image in greyscale mode. It reduces the file size but Zbrush won’t recognize it, and some other programs may not either. I have to change it back to RGB in order to import.
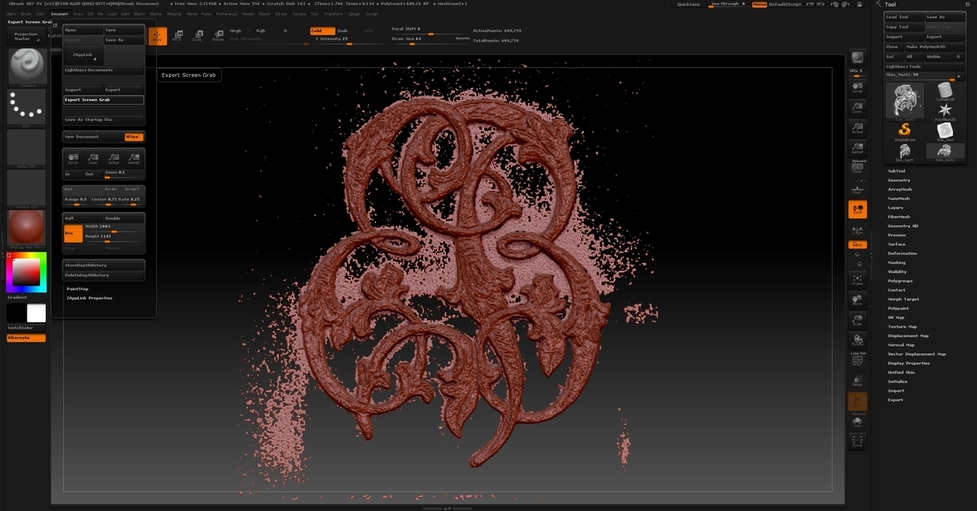
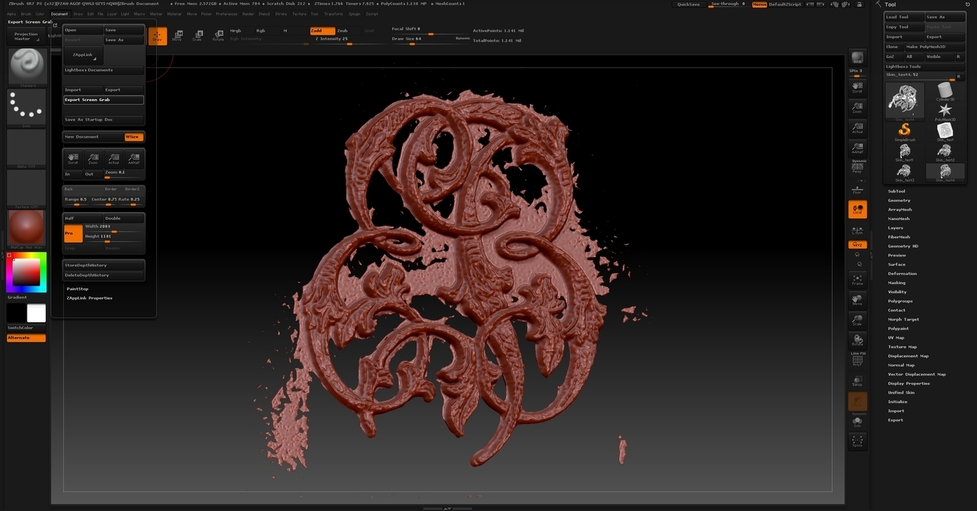
Here’s another attempt with about the least amount of smoothing I can get in ZBrush. You can see the individual 3D polygons in the enlarged image of the spiral area.
Great work.
Right, my first thought is to see if my camera can produce a raw file. Is that even better than png ?
Yes, I’ll just post a RGB version, but see what I can push the resolution up to.
Is there a limit on file size that we can post ?
I’ve just been on a high, anyway. I’ve been constructing a matt cutter that would cut a fan shaped window out of mount card, cutting both outer and inner curves at the same time, and it worked.
So a large screwdriver(and I don’t mean the metal tool) to celebrate, and must now sort out a meal.
Do you mean the mechanical design , or why anyone is crazy enough to be a fanmaker, and need to be able to cut fan shaped matts ?
The first is pretty straight forward, but time is pressing me at the moment - packing to fly over to your(?) side of the pond, but the second is an hour long fairy story of finding my childhood sweetheart, and why the first part is a necessary part of the story.
We’ve both been told it would make a good book.
John
Latest effort, which I’ve resampled to create a higher resolution image (hope that’s helpful)
and I’ve saved it as both a tif and as a png, as I wasn’t sure what I can upload.
That is indeed correct, and @Scott.Burns is technically correct that you get better quality with a PNG - but in practice, as long as your JPG uses normal compression settings, the difference won’t be visible.
Can’t tell you how clever I think it is to use a tank of dye to create a 3d scanner.
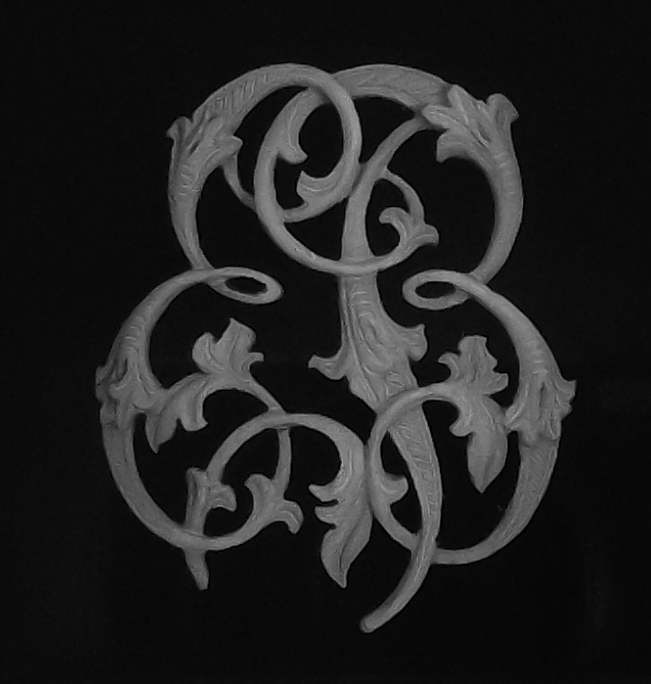
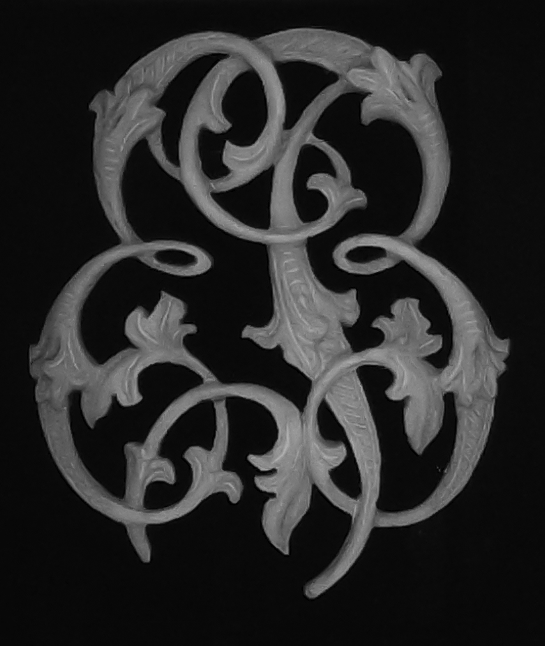
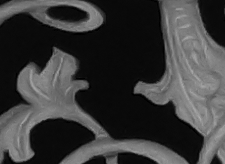
The blue solution approach seems promising! In your photo, it is clear what parts fly over other parts according to their lightness. But it seems there are some illumination issues. Here is the image after converting to grayscale
Notice that the details in some areas are much lighter, perhaps due to reflections from the light source:
These white details will engrave as distinct ridges protruding far above the rest of the details in the adjacent region.
Please bear in mind that this is only a proof of principle experiment, but you raise a valid point.
My lighting set up was not a light tent - didn’t stop to build one - just a couple of halogen desk lamps, either side of the camera !
I had a magnified look at what you’ve spotted, and they are, in fact cut lines by the original carver, which have accumulated slightly more spray paint than the adjacent areas, probably a meniscus of paint, that the dried more densely, and therefore whiter.
It would be a step forward if I could take an image of the original without having to paint it, and ‘subtract’ that from the immersed version.
This would get round the problem of variations in colour, from either the original body colour, or accumulated stains/dirt.
While I’m thinking about the lighting, something different.
Beware of the lighting problems if the object has a tendency to float !
The highlight spot is where it broke through the surface, but I decided to let it go, to see what the effect might be, and could it be dealt with in processing the image.
Difficult on a frosty January morning to find something in the garden that might be sprayed with white paint.
After I took the photo, I noticed that the paint was dissolving in the paint cleaner that I was using, so I’ll stop now, and wait for the pure colourant that is being sent.
Would a colored gel film (like with spotlight) in front of the light source or some color LED lights (which can be adjusted to different colors via an Arduino) take the glare/hotspots out of the image?
By changing the color source, would that improve the detail?