I had wondered if illuminating the object with a light of the complementary colour might increase the contrast.
It might be like using a more concentrated solution, so that the depth/colour ratio would increase.
Something I’ll have to try later next week when I’m in my Corinth workshop. Coloured leds could be the way to go, rather than gels. It would be more versatile, and could be tweaked to match the absorption of the liquid.
I think the highlight spots will have to be dealt with by just a better set up.
EDIT
A further thought on the optical problems re taking away the dirt by subtracting one image from another.
The image of the object under the surface of a fluid would be displaced due to the refraction by the fluid, so I’d have to make the first shot taken under water, then take one under the coloured fluid, all without moving the original.
Hmmmm …
What a great idea!
Something else to think about here.
Using flat paint, and a diffused light source, is diminishing shadow and contrast. So the addition of color is an attempt to reintroduce some contrast.
Maybe instead of trying to photograph the object, toss it onto a flatbed scanner where the light will reflect/fall off the peaks and valleys more naturally.
Or maybe after the white paint treatment, you need to hit it with a darker paint and use a sponge to wipe off the highlights and leave the low spots.
This was an idea I visited when I first had the idea (see op), but I can’t remember the result. I’ll have to go and re-read it.
EDIT
#113 is where I discussed it, and there was a problem with some form of distortion, but that was in 2007, so scanners may have improved somewhat !
I think this is getting a bit operator dependant, and I want to try and keep as simple (![]() as possible.
as possible.
I’ve no idea why that edit turned out to be bold. Tried to correct but can’t shift it.
Since we have brightness-manipulation tools available, it seems to me that the job is to get an even color, not necessarily white. You’ll be able to play with levels once the image is captured, so as long as your color is lighter than the black at the bottom it should be fine. You lose contrast, but (in theory) you can always restore it, especially if you do eventually shoot raw.
Absolutely. I just used white as I had flat white 
We should remember that the darkening of the light beam due to the dye will happen on both the travel to the object and the return trip away from it. So any objects closer to a side illumination will have less dye darkening.
I think you have an important point there, and I must give it some thought.
It would suggest that an overhead illumination is required, just the worst position for reflections off the surface of the liquid 
John
Maybe a ring shaped light source like the pros use for macro photography?
But it would have to be well diffused, I think.
Over to the photographers amonst us.
Anyone with a ring light would care to shoot down onto a liquid, and avoid reflections ?
It would probably just be a matter of the diameter of the ring and the distance to the water surface.
A few ideas…
If the container you were using was transparent, like a fish tank, you could attach the object to the side and take the photo from the other side. This would make taking the photo easier (somewhat) and would also make it so you wouldn’t have to worry about ripples in the liquid.
You could use a strip of LEDs to make a fairly uniform light (cut the strips into smaller segments so the emitters form a grid/isometric grid. If the liquid was somewhat cloudy a diffusion layer might not be necessary. Waterproof LED strips would let you submerge the LEDs to avoid reflections. A monitor/TV displaying a single color would also be a good even and diffuse light source.
Speaking of reflections, it would probably be best if the other walls of the box were matte/non-reflective.
Ah, someone who thinks out of the fish tank.
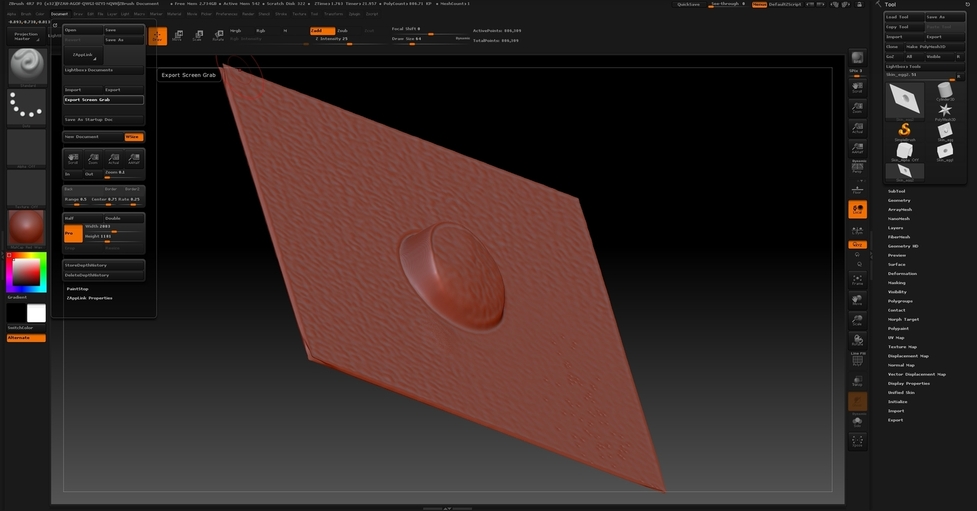
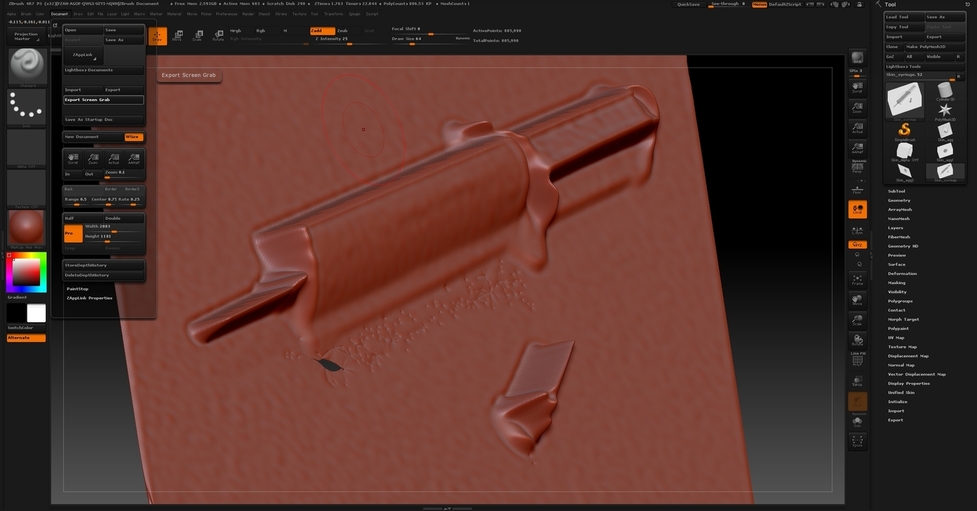
Have you thought about Photogrammetry?
You can take a series of photos to capture all sides of an object and software will build an actual 3D model that a depth map can be made from. I used my dSLR camera and PhotoScan software to do a complete “3D scan” of the electric car project I’m building, so I could load the model into ZBrush and flesh out body designs over the chassis I had already built.
If ease is the goal, that may be the way to go here. I understand the fun in hacking this process, but when you’re talking about tanks of liquids, dyes, complicated lighting problems, and problems with an item floating, or maybe it’s not stable when wet or deforms underwater, etc. there are easier ways already available. 
What you say is, of course, absolutely true, but i think I made it a bit obvious by my choice of title for the thread, that looking at a problem from a completely new perspective, just might produce a radically new solution.
And yes, each problem that appears will throw up several possible solutions, but the trick is to spot which, in fact, is the simplest and most profitable to pursue.
If it produces smiles along the way, that’s a bonus in my book.
Regards,
John
I have seen a lot of ways to generate a 3D scan of something, but
a) never one that scans directly to a depth map, and
b) never this one.
Neighbor came by with another get-rich-quick idea, and I got nothing done today…so I decided to fiddle a little with trying to get a gradient on a photo because this was so interesting…
Is this the kind of thing we’re shooting for in depth mapping? The first is a photo of an egg sitting on a black piece of felt. (It was the only thing I had on hand that was matte white without pulling out the paint.)
If it is workable, I’ll tell you how I shot it…if not, well I hate to look like an idiot, so I’ll just go quietly back to doing what I was doing…chuckle!
Second is a white glue syringe - had to clean up a couple of highlights on that one, and should have shot it from above, but the cap looks like it might work…just wanting to see if this is in the ballpark.
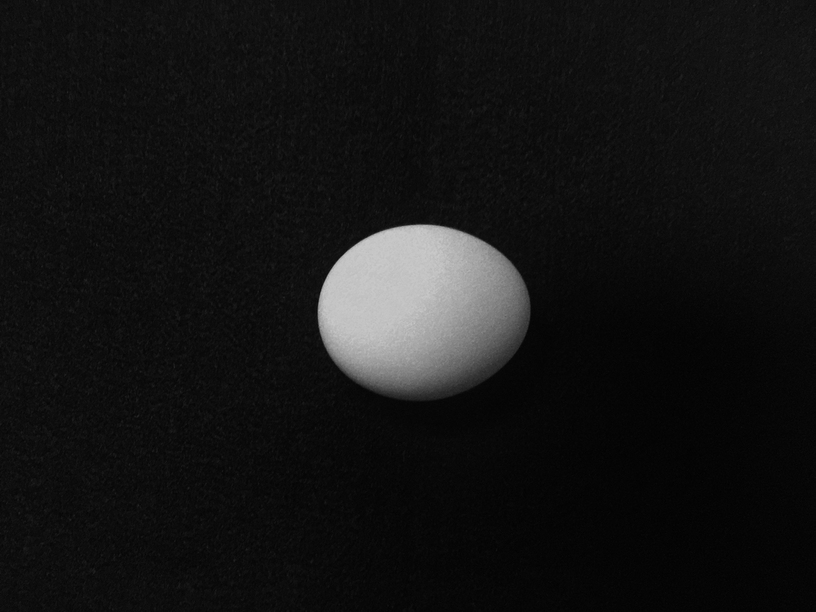
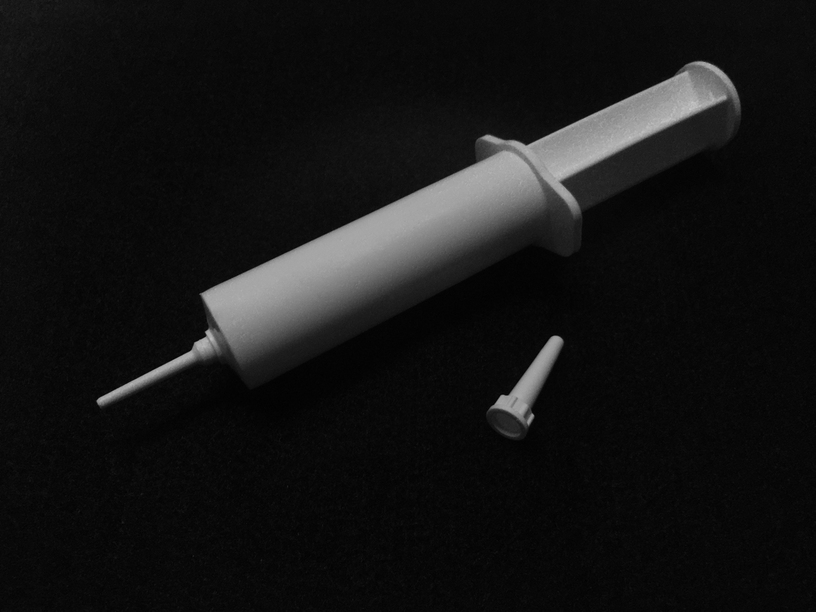
Very nice gradient in both shots…
Squeeeeeee! ![]() I’m gonna share how I shot it then because it might have worked after all.
I’m gonna share how I shot it then because it might have worked after all.
You know those old cardboard 3D viewer glasses that they used to pass out at movie theaters before the advent of the $100 jobbies? I took one of those and held the blue cellophane side over the lens of the iPhone while I shot the picture. It knocked down the pure white and emphasized the shadows.
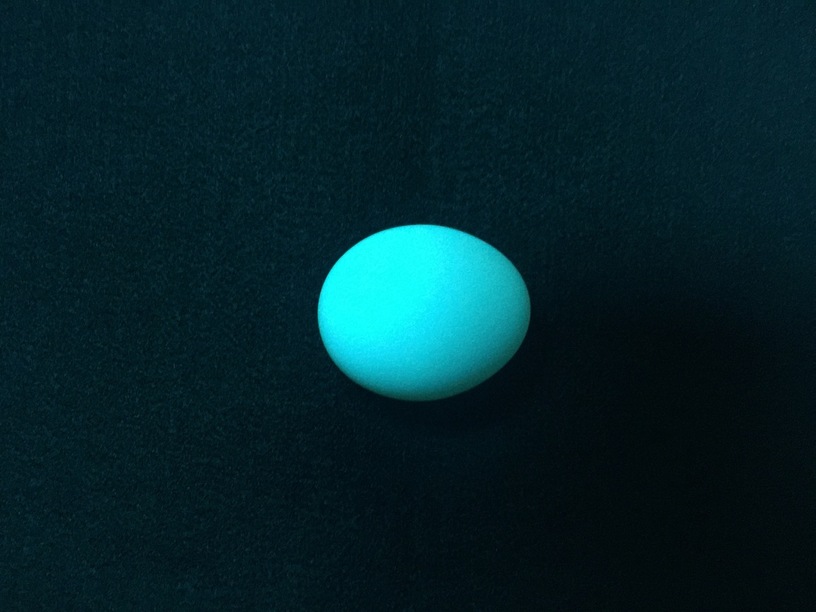
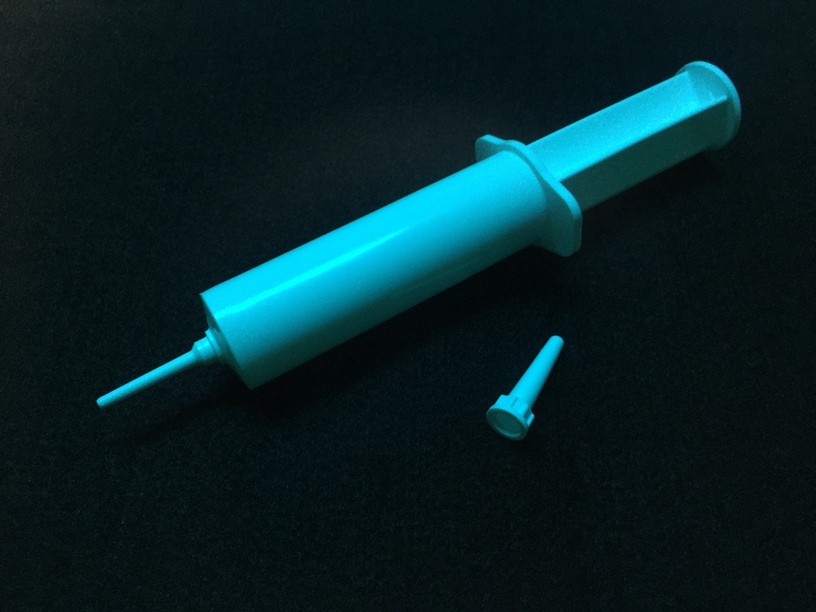
Opened those in Photoshop and clicked Image > Adjustments > Gradient Map, and chose the Black to White Gradient.
That was it. (Oh, i did have to remove the visible highlight streak in the syringe, but it’s shiny plastic, not matte.)
I did experiment with shooting the egg without the blue filter as well…didn’t get much of a gradient on it at all, so the blue really helped.
Never would have thought to try that though without the blue liquid discussion above. That was pure genius!