Ok, this is wonderful. I think I saw you are selling the file on a facebook group. Do you mind sharing your settings?
1 Like
Push those limits!!
3 Likes
PG walnut plywood. ![]()
3 Likes
I can’t here, because I changed the PG defaults, which makes them non-PG, and we can only talk about non-PG settings over in Beyond the Manual. Plus they’re going to vary depending on the machine and material.
The goal is to use the lowest power setting you can while still cutting through. Make a test strip of 0.125" circles, and cut each of them at a different speed. Find the last one where you can still push the scrap piece out without leaving splinters, and that’s your setting.
And yes, I had to push almost every single one of those tiny bits out of that mandala. 
14 Likes
I can’t see where you did this: Have you tried reversing the image and using the back for the thicker part for the front? The kerf is nothing on the top but the bottom is wide enough. I used that to make the nesting circles for doing the ring. Might be too delicate, but it does hold up across a design. You really have to dial in the power and get the width perfect.
1 Like
Love this! So delicate and it reminds me of a Pizzelle cookie.
3 Likes
Did what?
I’m lost.
My brain is shutting down because I’ve caught the Plague from my husband–I might need pictures. ![]()
1 Like
What does the back of the screen look like? It should be wider at the bottom of the cut than the front. So if you flip the design, you can even go thinner. It’s not negligible, the v shape of the kerf.
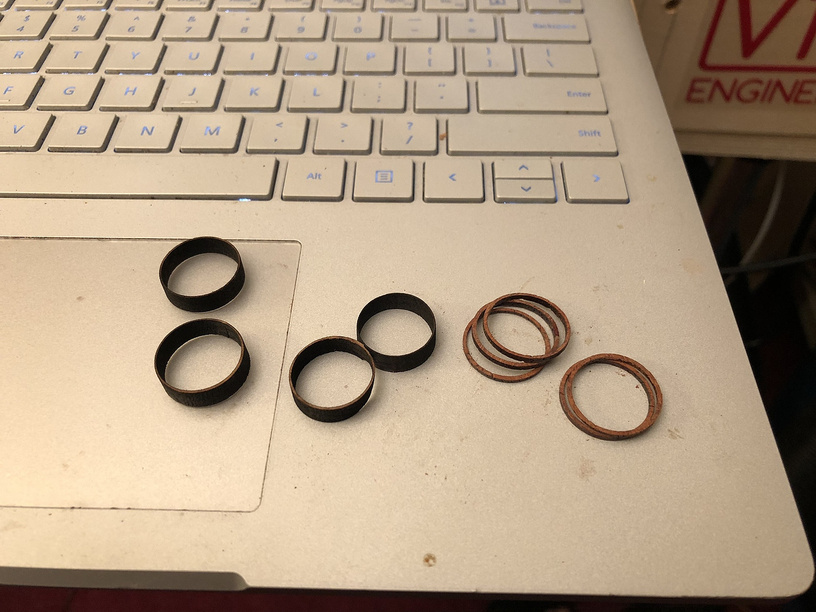
The thicker wooden rings were slipped inside each other after flipping one. If you zoom in you can note the thinner kerf at the bottom.
2 Likes
Yes front on things can look impossibly thin but with a quarter inch thick the other way and the top of the triangle cross section it can be pretty strong. It helps also if the blow cannot reach the thinnest bits.
2 Likes
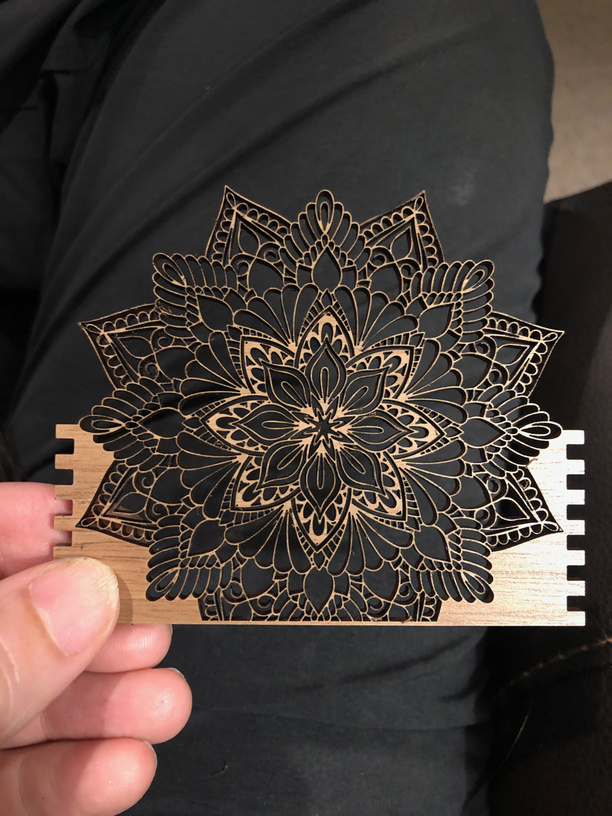
Oh, okay. I actually used the back for the front on this design. With the thin lines, the more detailed areas look darker, and usually I like the shading that gives the piece, but this time I liked the more consistent color of the back of the cut, so I made it the front.
Back of cut:
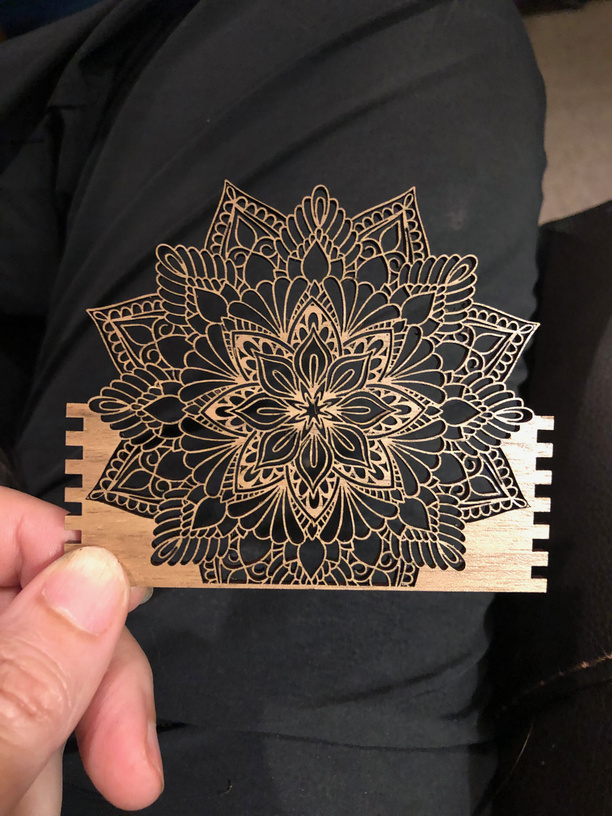
Front of cut:
16 Likes
Oof, sorry! It’s a nasty cold if it’s what ran through our house.
1 Like
So far I’m not nearly as miserable as Jeff, so maybe I’ll get off with a tamer version of it. 
1 Like
so pretty!
4 Likes
Wow… Just, wow.
3 Likes
Love it! You are always thinking of cool things. The comment about creating wooden lace is right on target!
2 Likes
So beautiful!
Had saved a pic to try and do something like this but was too complex and thin (+ I need to get rid of the background and right side properly). Will try harder now, thanks to your inspiration!

7 Likes
I wonder if you could use canned air or an air compressor to clear out the small bits?
1 Like
Whoa, yeah, that’s a challenging one. Be sure and post it if you make it happen, it’s beautiful!
1 Like
Yeah, I think that would help. I didn’t have any on hand. 
1 Like
Love it! And surprised at how sturdy it seems to be from the pic of you holding it sideways by the mandala tip!
1 Like