Anyone had some experience with this program. Remember, I’m new to most of this!
I’ve been using tinkercad for 3D printed models for a while! Its super easy to learn! I’m sure there are a few people around who can give you pointers (including myself) if you have any questions!
2 Likes
I’ve used it on and off, and it’s definitely easy to learn as 3D modeling goes. It’s not going to get you super-complicated stuff (I tried to do something with a bunch of different projections and holes at different angles, and my brain broke) but what it does, it does well and easily. And the price is right.
(I have no drawing ability, so openscad is my tool of choice for 3D, but that’s just me.)
TinkerCad is a great intro to 3D modeling, but I’d suggest checking out 123D Design, also by Autocad. TinkerCad only runs in the browser, but 123D Design is a Win/Mac desktop app and honestly is no harder to learn/use. Autocad offers a free license for non-commercial use for the entire 123D suite, too.
In fact, TinkerCad is really 123D Design “Lite,” using an almost-identical UI. You’ll also find 123D Make really handy for slicing 3D models for cutting on the GF.
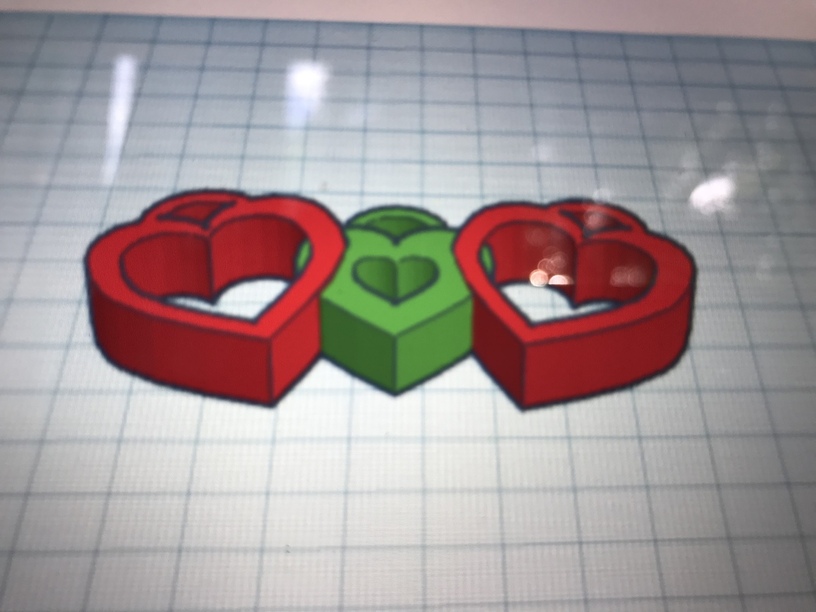
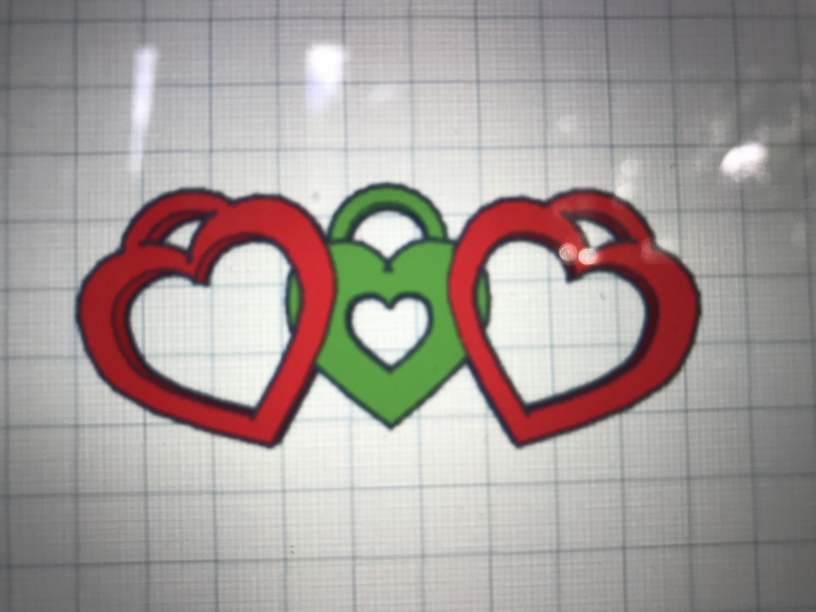
I arrived at TinkerCAD after frustrations with Sketchup making “grouped” shapes solid for 3D printing, which Tinkercad handles very well. Simplicity wise, i’d compare it to playing with blocks or legos but have difficulty rounding corners etc… However, since it groups shapes very well to create more complex shapes or shapes to subtract from other shapes. This means you can literaly copy/paste groups of shapes into subgroupings and copy and paste those sub groupings into repeated patterns for making more complex structures that look difficult but zooming in, they are just boxes, pyramids, spheres etc…Below is an incompleted example of the temple mount circa 70 AD i’m trying to sketch up components for:
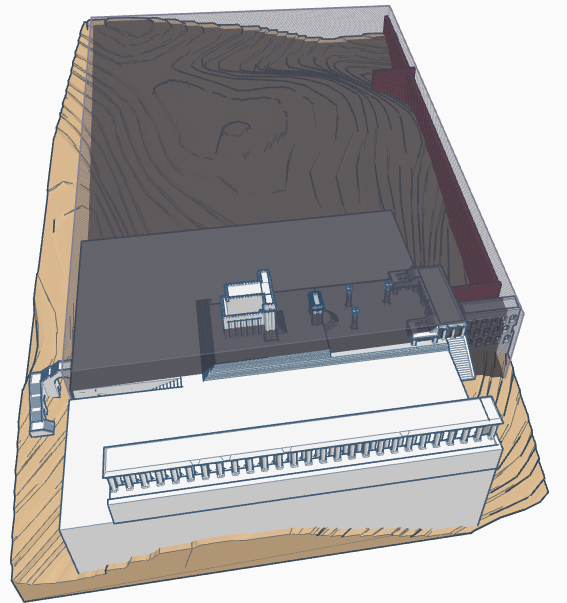
you can also import image files or stl files from other programs and use them as parts like I did with the topography of the above model and the below river bed. It does seem to have a size limitation but you can use cubes to chop up “Split” your models into seperate tinkerCad files (like the below is only 1/2 of the full model. 3D printers can only do so much anyway. Bonus tip, Tinkercad can export a part you lay flat into an SVG for lasering.
In the end, if you are looking to go into some type of product design, you may want to check out one of the above mentioned programs that other forum members have suggested. you can create higher resolution models with precise mechanical parts or rounded/organic corners with something like Fusion 360 or Autocad.
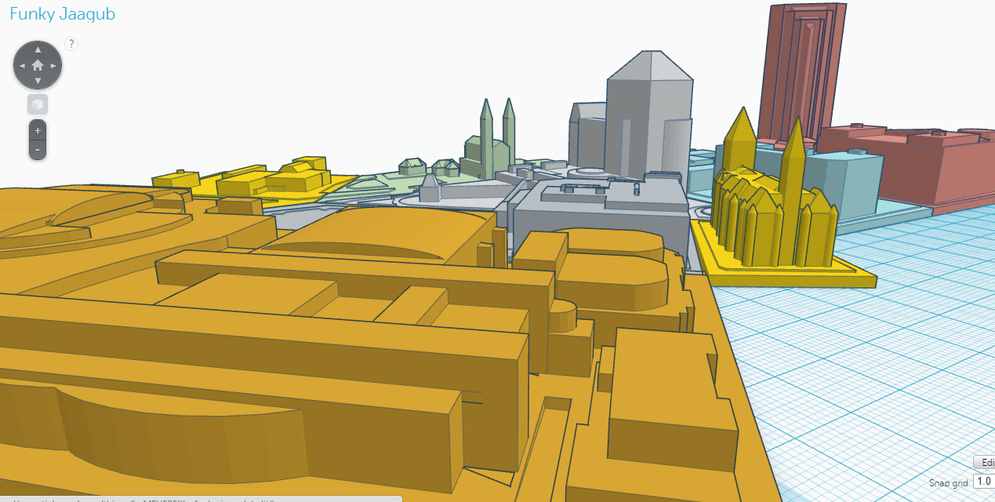
Edit: another thing I thought to mention is I have heard some folks modeling with something as simple as minecraft, but i have never tried it and most of what i’ve seen from pics to me seems really boxy. Tinkercad allows for some more definition and angles etc… so if you wanted to model say an entire city for 3D printing, and only had an afternoon, Tinkercad would be much faster than those professional or expensive modeling programs:
4 Likes
There’s a great book out there… I know the author well  (it’s my book):
11 Likes
Can you give a quick run down of the process you used to break everything down to print using tinkercad?
I love the program and it is what I use 99% of the time for 3D printed stuff
Sure let me get some screen shots for you - do you have anything you want me to make - something simple
1 Like
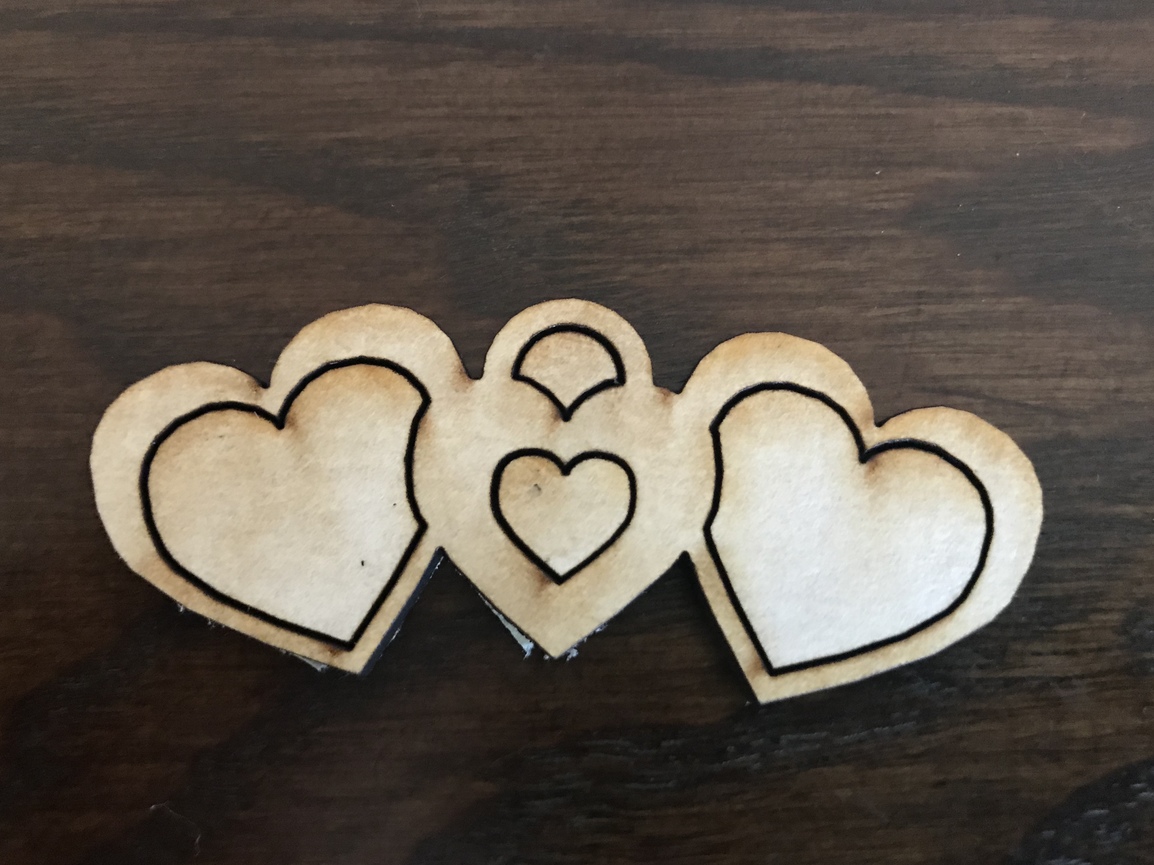
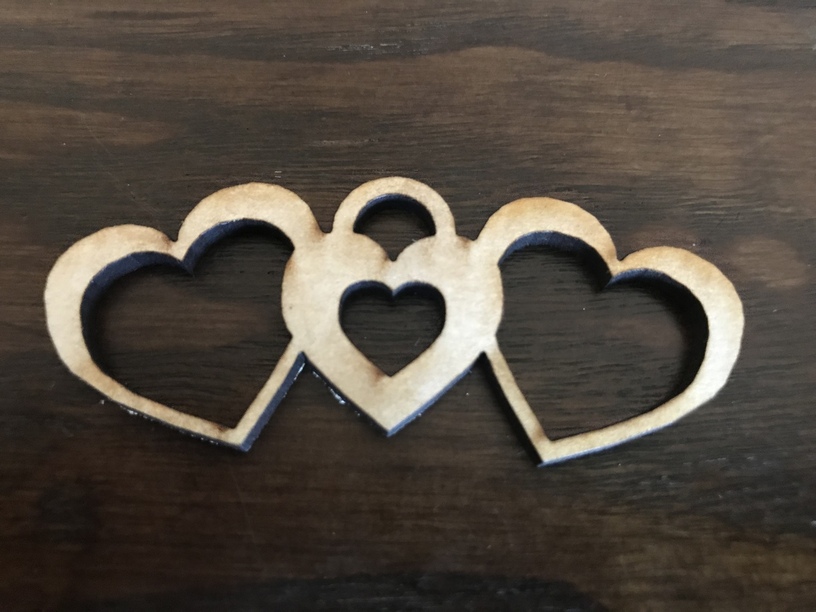

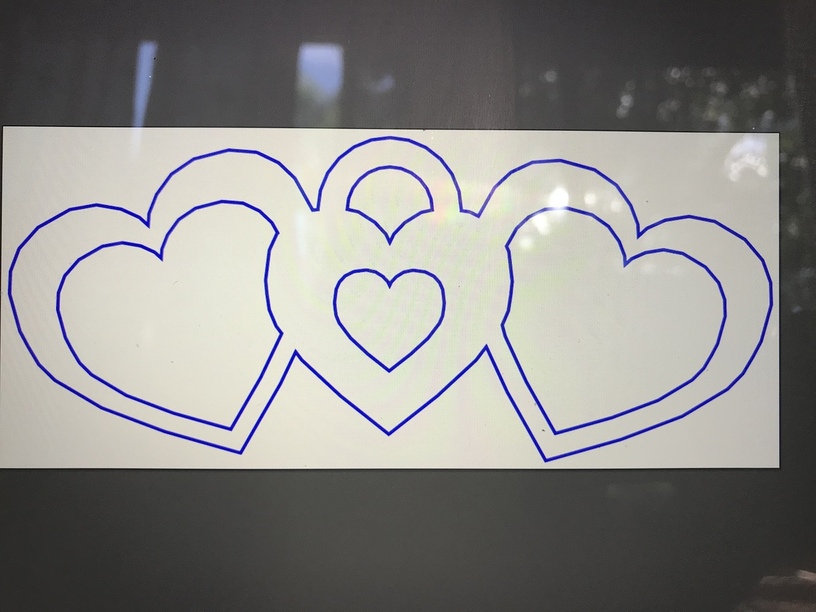
Sorry it is not in order but since you work with tinkercad you get my drift
1 Like
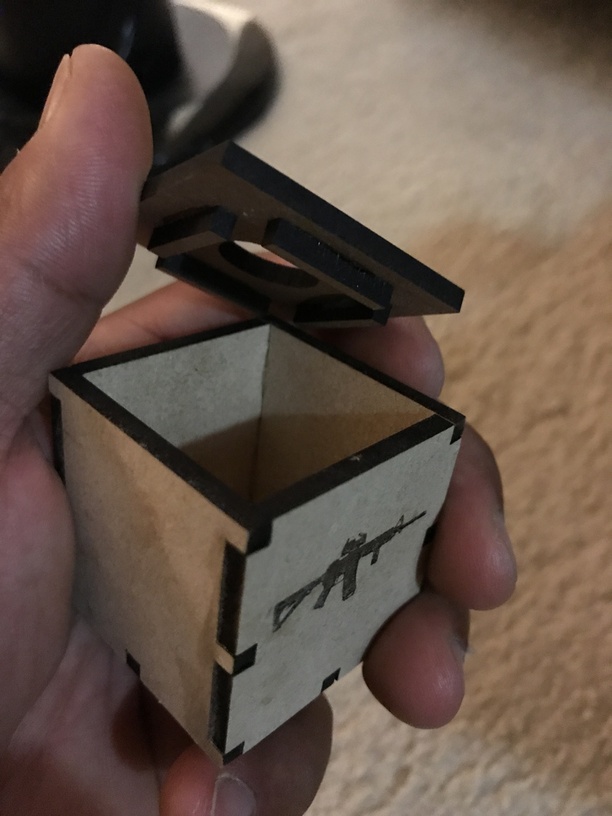
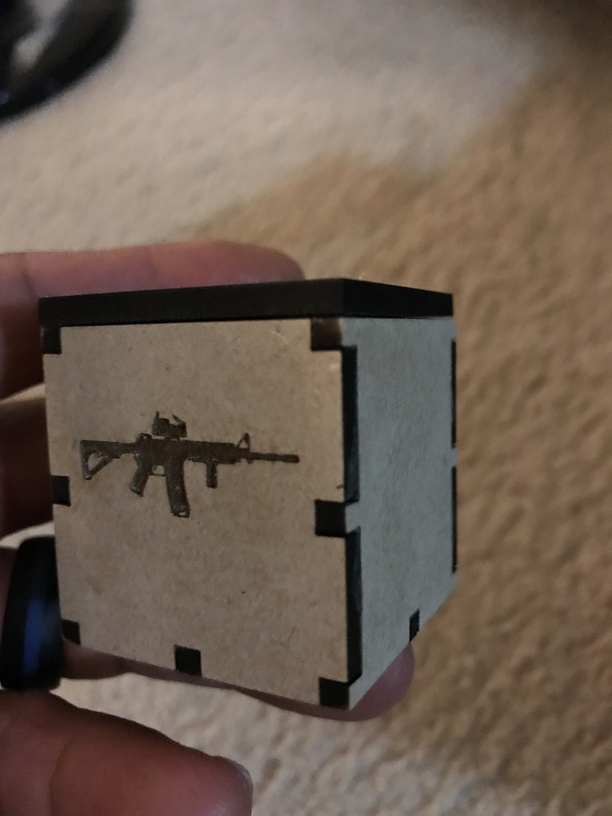
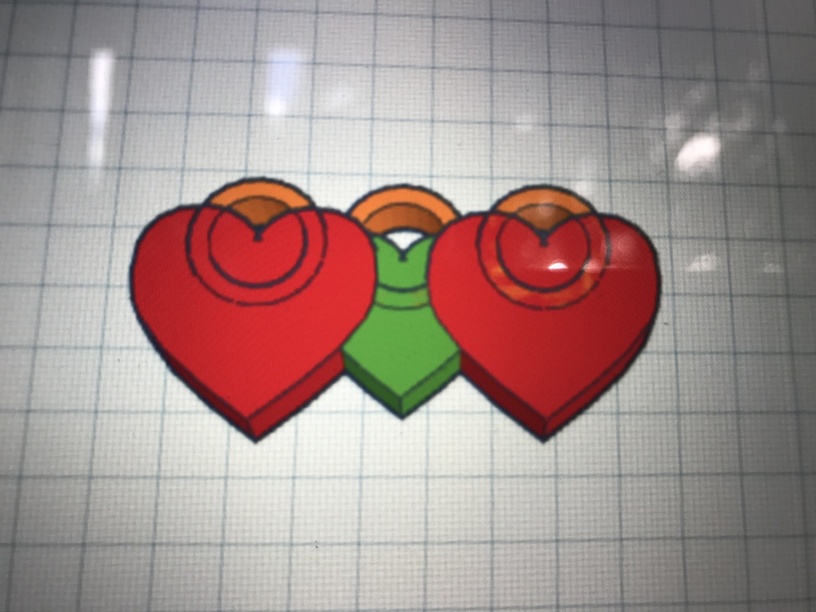
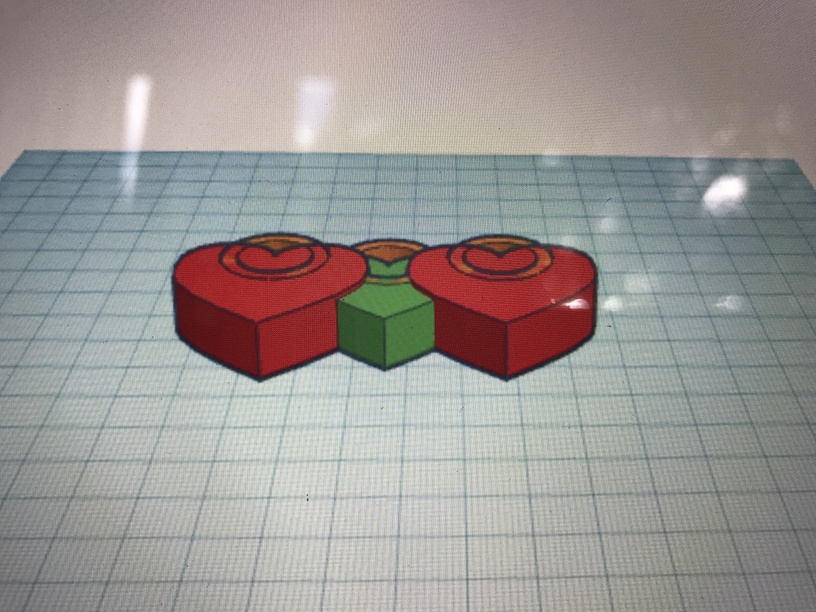
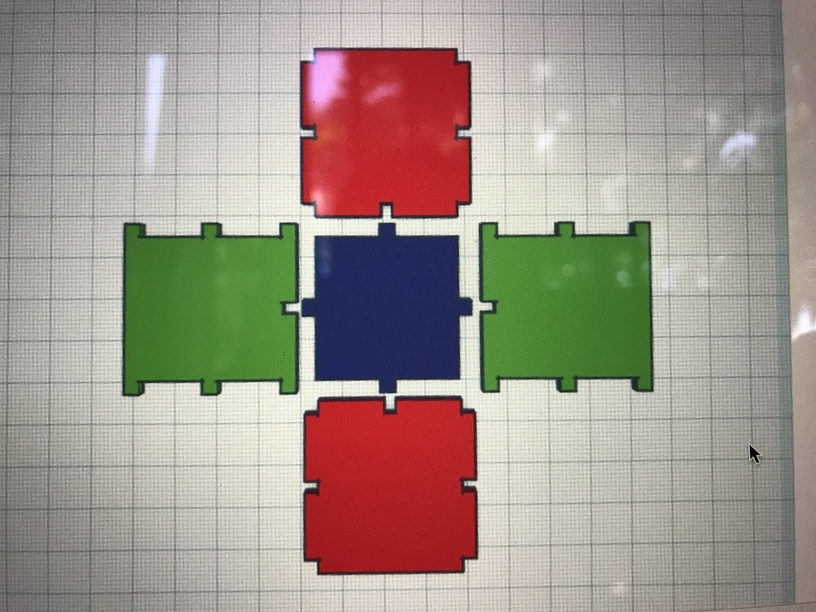
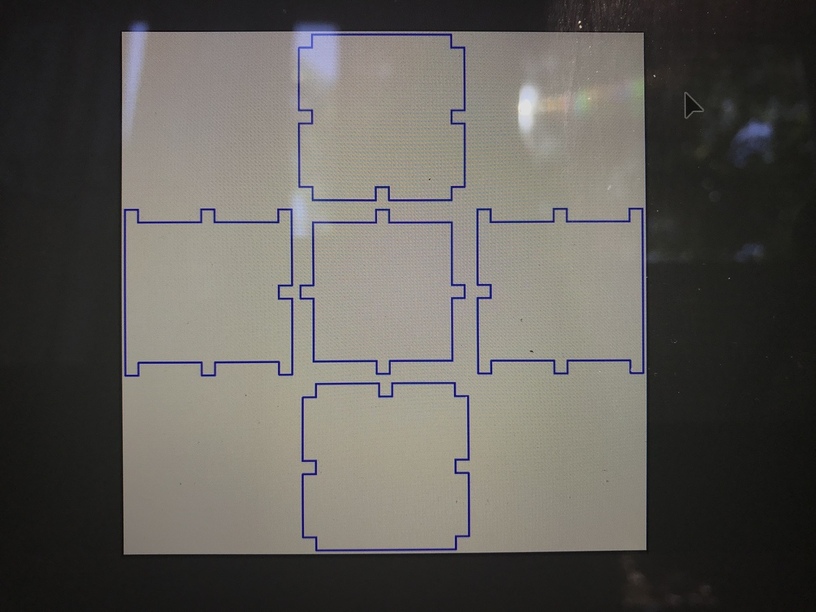
Basically start with the 3d shapes
Make holes
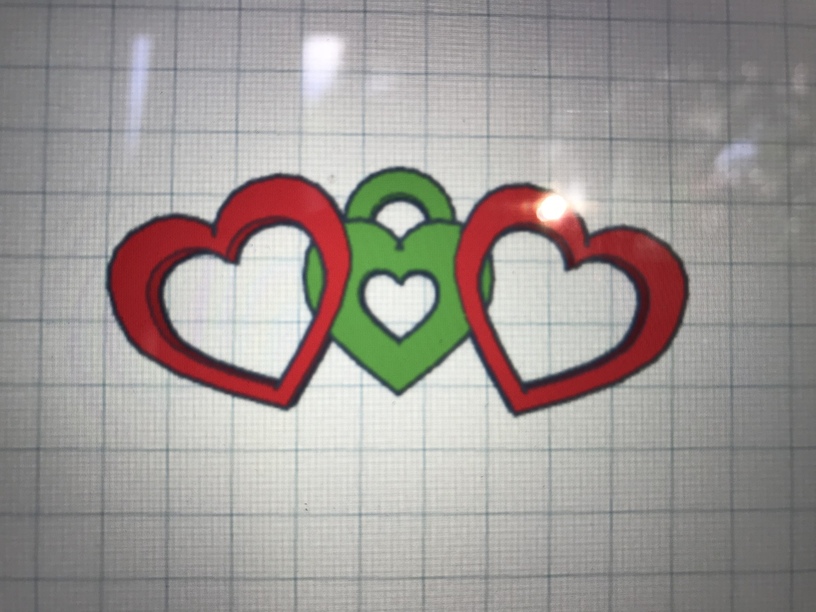
Group your shapes and holes
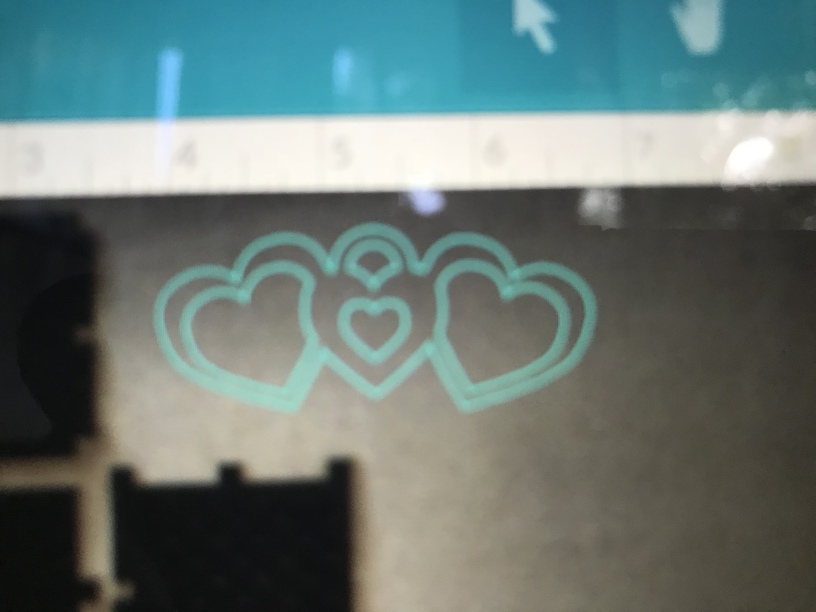
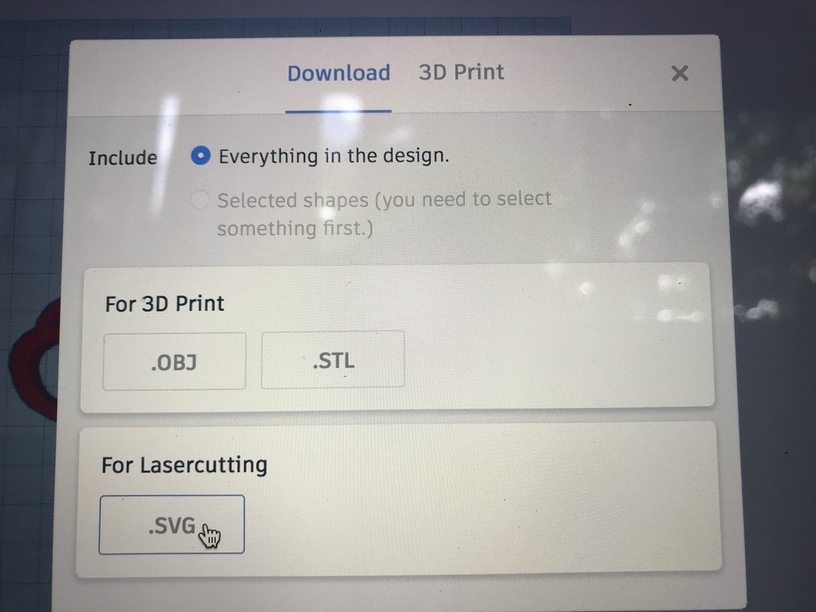
Once you are satisfied export to .svg
Upload to the Glowforge web app
Done!! Enjoy And watch the magic happen
this is all great!
How do you adjust for kerf (or do you?) when you design the box. I always assumed that tinkercad would be bad for making boxes because it doesn’t have the super fine adjustments needed
Im new at this but for my purposes I don’t need to compensate for kerf as you are using the width of a laser for cutting. Unlike using a cnc machine bit.
I’m so new at this I’m learning everyday - this is my first experience with laser and experimenting on different softwares.
2 Likes