You don’t need meticulous hand painting of tiny details — just slap on some gel stain then wipe it off.
Apply a background color using stain or paint (or leave the natural wood color), and allow to dry.
Apply 2 coats of water-resistant finish (I used Modge Podge spray-on sealer)
Do the engraving
Brush some water-based gel stain over the piece, then wipe it off, cleaning the top surface with a damp rag, leaving the stain only in the engraved areas.
Allow to dry, then re-finish.
You can test it on a small piece first, to make sure your color doesn’t bleed into the surrounding grain too much (see @evansd2’s comment below).
I’m sure other people have already documented this trick, but I don’t find it with a cursory search.
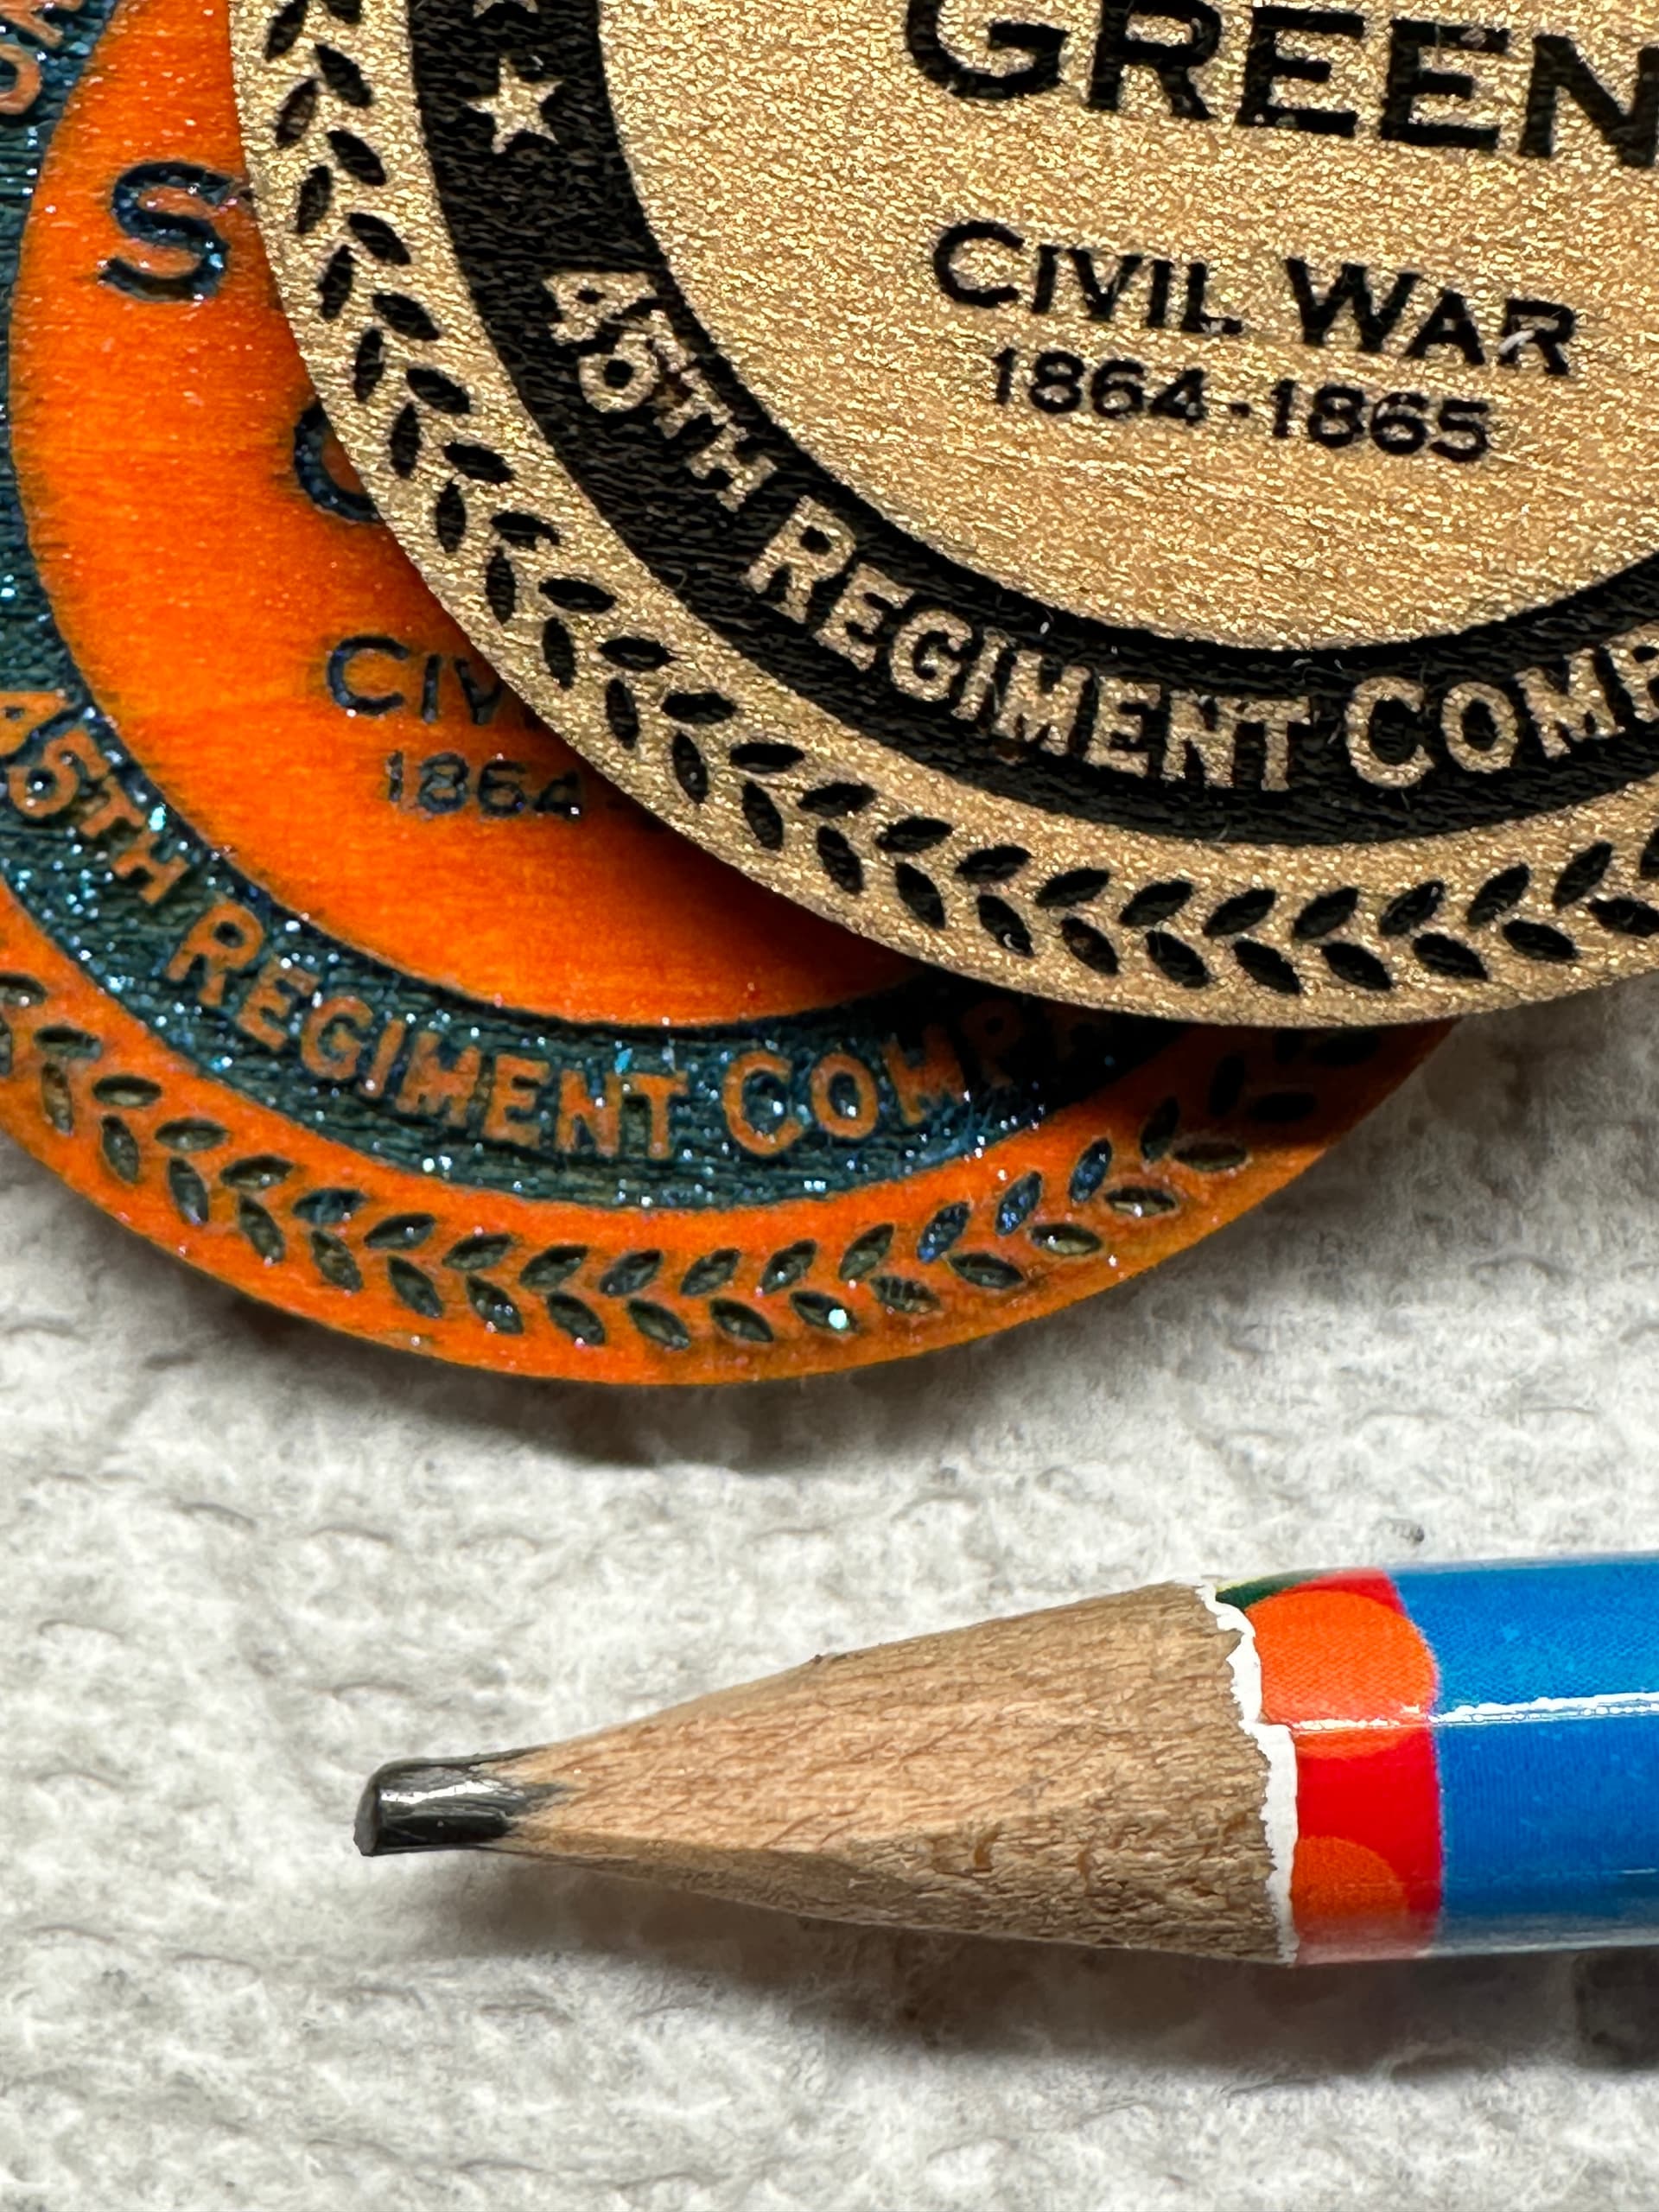
For the top medallion, the background was metallic-gold “Unicorn SPiT” gel stain, and the engraved areas were black Unicorn SPiT. The primary goal was to get a darker engraving.
For the bottom one, the background was orange acrylic paint, and the engraved areas were sparkling blue Unicorn SPiT.
The typical problem with something like this is bleed through. Both of these examples use opaque background colors. If you leave it bright, do you see gel creeping in the along the wood fibers next to your engraves?
Thanks for pointing that out. Yes, there was some bleed along the grain. I didn’t realize that’s what it was. You can see it if you look closely at the orange medallion in the photo. It also occurred in the metallic gold one, but was less visible.
I noticed it because I was watching for trouble, but my wife didn’t notice it. In this case it wasn’t strong enough to ruin the piece.
But it’s certainly worth considering a more opaque colorant for the background.
I wonder if background top coat, seal, seal(protecting the surface), engrave, seal, seal (sealing the engrave), stain (filling the engrave), wipe(cleaning the surface), seal(locking it all in) is the way to go?
EDIT, you might be able to shortcut:
I wonder if background top coat, mask(protecting the surface), engrave, unmask, seal, seal (sealing the engrave and topcoat in one go), stain (filling the engrave), wipe(cleaning the surface), seal(locking it all in)
Masking would probably be much faster than waiting for 2 coats of sealant to dry.
Not sure how that would work; the whole point of the sealant is that it’s something the stain won’t stick to so it can be washed off. —Or do you mean two different types of sealants?
Well I figured you were wiping it off while it was still wet. What happens if you let the stain completely dry on the sealant? Does it adhere once it’s dry?
Nice technique. When I discovered the laser opened the capillaries that the cambium used to transport water, I took a clear spray finish, sprayed some in the cap of the can, and used an artist brush to paint the sides of the engraving to seal them. It worked great.
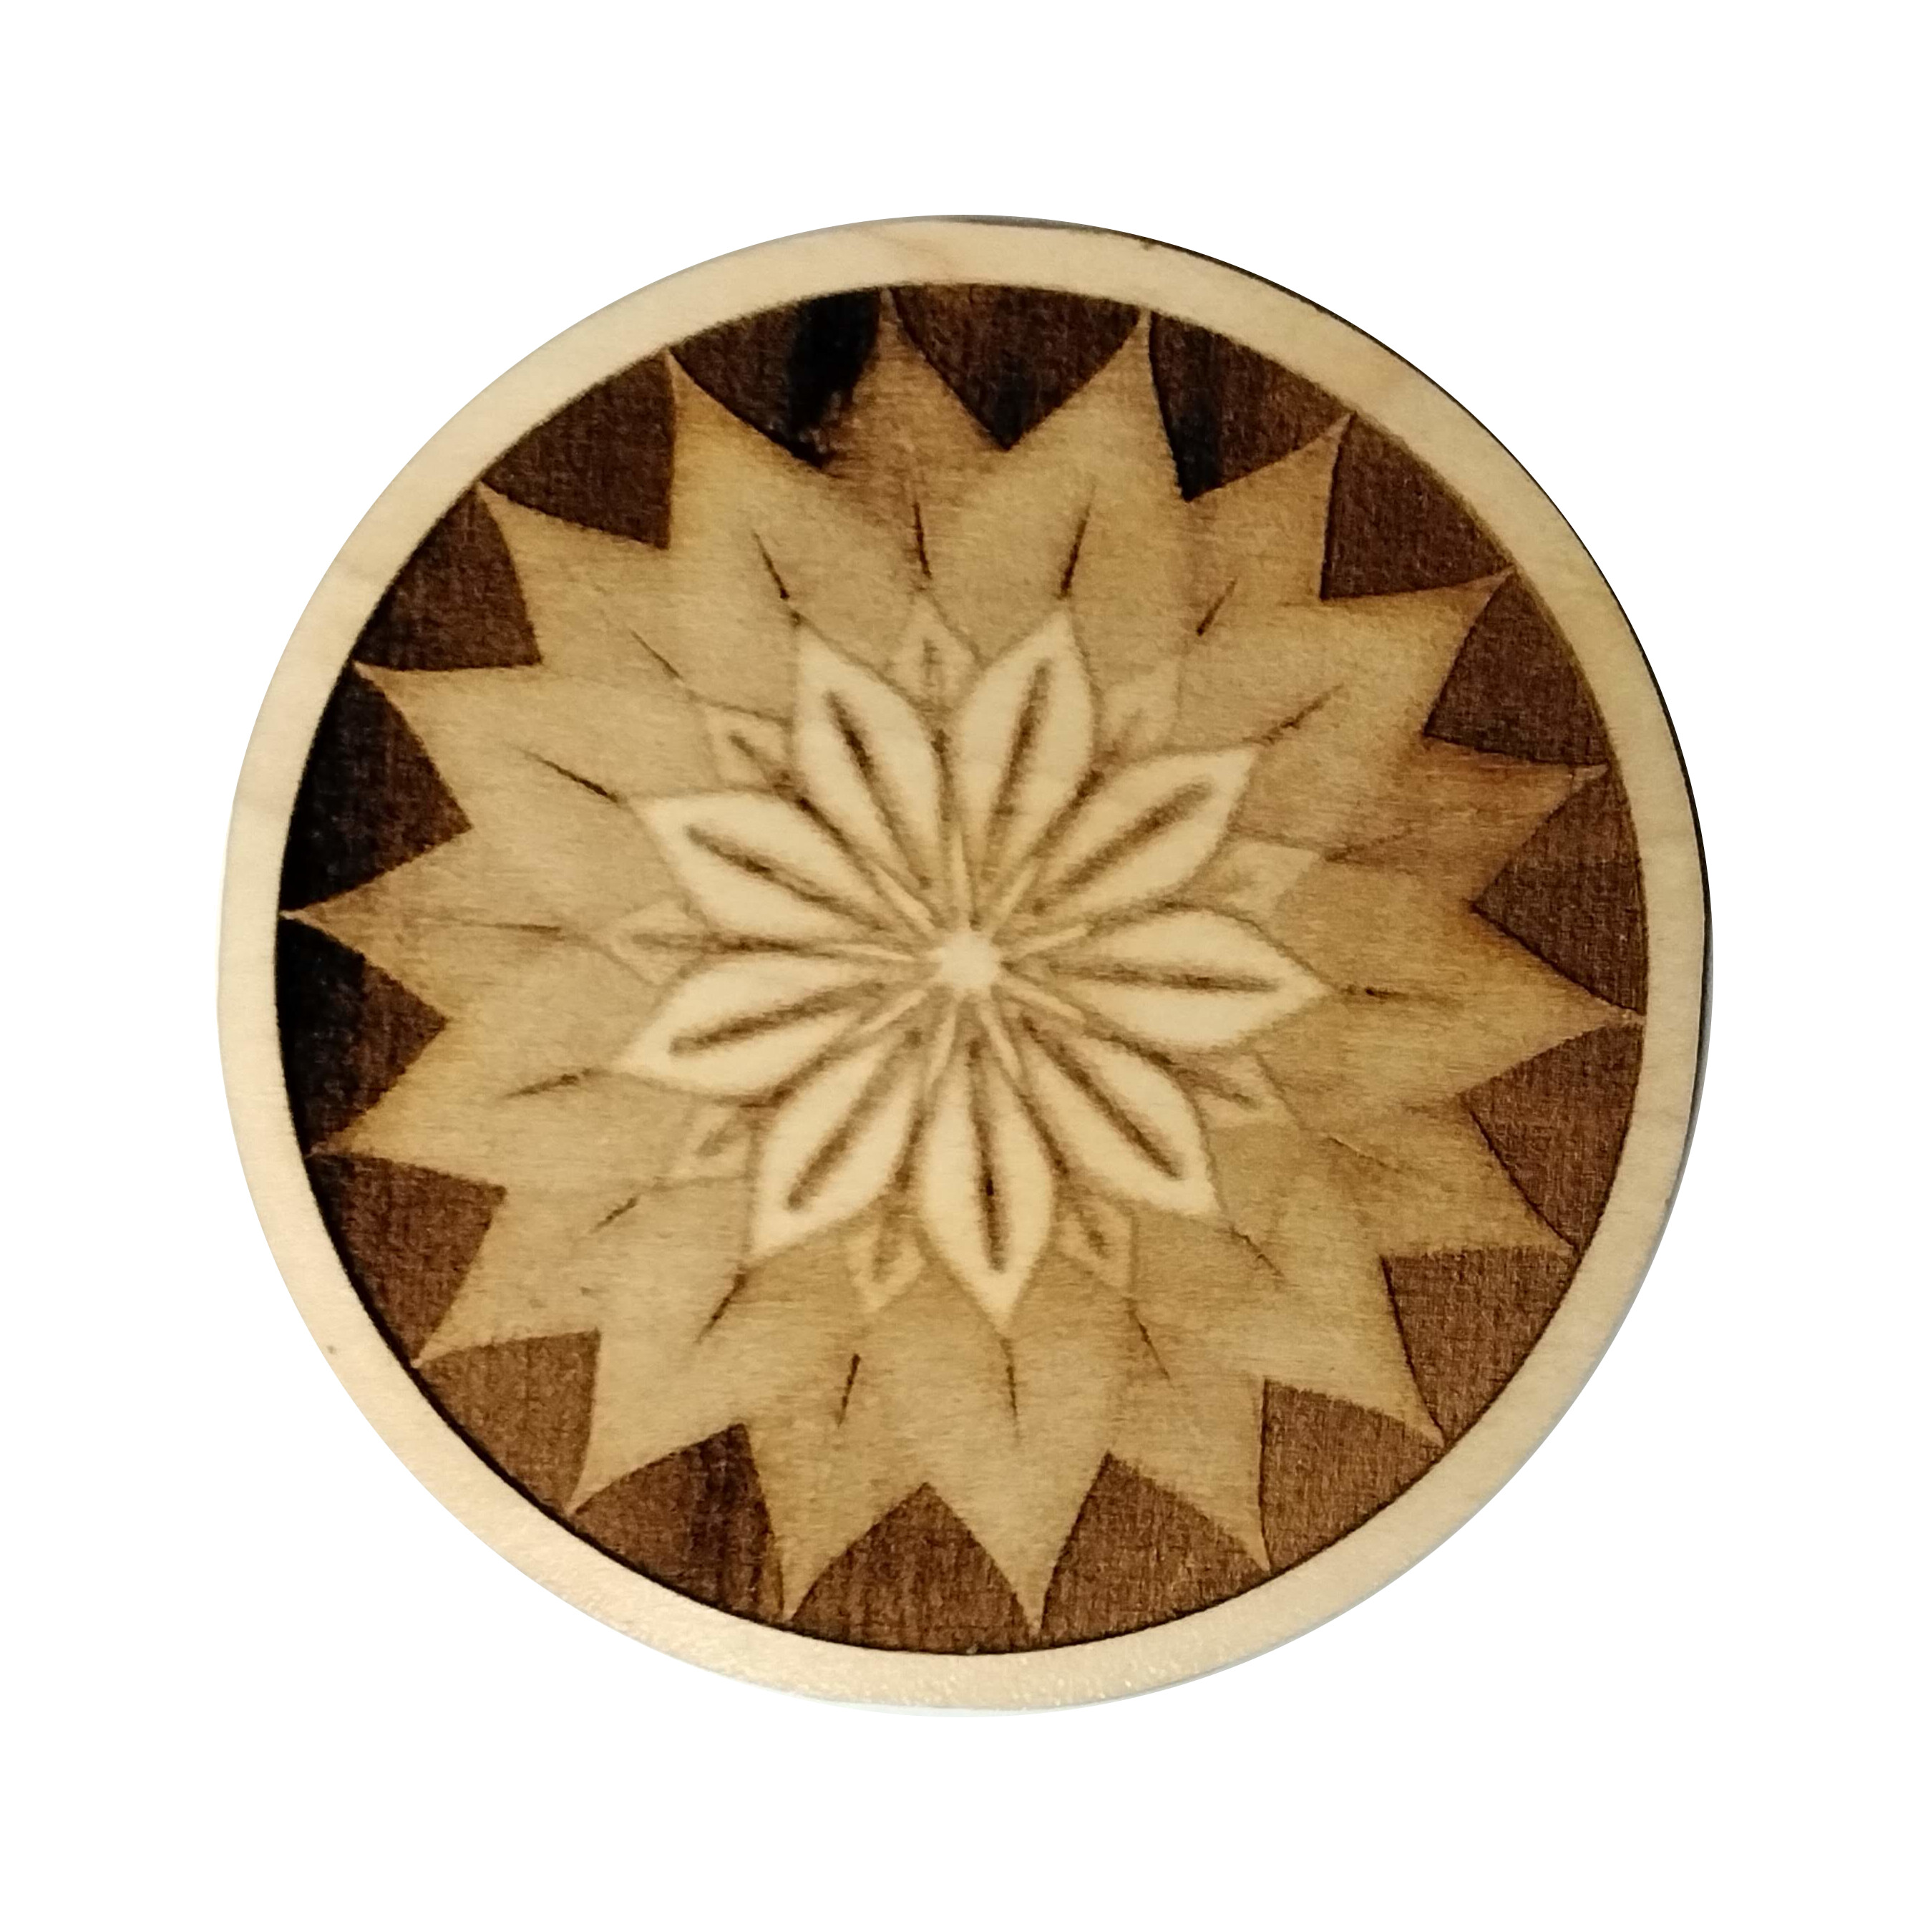
I wipe stuff down with hand sanitizer on a melamine sponge when needed. It is never as bad with PG wood as it was with stuff like oak and inadequate smoke removal. Part of how it works is each row of leaves is darker than the row above, so if I was using 3/8 material or more the differences would be a lot more dramatic.
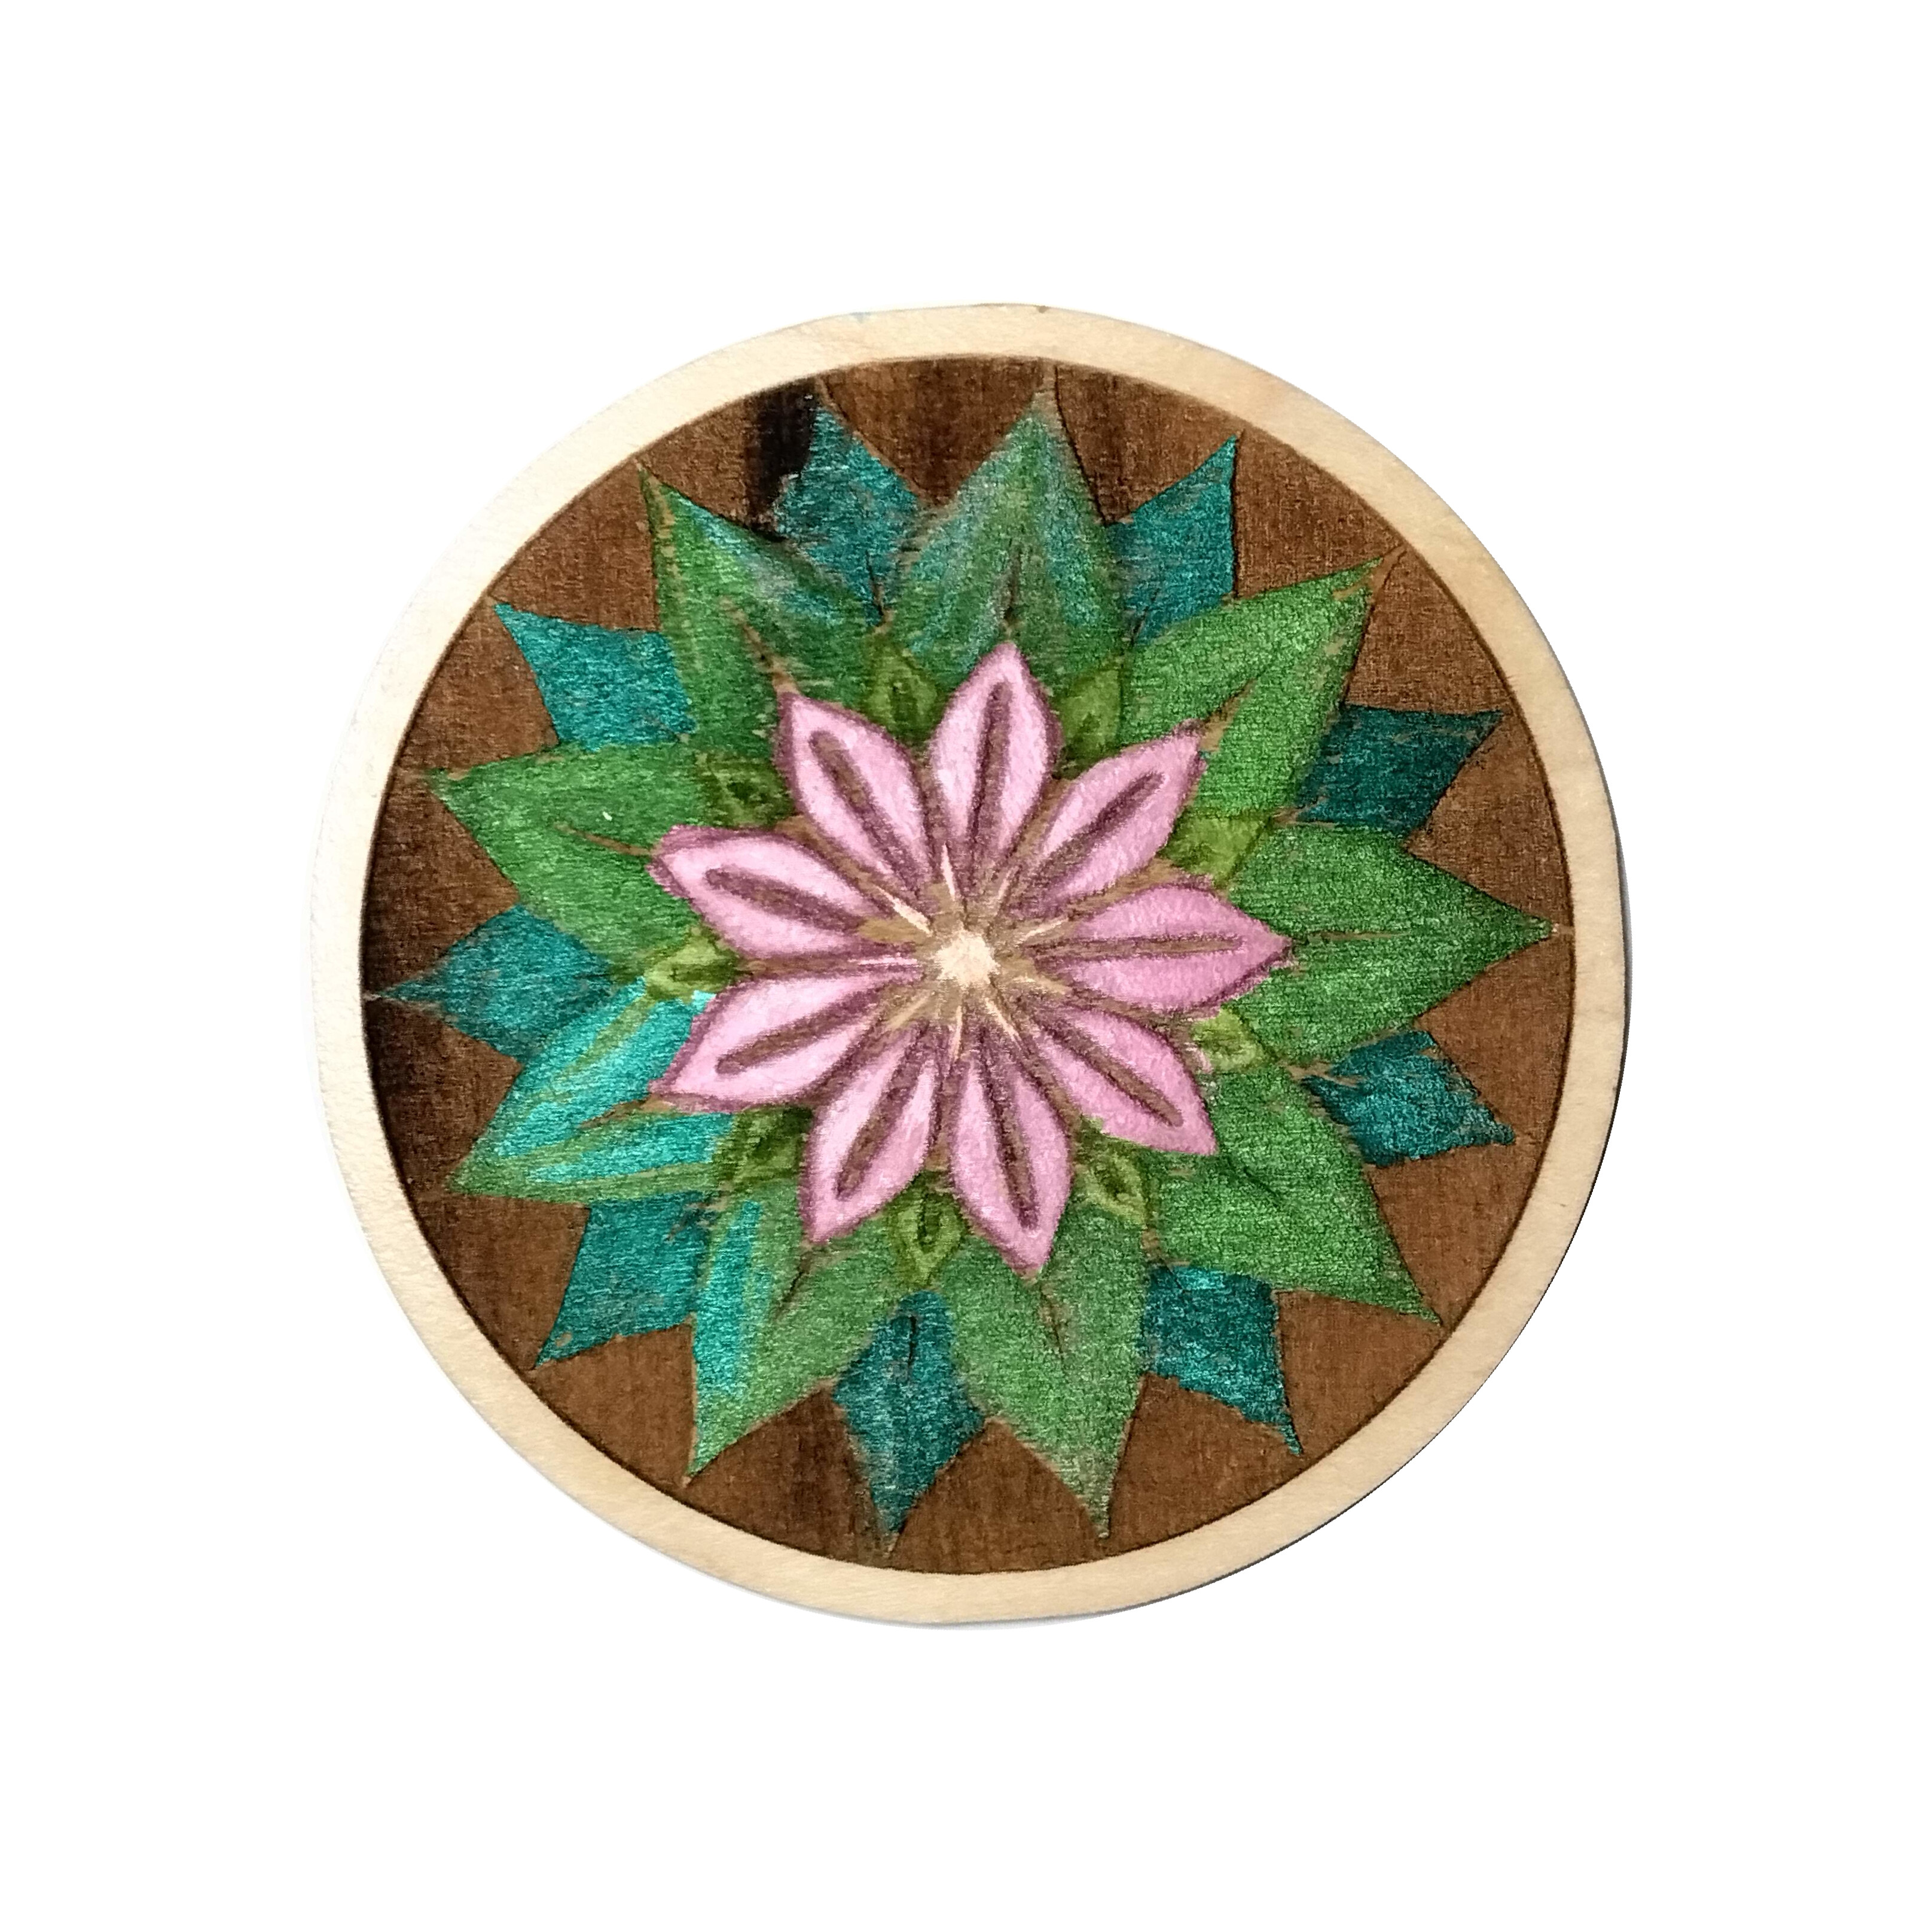
The marker pens make an incredible difference in the way the piece looks. They’re also a better looking (to me) coloring effect vs paints which tend to look more “painted on” (duh, they are ) but the pens make the color part of the wood. Maybe it’s because of the carrier needed to make the pen inks flowable enough to mark so it soaks in like a dye. It’s all aesthetics but still - pens for the win.