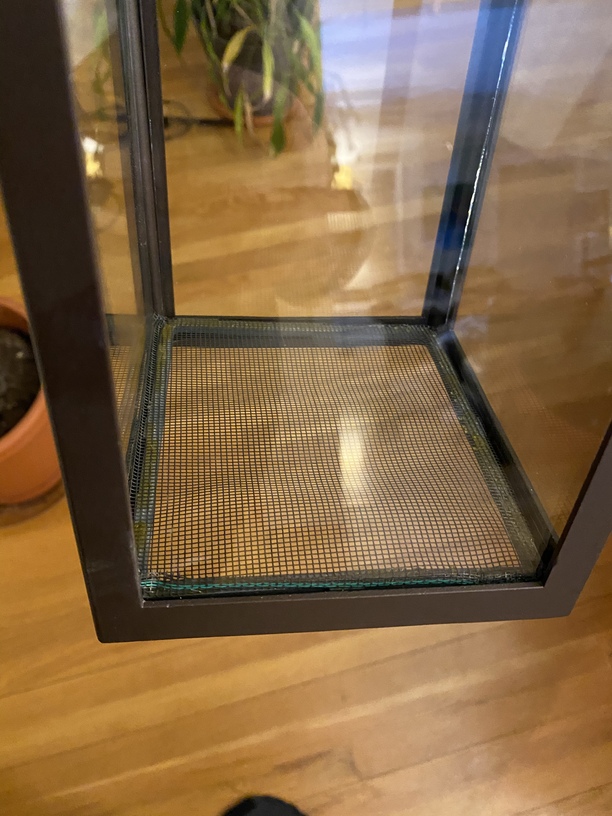
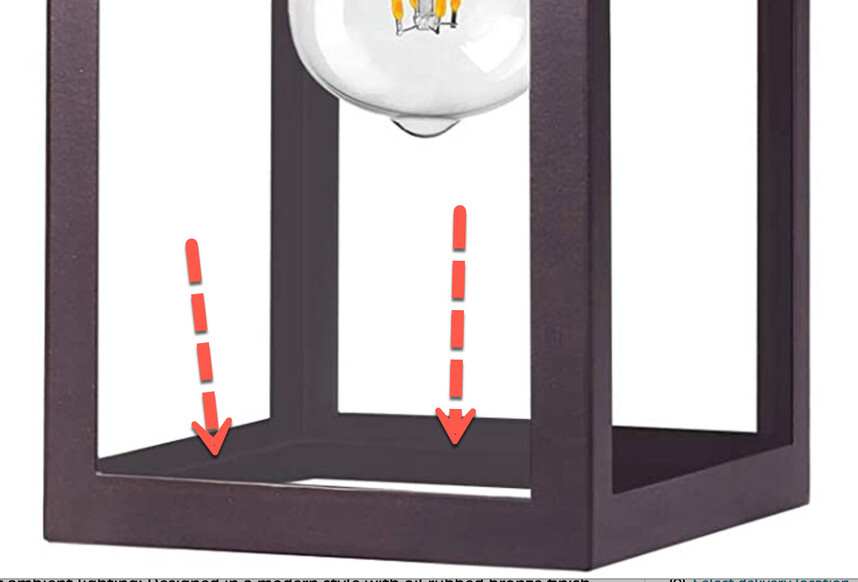
My friend just put new outside lights on his house. For some reason (I never ask) they don’t want bugs flying into their light, like the rest of us get. The fixture is open on the bottom, so at first he wanted me to laser cut an acrylic grating for the bottom, but A) given the shortage of ![]() clear acrylic and my feeling that no way could you punch that many holes in .125" acrylic without turning it into a melty mess. Then we thought about SLA printing it on my Form3 in clear resin, but that’s expensive for such a silly thing. So then I thought, hey you can buy screen material at the hardware store, in which case I can just cut a frame! So first task was to get the light’s dimensions (and the sheet metal has a nice ridge on the bottom that is where the material is folded back, which is a perfect notch for my frame to lock into. My buddy measured it with a set of calipers,
clear acrylic and my feeling that no way could you punch that many holes in .125" acrylic without turning it into a melty mess. Then we thought about SLA printing it on my Form3 in clear resin, but that’s expensive for such a silly thing. So then I thought, hey you can buy screen material at the hardware store, in which case I can just cut a frame! So first task was to get the light’s dimensions (and the sheet metal has a nice ridge on the bottom that is where the material is folded back, which is a perfect notch for my frame to lock into. My buddy measured it with a set of calipers,
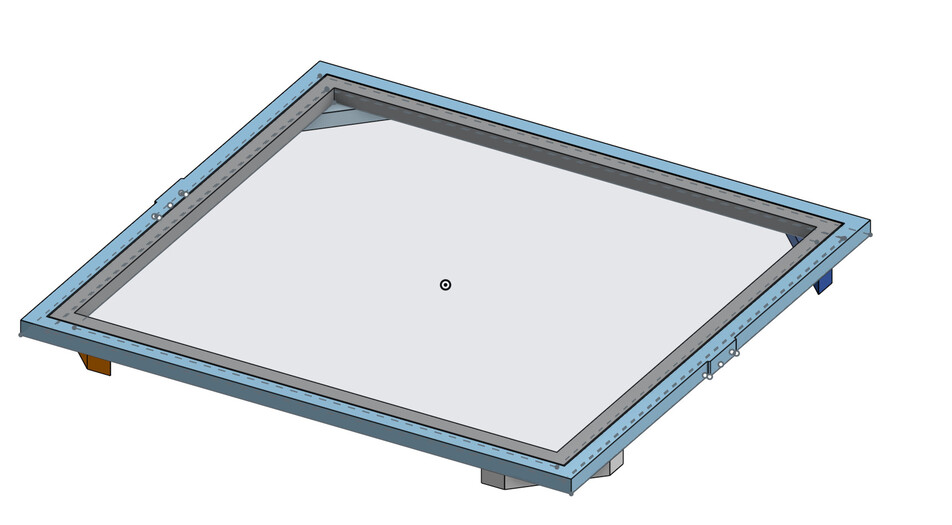
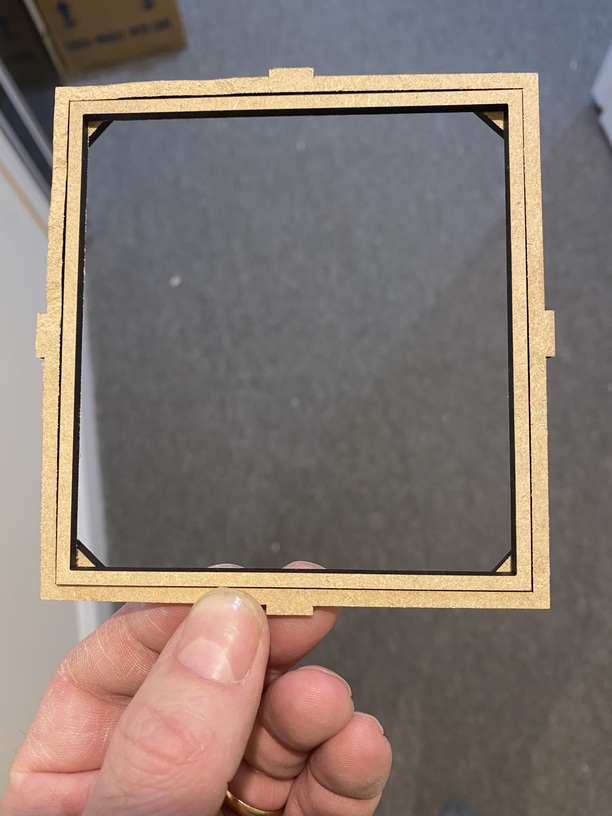
Next task was to find out how thick screen is (the stuff at the hardware store is about 0.011" thick. So I designed 2 concentric squares in OnShape that have a clearance of 0.11" and have a small tab to lock into the notch. At first we were going to use acrylic, but I realized DraftBoard (i.e. MDF) was perfect being super cheap, not in short supply since nobody is making COVID sneeze-shields in MDF, and in theory this is not in the outside weather. Also being opaque isn’t a problem since it’s only a few mm thick. Then we needed tiny stops to make the inner frame not slide through, which are just tiny strips glued onto the bottom at the corners:
So a little CA glue and accelerator and the stops stay on, and then the top frame slid in with just the right amount of clearance. Just need to cut the screen (with slits in the corners to allow clean folding. I’m going to spray-paint it the right bronze color (not sure who my friend imagines is looking into his light fixtures, but the paint will protect the MDF from the elements anyway)

Oh and of course I did not use the DXF import feature, but went via Illustrator, since I didn’t have time to mess around.