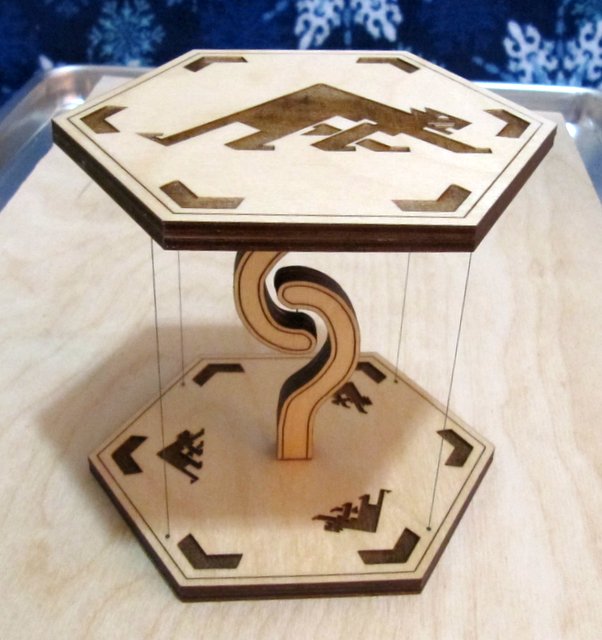
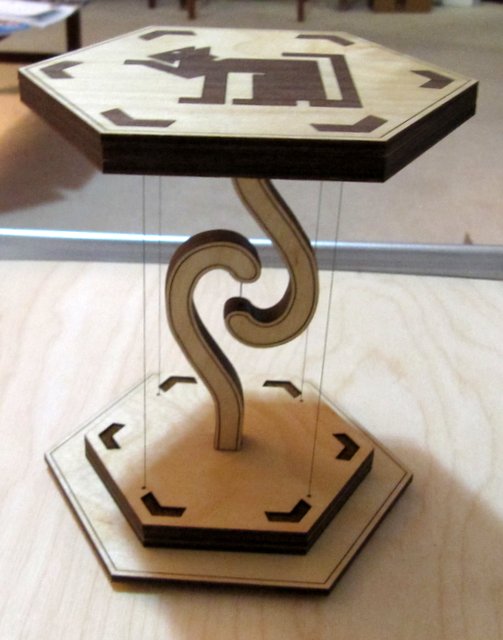
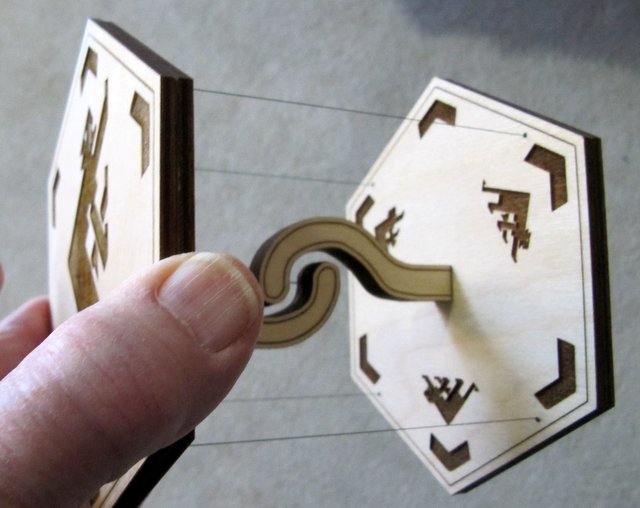
I see that others have posted on these tensegrity structures. The prototypes shown here use a 4-hole symmetry for the outside tensioning line made from a single length of 10 LB test woven fishing line. A splicing knot completes the tensioned outside line loop.
This symmetry and line stringing allows orthogonal X,Y leveling of the top and bottom after tensioning. The line is then epoxied into hidden horizontal engraved channels to prevent sliding or tipping. Zig-zag stringing could be used for increased twist stability at the expense of visual effect.
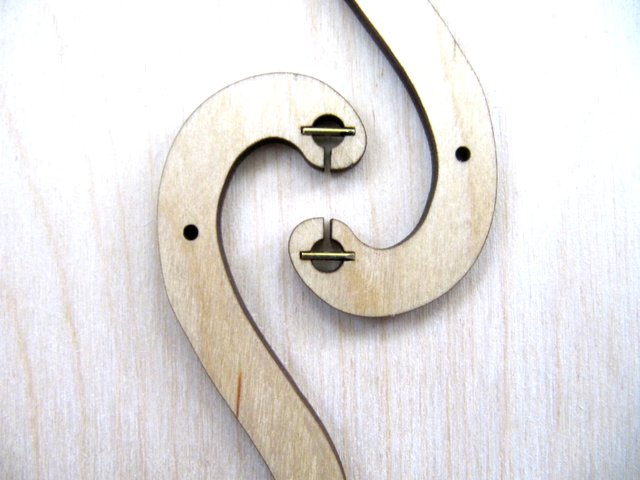
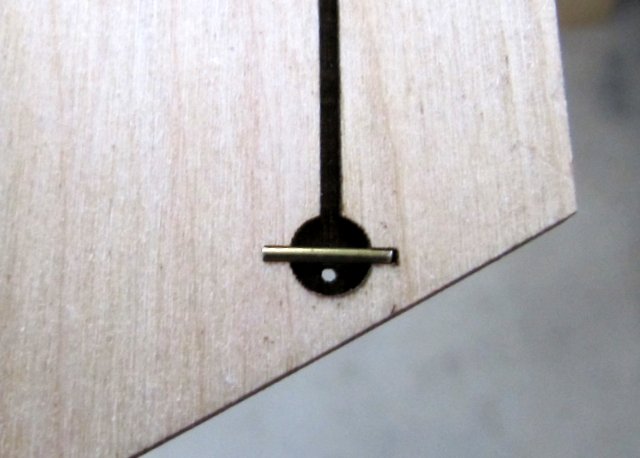
Brass pins and a portion of one of four hidden engraved channels are shown below.
![IMG_4428|640x458]
(upload://rzBQgWNCnkY6O0rgRbVpCkNyCiS.jpeg)
Thanks for the write up and photos. This is very well done and visually complex. Even though you explained how it is assembled, my brain has trouble with what my eyes see.
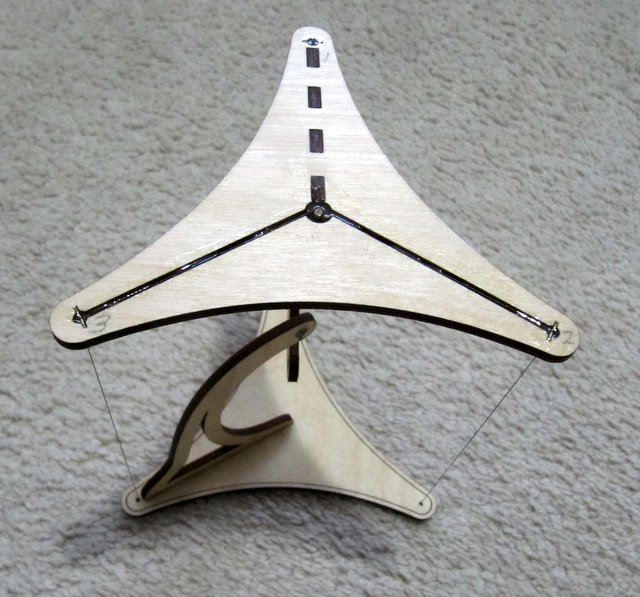
Here’s a Tiny Tensegrity Triangular Table with equilateral sides about 4.25 inches. Top and bottom are identical sizes. A single line is strung through top and bottom pieces, the line passing over brass pins staked into etched areas at each of the six triangular corners. Line tension is set to 15 OZ. The end points of the line are epoxied. Then the top and bottom triangular pieces are twisted to be parallel. Finally epoxy is applied to the line in the channels between triangle corners and to the line passing over the brass pins.