This feature is great when it works. Getting it to work appears to be a blend of luck, the capabilities of your machine, the design you are cutting and technique. When it does not work, it can be frustrating. I offer these tips to decrease the odds of that frustration visiting you. Your mileage may vary but these seem to tip the odds in my favor.
Tips of the hat to Jules who has helped many with pass-through and came up with many of these and to evansd2 for suggesting this post to me.
Make sure the cameras on the bottom of your Glowforge head are clean. These optics are what the forge is using to “see” your parts and are often neglected when cleaning.
Position you material towards the left side of the bed. The design of the GF optics favors that side.
FLAT MATTERS!! Pin the material down flat with honeycomb pins and support it on both sides front and back of the machine.
Keep the alignment edge at least 3" from the front of the machine when shifting it forward.
As you move the material, try to keep it straight. While the software can compensate, straight makes it less of a challenge.
DO NOT REMOVE CUT OUT PARTS NEAR THE MATCH POINT. You want the pictures before and after to match about an inch or two down from the match point on the right. I use painters tape applied before moving between cuts and then removed after moving to keep the bits in near the match point.
Contrast matters. Consider masking your top surface of dark materials with a light colored material so that the camera has a better shot at seeing what it is looking for.
Some believe that it is important to control the lighting. You want the images to match before and after move. I use an extra piece of 12 x 20 to cover the glass while the photo is being taken and again after the move. I remove it during the cutting because you want to see in there in case of fire of other issues.
Some people have had issues making 2 passthrough parts in a row. They have found that backing out of the GFUI to their “home” is necessary before starting the 2nd one.
If/ when the auto alignment fails…
Check to make sure you have not moved the material too far. That 3 inch rule matters.
Give it a few tries before punting towards manual alignment. Even of you change nothing else, sometimes retrying is the trick.
Lastly, some say the definition of insanity is doing the same thing over and over and expecting a different outcome. Auto-align is a lot like that only sometimes there is a different outcome sometimes which is odd but remember it is beta. Good luck to you.
The issue I have is that when i get to the remainder print, GF always says there’s an issue and I have to manually align, which looks okay when I hit ready, but then “jumps” over at least a 1/4".
Have you had anything like that you’ve been able to resolve?
Also, could you explain this part? Didn’t make sense to me, but maybe I crossed over to insanity after trying so many dang things to get the passthrough to work.
You want the pictures before and after to match about an inch or two down from the match point on the right. I use painters tape applied before moving between cuts and then removed after moving to keep the bits in near the match point.
the process of auto align uses an image taken after making the cut and an image taken after the material move, then processes that to place your artwork relative to the new position.
If there is something in the first image that is missing in the 2nd, this may make it too hard to figure out the placement . The area that really matters in this process is the area near where the parts join, i.e. within an inch or 2 of where the art needs to line up with the prior cut. One thing that could be missing are any small bits that were cutout during the prior cut and removed during the move. I suggest keeping them in place so that their absence does not cause an issue. One way to do that is to use some tape to hold them in place during the move which then gets removed so as to not get in the way of the image processing.
End of explanation
If your manual alignment is off by 1/4 inch calibrating your lid camera may tighten that up a bit but is not 100% sure of solving it.
Bottom line, This feature is not perfect and appears to be less perfect on some machines. My luck comes and goes.
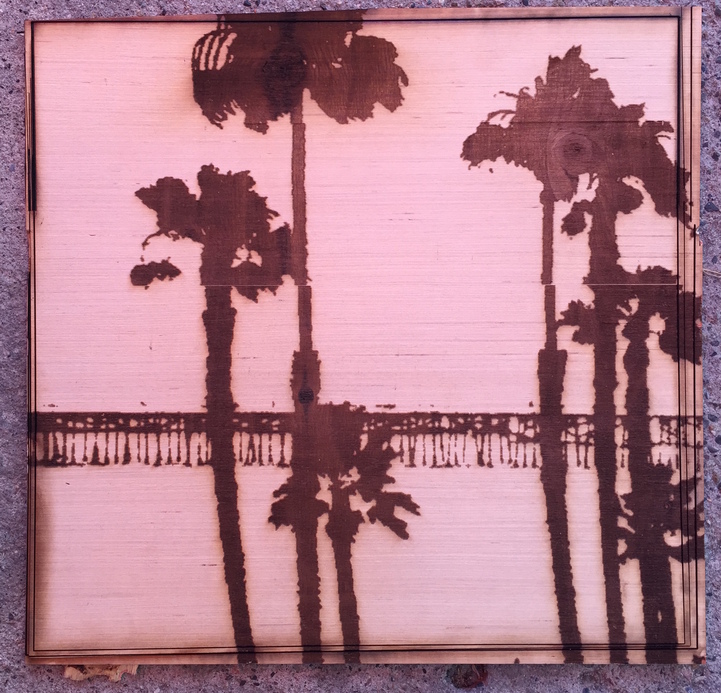
At this point, I’m tried to etch a drawing, now trying to cut square around.
There was slightly more success on the lining up of the print, but my GF never gives me the option of auto align. Every time I’ve tried, about 15 at this point, it automatically goes to manually align.
Took me 6 tries to get the box, because I’m just trying to experiment with if it every auto aligns.
Here’s a pic of what I’m kind of going for…as you can see, I had to keep cutting the box smaller and smaller in attempts to have the lines meet. A real barrel of monkeys that was!!!
So there aren’t any pieces to remove. Any other suggestions based on what you can see I’m trying to achieve?
I sometimes end up using the passthrough for shapes with minimal detail in the area where the camera wants to line up the cuts. To add more detail, I will use the gf design tools to add a few scored outlines just outside ( 1 mm or so) of my outer cuts. I put this outline first in the order of operations so that it happen before the engraving or scores within the part or cutting starts. IF there is room. I might add a bit of the prefab art just outside of my part as well (typically small and as a score).
I believe this has 3 benefits, One is that it gives the camera and software more details to chew on when trying to align the bits. The 2nd is that if the alignment is off, the score will let me know before the cutting or engraving starts. The 3rd is that if I have to manually align, the score happens first and thus lets me check it before the irreversible part begins.