Glowforge%20Kaizan%20Foam%20(1)|690x105

This is my first post here, so forgive me if I am doing something wrong. I also don’t have a lot of time at the moment, so I’ll give a summary and then come back later to give more details, as it is clear, details are important here.
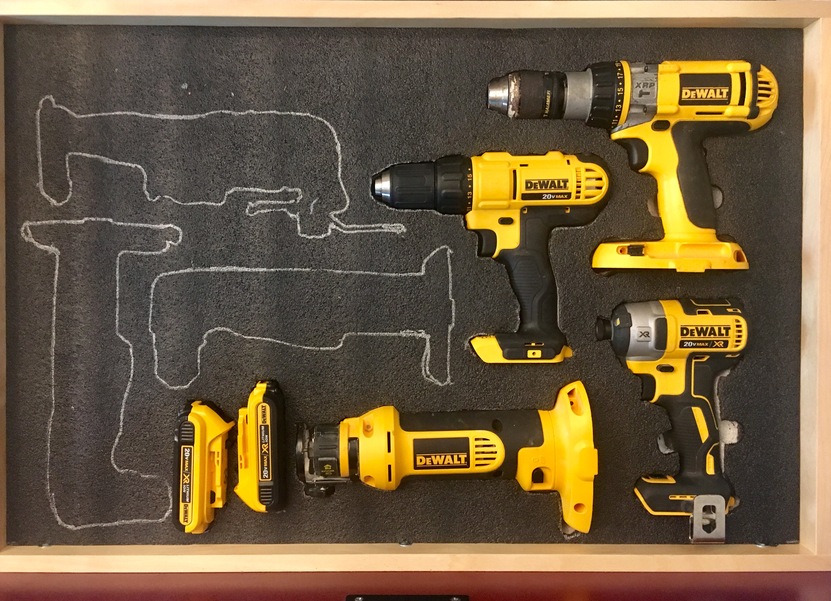
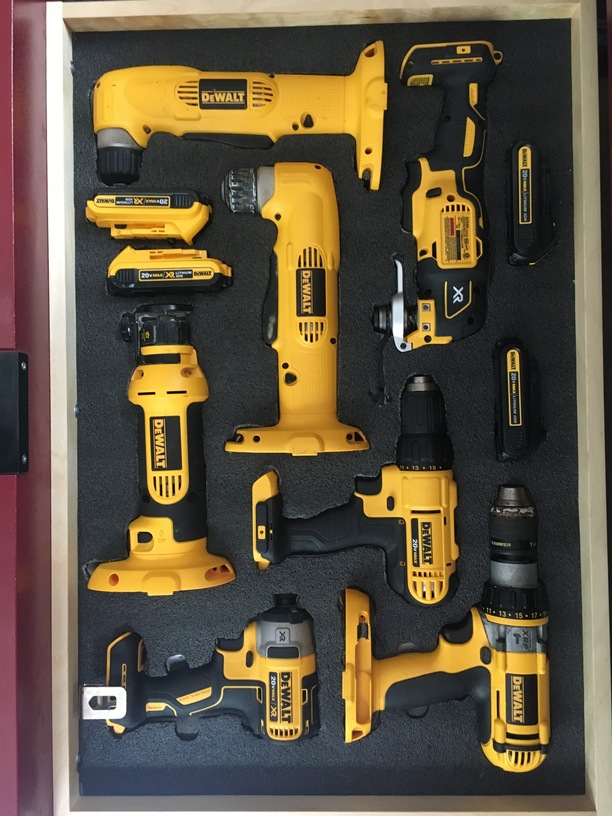
I’ve seen plenty of posts about creating tool organizers and I have used plenty of advice from them. More on that later.
In a nutshell, I have been playing all day trying to dial in the right settings for this foam I am using and I think I finally found them.
In short, for cutting: Speed - 500/Power - 85/3 Passes
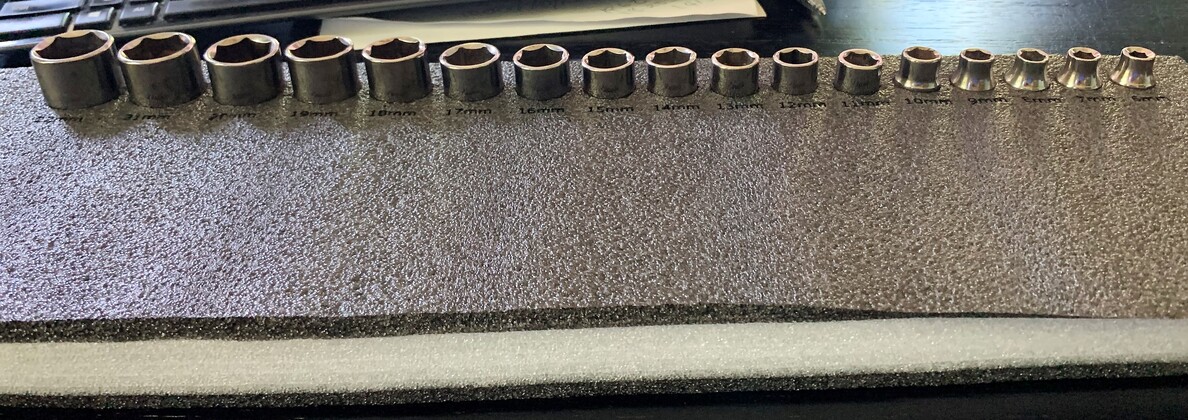
For engraving the text, which is Size 16 Sans-Serif I used Speed - 1000/Power - 60/1 Pass/ 125 LPI
Of note here is that I was not trying to cut all the way through. As shown in the photos, this foam is multilayered, which allows you to easily cut into it at whatever depth is needed for the tool, then pull up the layers. That too took many rounds of playing with and of course will vary depending on how deep you want to go.
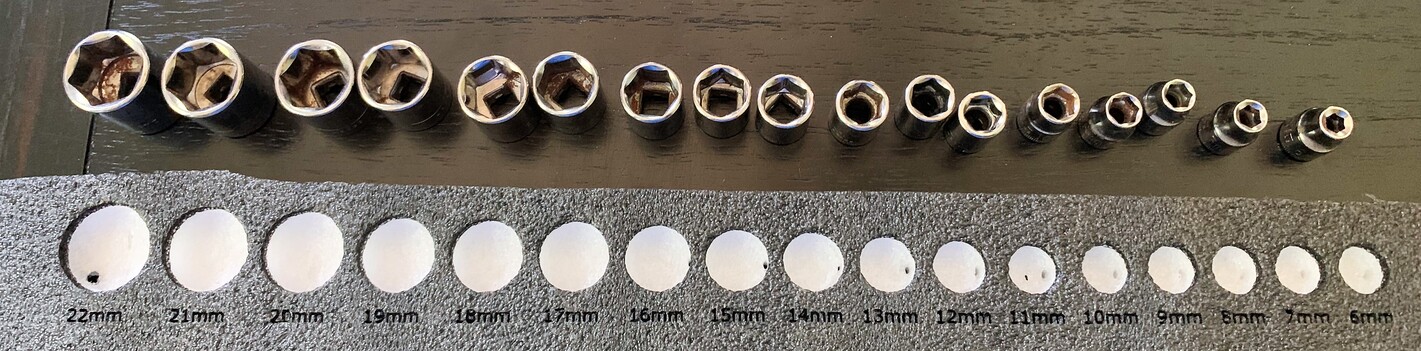
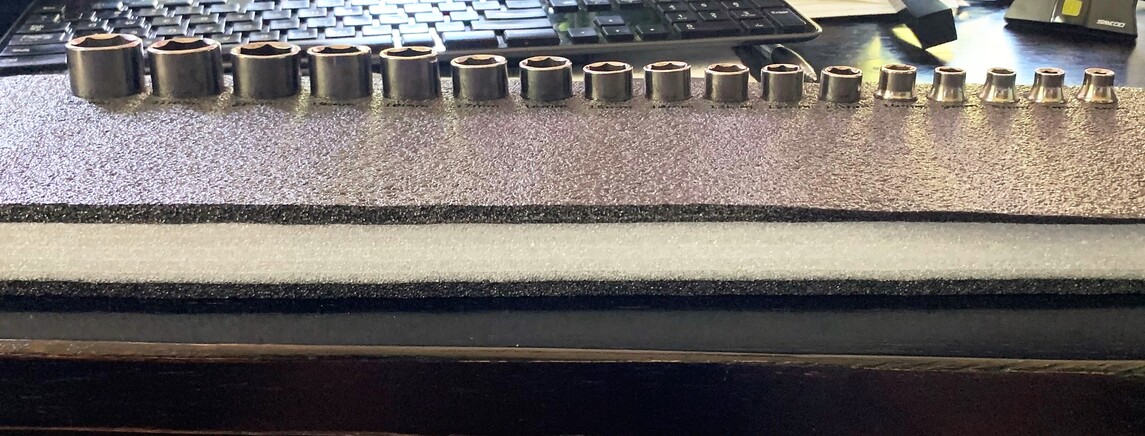
For most of my tools, I’ve traced the tools and cut them by hand because my pieces of foam won’t fit in the GF anyway. But for my sockets (I have many) that simply was not going to be a good option.
Ok, I’ve got to run now. I’ll post more photos of my sample cuts when I have a little more time. I’m pretty exciting to have finally figured this out.
Cheers!