Hi, I looked this up and the thread was closed. I love using the scan image function. It is fast, and
I am using my Glowforge in a school setting in what is essentially a woodshop class. The boys are building footstools and then using a CNC router, a traditional wood burner, and now the Glowforge to put images on the legs of the stool that tell stories about their family.
Several students have either traced images (Google, marked for reuse) and I have gotten mixed results uploading the images when I take the shared image from Google drive. I decided to try printing the image and scanning them. This works well except if there is a large area of black, then I get an incomplete fill. Adjusting the scan via cmd arrow just brings out the digital noise.
Any ideas
So this isn’t a technical problem exactly, and probably doesn’t need a ticket to GF support (posting here creates a ticket). You might want to consider moving it to the “beyond the manual” (aka BTM) section.
I’m sure lots of people will have good pointers for you, you might get more visibility in BTM.
I found the camera lights create a reflection on the black areas that come in as white.
Try putting several layers of masking tape over the two camera flashes on either side of the camera, and kill the overhead lights or cover the lid.
If you’ve got it in digital form already, you might want to work on it with digital tools.
I’ve found this site handy to convert jpgs to svg files:
svg creator
Thanks, I need to try this out because I find it so easy to print the students file, drop it into my Glowforge and go.
What kind of paper are you printing on?
I am so glad you bright this up. I am also doing a project with my 5th graders. I am having them draw the outline of an animal on paper, and I want to cut them out on cardboard. Here are the steps I seem to be forced to take to create lines I can cut:
-
Scan in the file, then place them on illustrator artboard.
-
Using image trace (or the svg Creator referenced above) I get something like this, with a fill and no stroke.
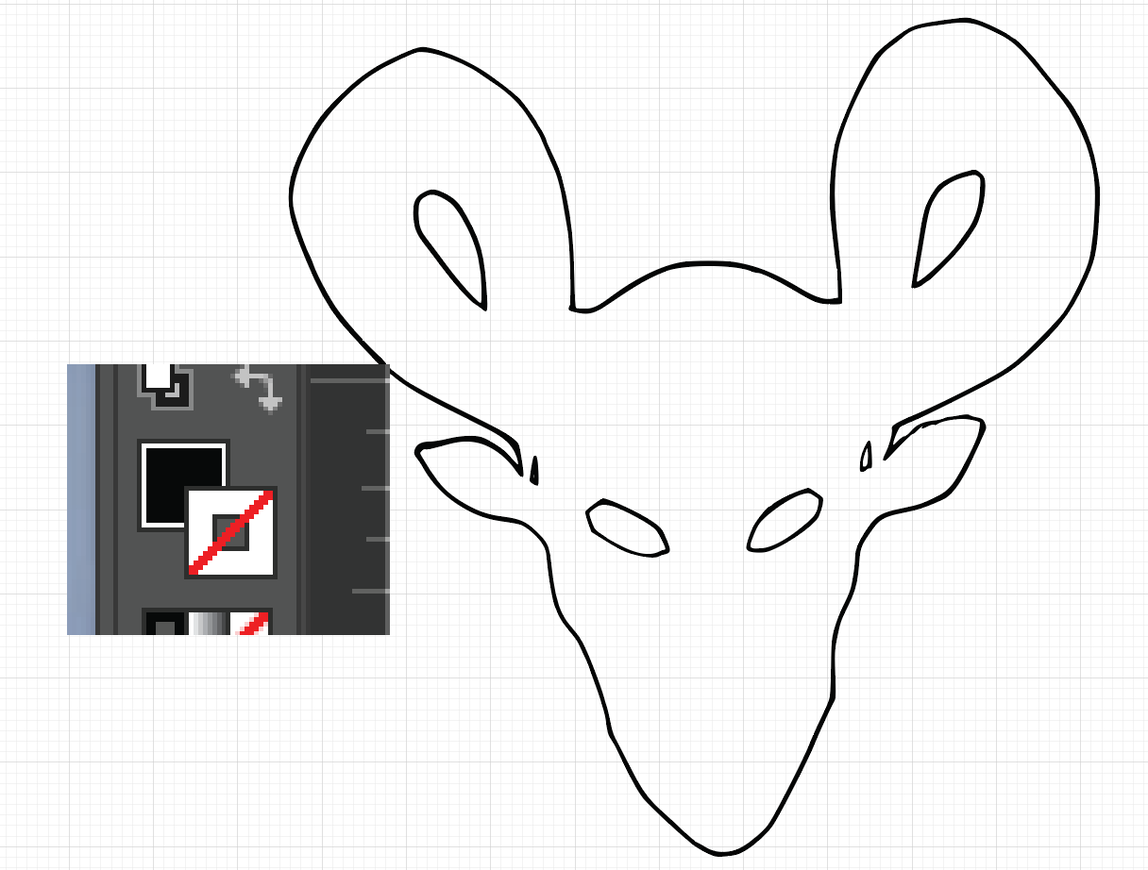
-
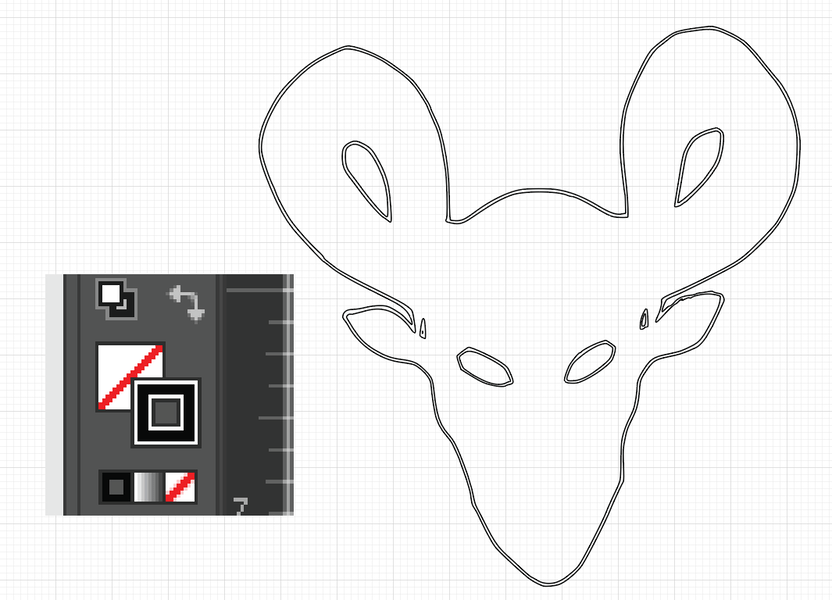
The I switch it so it has a stroke and no fill:
-
Then I have to ungroup the image, then release compound path
-
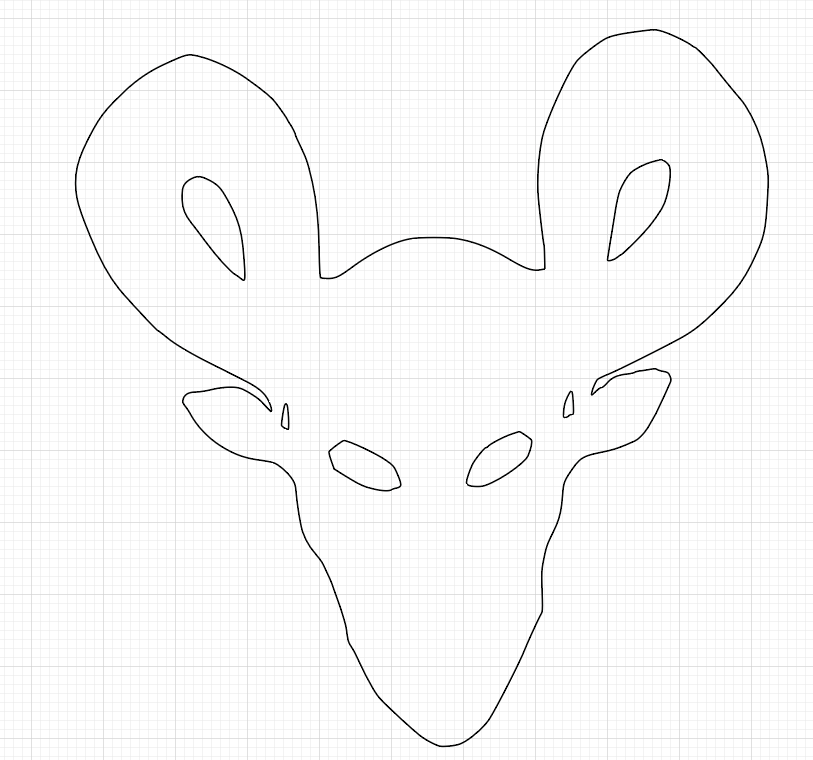
Then I carefully select one of the double lines and delete them. This takes time and some creative decision making depending on the drawing
-
Finally, I have a file I can send to GF to cut.
Is there a better way to do this? There has got to be.
Thank you!!!
Yes. Ignore white when you do the trace in Illustrator.
You can also make sure that just stroke is selected in the more options box and that fill isn’t. But, with white ignored, it’s pretty easy to just select the tracing and swap it to a stroke.
standard photo copy print
You might make sure that it’s not coated paper. Lots of the regular copy paper seems to be coated nowadays and that will amplify reflections quite a bit.
I wonder if also printing in a draft mode might help, as a result of laying down less ink.
Thank you! Ignore white. perfect!
That is too much work for me. I just want to print out the boy’s design, throw it in the Glowforge and scan it. Then click on the area I want to “cut” away and I engrave the dark area and score around the design to make it look crisp. When it works I can print up a stack of them and then process them
If you already have the images in digital format, do not print them and then scan them again…you’ll get much better results just using the digital files. (You can add your crisp score lines with an auto-trace function in Inkscape or Illustrator.)
This message is for the designated recipient only and may contain privileged, proprietary, or otherwise private information. If you have received it in error, please notify the sender immediately and delete the original. Any other use of this email is prohibited.
Uh oh. April 2017. Cyndi? 
Whoops! That was so much fun.  (That was @cynzu I think.)
(Wonder what the message was?)
Printing and scanning will always risk some loss of quality compared to uploading a digital file directly.
Some keyboard shortcuts that might help:
-
Ctrl + Up Arrow & Ctrl + Down Arrow : Adjusts the brightness
-
Ctrl + Shift + Up Arrow & Ctrl + Shift + Down Arrow : Fill in small details / preserve small details
There are many tutorials in our Tips and Tricks section of our community forum: https://community.glowforge.com/c/glowforge-tips-and-tricks . You may find this community post about the trace function a useful place to start:
Glowforge Interface - Using the Trace Tool 🤔
I’m moving this thread to the Beyond the Manual so the discussion can continue there.
We are using 3/4 inch poplar (wood) with the crumb tray removed
This is great, I missed the trick for filling in details.
I forgot to post this reply, but this helped a bunch with my last class of boys