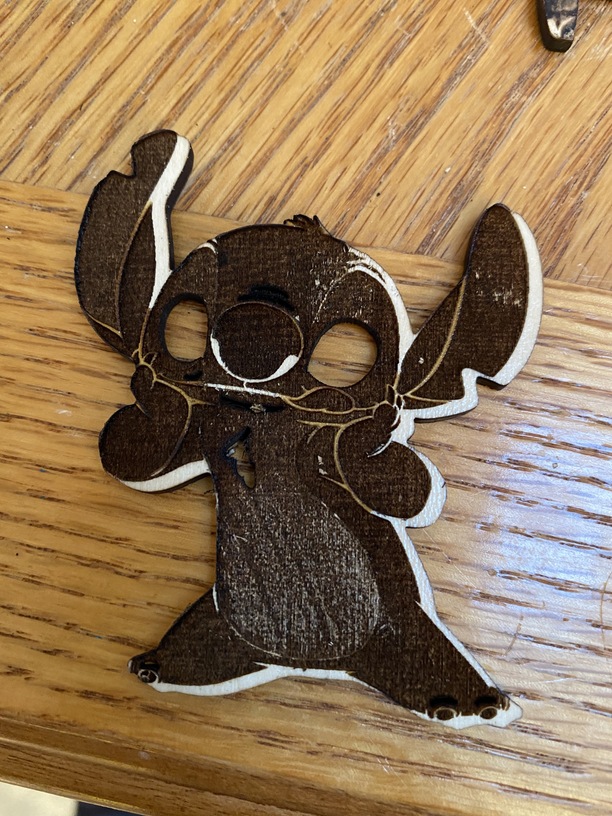
Hello everyone. I’m new to this lasering thing but excited is an understatement. I have made some things already. Now I am trying to laser a wooden keychain of stitch the little alien from lilo and stitch. My first try didn’t go as planned. Not that I thought it would anyhow. I am using inkscape version 1.1. It keeps crashing on me but thats a different problem. So anyway back to my little alien friend stitch. When I load him up in the glowforge app it has alot of work to do on it. That’s understandable. I had used medium basswood plywood for my material. When this thing had finished he got burned, and his eyes got cut out. I would imagine that changing the settings for the engraving will take care of the burnt look but how do i go about not having his eyes cut out? I only use inkscape because it is somewhat easy to use. Eventually it will get easier in time. I can’t justify the monthly subscription at this time. Any help would be greatly appreciated. Have a great day!! ![]()
I think the first thing I would do is invert the original image…Looks like your blacks and whites are swapped. As dar as the eyes being cut out, that’s just changing from cut to engrave (or score) in the list at the left…
So using inkscape i would imagine it would be listed as reverse under paths? Not sure though.
It’ll depend on how your art was made, but reverse doesn’t do what you’re looking for. It may be as simple as selecting the dark areas and removing the fill, and selecting the white areas and adding a fill - but there’s shading in his belly so that may be a raster engrave.
As far as the eyes cutting, after you load it into the GFUI the commands are on the left side, click on the cut for the eyes and turn that to a score or an engrave. If the exterior cut and the eye cut are part of the same command then in Inkscape turn the lines around the eyes into a different colour than the exterior cut line and they’ll load as different commands in the GFUI.
As Stitch is supposed to be coloured, you could also do the engrave as is, and just lighten the power buy quite a bit so it’s a much lighter engrave…
Thank you for the answer @deirdrebeth, that’s right! @wawuce, I recommend trying those steps. If you have further issues with the design, please email us with a screenshot of your workspace in the Glowforge App with the design and we can investigate further. I’m going to move this thread to Tips & Tricks so the conversation can continue.
As for the eyes getting cut out is understanding the logic that the Glowforge uses to decide where to cut. First off is color of the stroke. Think of color as like a team shirt (and color is a number so 2 reds are different colors of their hex values are different)l so everyone on the red-team let’s cut you out and ev]nd everyone on the blue team you get engraved. Now when you load a design the Glowforge app (henceforth referred to as the GFUI) tries to help you out by guessing if you have a closed path that is not filled in by any color (remember white is a color too) the. By default any empty closed path will set itself to cut and any filled in path will set itself to engrave. Now if you are an independent kind of person you might say “well screw you @dan, you’re not the boss of me” and set the filled in one to cut and the empty one to engrave (the Glowforge really doesn’t care) on the left side of the GFUI. Now the NEXT problem you have is the magic problem of how does the Glowforge decide what is the outside and inside of the shape to cut? So for instance if you put down a black I filled square and then another black I filled square inside that first one, you will cut the outside edge and the inner square (if you care there are names for these algorithms) so if your stitch drawing had black lines for everything then my guess is the outer shape and inner eyes both were black lines which it guessed you wanted concentrically cut.
Now one key clarification there is no requirement for a cut (or score which is really just wimpy-cut) line to be a closed shape, you can cut a straight line (picture a laser-saw) so if you want your eyes engraved, just click on each eye path and change their color (to anything but make them both the same). Now right about now someone from the old crew is going to chime in about the color palette to order things, but to be honest I prefer to do it manually. I can’t remember colors in order. And again this is purely a convenience function to pre-set a given color to a given operation.
Also I might ski p The Whole engrave of stictch’s front (just the surface of the wood) and set him to purely cut the outline. Not sure what he/she/it looks like (sorry I have adult kids) and I’m in the midst of repairing a gmax printer ( ) so didn’t google it, it I’d leave the surface as is.
For reversing the image, it’s something I know you can do with PaintShopPro (program I use). Though not sure if you can save the outline only created in inkscape and then import the jpeg/png file from PSP into that file (usually easier to line up this way than import each into the GF). With PSP you can also reduce the number of colors in the image which could help–though lots of options with gradation settings to represent different colors in the GF, but often etching on wood, keep it limited to only a few, or even just 2–black or white, and then the etching is simply the black areas in the image.
This topic was automatically closed 30 days after the last reply. New replies are no longer allowed.