Hehehe, yeah, but he is in post surgical recoup. Obviously he was excited enough about the technique that he was compelled to share it.
Could have been by design, look at the anxiety to see it accomplished! Bait the forum and watch what happens. 
If only we could get native support from glowforge ui. But then again, hatemail from @Hirudin is my reason for living.
It’s not ideal, but openscad will turn a depth map (greyscale) into a 3D surface. And then when you try to do anything with it your computer will fall to its knees. for hours.
The long way about it would be to trace the contour lines with a CAD program, then set each line at its specific elevation, and use the CAD program to loft the contours into a solid shape. Fusion360 would allow you to do this.
You can also look up GIS Modeling, which uses existing digital topographic map data in an online database to make models.
Thanks…and now I’m counting calendar days again for some reason. Ha
Hey maybe it’ll happen!
While we’re on the subject, I hope they add a hatemail feature to the Glowforge UI.
Native support for what?
My guess is native support for 3D models directly within the GFUI.
I’m going to pronounce that “Gah-Fooey” because it’s fun to say.
Once 3D is enabled, you could go direct from 3D model to a bunch of properly beveled slices…
Thank you so much for putting this together and sharing it with us! Bookmarked!!
Feel better soon, and thanks so much for sharing. This is far simpler than the method I was trying, using photos and arcane software to turn them into depth maps. My efforts thus far have been unusable, but pretty in their own weird way. Can’t wait to try this out!
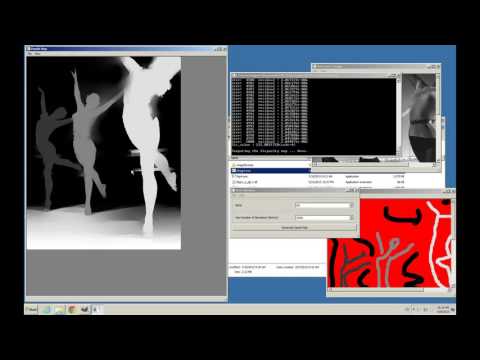
There’s an interesting free tool to help with converting a 2D image to 3D called DMAG4, but depending what you’re trying to accomplish it might not do what you expect.
There’s an interesting tutorial written up about it ![]() , as well as a download page for it and other utilities
, as well as a download page for it and other utilities ![]() to help make depth maps from photos and such.
to help make depth maps from photos and such.
Edit: Attaching a video showing someone using it to create a stereographic, below:
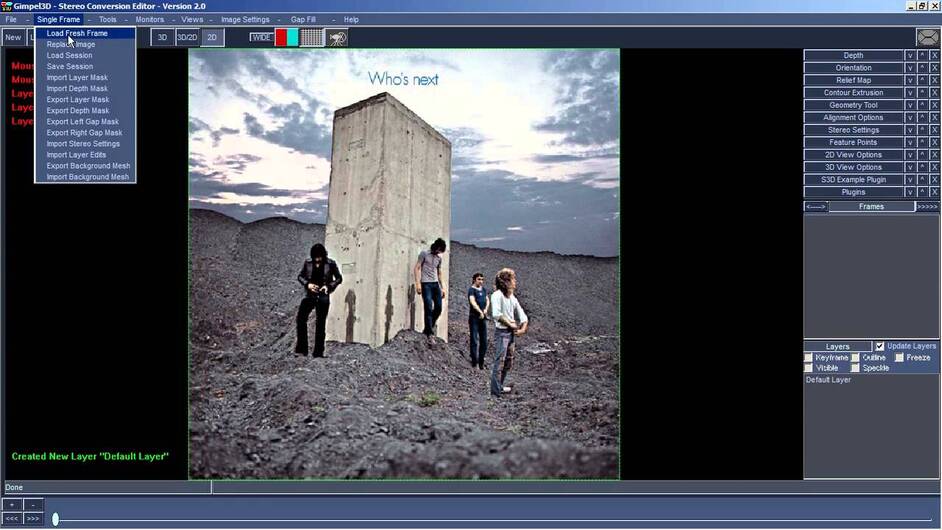
There’s also a similar tool called Gimple3D ![]() which is similar, and free as well, perhaps making it even easier.
which is similar, and free as well, perhaps making it even easier.
That’s the one I was attempting to use, but I had very strange results and haven’t had time to figure it out.
I used a similar process for the first draft of the penny you might have seen in a few places. But the resolution wasn’t great, so I wound up drawing it from scratch in illustrator, using photos of a penny for reference.
@Drea @julybighouse @Jules @PrintToLaser @christopher_cantrell
Thanks guys! Finally getting back into the land of the living =)
Why is it when I try using the shader it always removes the texture? I only get the model.
Because that’s what the depth map shader does. It calculates the brightness of a pixel based solely on its distance, so it can produce output that represents the 3D shape, ignoring coloration.
Guess the model I am using though doesn’t have a lot of the details modeled… but rather they’re in the texture, so I lose a lot when doing this process… at least on that model. Seems like there should be an easy way or app that can do this… especially since cnc machines use this as well. I have seen a few apps, but were windows only… I’m on a mac.
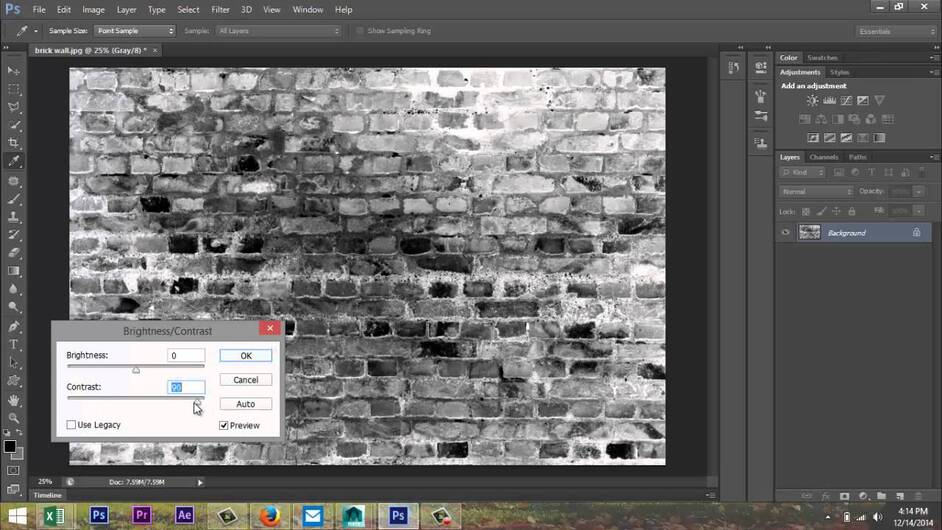
Don’t know if this will help, but If you have the texture files, maybe do some youtube/googles for “creating a bump map”.
here’s one, photoshop stuff starts at 2:00
Awesome tutorial! Thank you! Quick question if anyone knows, how do I get rid of the perspective view and get a view that’s straight on? I’ve got a 3d file I need engraved without a skewed perspective so I can retain the 90 degree angles.


