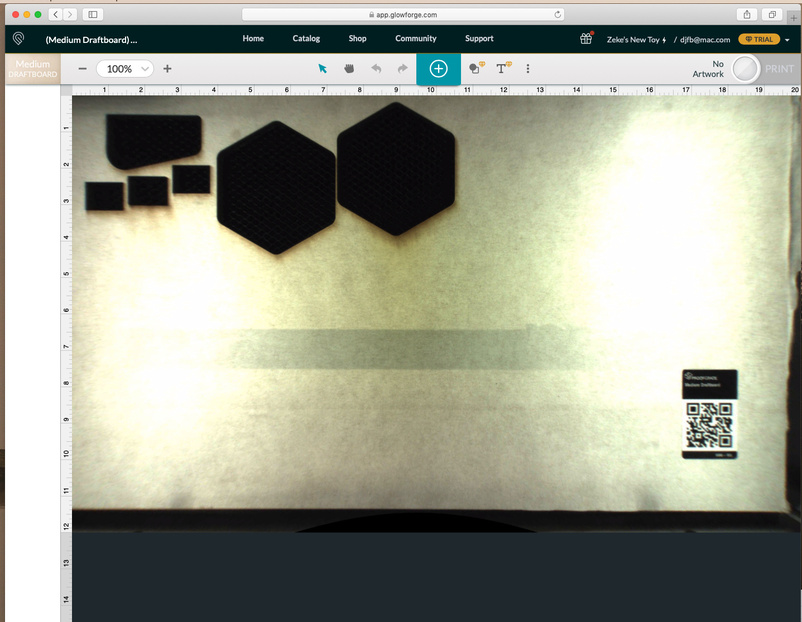
so i am going thru the tutorials and now I am having a problem. None of the tutorial files are showing on the machine. I tried to make the snap box and i followed the instructions to the letter. But the box outlines never showed up. so I went back and tried to make the gift of good measure. it showed on the screen and i could move it, but it is registering as no artwork loaded.
Can you provide a screenshot? Also, do you have material in the glowforge and is the artwork within the workable area? If the artwork is going into the margins (outside the working area) it will say no artwork.
Gotcha! Should be easy fix! Unless something has changed, open the design just like you’ve done, then click the three dots symbol in the top bar and there should be an option like ‘restore design’ or ‘reset design’ or something similar.
Ok I found it. Of course this only works in designs from Glowforge (like the tutorials). Click the three vertical dots, and click design details. This will pop up the panel on the right side, and now you should have a Reset design option.
Once I saw your screenshot it was easy to tell the design line work was gone and I’ve seen other posts about designs disappearing. Going off memory I thought it was under the three dots, but never needed it myself. A quick forum search for ‘design disappear’ showed me the step I was missing. Same problem as others but different ppl describe it differently, which can make finding the answer a little trickier.
exactly. i was just looking for honeycomb hold downs, but didn’t remember the word honey comb. ended up scrolling thru the free stuff to find them. thanks for your tenacity. I appreciate it.
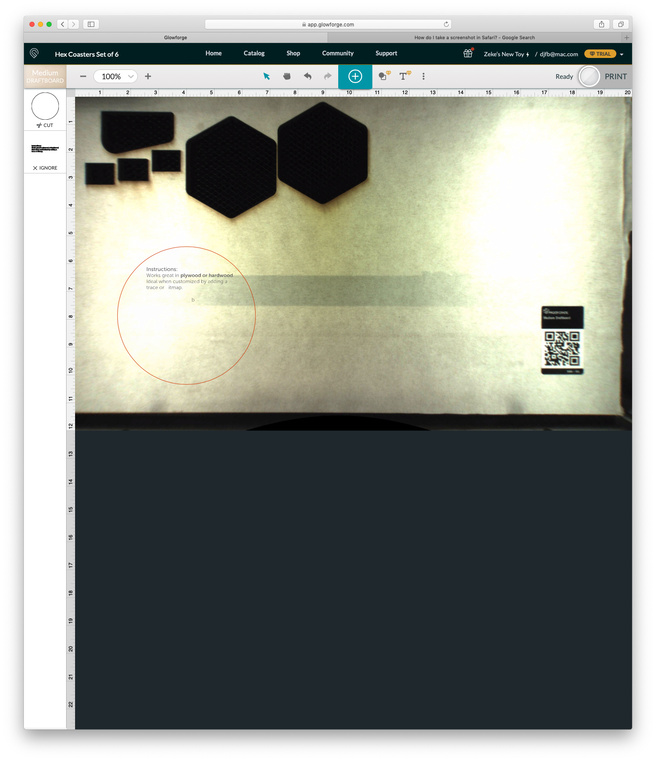
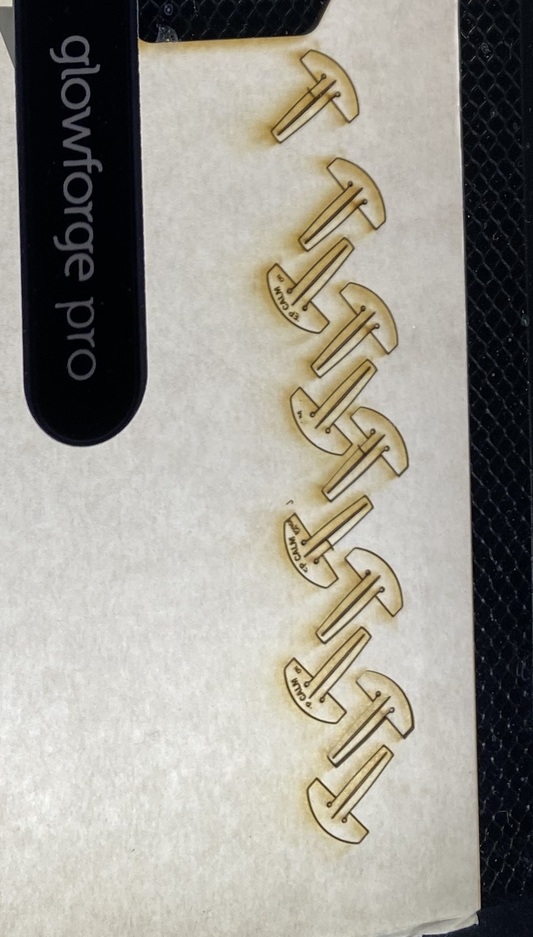
Actually, that was supposed to be sickel. also i just notice when i layout things they are lower on the board than what appears in GF window? and the board is pull all the way to the front of the crumb tray. what’s with that?
Hmm I don’t completely see the issue in the screenshots, but from what you’re describing it might just be the focus. If you click the Set Focus and click on a spot near your design on the material, the gf will move the head to that area, turn on a red light that is kind of like a rangefinder to determine the distance to the material (and the material height), and then the camera image will refresh and should look pretty accurate. Basically the camera needs to adjust for different height materials. Also, just remember the working area is less than the crumb tray so it takes a little practice to understand where the limits of the working area are in reference to the crumb tray extents.
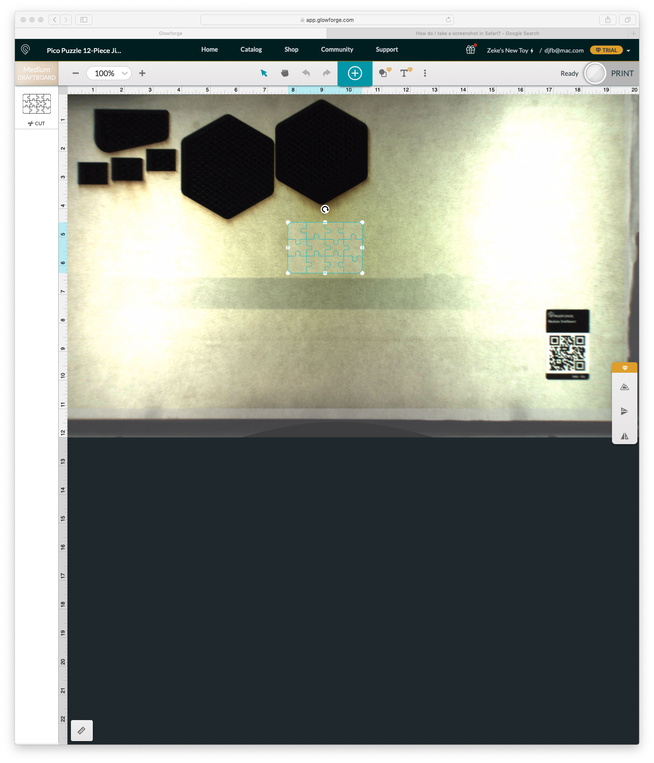
Yea it’s probably just the camera set focus. You can also run the camera alignment to improve things…I’m on my phone now so tough to link but search camera alignment and you’ll find it!