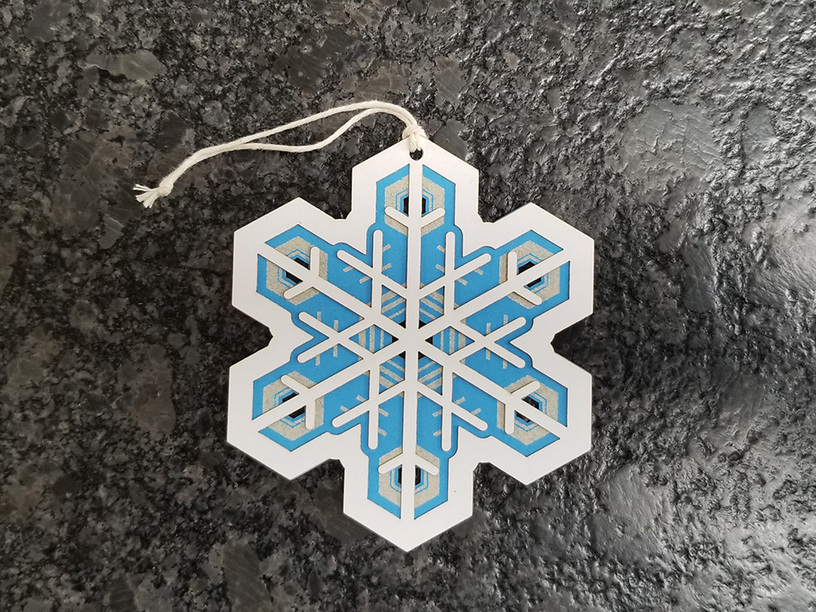
Here’s a little online snowflake generator called Fr0zenSystem. It can generate any number of nice two-layer paper snowflake shapes. These can then be cut on your Glowforge and stacked together. The top layer is only cut. The bottom, intended to be cut from something like colored poster board layer or translucent vellum paper, is both engraved and cut.
It’s also possible to make three-layer, two-sided snowflakes by cutting two of the top layer and putting one on each side of the engraved layer. If you use translucent material for the central layer, you’ll only need to engrave it on one side. If you use opaque material like poster board, you’ll need to engrave both sides.
Fr0zenSystem is what is called a “fork” of the original open source project by bleeptrack. I’ve modified and reworked it in a number of ways. In particular, it now makes .svg files that are directly usable with a Glowforge.
How to Use the System
When you go to the system’s web page you’ll see the image of a generated snowflake:
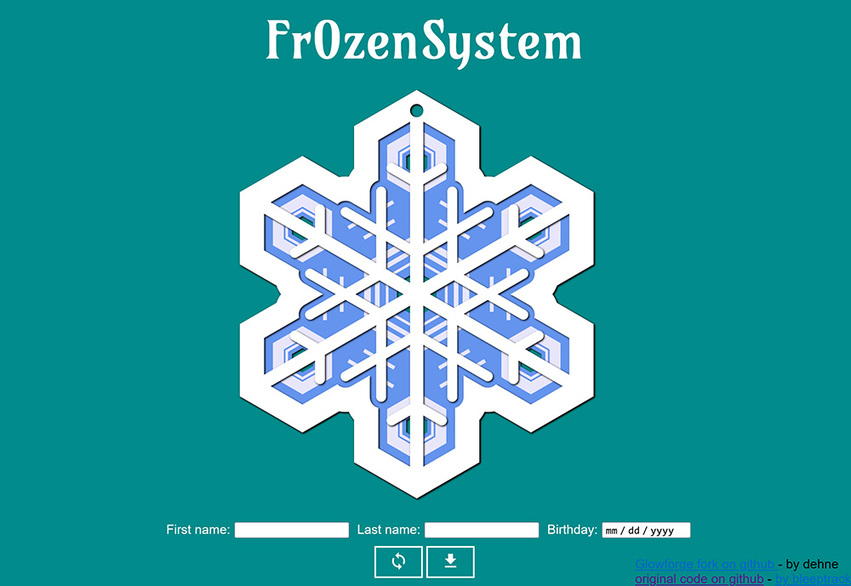
If you click on the snowflake, the image will unstack the two layers so you can see the back layer more easily:

Clicking on the regenerate button will make a new random snowflake. You can also enter someone’s name and birthday and click on the regenerate button to create the unique snowflake that corresponds to what you entered. To go back to generating random snowflakes, just clear out the names and birthday.
When you have a snowflake you’d like to cut, click on the download button. This will bring up a dialog that lets you save the current snowflake as a Glowforge-compatible .svg file. Next, upload it in the usual way to the Glowforge GFUI. In the GFUI, select everything and use the scaling tools to make the flake the size you want. Next position the two layers over your material and set the parameters you’ll use for each step. I like to place both kinds of materials next to each other on a slightly sticky backing board. When everything’s ready to go, it looks like this:
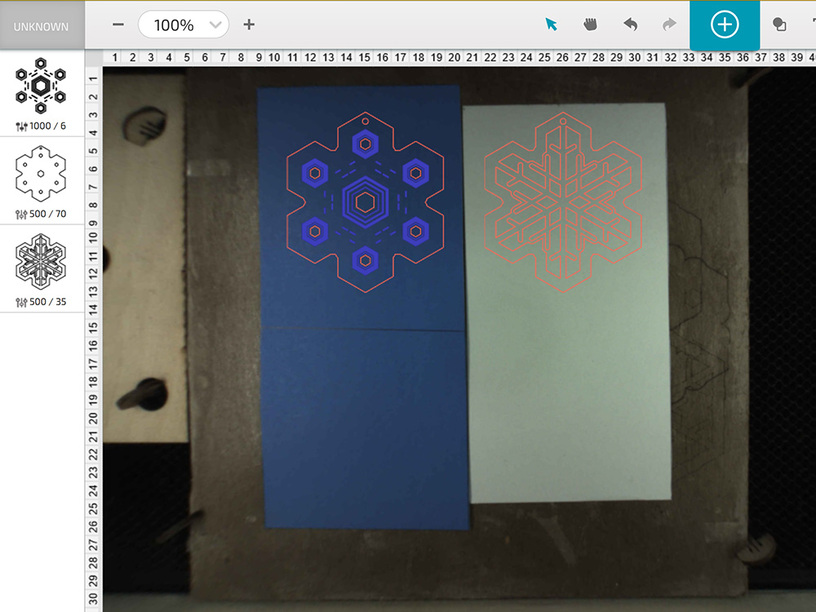
Here I’m using blue poster board for the back layer and white cardstock for the front. The operation settings will vary depending on your material, of course, and on where you like the balance between speed and power. As has been widely discussed, faster with more power often results in less char than slower with less power. But going fast around sharp corners can lead to cuts with wobbles in them.
As always, laser cutting thin material works best if the material is first stuck to a flat, smooth backing of some sort, so the air assist doesn’t get under it. I use a piece of waste pasteboard covered with laser-compatible contact cement that allows material to be repositioned. I’ve successfully used both 3M spray adhesive and rubber cement but like the 3M coating better because it stays tacky for a long time and is just sticky enough to hold things in place during cutting but not so sticky as to make removing the cut pieces hard. I use a craft knife to get under the edge of the pieces to be removed.
Bug reports and suggestions for extensions or improvements are more than welcome.
Oh, one more thing. Since the code is all open source under a very non-restrictive license, you’re free to use it and the .svg files it generates for just about whatever you can think up.
