I’m doing almost all my cutting with 3mm MDF and 1.5mm plywood. I measure the stock so I can say that each blank is consistent.
I’ve found two issues that are really frustrating.
Different power required across the bed
(assuming you’re standing in front of the GF)
The upper right regularly needs more power to cut than the upper left. Like 10-20% more. So I have to over-power the whole cut to get the right correct.
Similarly, the bottom right is worse than the upper left, but not as much.
board-to-board variability.
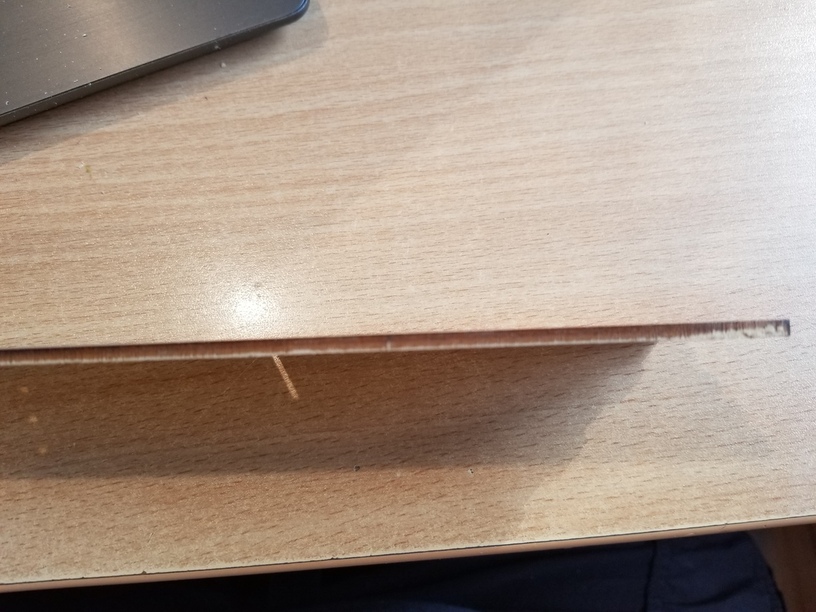
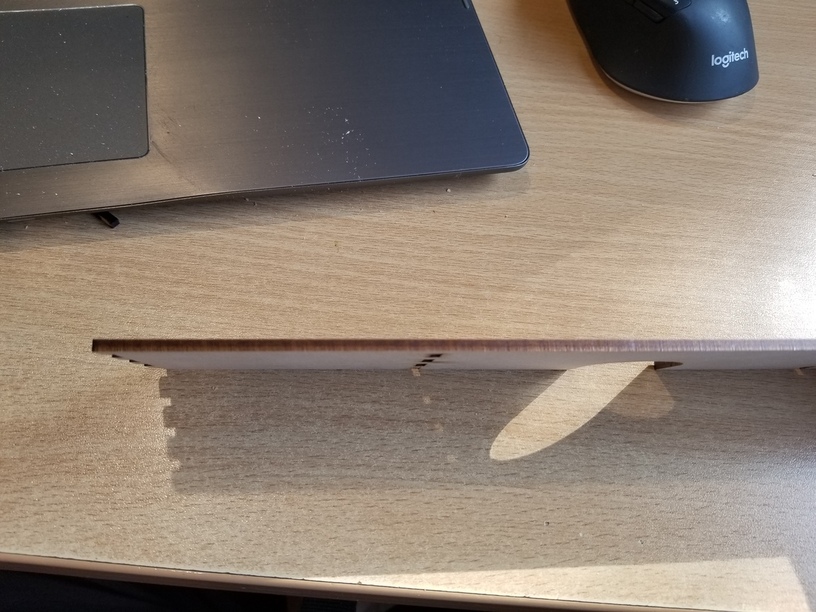
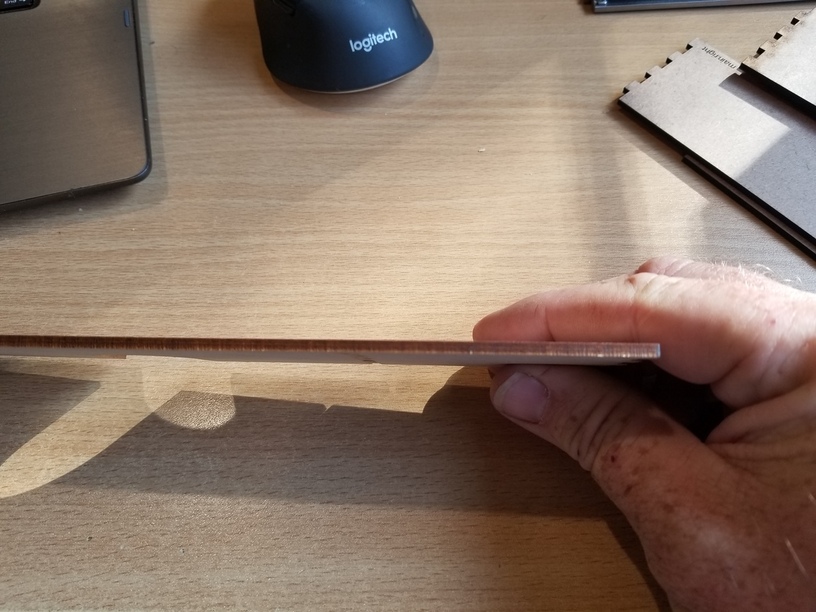
Last week I cut two of the same board: same layout, same blank (both from the same source, prepared the same way, identical thickness). I power to cut through the board.
The first board cut all the way through nicely (across the bed) and the second did maybe 50% through the wood (3mm MDF). It’s also happened on 1.5mm ply, but not with back-to-back cuts.
Why? I’m not comparing “clean GF” with “soiled GF”. I’m comparing two boards cut within 10 minutes of each other.
This is driving me crazy. I am wasting (losing) material because of it. I either have to overpower everything enough that some have charcoal edges, or lose one sheet in 4 because of “as if I under-powered it”.
I track my power settings and it seems like I have to keep upping the voltage.
Please help. The machine is great … when it’s consistent.
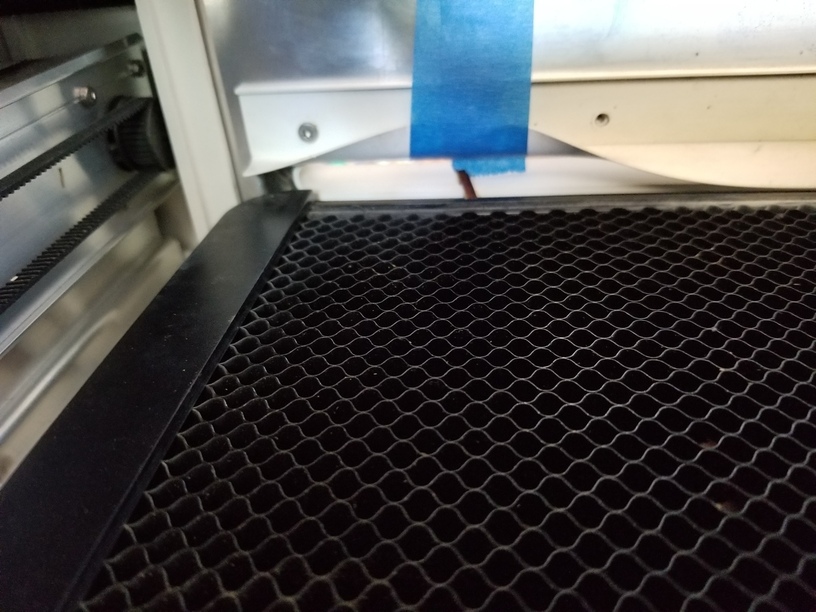
Have you checked that the height of the honeycomb is consistent? If there is consistent power loss in one corner, that could be caused by a height difference.
Upper right requiring more than upper left, though, does mean that the laser is having to fire through open air over a longer distance. How is your ventilation? Any chance that there is enough particulate goop in the air that it is down powering the laser a bit? Is everything totally aligned?
To get support, you’re probably going to need to do some tests on the extra piece of draftboard that they provided for tests.
I would do a gift of good measure with Proofgrade settings in the 3 areas you’re describing: upper left, center, bottom right.
As you’re discovering, material can vary quite a bit, which is why they’ve tried to solve that with the Proofgrade line.
Hitting a void, knot or patch in plywood can all put a stop to the cut in that area. Inconsistent glues can do the same. There can be lots of reasons material doesn’t cut properly, even if it’s perfectly flat.
I’m having a really hard time buying the “material varies a lot” argument here. For the two-boards case, the cut is uniform in the board, just 50% of what it should be. And these are from the same source board, measured same. And MDF – as uniform a material as you’re gonna see.
I cut a lot of Baltic birch and some of the pieces I will finish out with a fret saw rather than running an extra cut because the pieces don’t lend themselves well to an extra cut. I can cut them out and see voids in the plies where the laser stops.
Unfortunately, I don’t have any guidance regarding printing on materials provided by other vendors.
However, I’d still like to verify that your Glowforge is working well.
Please clean and inspect your unit according to these instructions. Once you’ve inspected and cleaned, please try another print. We included an extra piece of Proofgrade Draftboard with your materials shipment for troubleshooting. Please print the Gift of Good Measure on the Proofgrade Draftboard on the right side of the bed and let me know the result. If it doesn’t print well, please let me know the date and time of your print and send photos of the front and back of the print.
Since this problem is being seen on materials that were purchased from another company, we can’t offer support for prints that don’t come out as expected. I’m going to move it to Beyond the Manual so other folks here can help. Should this happen with a print on Proofgrade materials, please open a new ticket in Problems and Support and we’ll help you right away!
You said you’re cutting a lot of MDF and BB. I do a lot of those too. One thing I’ve noticed is that if anything interferes with air-flow (through the vent or the intake) I will start having trouble over on the right side because the smoke (particulates) begin to diffuse the beam. Those two materials can, depending on their composition, smoke terribly. If you’re seeing improvement when airflow is improved that might be your culprit.
@kennethclapp - Thanks – that helps. I’ve tried using a bit of masking tape to hold back the pass-through barrier foam at the right side. Definitely seems to help. Have you seen anything else help?