Unsuccessful Print Pro Pass Through

I been having many issues lately using the passthrough. The first piece cuts perfect, then says, “Print Unsuccessful.” This is very frustrating having to keep trying and wasting more material :(.

How can this be fixed? I see many people posting about the same issues. Different threads have been closed with staff saying problem has been fixed or is in the process. Having this experience, it doesn’t seem like the issues has been fixed at all.

Very frustrating!

If the posts are closed as successful, it is likely the issue is not a widespread single issue but something with a specific setup. The passthrough function seems to have a lot of variables, so it may be that the problem you are seeing is different than the problem someone else is seeing.
Support will be in touch as you have opened a ticket with this post and once they are able to look at your specific situation they will provide more information.

1 Like

Oh no, I’m sorry you’ve hit a snag!

I’ve extracted your machine logs, and it appears the error is due to a miscommunication between your Printer Head and the Glowforge. There are two key connections I’d like you to check for me.

Could you please do the following?

  1. Turn off your Glowforge.
  2. Holding only the finished black surfaces, grasp the printer head as shown. Pull gently up and back to disengage the magnets and remove the head.
  3. There is a small tab in the center of the wire ribbon. Push down fully on the tab to release it, and gently pull the wire ribbon plug from the printer head.
  4. Take a clear photo of the gold pins inside the printer head where you just unplugged the wire ribbon. It should look like this.
  5. Pick up the printer head and wire ribbon. Make sure the tab on the wire ribbon is facing up. Slide the ribbon back into the head until it clicks.
  6. As shown, lower the printer head over the metal plate so that it rests next to the two round posts. Then push it gently away from you – you’ll feel a “click” as magnets pull the printer head until it sits snugly atop the metal plate.
  7. Pull the laser arm all the way forward.
  8. Reach over the laser arm, and to the left of the inside of the unit and you’ll see this circuit board:
  9. Take a photo of the circuit board. If the cable I’ve indicated above with the red arrow appears to be loose, please reconnect it and try printing again. This cable should ‘click’ back into place.
  10. Turn your Glowforge back on.
  11. Send us the photos you took in step 4 and step 9.

Hello @max_h259

Thank you for providing the photos of the printer head connection, as well as the ribbon connection at the mother board within your Printer. Both of which appear to be in good shape.

  1. I’m sorry for the trouble with the print results when running a Pro Passthrough print. So that we can look into this for you, if you haven’t done so already, will you please look through the section titled “Things to Watch Out For” on our Pro Passthrough support page and then run a test print for us?

Here are the steps for the test:

  • Load a sheet of material into the Pro Passthrough slot and ensure that the portion sticking out of the unit is supported so the material lies flat on the crumb tray inside the unit

  • Double-check that the material is completely flat against the crumb tray. A quick way to do this is to press gently on the material where it rests on the tray and feel if it move

  • It might help to use pins to hold the material flat against the tray. For example, a lot of customers use small pieces of scrap to print these pins available in the free laser design section.

  • Upload the attached test file to your design library

  • Turn on the Pro Passthrough feature in the menu bar

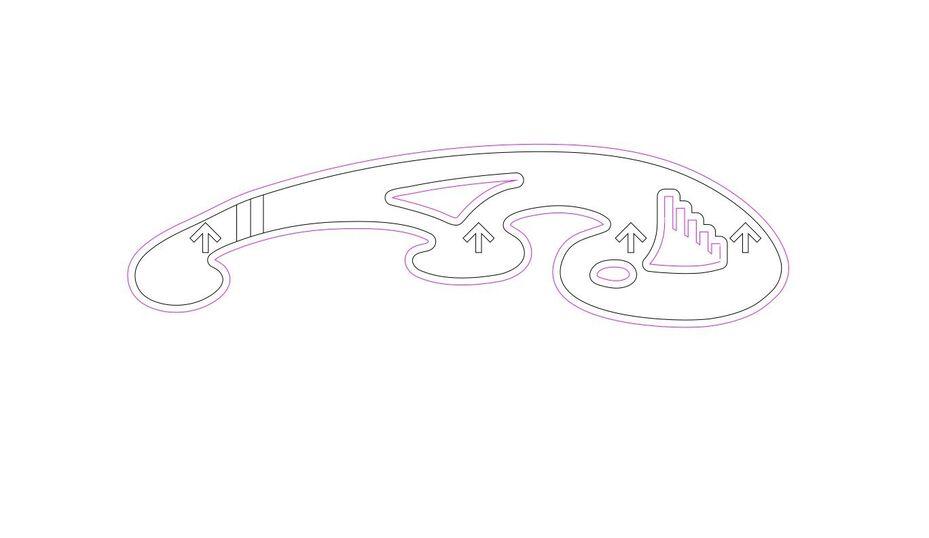
  • Select the entire design, and arrange it so that the tips of the arrows touch the dotted line at the top of the work area

  • Click print and run the first section of the design

  • After the first section completes, move your material through the Pro Passthrough slot so the printed area is more than 3in away from the front of the Glowforge.

  • Follow the prompts and run the 2nd portion of the test print

After the test print completes, please send us photos of the front and back of the finished print along with the date and time it ran. We’ll extract the logs, review everything and follow up with next steps.

Hi,

Is this template to cut out the design template? I’m not able to like on the cut option.

Hi @max_h259. The template for the Smooth Curve test print design should include cut steps. If you haven’t already done so, can you try downloading the design onto your Dashboard in the Glowforge app from the link below?

Once the design loads, you can follow Gabe’s steps for the print, as well as review the following Support page for added information.

Feel free to let me know if you run into any trouble with this, and if there are no steps set to cut when you load the design, can you take a screen shot and attach it to any response? Let us know how it goes, and we’ll be here to help. Thank you!

Hi @max_h259. It’s been a couple days since my last response and I wanted to check in and see if you were able to download and try the Smooth Curves Stencil print yet. Feel free to let me know any results and I’ll be happy to help if you run into any trouble. Thanks!

It’s been a little while since I’ve seen any replies on this thread so I’m going to close it. If you still need help with this please either start a new thread or email support@glowforge.com.