I know being in a new house. We have night lights all over. This will be great!!!
2 Likes
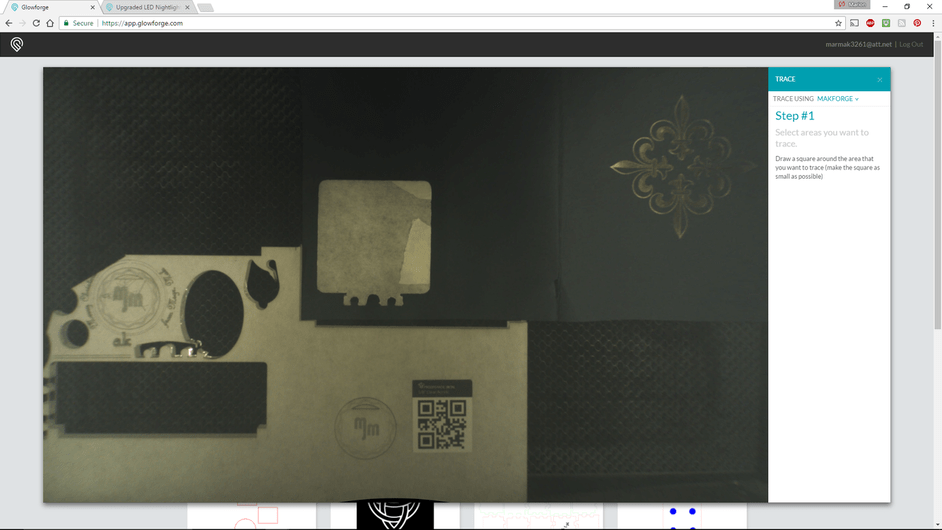
Nice trace attempt, made me think about tool cutouts, and trying to scan reflective objects.
Don’t want to have to paint the tools for contrast, perhaps some of that purple dye used in marking metal for machining.
May be easier to edit a photograph for contrast instead of scanning in the bed. 
5 Likes
It tests my internal thesaurus to come up with new ways of saying “Great project!” - but that’s my limitation! It is another great project, and I love the thought of breaking it down so kiddos could draw and create their own so easily. Thanks!
3 Likes
What if you used a different color acrylic for the small spacer? Would you get a colored hue in the back of the image?
4 Likes
Thank you for sharing! I’ve always wanted a cool night light! Off the top of my head… A cat one, A Zelda one, A cake one etc… Guess what all my friends will be getting this Christmas! LOL
3 Likes
You would. I need to see if I have some of the translucent colored acrylic. I think I do but it is red. I wanted to try a neon sign look. I’ll check it out tonight.
1 Like
How about putting them on the bed and placing a light blue translucent acrylic sheet over them. That might give the same effect that we see with the immerse in a blue liquid before photographing for gradients. Then there’s nothing you’re coating the tools with.
1 Like
I really want to experiment.
1 Like
My kids will definitely want one of these. Great job!
 EXACTLY THIS!
I have been waiting to try the scan a part / dupe a part workflow since Day 1.
Thanks for showing this. 
3 Likes
love this project… great job.
Your custom nightlight idea, where the kids make the design, is brilliant!! My son’s preschool class would really dig that!
1 Like
Awesome, glad to see some genuine usefulness projects popping up now that people have done their test cuts/engraves. And a great clean end result.
Ok. I couldn’t let it rest. Your comment made me think of another way of doing this, along with @jamesdhatch’s suggestion.
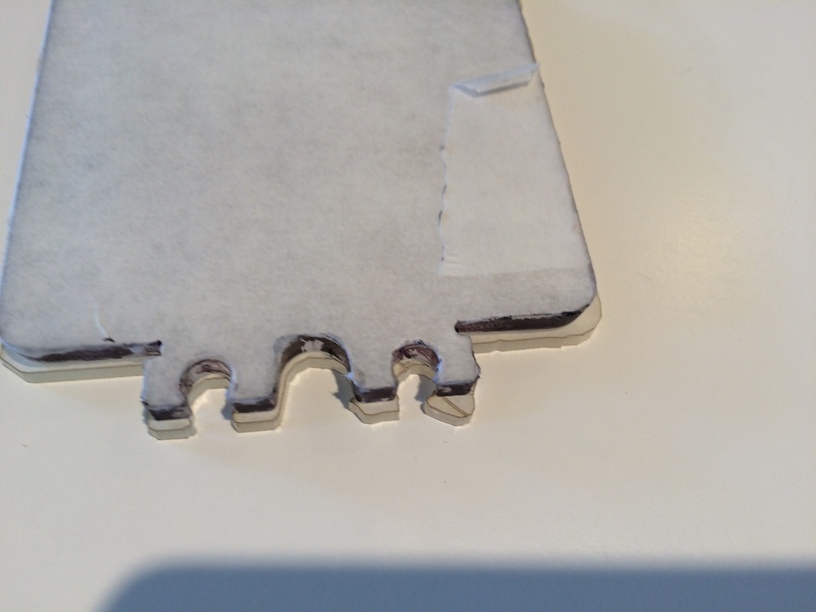
I put masking over the original reflector, trimmed it around the edges and placed it in the bed over a dark background. I realized I just needed the contrast here.
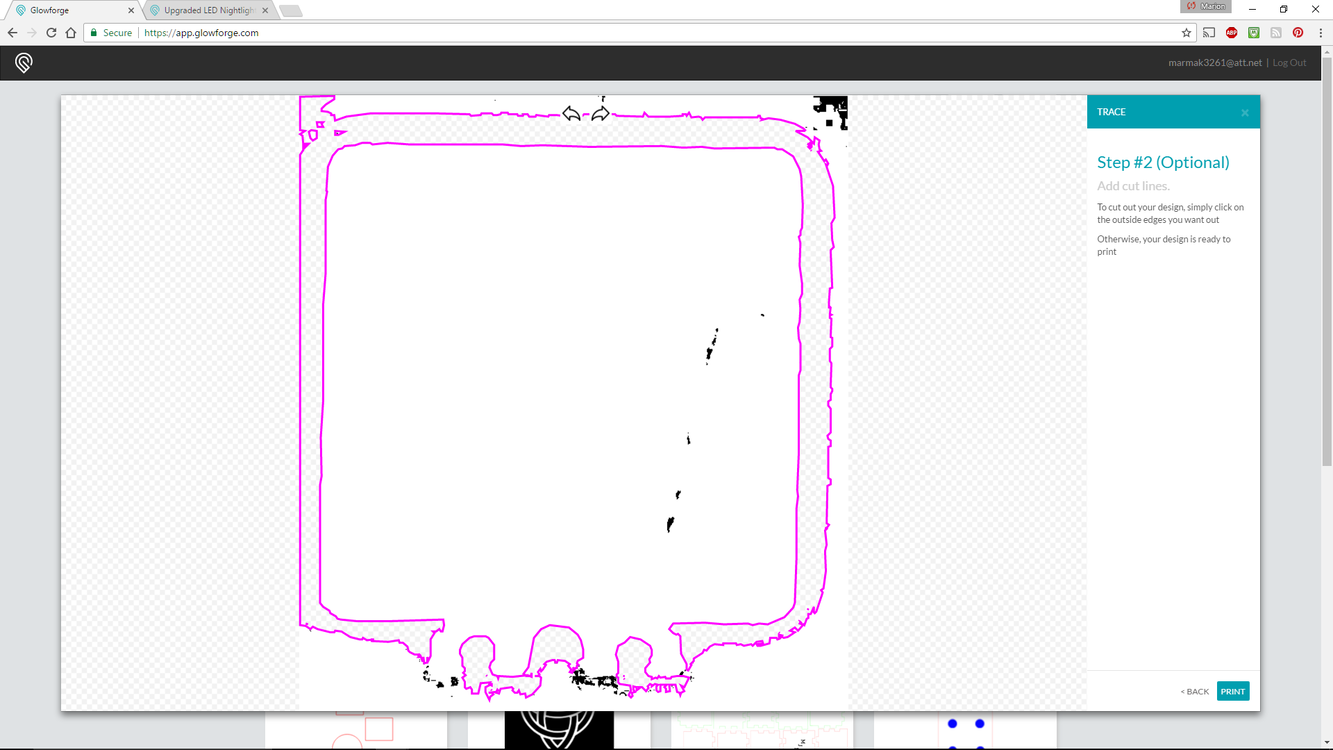
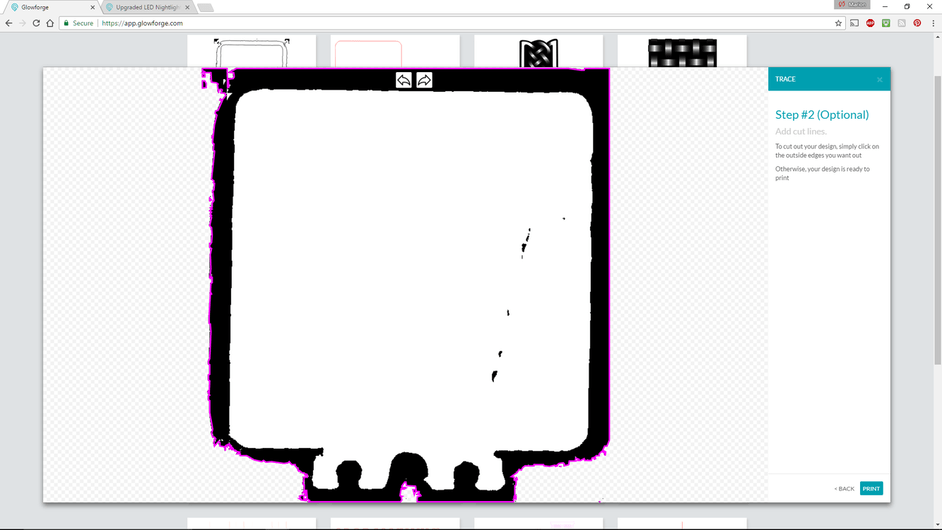
This didn’t quite make it all the way around to be able to differentiate a cut. The bottom is pretty precise and detailed. The shadows in the cutouts interfere with a good scan.
This one work out that I could get a complete outline and delete what I didn’t want.
This will work out.

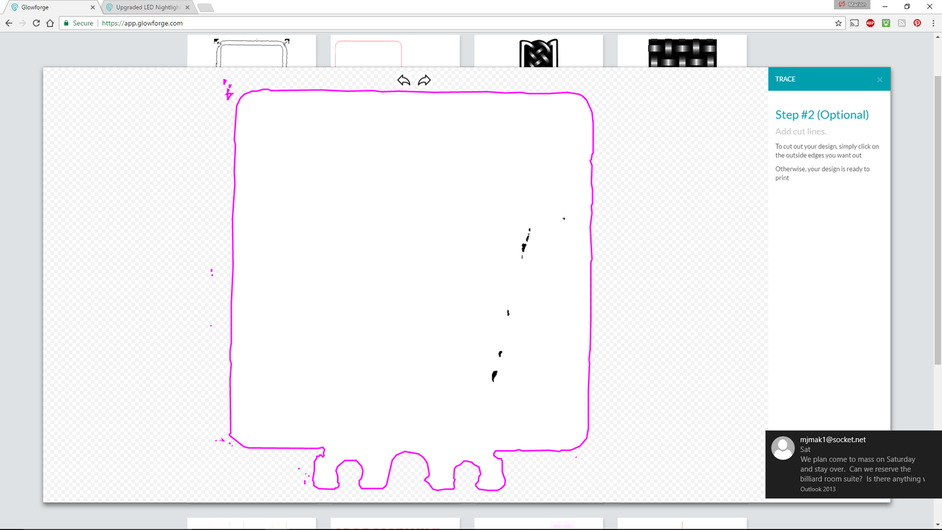
This is the cut file placed around the original image.
This is original overlaid on the copy. Is pretty close. The reproduced part is slightly larger and the holes for the screws are just a little small. A rat tail file would clean it up enough to fit perfectly.
I’d call this a success. I think if I had used a whiter masking and elminated the shadows around the bottom mount holes, we’d have a replica without needing any post processing.
Thanks for the input everyone.
19 Likes
Thank you, sir! This is a nice confirmation for some of my planned projects (and most likely many unplanned ones).
7 Likes
Very good! Can hardly wait… 
3 Likes
Since the original piece of plastic is a throw away piece, could you just ink it? I recall some visitor leaving some stamping inks with you. Or will the ink just run off the plastic?
4 Likes
That’s my thought for an easy way to get an outline too.
2 Likes
Or just spray paint. ?![]()
Could use stencils to do designs on or stamps or blasting with sand or etching. I do now have this extra plastic to deal with.
1 Like