Acrylic paint would stick nicely in the etch marks.
1 Like
Sure, but Marion didn’t strike me as a tagger. He seems to be a little old school, but not old, old, old school.
6 Likes
I do have a can of black spray paint though!
5 Likes
What if you printed a front and back as you appear to be doing here, but put different designs on each to give the final light some subtle depth? Not sure the distance between the two would be great enough to see it… but random thoughts. Maybe force the distance trickery a bit with some perspective in the design.
1 Like
Humans have been writing on walls ever since there were humans and walls. I would argue that it is in our nature to do so.
22 Likes
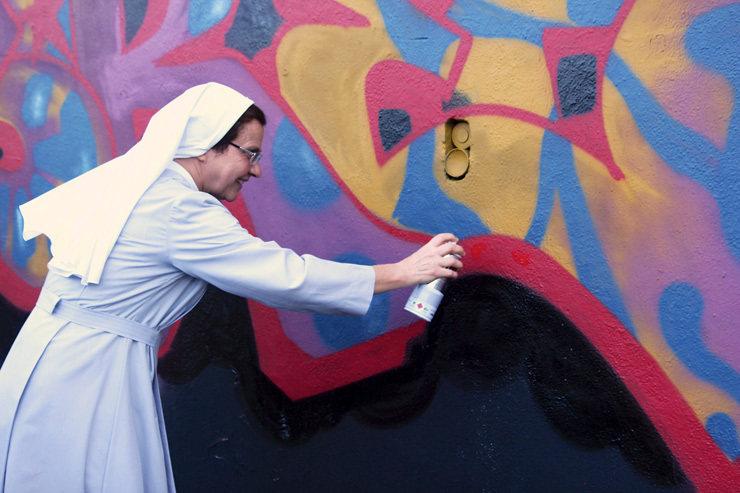
Oh, love the pic of Sr. Mary Krylon. She is known for her religious themed graffiti. It is rumored that before each installation, she says, “Let us spray.”
36 Likes
Best. Name. Ever.
4 Likes
First one is a shopping list. 
4 Likes
That would be old, old, old school…well, if she carved it into the wall.
5 Likes
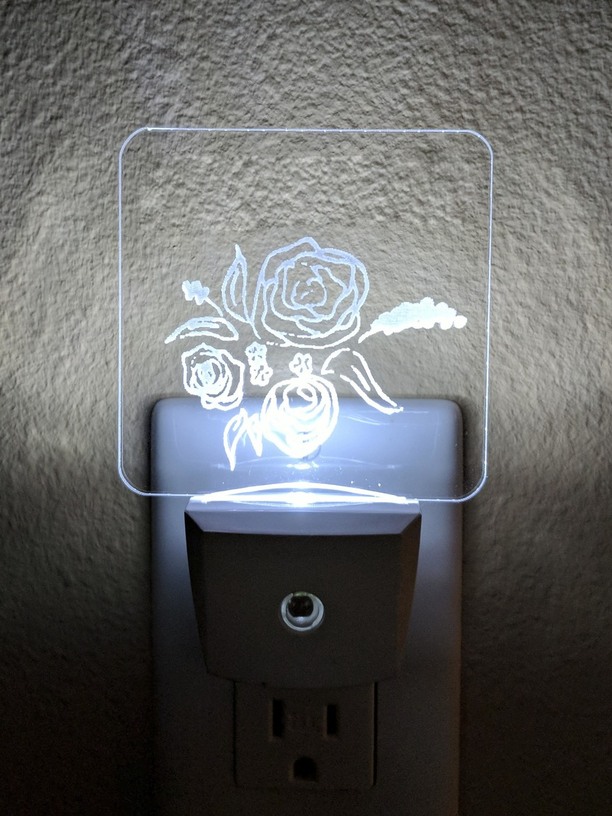
Thanks for this idea and the template. It worked great for one of my beginner projects (because you and your parishioner did the hard work). My daughter sketched some flowers and we added the artwork by scanning the bed and then added her daughter’s name to the top (I photoshopped that part out).
Thanks again!
13 Likes
Oh, that turned out just beautiful! 
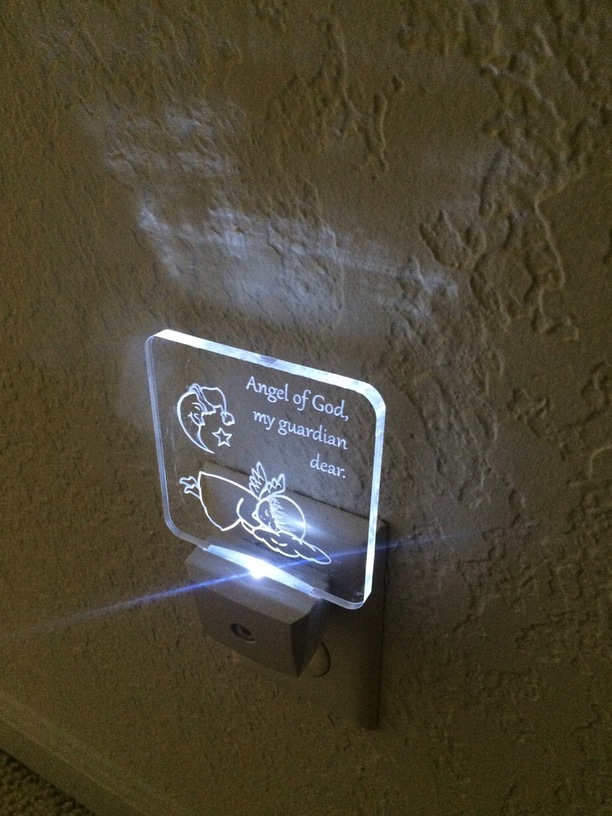

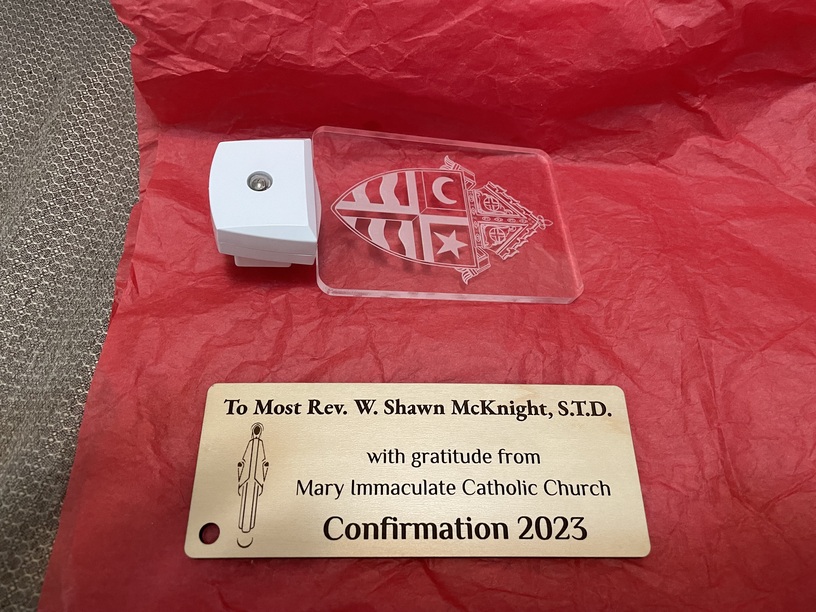
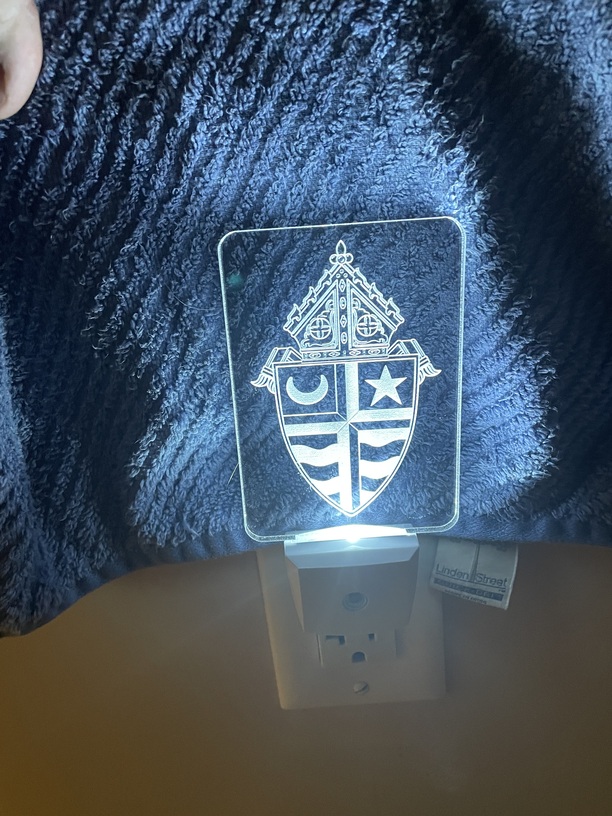
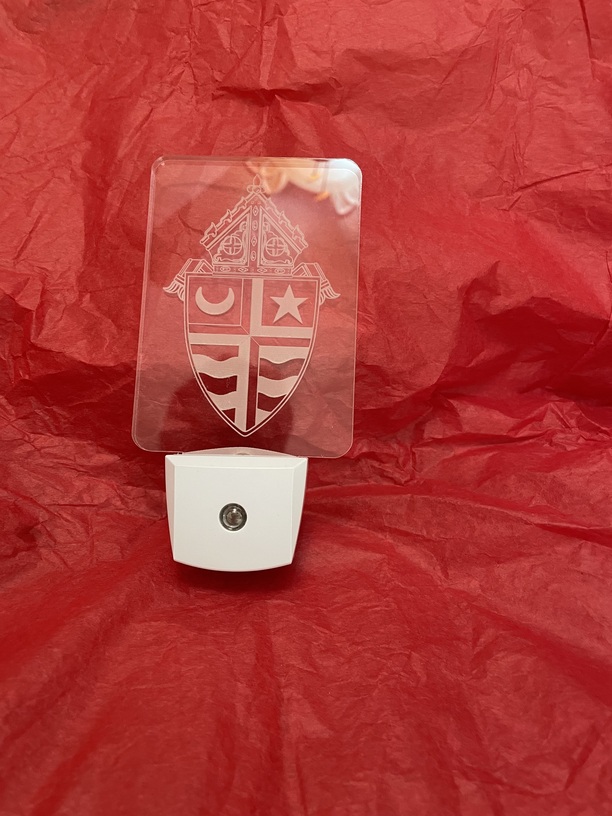
I worked on this nightlight after the initial project but never got around to posting the process for using Proofgrade thick acrylic or the .21 Chemcast that I have loads of. The thicker acrylic looks a bit more substantial and works very well too. In this case, we have to remove a bit of the acrylic to allow the base to screw back into itself and hold the acrylic. So we engrave the bottom tabs with the cutouts slightly to whittle down the thickness and hold tight.
The blue part can be engraved with default dark engrave settings for acrylic, but if you raise the focus slightly to about .3" for that operation, you’ll get a nice mottled texture. Two passes at 70% power gives a slightly deeper engrave. You’ll need to test your machine on your acrylic to see how deep the engrave needs to be to allow a nice fit when you screw the base back together. Better to have too thick than too thin as thin makes the reflector wobble.
15 Likes
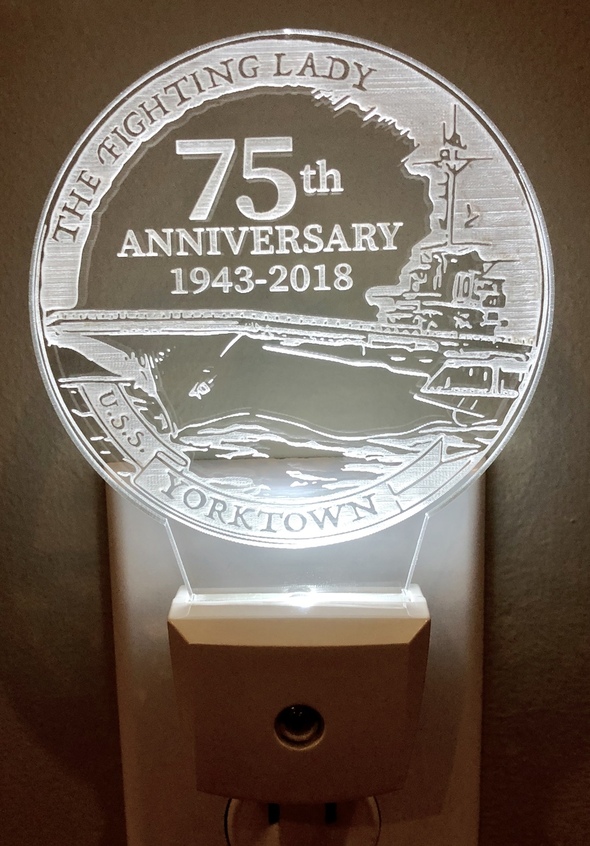
Thank you so much for posting this. I volunteer at the USS Yorktown (Aircraft Carrier in Charleston, SC) and we have an auction during the reunion for our crew members and their families. I wanted a few new things for our crew members and this is it. It is the 75th anniversary of our ship this year. I included a blank round acrylic form. 
18 Likes
Oh that’s nice!
1 Like
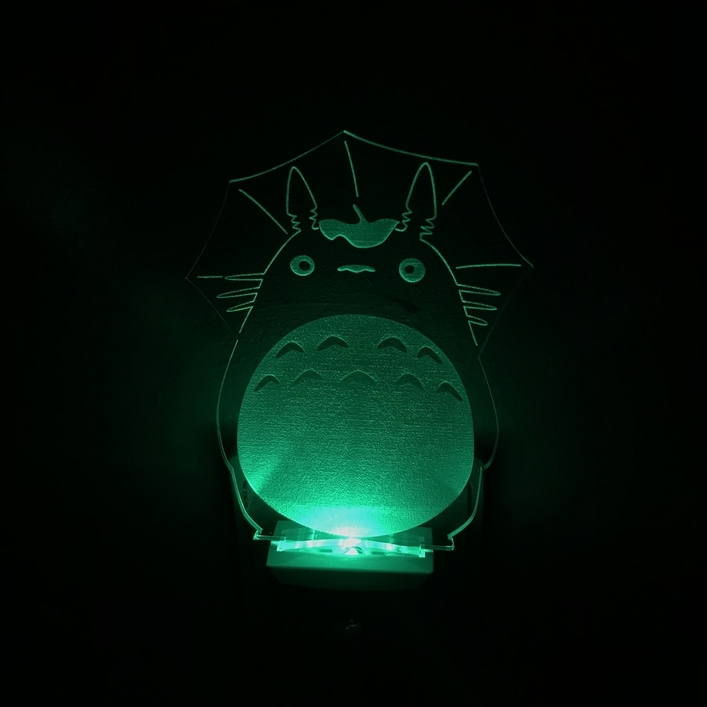
Thanks so much for sharing the template and the reference for the hardware, just had great fun making a Totoro nightlight! Thanks to that, the only actual difficulty was finding the right screwdriver head to open the base up!
9 Likes
Just a quick thank you! I was inspired by your post to create a lesson in my class. It worked so well!
2 Likes
I had my daughter create a drawing - thick black marker / made a vector out of it and we made it into a night light. Lots of fun projects for kids and classes. What was your lesson?
1 Like
I just placed an order for some of these lights. Nice and quick little project. Looking forward to trying it out. Thanks for the info.
1 Like