Here is a quick primer (and experience report with UPS My Choice). Not sure how this works for non-US addresses.
The sign up page does allow you to tie it to your Facebook/Twitter/Google/Amazon account, but that is your choice. I like to keep non related companies and accounts separate.
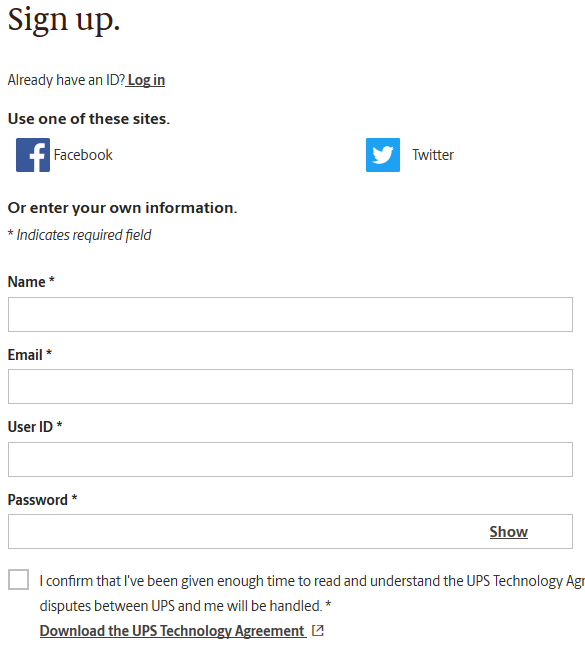
Make sure that the Name field matches your order name with Glowforge. If it doesn’t it can be added after the account is created.
You will also get an email to verify your account. Don’t forgot to verify it.
This is where the UPS site gets squirrely.
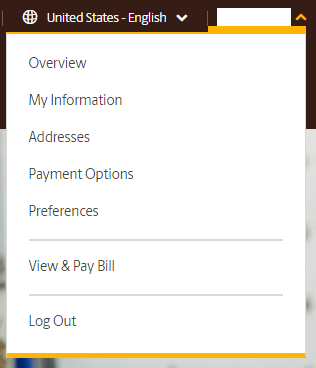
Once you setup your initial account (free) with UPS you can select the Drop Down in the upper right hand corner and get to the My Information section. (Clicking on Overview brought me to a black page, but selecting My Information then clicking on “Back to Overview” above the Login Settings header got me to the Overview page)
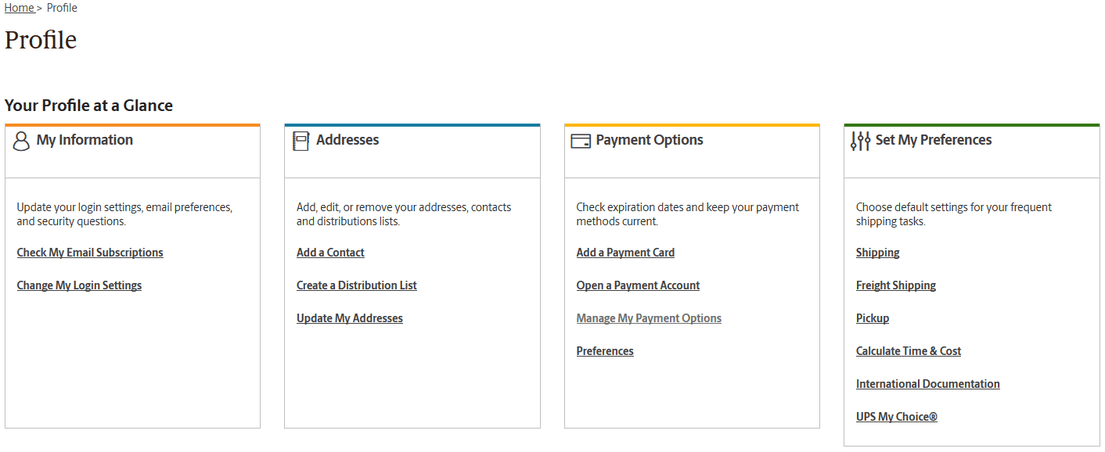
To avoid Upselling emails, go to the “Check My Email Subscriptions” and select what you want to keep:
Go to the “Update My Addresses” link and fill in the address (matching what you give to Glowforge) as completely as you can (sorry but businesses and PO Boxes will not work). You might need to verify the shipping address with UPS - Validate an Address.
Once you get that done, you can then select the UPS My Choice link under “Set My Preferences”
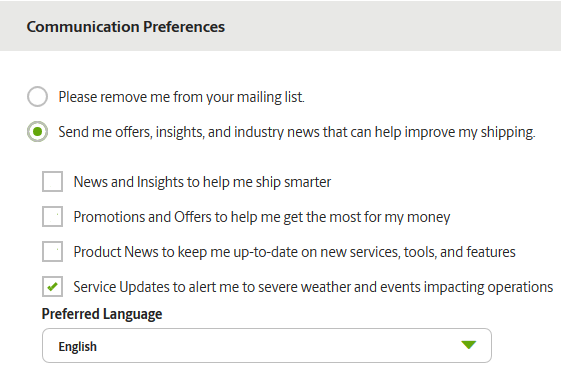
That section will look somewhat like this (personal info removed):
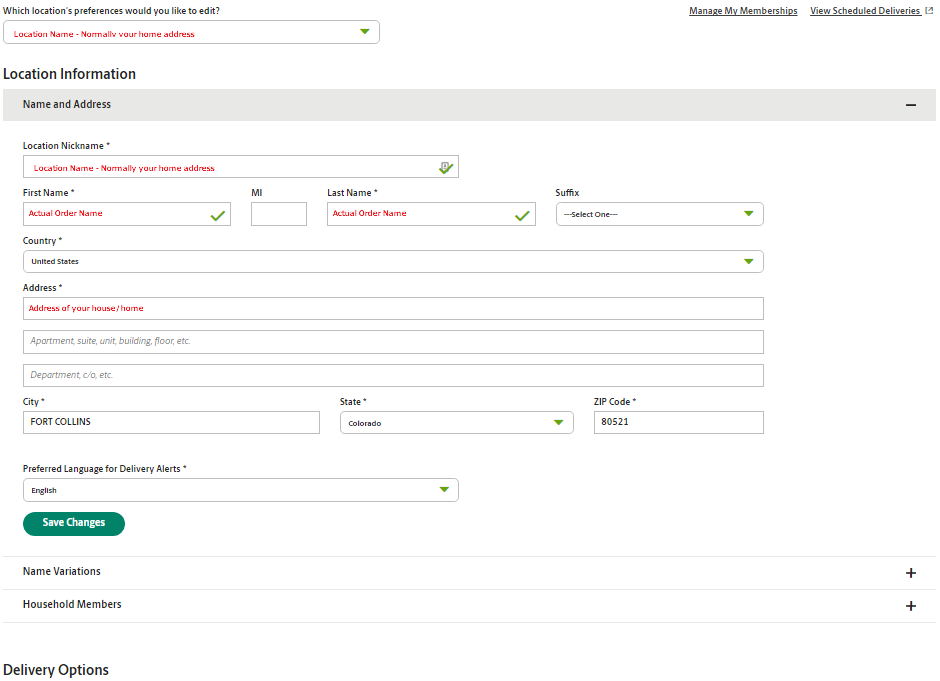
Verify that UPS did transfer the address correctly. Didn’t seem to work quite right for me.
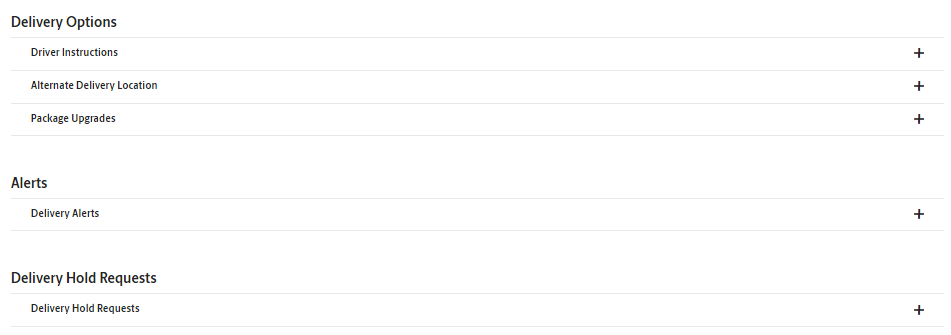
Now select the plus sign to the right of Delivery Alerts to get this page:
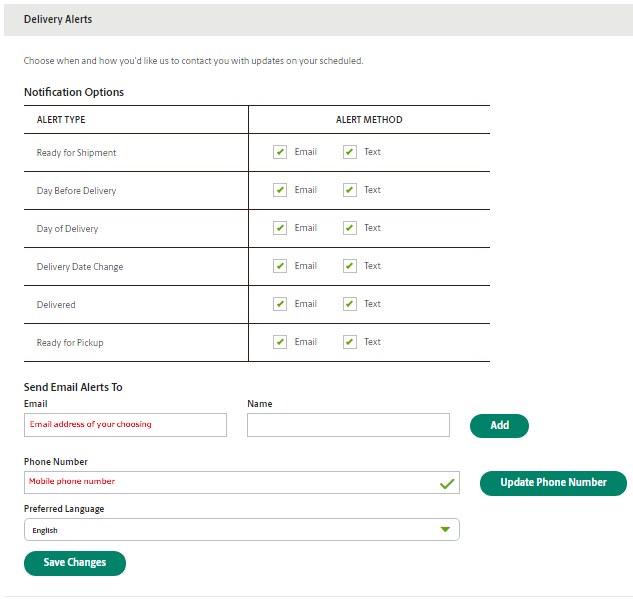
Once again the UPS site decided it would not take info from me (specifically my cell phone number). Had to login using a different browser (IE 11 specifically) to add the mobile number.
When it finally recognized the number, I could add/select Alert Method “Text” as above.
Hope this helps.