So, I had an idea, and I am wondering if others here (being the makeyest makers I know) might have additional input for it.
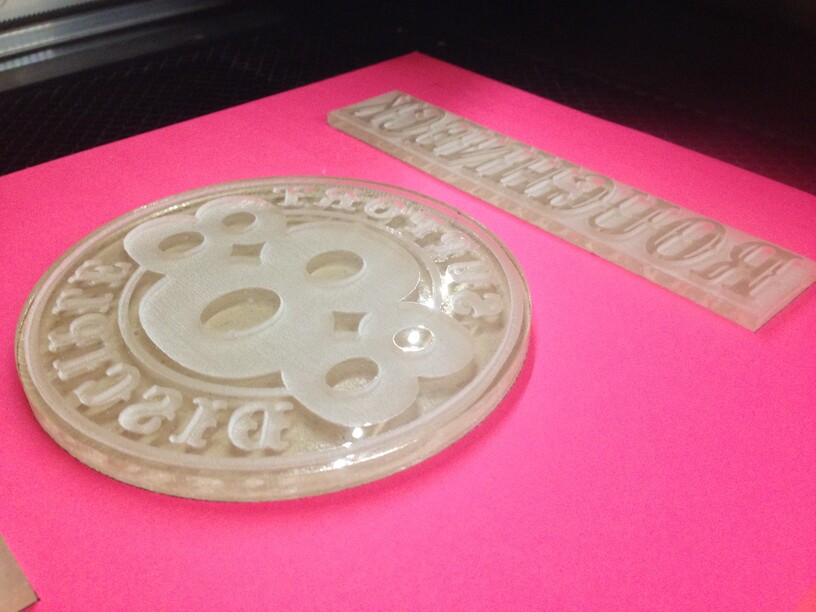
I thought about using the GF to engrave a relief design into acrylic, then using the acrylic to make a wax mold or something, and using that to cast brass parts, like leather stamps for gilding.
Does anyone have experience in something like this? Would it work- using the GF as the patternmaker? I have never forged any metal, but I am thinking of buying a crucible for this project and trying it out…
I don’t know if wax would work or not. In my teen years and worked for a molding company we used clay and sand to make the brass molds, but wax maybe a good starting point to make the actual mold, you will need something that the hot brass won’t melt when poured…
No experience with the brass part but I use acrylic as leather stamps all the time. Depending on the tools you have around you might not have to go through all that trouble of making a metal one.
I did a lot of precious metals casting using lost wax. Also bronze casting. I would use investment (a type of plaster) designed for that, as it would reproduce the finest detail.
Either brass or bronze alloys have a high percentage of zinc in them that fume heavily at casting temperatures, so serious ventilation is required to prevent zinc poisoning.
It’s fun, but considering the technicality I would think primal healer’s technique would serve, depending on exactly what you’re after.
Use the GF to engrave a positive (what I want the stamped leather to look like)
Use wax to make a negative mold
Put the wax into oil-based sand
Pour molten brass into the sand to replace the wax
Clean up the casting
Stamp leather
Is there a flaw in this plan? Anyone have any experience in the realm or that can speak to making wax castings of glowforge engravings? (Thanks for the inputs so far- keep me coming!)
Ah ok I looked up investment casting and I see what is going on here now. So the plaster takes the place of the sand, giving higher-Rez results in the finished casting.
Awesome.
Since the stamps I want to make are all small (less than 1” in any direction), it will be very similar to jewelry making I’d imagine.
Any tips? I have zero tools for this right now, but I’m already browsing amazon lol
Plaster is the easiest to work with, the main issue being bubbles. To reduce them, paint the plaster on the wax before pouring the plaster. Make sure that you get the plaster into all of the details. It also helps if you have a vacuum pump that you can use to help draw the excess air.
Yeah, google lost wax or investment casting supply to find it. The investment is an alternative to sand. It is a very fine powder with fiber reenforcement and will faithfully reproduce the finest detail.
Using a “flask” and a “sprue base” the wax model is attached to the base and placed in the mold container, the flask. After mixing the investment you vibrate the slurry to help remove air bubbles.
Holding the flask at an angle (best done on the vibrator) slowly pour the investment into the flask so that it creeps up around the model. That also helps prevent bubbles from attaching to the model.
Let the investment setup and slowly heat the flask first to drive the remaining moisture out, then raise the temperature to melt out the wax. After that the temperature is increased to completely burn the wax out (somewhere around 1,000-1,200 degrees F) and then lower the temperature to around 800 (depending on the alloy) for casting.
Unless you are after the adventure of the experience, there are companies that will produce your piece from the wax model.
If you choose to pursue the task I strongly recommend you do enough reading to be comfortable and prepared for it.
Good Luck! (and be sure to share the adventure and results with us!)
Edit; painting the first layer of plaster on is a good method also as Steve said.
You have the basic steps. I assume you already have a way to melt your brass. You will also want to have your plaster mold up to a temperature that will prevent the plaster from cracking when you pour the molten metal in.
I will stress the need for power ventilation unless done outdoors. The burning wax and zinc fumes are to be avoided - especially the zinc fumes. Metal poisoning is no fun, in mild cases everything you drink or eat for the rest of the day tastes like metal. (ask me how I know that!)
I work with brass casting. printtolaser describes the process well. I would just add that you are going to need to obtain the use of a kiln to dry your plaster. Its also a good idea to put the plaster in sand before casting also, in case it isn’t dry and you get a steam explosion.