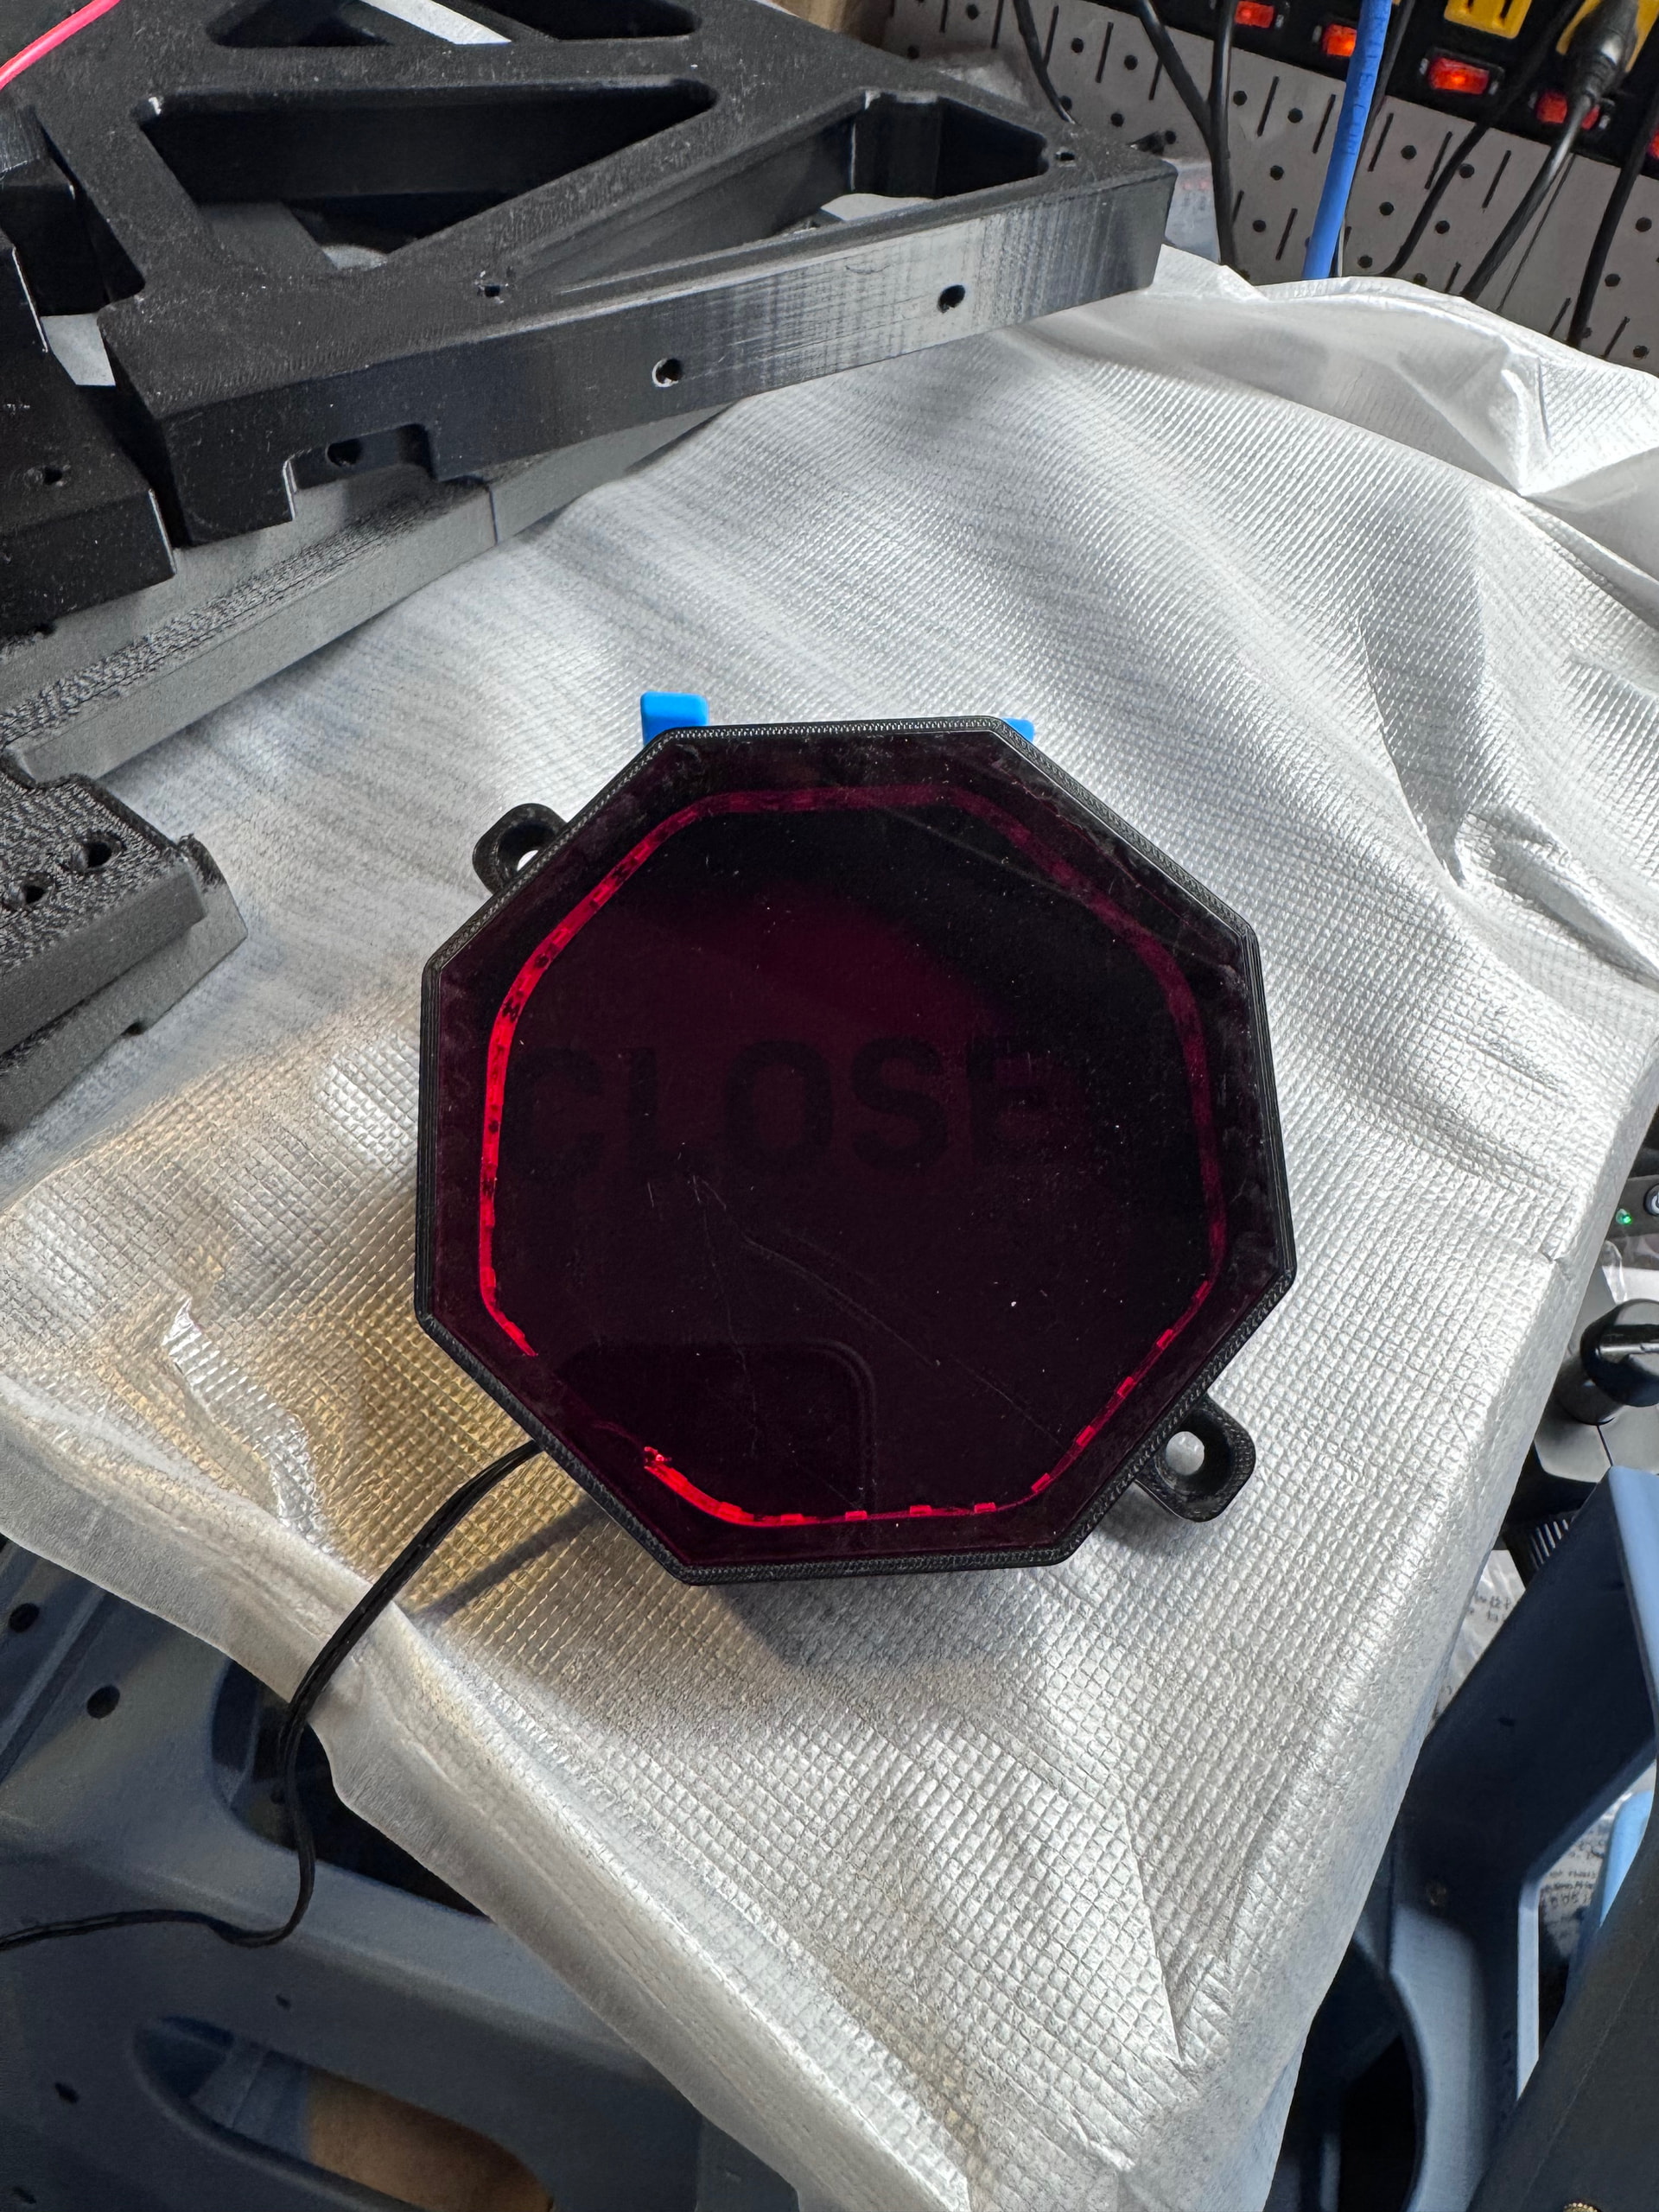
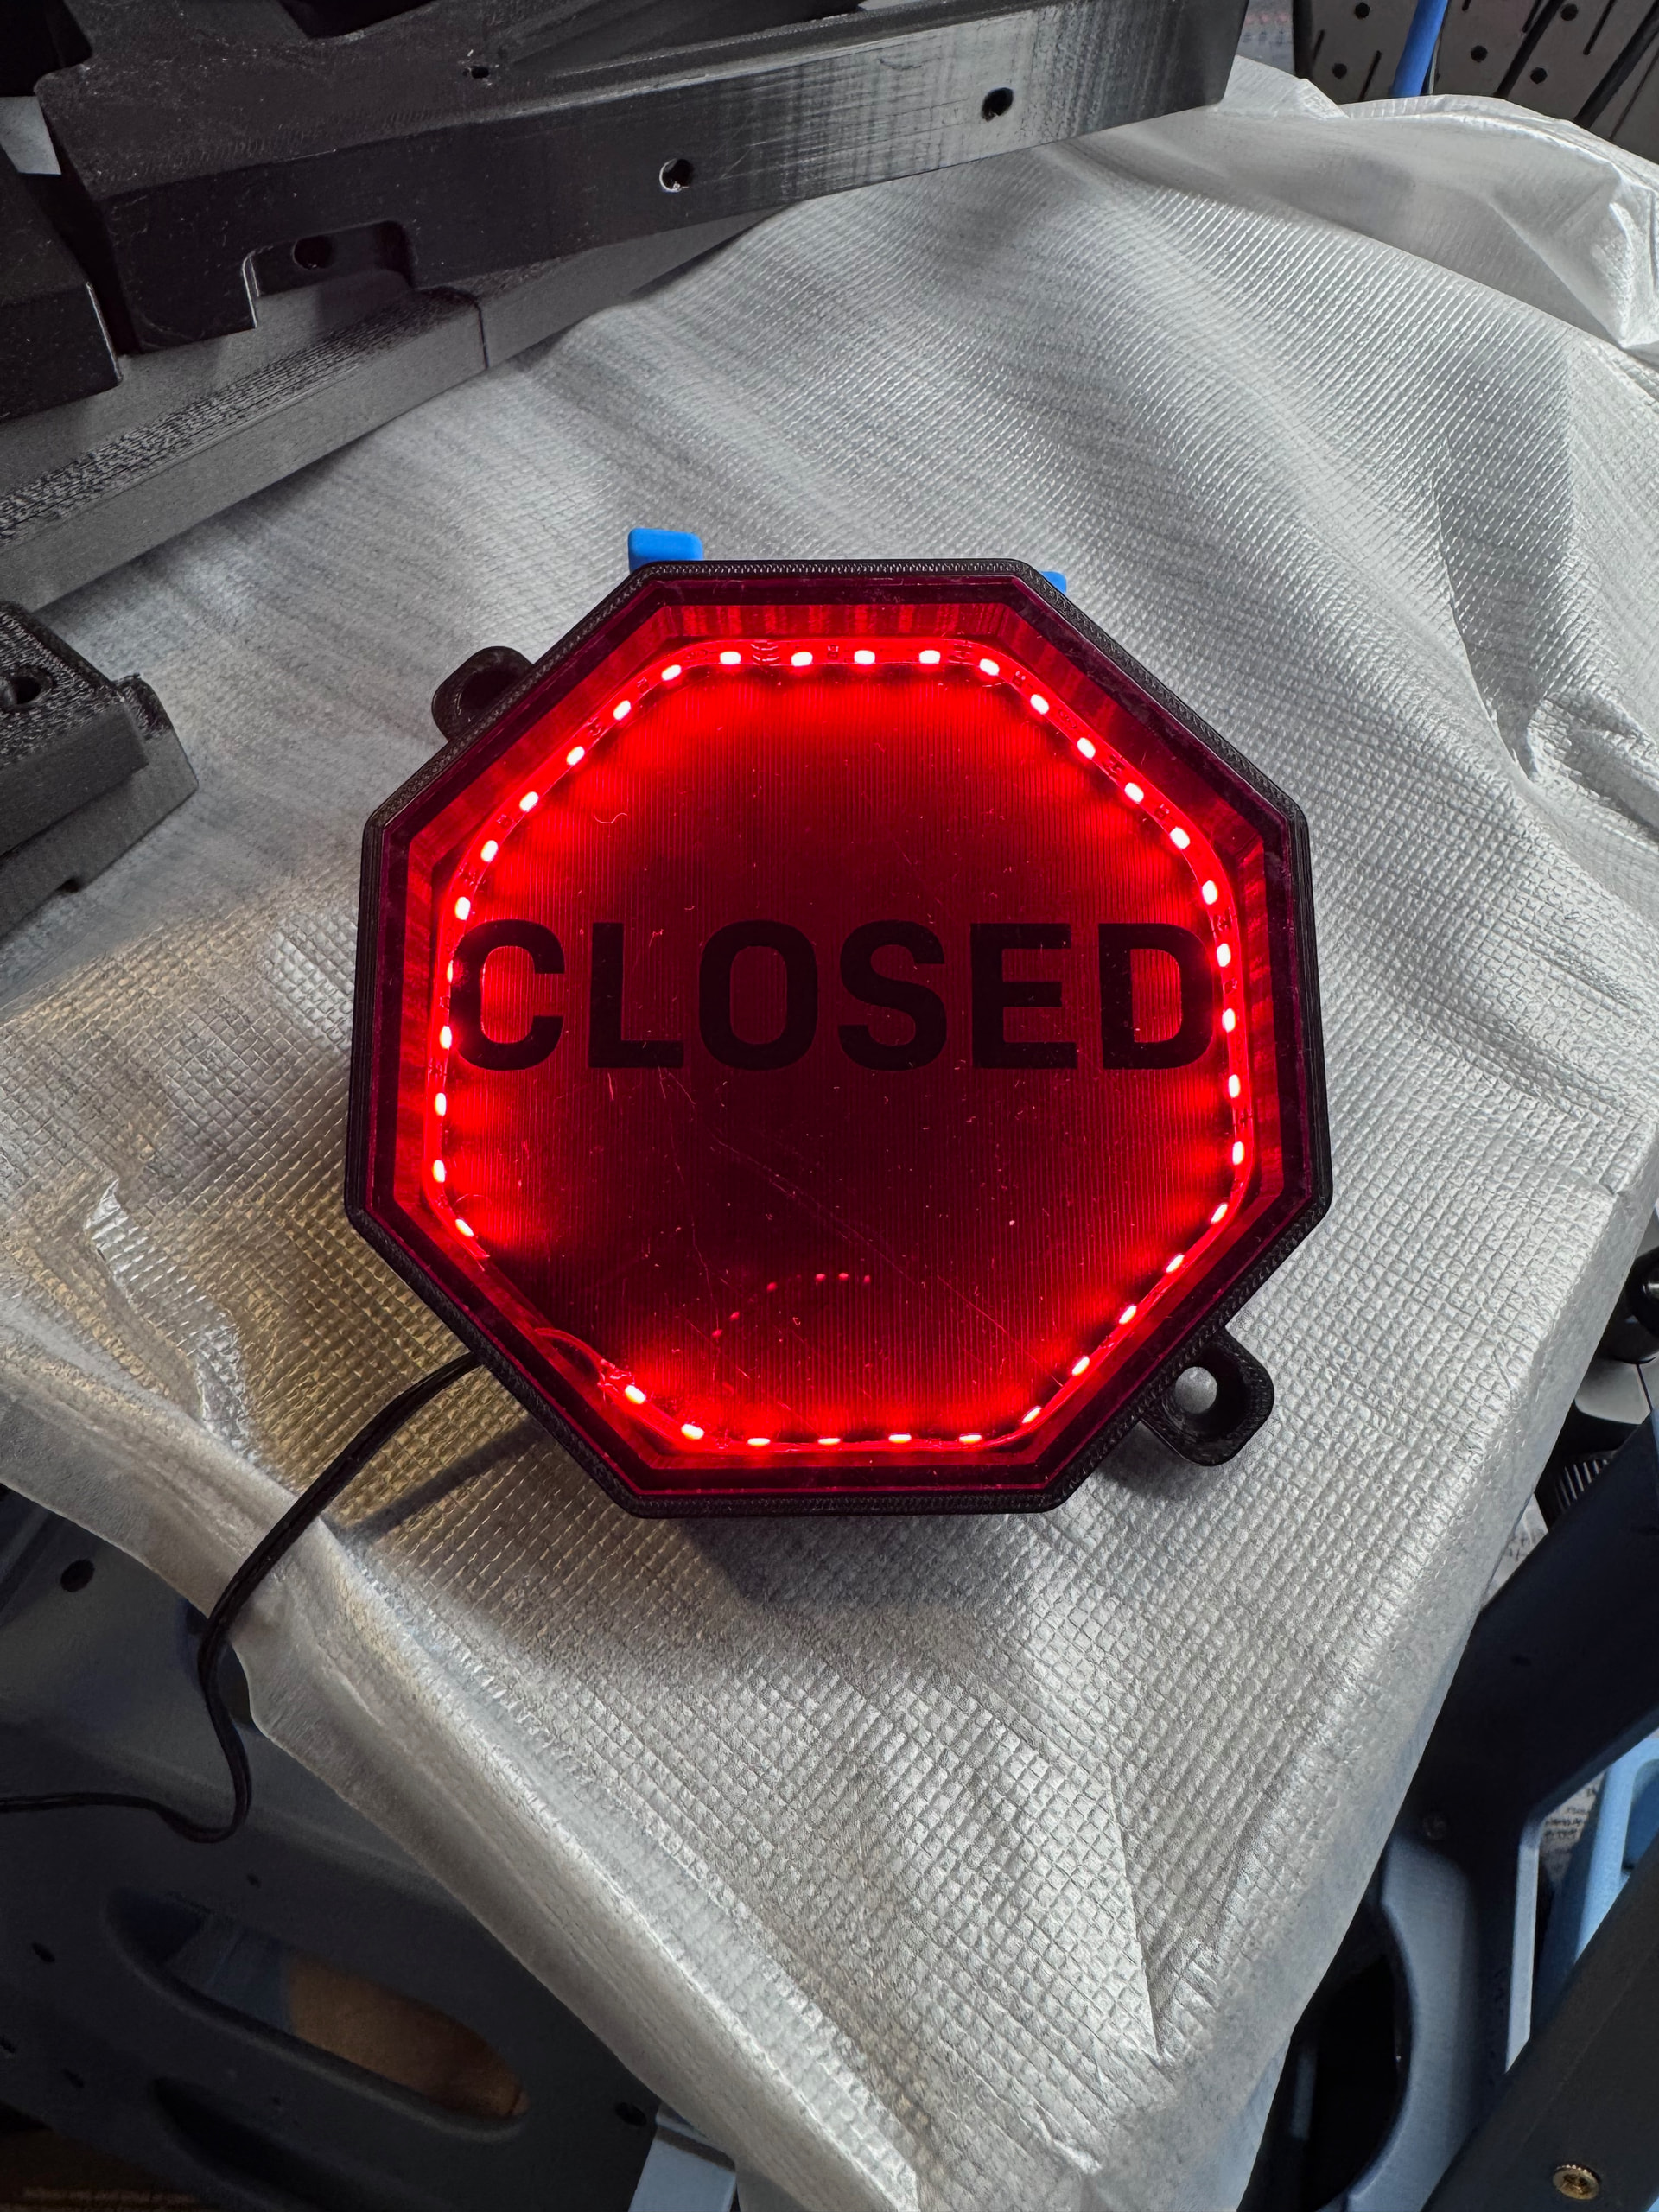
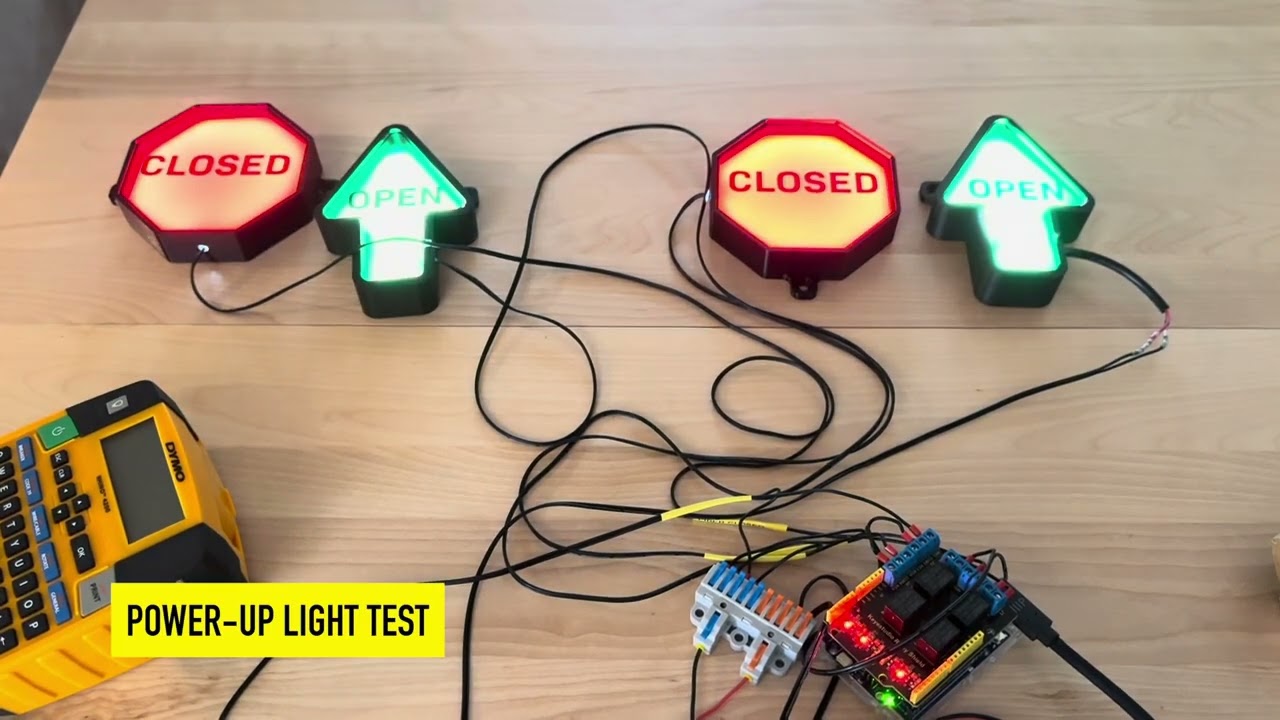
In my upgrade to the venting for the GLowforge to accommodate the Lumos Pulse fiber/UV laser I realized I needed to put some indicator lights with logic. My first version was simply engraved red clear acrylic, which was OK, but didn’t look very professional. however UV printing the words on the inside looks great. Once my Denver Acrylics diffusion white arrives I can put the diffusion layer in which will make it better than just edge lit, but even like this is looks great. These are switched via an Arduino relay shield that uses microswitches to sense the blast gate positions. and if both are open they blink like a railroad crossing to warn you you are venting into the room.
29 Likes
This looks really cool! But even better is the impressive functionality. Well done!
9 Likes
Fun!
9 Likes
Updated the printed shells with mirror tape on the bottom so the side light reflects up. Since my DenverAcrylic diffusion acrylic arrives today, after I regain consciousness from overnight call, I will add those and post a new pic. I also realized that aluminized hose is just awful stuff and am switching to PVC dust collection hose which is so much smoother and has better airflow. I am putting a 6” inline 400CFM fan (fiber laser smoke is more toxic I believe since vaporizing stainless steel can’t be good even in small quantities so we need to make sure it absolutely vents with lots of vacuum.
13 Likes
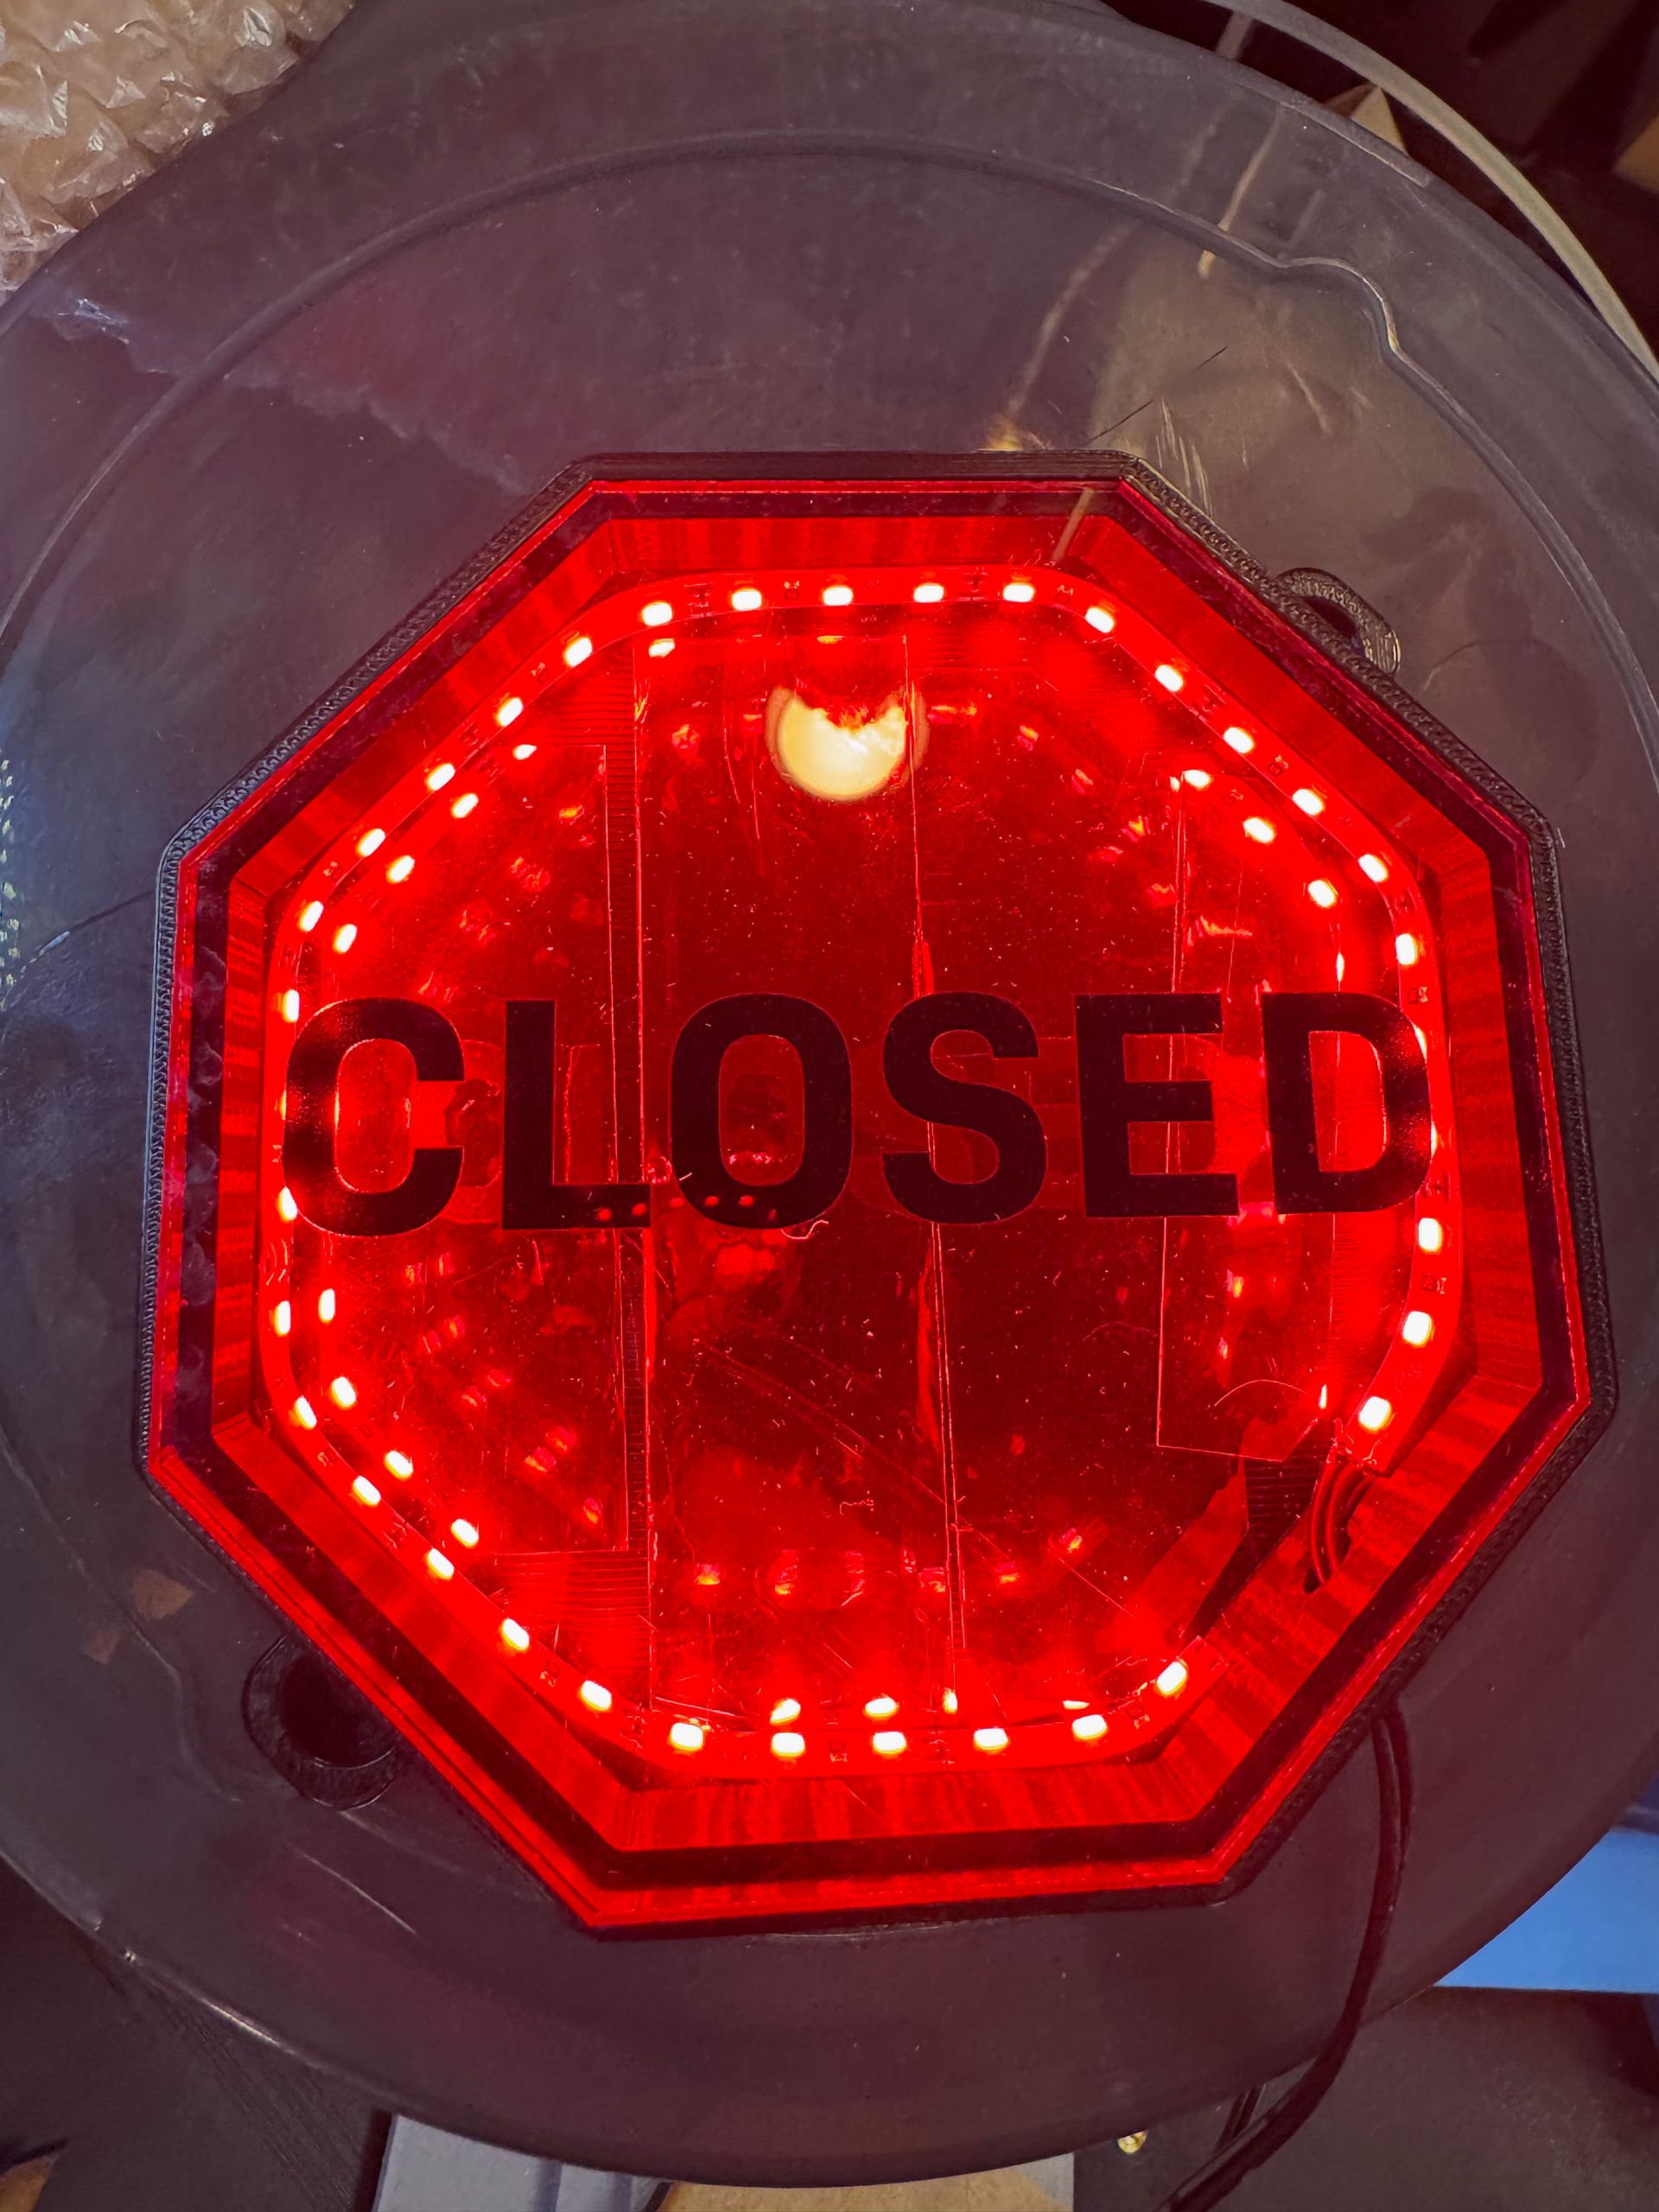
So here is the first upgrade with the mirror tape, which gives it a kind of infinity mirror quality. I just crudely cut it in with scissors. But then…
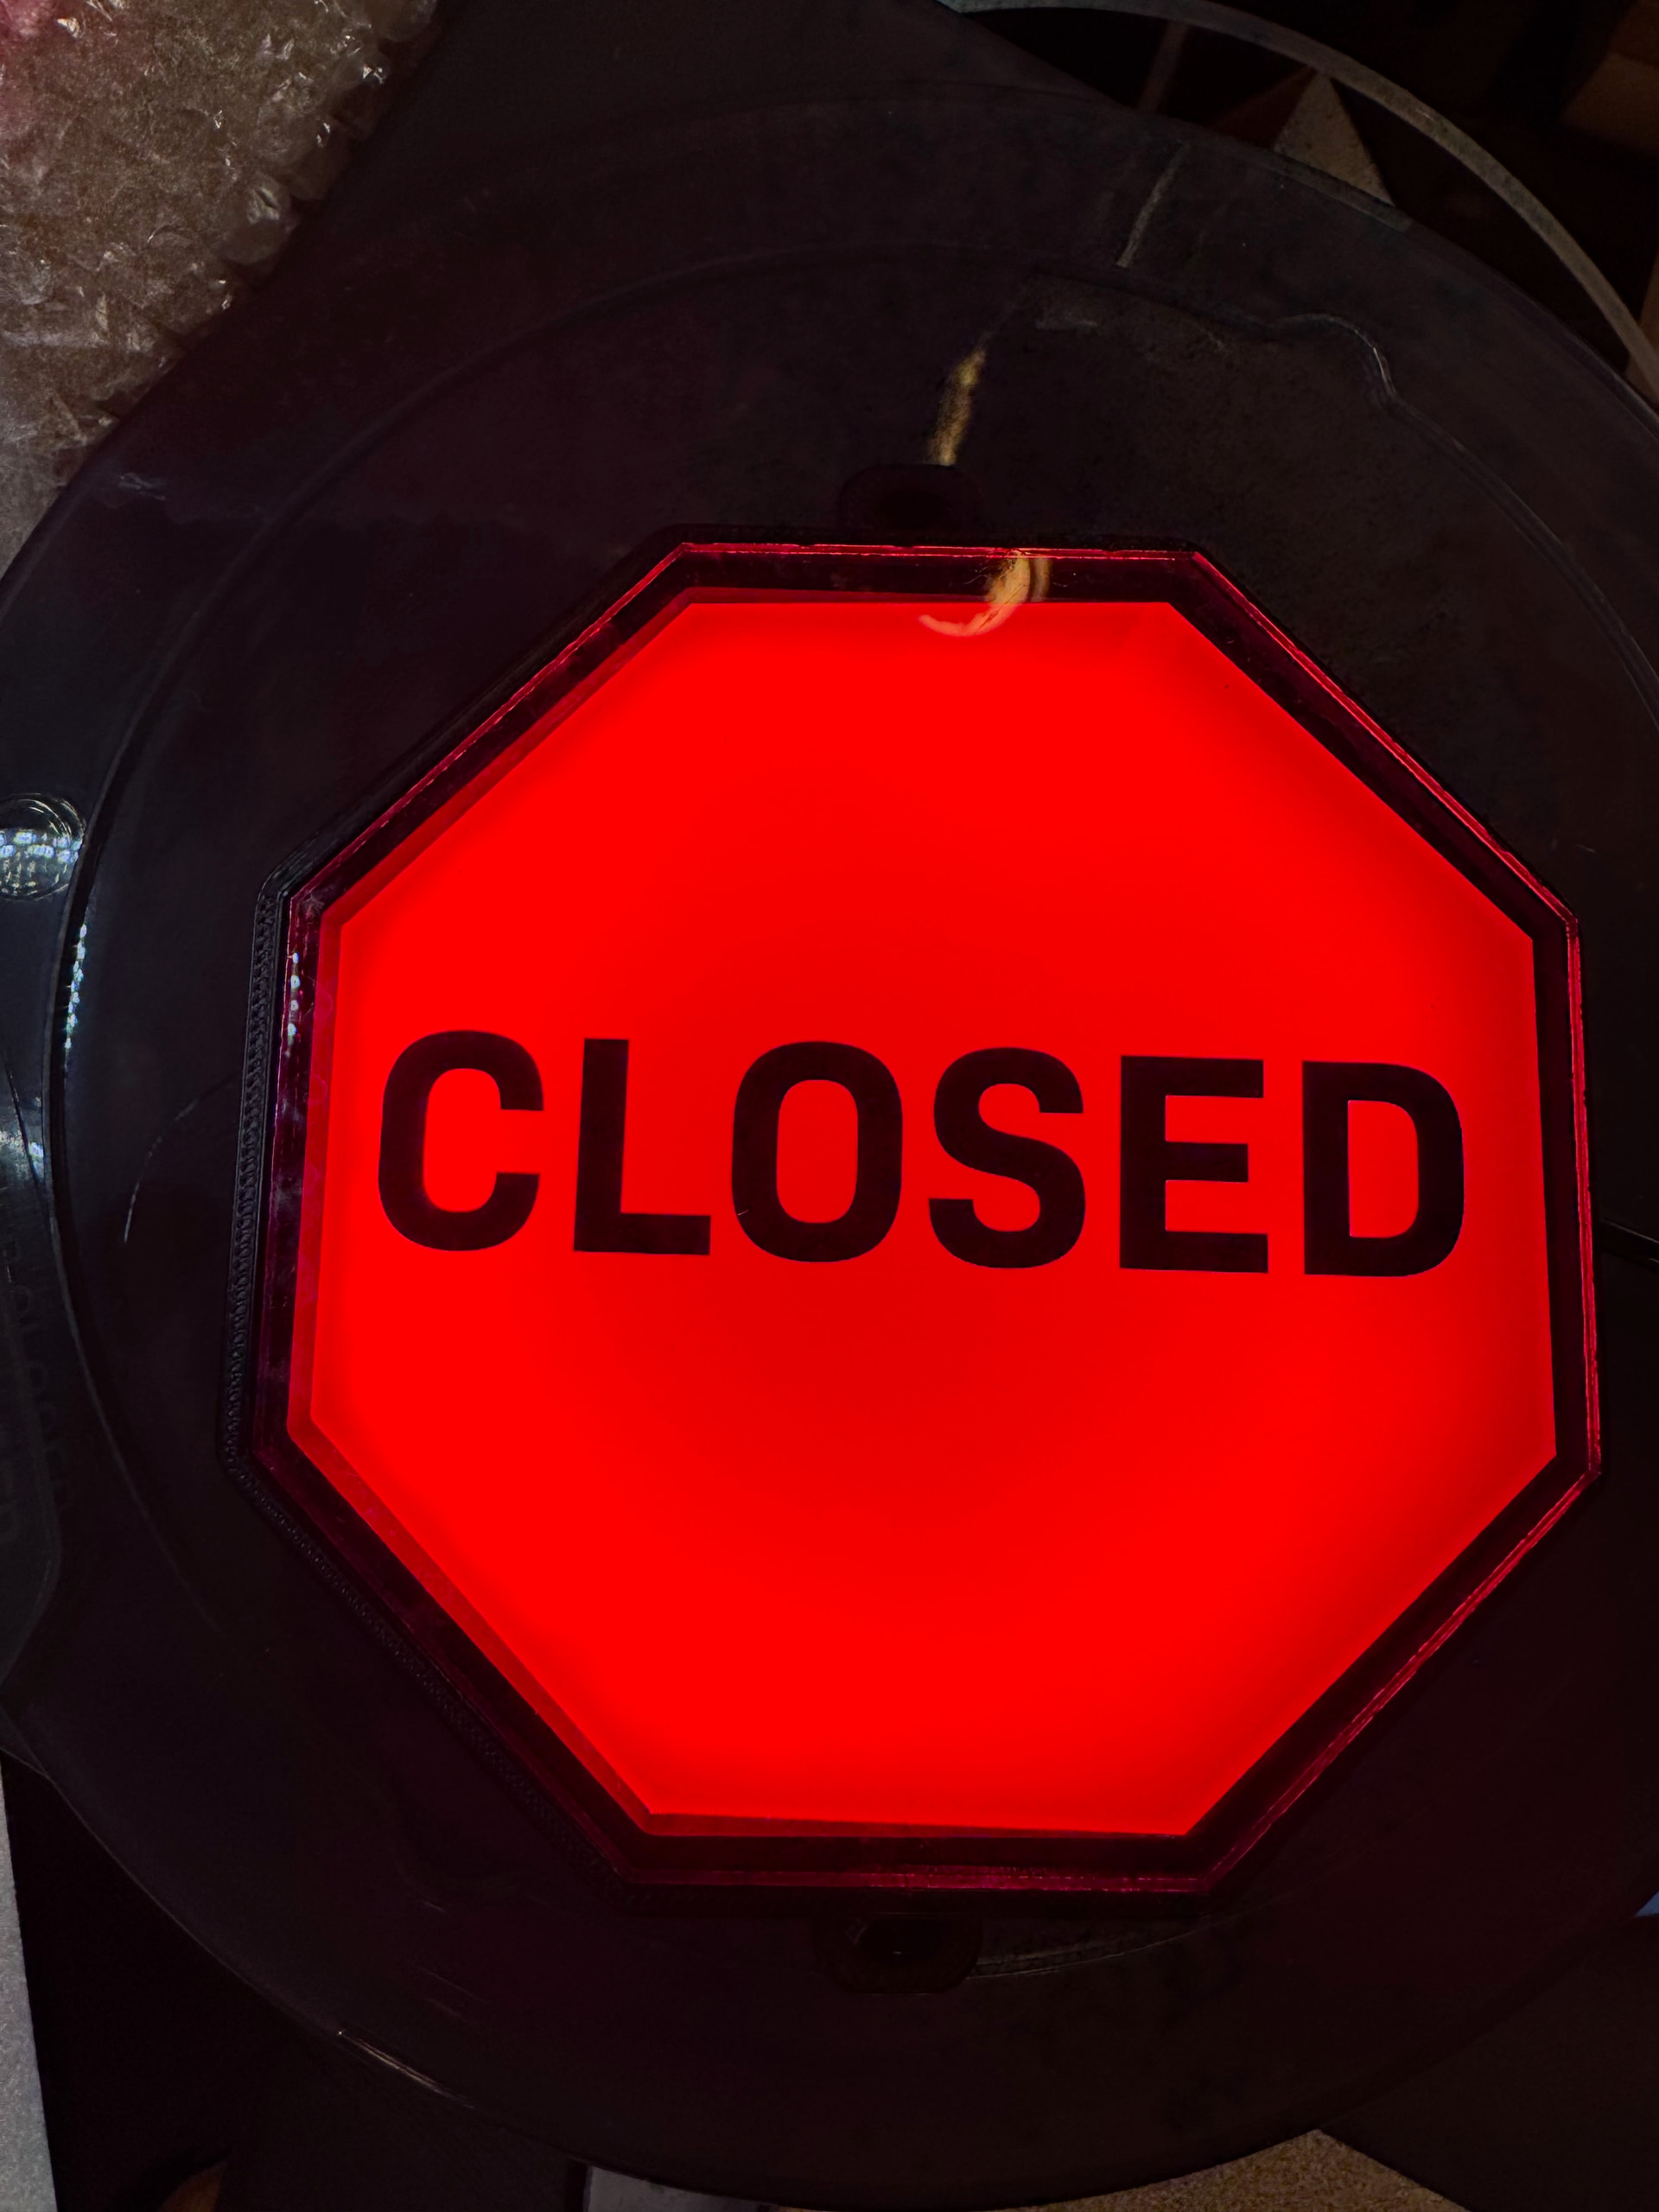
My “milky white” Denver Acrylics acrylic, diffusing layer, oh my is that gorgeous in real life. Makes it so freaking readable!
18 Likes
Wow! That is a great diffuser.
9 Likes
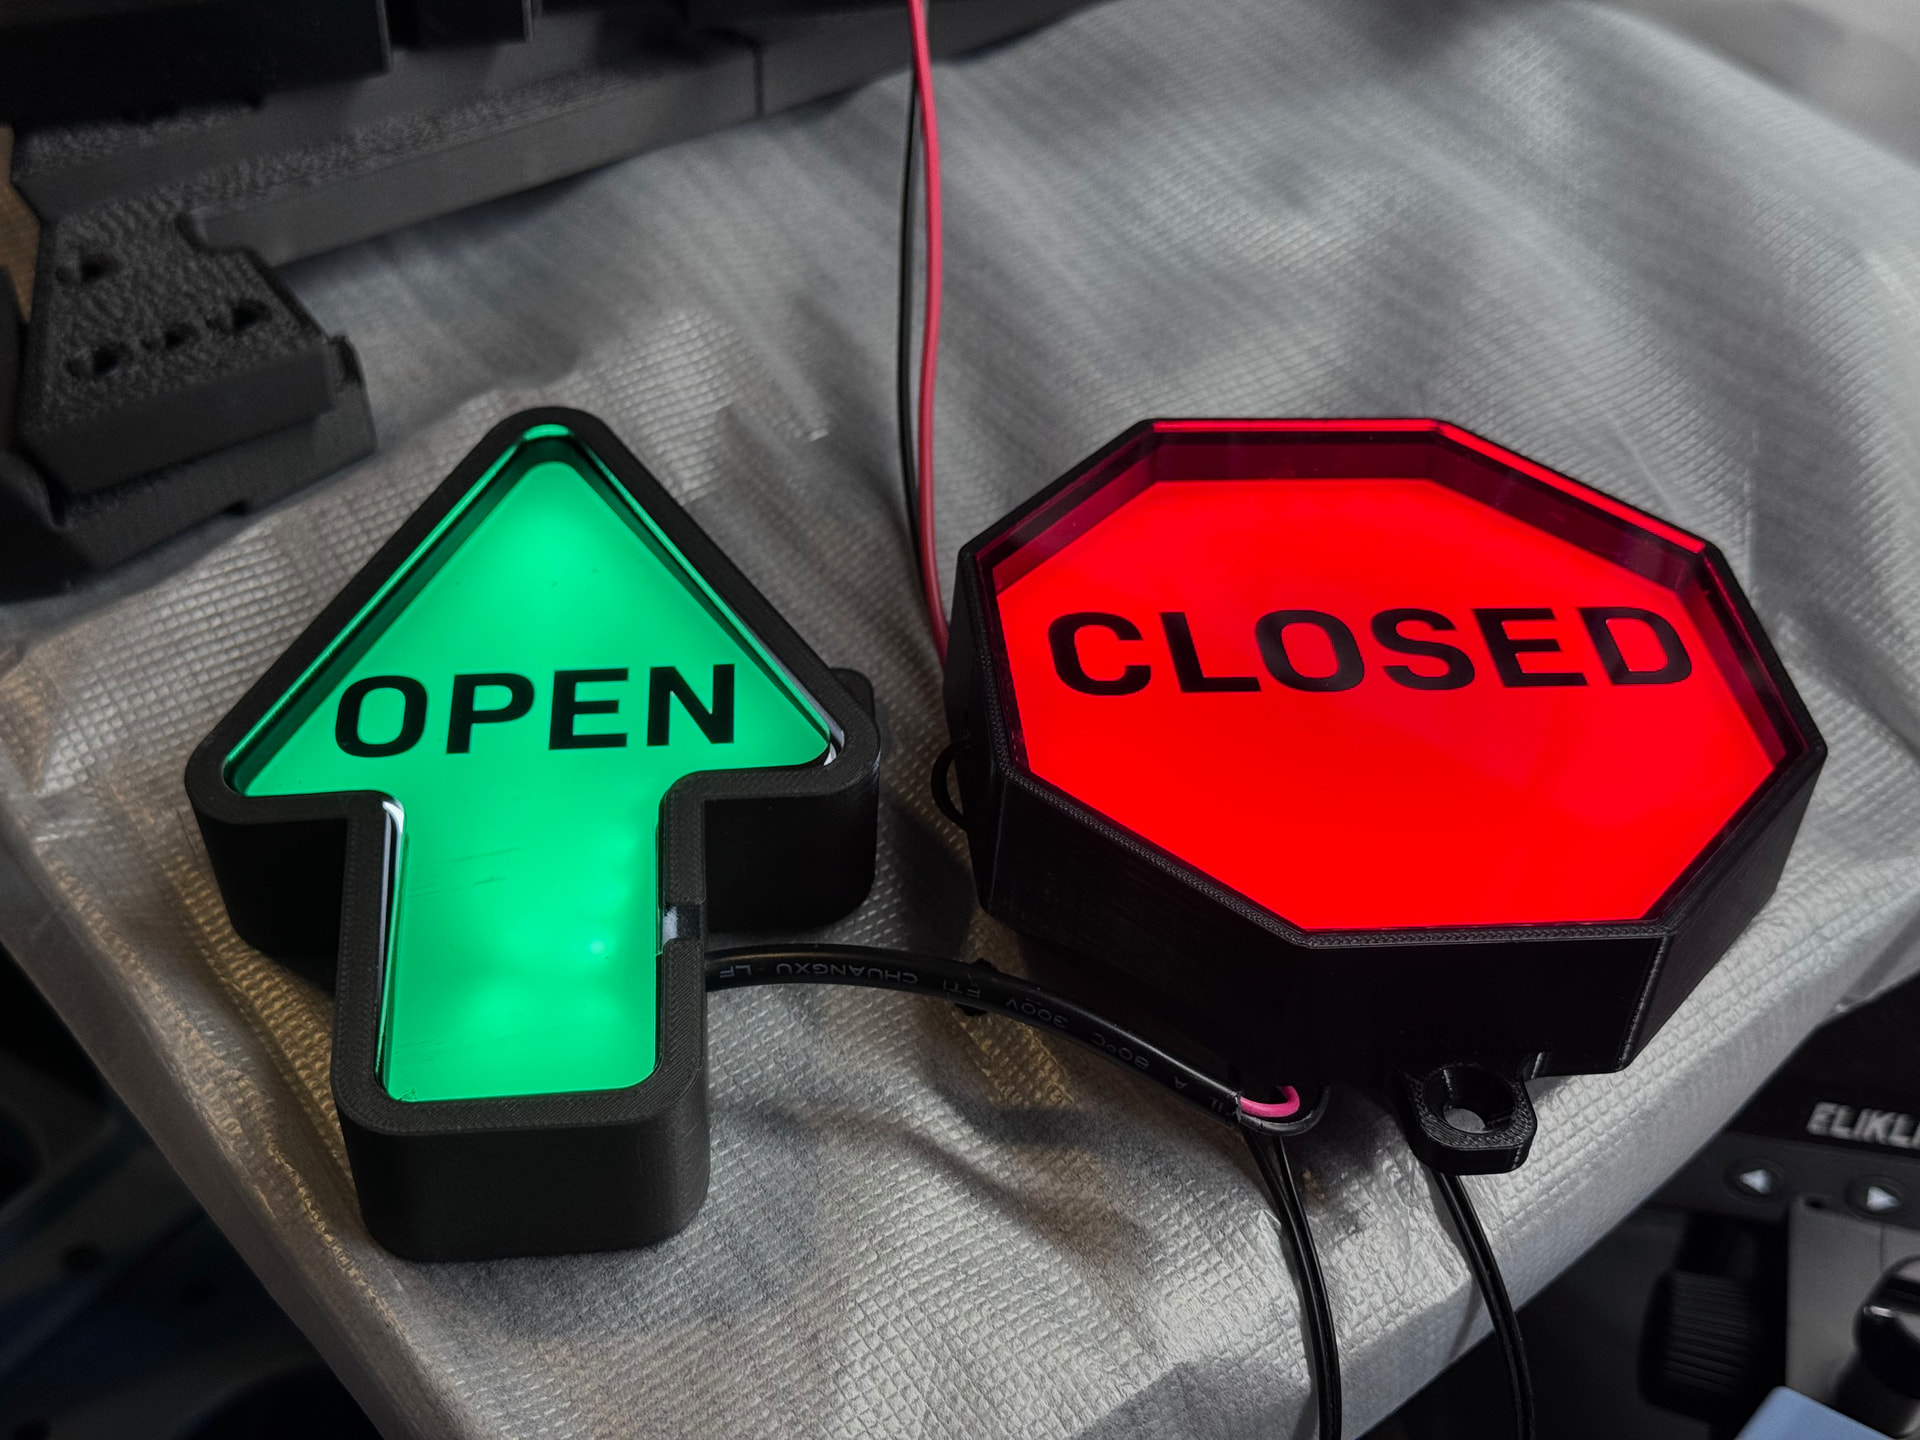
I kind of had extra on the strip when I cut it for the green one, so that is why you see the LEDs sticking in the middle. The green is Denver Acrylics translucent -green, and the milky white as that diffuser as well.
15 Likes
Got the parts all put together (this is just the power up test prior to putting it all on the DIN rail next to the exhaust, this is set with both gate switches set to open (i.e. alarm state). Here is a video of the power up light test and then the alarm state. I will do a real video once I get it installed and go over how each part was made and then the Arduino programming (it’s pretty short).
13 Likes
Iterating on designs is the best part of being able to make it yourself.
13 Likes
I used to be really good about photographing/keeping my iterations, but I definitely got lazier over the years. The number of times I regret that is not small though, so I should get back into the habit!
11 Likes