Wedding sign part 3

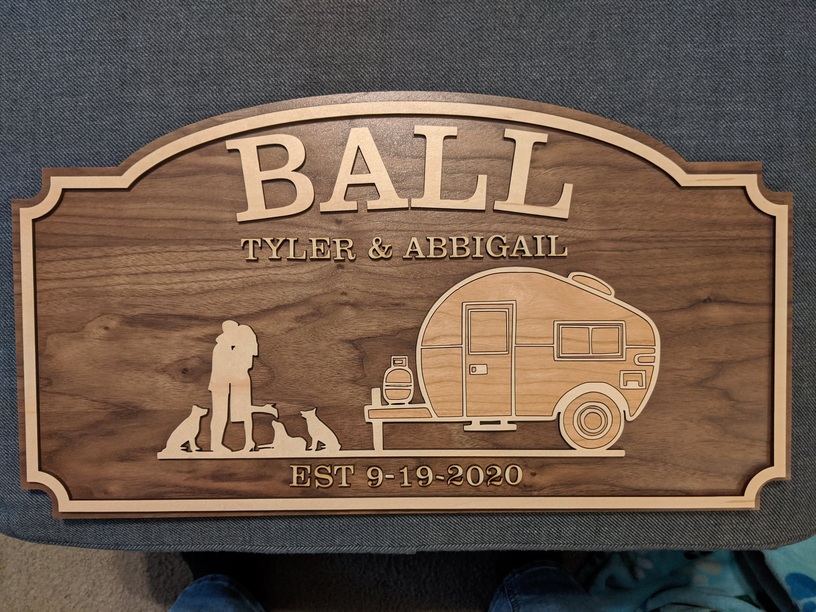
Made another small sign for an upcoming wedding. Don’t worry! Nothing is glued down in this picture haha. I’ve learned that scoring the back piece is beyond helpful for putting the text on! Thank you to everyone that suggested doing that.

I’m pretty happy with this one. I’ve never made a two tone inlay piece (the camper) but the pieces all seemed to fit like a glove! Most importantly, the client was happy.

40 Likes

Wow, that looks amazing. Really good job! If I were the client, I would be really happy too!

4 Likes

Nice job. It is rewarding to make clients happy.

5 Likes

Thank you very much!

That is very nice!

2 Likes

Very cute! Are they tiny house dwellers?

2 Likes

I’m honestly not sure. I think they just enjoy camping with their pups a lot :slight_smile:

4 Likes

Thank you!

1 Like

I love the colors on it. The contrasting similarity. I am sure there is a term for it. I will just say gorgeous.

4 Likes

Very nice design and choices of woods.

2 Likes

Thank you! It kind of just happened by accident… I mean, I planned it out from the start! haha

5 Likes

Thank you! I’m quite happy with the result

That looks fantastic! Your use of the different woods really makes it pop!

1 Like

One technique I’ve seen to great effect is to keep the negative shape that your letters created and use this as a placement template. Or if they are too large/unwieldy, you can create the template from draft board.

2 Likes

Cute teardrop! Great sign.

2 Likes