I’ve looked an answer to this question in previous postings, but don’t see any reference to it.
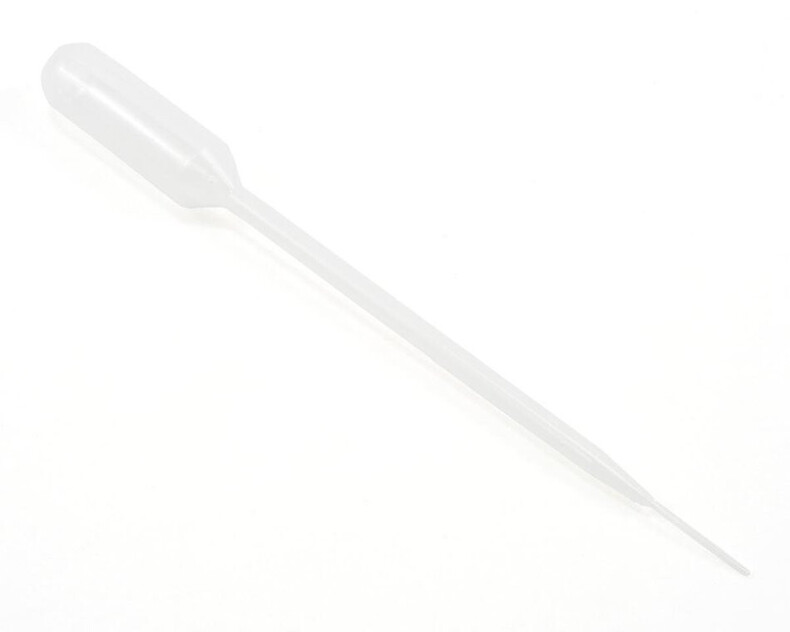
What type of applicator does everyone use for Weld-on 4. I have the plastic bottle that came with it, but I’m not happy with the mess (it seems to just run all over). I’ve seen the syringes that come with Weld-on listed on Amazon (kinda expensive). I’ve also thought about using regular syringes (yeah, I know - really sharp needles, but relatively inexpensive). I’m thinking that any syringe would allow better flow control than the plastic bottle. Any thoughts or suggestions?
Bob Smith CA applicators. Available online but if you’re in the USA and have a Hobbytown locally, they sell them individually for less than a dollar. Other modeling stores might sell them as well. I’ve never seen them in craft stores.
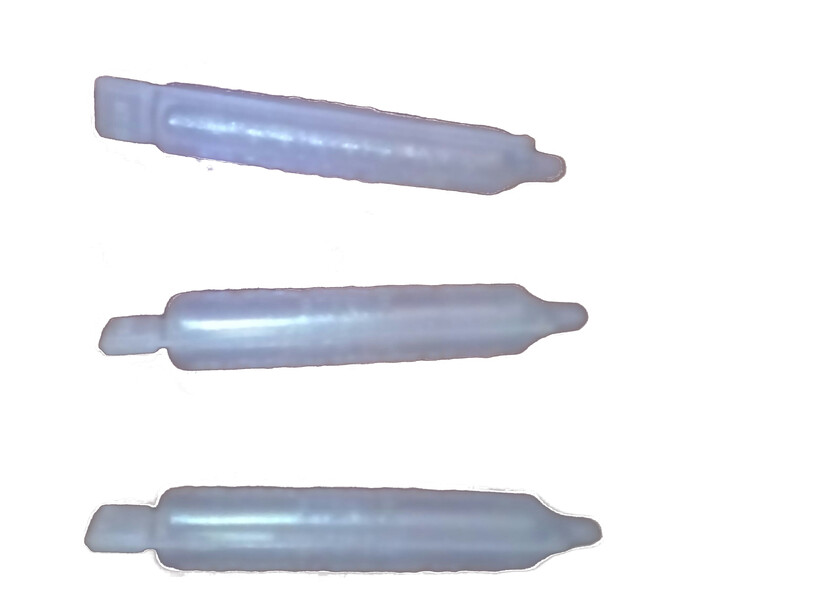
If you know someone in a doctor’s office, or with asthma issues long term and using a nebulizer the medicine comes in little ampules that the medicine is very volatile and leaves them very clean and thus quite useful for accurate placement of such glues.
Any syringe will work. I prefer the controlled delivery of a syringe, no suction upon release so there’s no air pulled into the reservoir between applications.
When I was super frustrated about it running out of any applicator I tried to use, the guy at TAP Plastics told me the key is keeping negative pressure on the applicator to keep it from running out.
I’m wondering if anyone has tried putting a puddle of Weld On 4 in a dish and running the edges of the acrylic through it, to see if it seeps in a little?
I have used both a needle-tipped syringe and an acid brush. Pure natural hair brushes work the best; anything synthetic gets eaten. For precision I prefer the needle tip, for larger areas like large corner joints I prefer the brush.
The dish would evaporate and make you dizzy in minutes unless you were able to work in a freezer.
I place the corner pointed down and have something under for drips. I also keep it in a jar in a freezer to keep it from evaporating faster than I can use it.
I do that when joining large panels where I don’t want any visible seams at the corner. I pour the solvent in a glass or stainless pan and stand the part in it for 30-45 seconds, the edge will soften during that time, then remove from the pan and set into position and clamp together. When doing it this way, you can actually see the edge that has been soaked deform and take the shape of the part you’re clamping it against. When the solvent has cured the seam is nearly invisible.
Weld-On #4 evaporates rather quickly, so it’s best to pour enough solvent to soak your part in by at least 1/4", then you’ll be sure to have enough solvent to do the job. If the edges that you’re joining are smooth and at the correct angle, you won’t need more than a minute to soften the edge enough to join, but if the edge has marks from machining, or fine scratches, you’ll want to extend the soaking time in order to soften the material enough to accommodate the extra compression that will be needed to remove the indentations when you join the panels.
When you’re done soaking you can pour the remaining solvent back into the container.