Currently waiting on my Glowforge and was wondering what are some essential items that you would recommend to make the experience better?
Patience… 
One essential, is to read as much of this forum as you can. Use the search function for materials. Browse the Made on a Glowforge for inspiration. Practice your design skills in Inkscape, Adobe Illustrator or whatever you intend to use so you are ready with some files. Prepare your venting solution (again, search for info) and think about where to place the Glowforge and how to store material.
Get some ikea furniture. You can offload the furniture directly but keep the cardboard! There is a lot of it and you will want to prototype in cardboard.
Get some cheap hardboard from Home Depot or wherever. Use that to play with instead of expensive stuff.
Also, if you haven’t already, teach yourself a design program.
That’s tough! Lol
It’s by far the hardest part…no doubt about it! 
I know I’ve gotta wait until January and it’s killing me.
Thanks so much I’ll start doing that!
I couldn’t font any good ikea tables I found one on Amazon that hold 66lbs. I’m hoping that’ll work.
What’s the best design program to use. I’ve been seeing people use Silhouette but I’d like another option as well.
The Glowforge weighs more than 66 pounds.
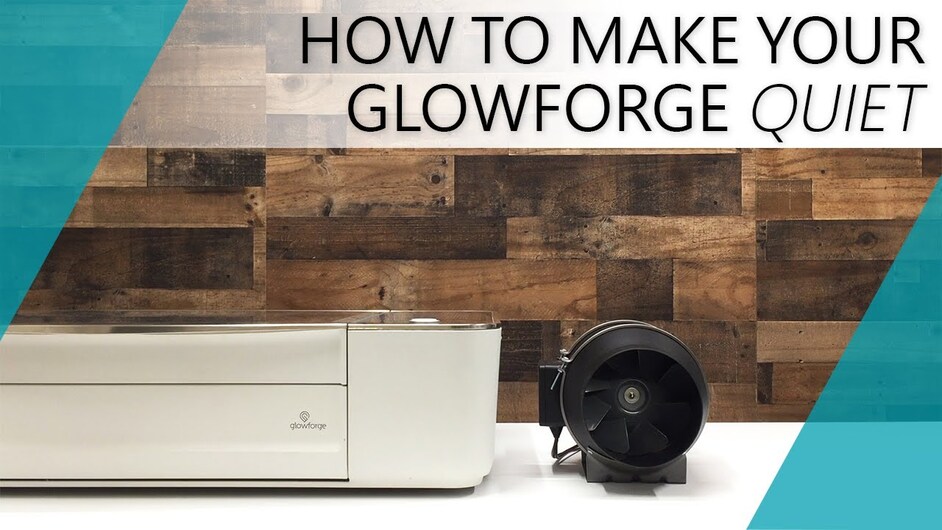
If you’re venting out a window, you might consider getting an external fan. I followed this guys advice and I’m really glad I did:
I use inkscape. It’s free to download. It has a bit of a learning curve however there are tons of youtube videos showing how to use it.
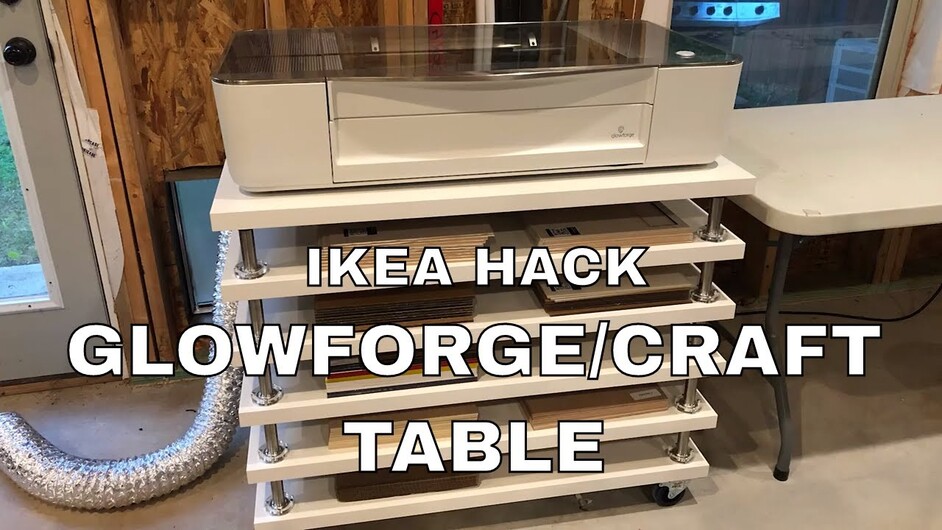
I built this ikea hack:
And I’m reasonably happy with it. It’s not perfect, but is a pretty solid table and I like the storage of the multiple shelves. If you do decide to build this, let me know and I’ll write up my tips…
Oh I thought I saw somewhere it said 55lbs, but thankfully I haven’t bought the table yet so I’ll keep looking.
That’s the one I want! I’ll do that instead thank you!!!
Okay, I’ll look into it. Thanks!
Oh nice thanks. I’ll be venting out a window, so this is great!
Quick tips on this:
You’ll need a funky tight space screw driver to do this guys build. That’s what I did, but screwing those in was a pain. If I did it again, I’d at least use fewer screws, at most 3 for each leg, maybe even just 2.
I think he says in the video that some people just glue it down… which is also an option I’d consider. Or maybe use his laser cut leg holders just to provide a slot for the leg to fit in, but not actually hold it down. That way you could screw them on while it’s apart, and then just stack them together.
This would be slightly less secure, as each layer wouldn’t actually be firmly attached to each other, but way easier to assemble.
Plus… as built, it’s still not completely firmly attached. Because the ikea leg’s foot can actually come off… so a couple times while moving the table I lifted up too much and took the top layer partially off. Annoying that after painstakingly screwing in all those screws to make what seemed like it should be a really solid, sturdy build, that it can still come apart =P
That said, I still think this is a good build - but you might consider other options for building something similar, which might be easier, and even more sturdy.

