I was a total newbie to laser cutting when I was lucky enough to get an Aura for Christmas this year. (As in, I had to google what a laser cutter even DOES, that’s how unprepared I was). Twice when I ran into big issues, this forum came to my rescue in minutes. But beyond that, the hours upon hours I spent reading posts and doing searches here have been invaluable. This is such a helpful, generous group of people that I wanted to share a few of the most helpful tricks I have learned, and perhaps save another newbie a few of their own precious hours.
So I found that like most things in life, it’s the PREP that assists the most. There’s definitely some trial and error when you’re cutting new material but I was getting frustrated when I would find the PERFECT ratio of Speed, Power, and Number of Passes for a type of wood, only to find that the next time I used the same wood, from the same batch, it might not cut through in all areas.
So the biggest lesson I finally learned is that THE MOST IMPORTANT THING to get the best results on your laser cutter is that the material is totally, completely, consistently FLAT.
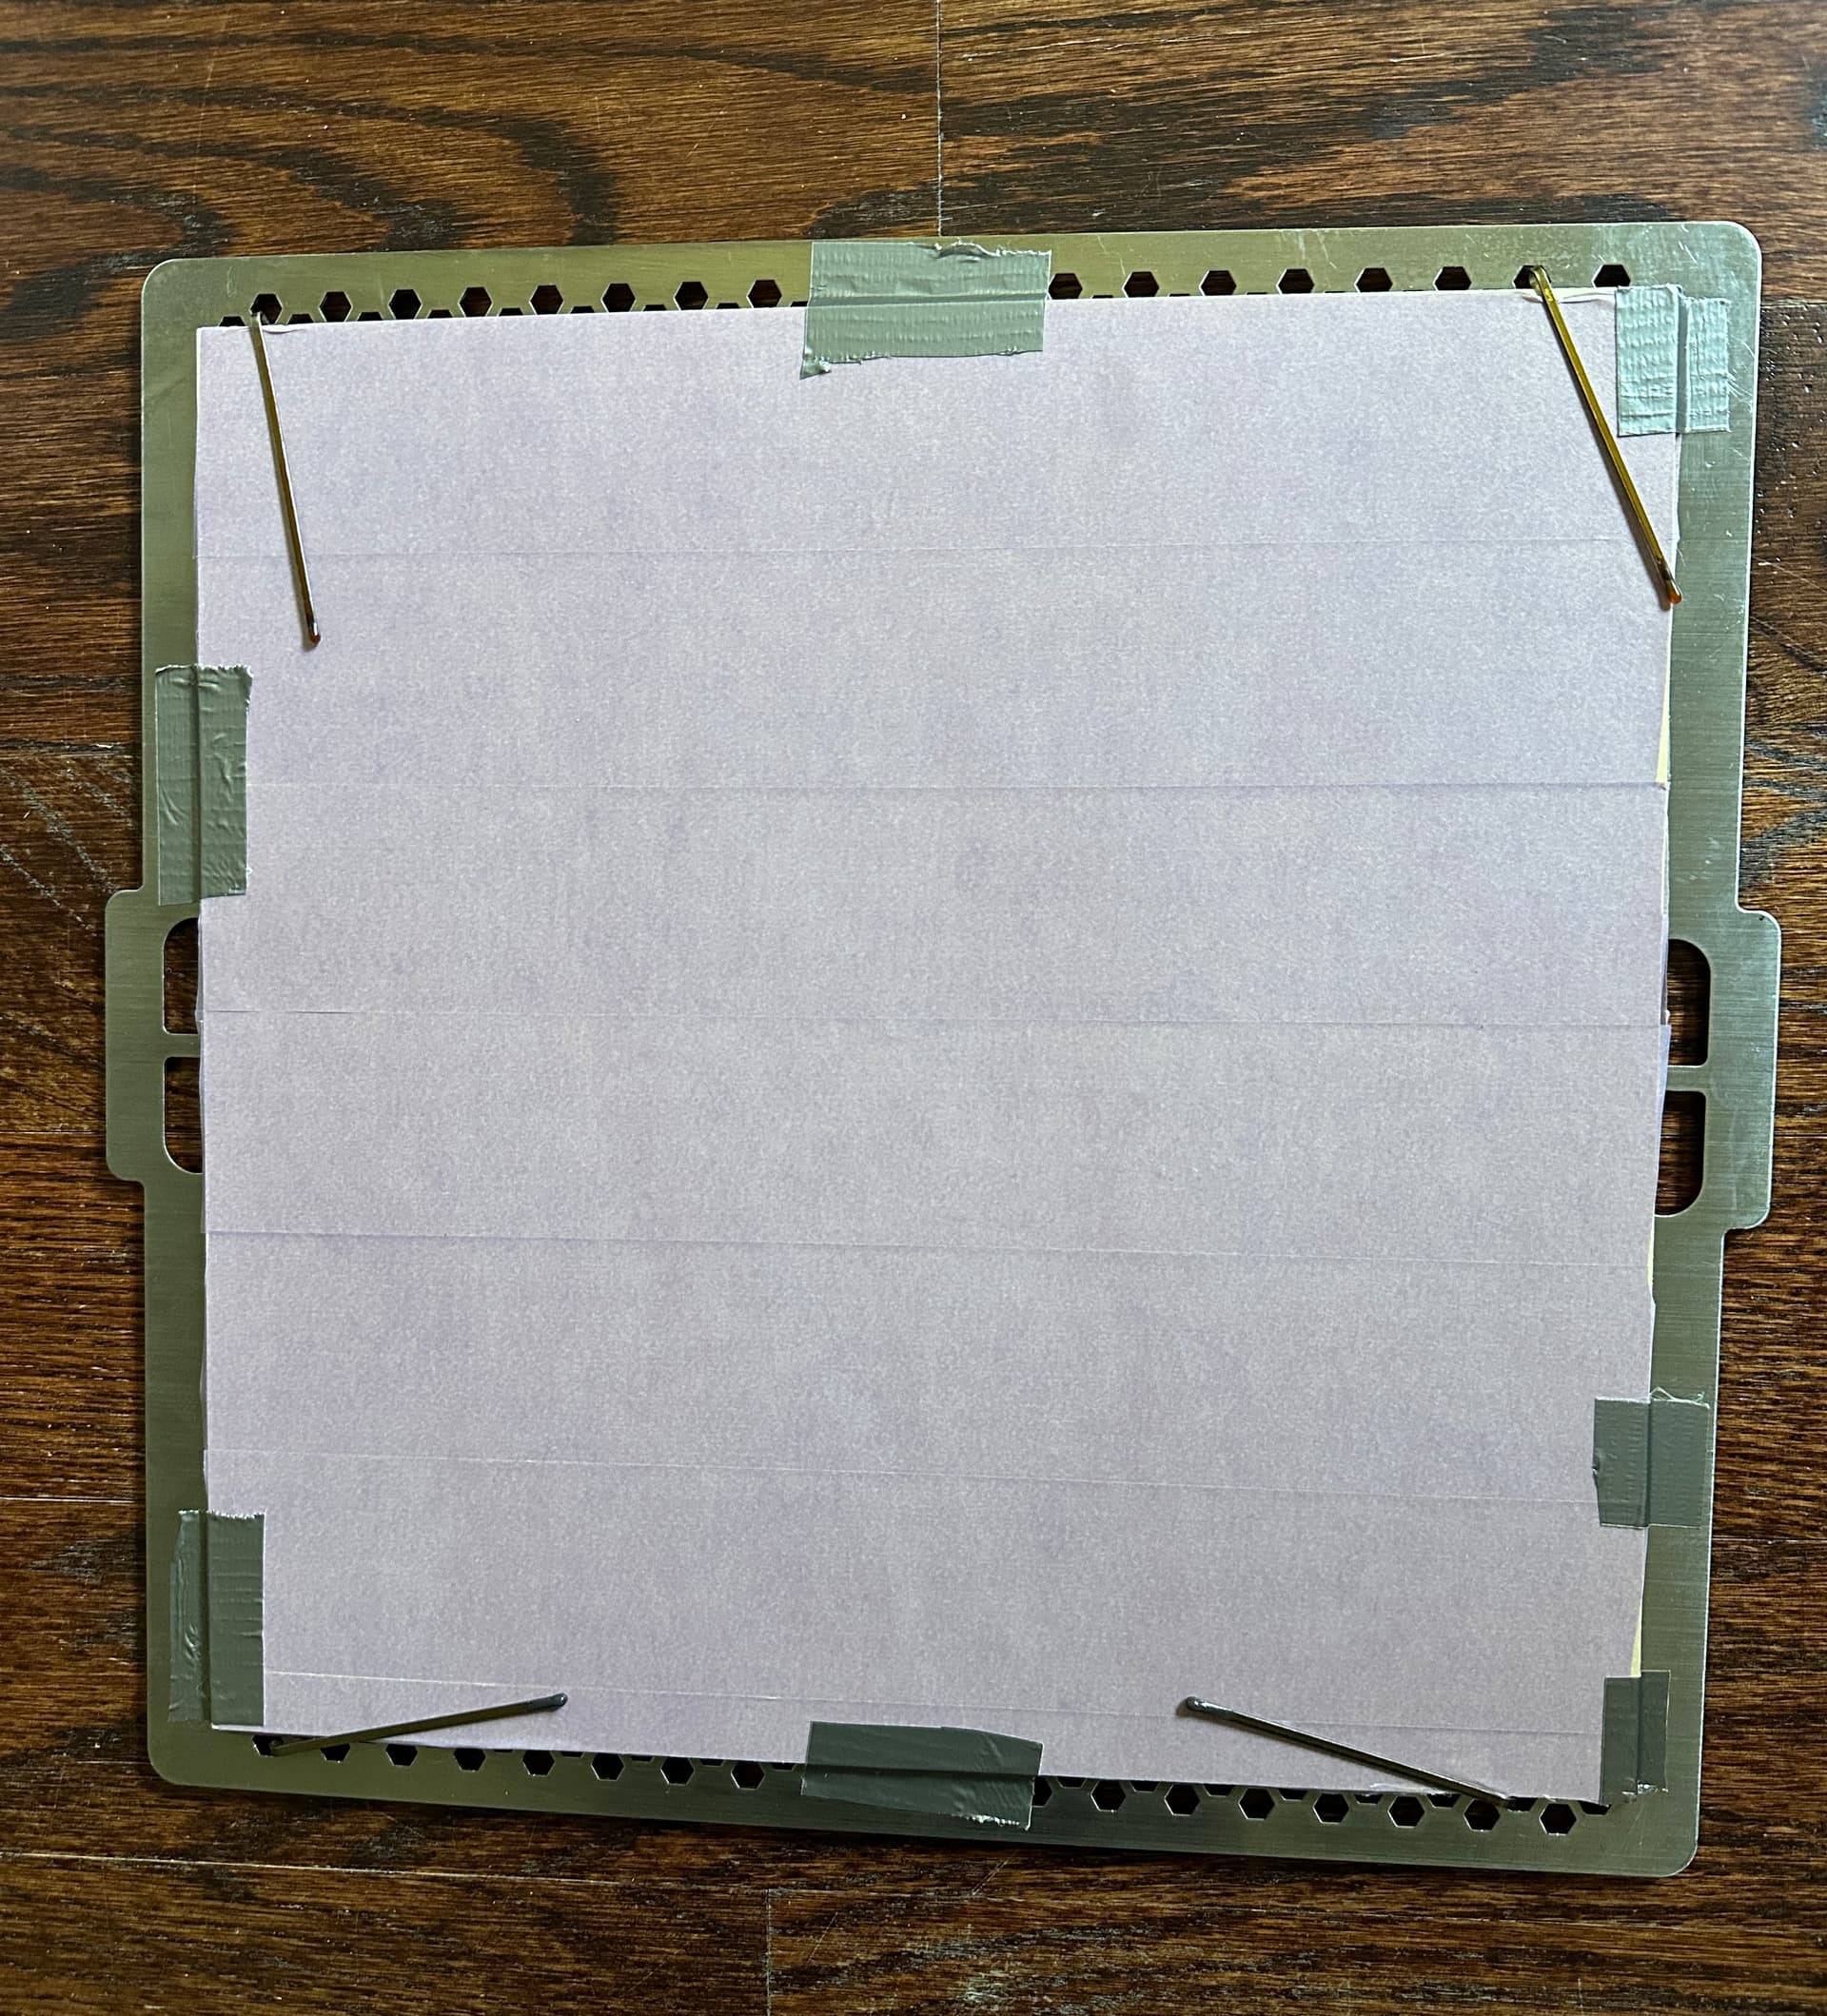
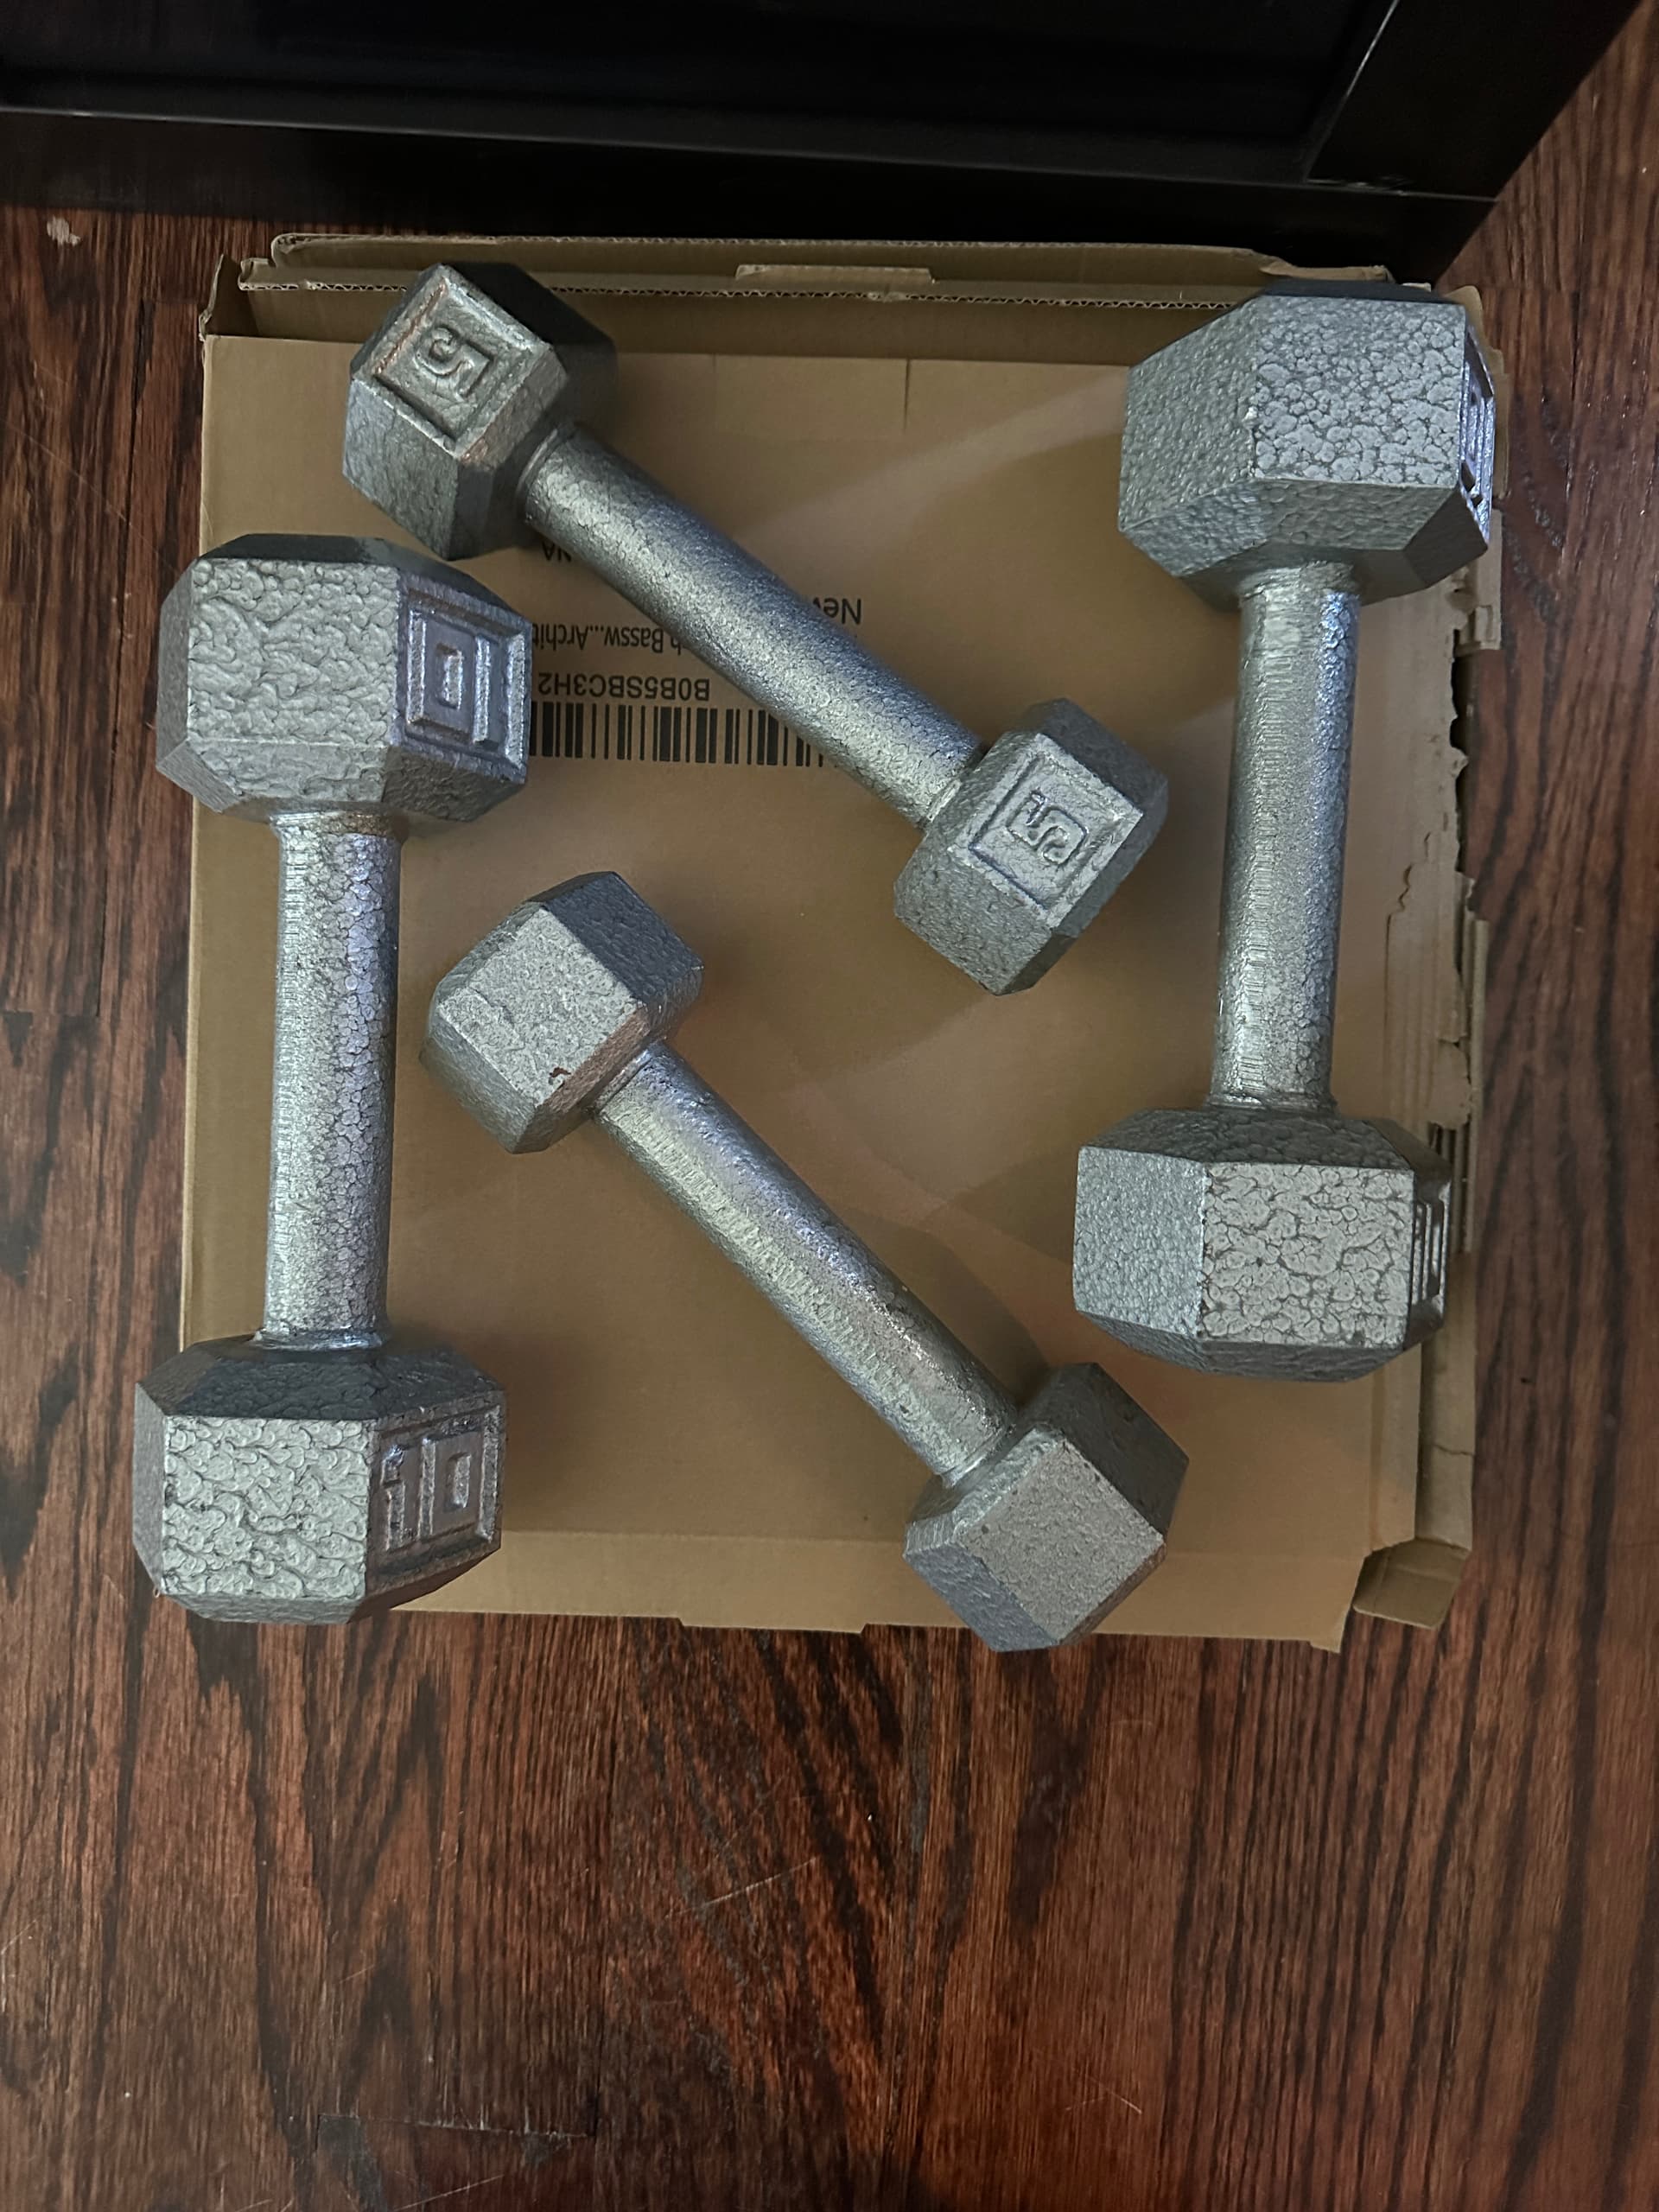
So how do you achieve that? (1) Keep your squares of wood piled FLAT with weights on top until you are ready to use it. (2) I tried magnets and tray pins but I found that the best combo to get your material totally flat before cutting is a combination of a few bobby pins and duct tape. Depending on the warp you’ll need more or less; if it’s noticeably warped put it on the tray concave so you can tape down the sides. Before putting it in the machine, look at it sideways to make sure it is totally flat to the tray. Push down on it, make sure there is no give. Always make sure to remove the duct tape IMMEDIATELY after a job is done. I was initially reluctant to use duct tape because it can leave difficult to clean residue if left on anything too long, but I’ve had no issues with removing it after a few hours.
The second most important prep to get the best results with non-Proof grade wood is to mask it. On both sides. Oh so time consuming, but worth it for the clean results. I use 6 inch blue painters tape for most jobs but you can spend hours peeling that off with a tweezer on very intricate jobs, so for those I use Delicate Surface tape which is easier to peel off. (Both easier available on Amazon: 6 inch Tape Man Blue and 2 inch Scotch Delicate Surface). For the bobby pins, get the longest ones available, not the little black ones.
The third (and possibly most important of all) hint is one that is repeated consistently on the forums which can not be ignored. You must be fastidious about keeping this machine clean. I have found that the best recommendations are using lens wipes (gently) on the cover camera, and 91% isopropyl alcohol (available on amazon) on a smooth cloth for the bars. (I also give the bars a quick wipe with alcohol prep pads). Regular rubbing alcohol is great for stubborn stains on the tray. Put it in a little spray bottle (great for sanitizing garden tools too, but I digress lol). I wipe down the bottom of the inside of the machine with a clorox wipe (and if I use paper I vacuum out any residue after every cut). I have read so many posts about how important this is that I don’t wait for the little message - I’ve made it a habit to do all the above after every job, big or small. That way, if there is a problem, the one thing I can rule out is the first question always asked, “Did you clean the rods/camera/tray bottom?”
I’m still learning so much about using this machine and all the amazing projects available, but in the beginning that was tempered by the frustration of wasting sheet after sheet of wood trying to get things right. I’m sure my “hints” might get a polite eyeroll and “duh” from those who have been doing this for years, but sometimes something as obvious as just taping the wood down to get it flat doesn’t occur to someone so easily, so I hope these tips will help a few other newbies out there.
Thank you all for teaching me so, so much on this forum!