Where is the best place to set full sheets of PG material on the crumb tray?
All the way to the FRONT of crumb tray near the handle OR all the way to the BACK?
OR is it in between?
I have missed this somewhere sorry -and appreciate you going easy one me - lol.
Front.
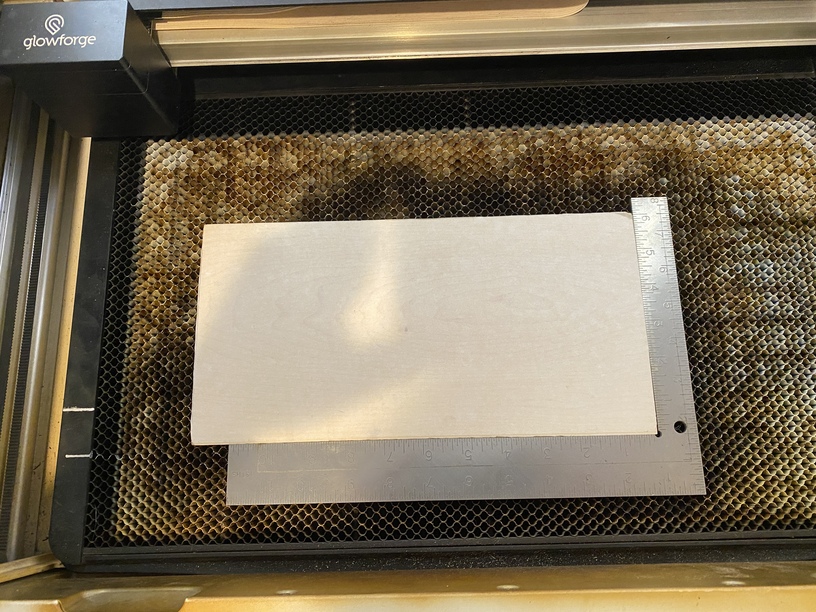
The absolute best if you want to save the uncut strip across the top is 10mm/0.4" from the lip on the front. That is the absolute limit of where the machine can print. I have marks on my tray so I can just line up the lower edge with them when printing.
You can easily find that location by putting material up front, and scoring or cutting a line on each side at the extreme lower edge of the print area. Then make your marks on the tray at those locations.
7 Likes
One reason for sometimes NOT placing the sheet all the way against what you two are calling the “front” of the crumb tray is to allow for inserting hold-down pins along the edge of the sheet. 
2 Likes
Yes, if you offset as I said in my post, you can also use pins there as they are outside the print area.
2 Likes
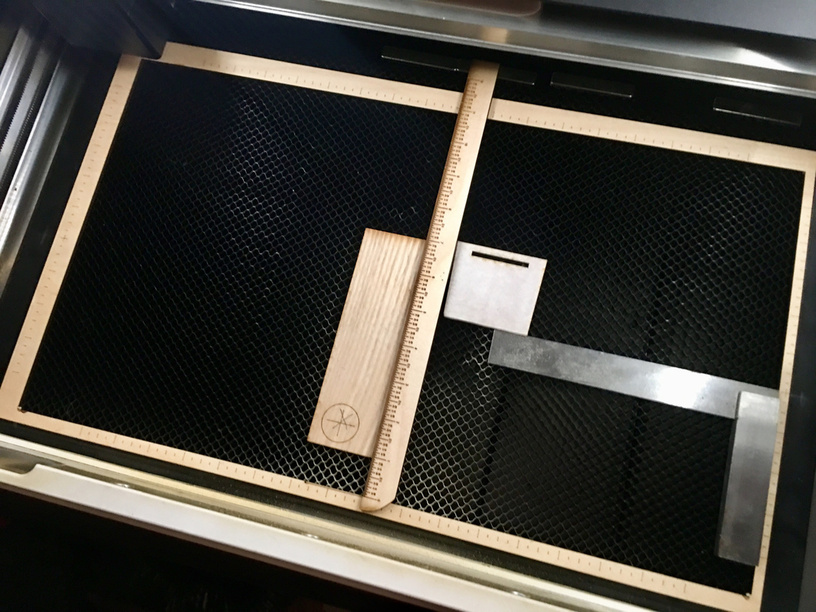
Before we had the camera calibration and precision placement features, it was common to use rulers to position (smaller pieces of) material. Many solutions were provided but the one I used most was a “frame” I made by simply cutting the largest rectangle possible from a 12x20 sheet I had used up for some projects, then scoring rulers on it that matched the ruler in the UI (by sliding it up to print the lower one, over to do the ones on the sides, etc.)
If I drop that “frame” onto the bed, it defines the absolute edges that the machine can print to. So I can use the lower edge and a ruler to “project” that onto the sides, and make a mark. Mine is tape with a pencil arrow…
3 Likes
I fond all of this irrelevant after a very short while because it’s completely obvious where the limits are just by looking at your crumb tray.
I found this to be most obvious cutting a lot of Acrylic as it turned white.
I got the bright  idea to cut a template of the actual cutting limits and then mask off and paint my tray white. I was so clever
  . As you can see it mostly burned on and now I have an ugly tray
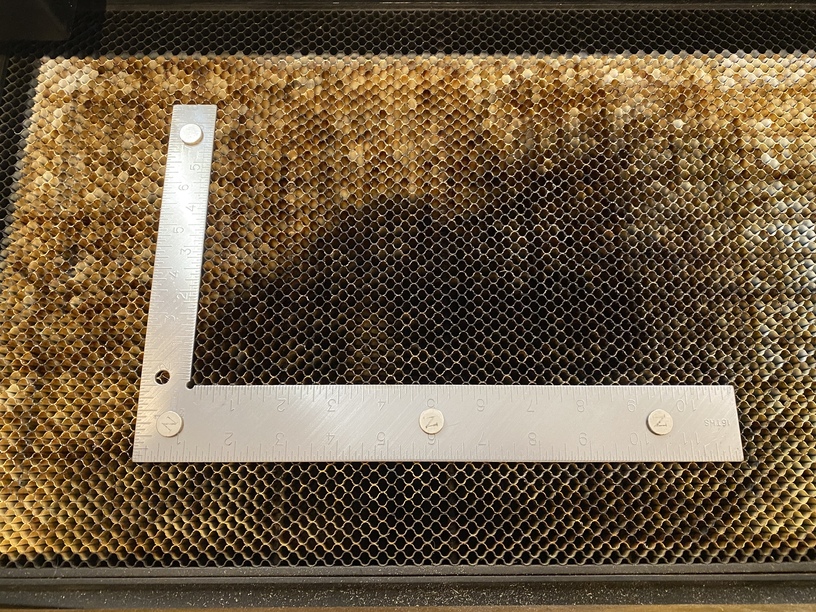
  . I then bought a small framing square and attached small rare-earth magnets that I now use on small pieces. The silver lines on the left side are where I align my various jigs for items I do a lot of such as dog collars and tags.
3 Likes
BTW- The white area still comes in quite handy.
1 Like
Those look to be about a half inch which I would think would be the upper limit in size. If you loosely hold a screwdriver at the height of the laser truck and it pulls enough to change the balance then they will be interfering with the laser operation and at least slow the fan.
1 Like
It’s a good approximation, but as I’m sure you know the tray can shift*, so that’s not going to be dead on for long. If you took the tray out to paint it, the painted area was already incorrect. Interesting idea, but doesn’t survive the real limits of the machine.
Jigs do the job and are easier and more accurate than almost any other solution for most things. Even better, design things so that you don’t have to be super particular with placement and save yourself a huge amount of time and headache.
* Yes, even with tray boots, which are cool but still not a guarantee.
2 Likes
They are 2.2 mm thick and 12.75mm in diameter.
The screwdriver trick seems to be the reality test, I have a bunch of 3x3mm rounds in a ruler but at height the screwdriver does not sense them.
I have some large strong magnets, but I only place them where the don’t come into close proximity to the fan. I ran into that issue the first week I had this thing.
1 Like
These can hold down hard but still pass the screwdriver test (I think)
https://www.magnet4less.com/neodymium-cup-magnets-5-8-inch
1 Like