I’m amazed at your day 1 productivity! You clearly had a ton of fun! I rarely use the trace function and had no idea it was capable of such high quality–thanks for that!
Oh, and your LED lighted menu looks just like the ones I have, from eBay. If they are, I believe that is polycarbonate, not acrylic. It doesn’t cut or engrave very well, seems more melty. What I have been doing is using either 1/8" acrylic with a bit of craft foam at the bottom to hold it in, or 1/4" acrylic with engraving at the bottom to match the slot.
For the batman scan, did you try changing the contrast? I think you hold ctrl and hit up or down to change the contrast of the image after you scan it.
If you got the Chinese sourced “menu lights” sourced on eBay (I use the bases a lot & have linked to the eBay search needed) then they’re definitely extruded. The engrave look you got supports that assumption. Just cut out your own acrylic and lip it in the base and it’s fine. If you use 1/4" then do a trace on the wavy base and an engrave to thin that section and it’ll fit right into the base. If you use 1/8" then a small strip of Gorilla tape will thicken it up so it’s held firmly in place.
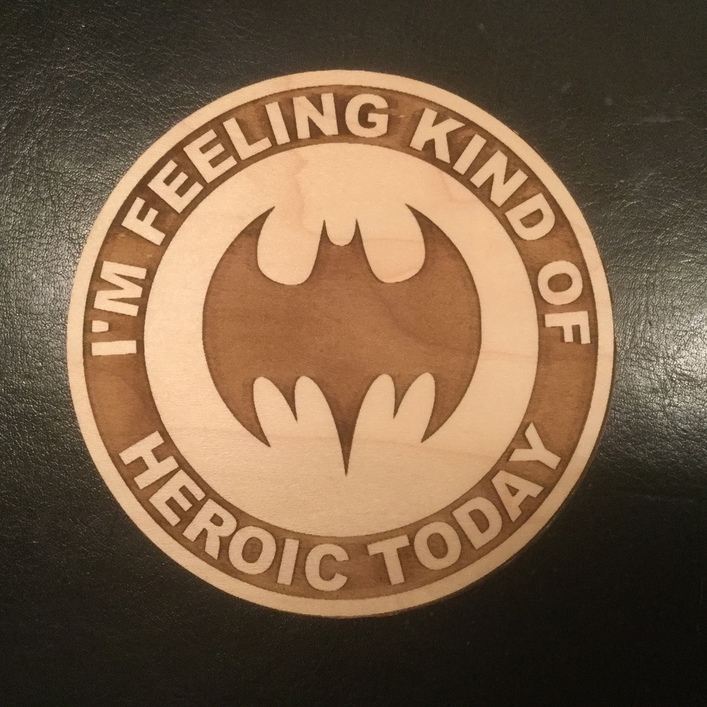
Yes, great workaround. @cynd11also mentioned a couple ways to use these bases, including this one. I’ll probably do the 1/4" option instead of using 1/8" and creating a shim with tape. It was late last night and I hadn’t thought of engraving away some thicker acrylic. That may even be a project for today. Right now I’m cutting the Batman coaster. It still won’t trace correctly, but I found a workaround for this design. With their’s always a way. Oops, gotta go, Batman is done!
I bought these exact same lights on Aliexpress…6 of them for $32+. I call them my ‘coming-round-the-horn-lights’ because they took so long to get here. I had the same experience quality-wise. Garbage in, garbage out. My engrave looked really ‘melty’ and smeary, too. I’ll just use my own acrylic which will give much better results.
Bill, I LOVE that you post your settings with each project. Earlier on, in my career as laserer extraordinaire, I could have used that kind of help.
It’s almost as much fun watching other peoples reaction to the wonder that is Glowforge, as it is to watch it yourself. I have arm prints across the front section of glass and the metal lid handle.
Heh heh…little did you know that I am now a wealthy woman, having been paid a princely sum each time I say…embossing powder. Ooops, I did it again! Cha ching!
Thanks.
I’ve got soon much more to try. Today I’m trying to finish up the full set of Geeky coasters. The seem to cut really fast while you are working on getting the next design ready to go. All of a sudden the 16 minutes is past and you’re on to the next one. I do find myself getting caught up watching the cuts sometimes. Maybe that’s why the next design isn’t always set up by the time the current one is done cutting.
I wonder if you could truly hypnotize someone with a :glow forge:.
So sad. I was so excited as a kid when that show was coming on. My Dad knew him when they both worked at a radio/TV station in Hawaii in the 50’s – his name was Bill Anderson back then. Even have a picture of him holding my older brother as a baby. Go with grace.
Here’s the workaround for the image not tracing well in the bed of the
I saved the graphic as a JPEG and then uploaded it to the interface instead of tracing. It came in perfectly. I couldn’t designate a cut line on a JPEG, but guess what? I didn’t need one. It was already cut when I did the Joker on the first side. A little nudging of the artwork to align it to the scan of the already cut coaster on the bed and - Glowy button again. 16 minutes later that Batman is ready to defend the coffee table against the ravages of the Joker (and condensation).
Thanks @joe. I thought I remembered that there was a way to adjust contrast. Looked at all the commands on screen and couldn’t find it. The control-arrow shortcut does change the contrast, but unfortunately the contrast difference was way too much on this scan. If I adjusted enough to start to fill the interior void, the rest of the graphic started to fill also. I have written this down for future use. It already could have come handy for the Batman linocut in this post. We adjusted contrast outside of the 's interface to compensate for it being a black and beige image. As you’ll see in one of the posts above, Geordi did come up with an alternative fix and the Batman/Joker coaster is complete. The Romulan/Enterprise coaster is about 6 minutes from completion.
Yup.
Many of these files were prepared for last June. I’m SO glad I kept the faith and hung in there. The strong forum group was a major reason for staying. The machine just blows me away.

 their’s always a way. Oops, gotta go, Batman is done!