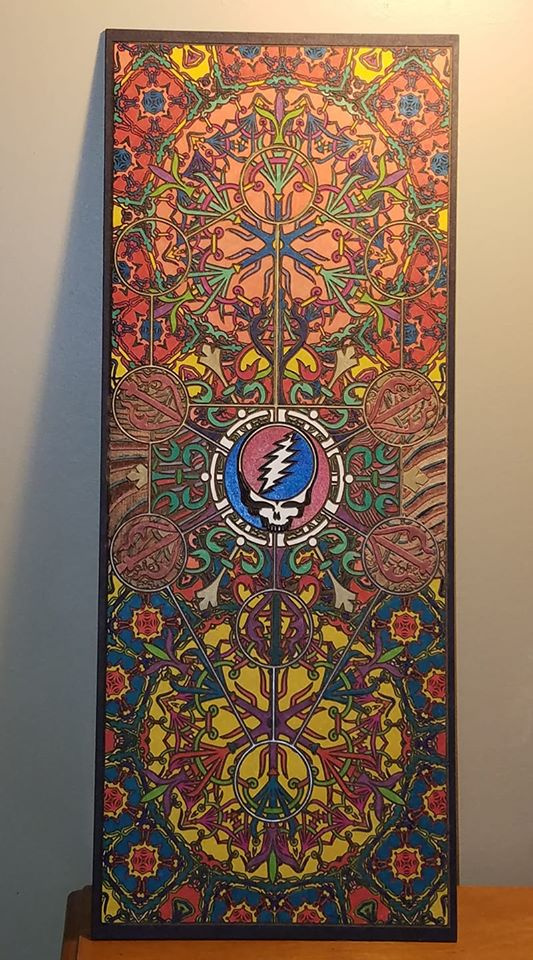
This is an 8 x 20 Draft Board Engrave that’s been post engrave, colored by hand. Not sure which thread I read it in or who said it, but Much Thanks Anyway to the person who suggested using Sharpies for coloring. They work Like Magic! I’m using the Sharpies with the Brush Tip that I didn’t even know existed. They act more like painting with a brush rather then using a marker. They are fantastic for detailing.
62 Likes
Wow that’s a lot of detail to color back in. Looks great!
5 Likes
Great project. I’m sure the Sharpies are great, but it is your ability to use them that really impresses.
5 Likes
That’ really beautiful. I love the idea of using sharpies. Did you seal it with anything after coloring in the sections?
3 Likes
I didnt know about those brush tips either will need to check them out, project turned out great. i always end up coloring one cell wrong when i do stuff like this lol.
4 Likes
I just finished adding the color this morning. But I will seal it with Rust-Oleum Universal ) Advanced Formula) Clear Durable Topcoat (Gloss). It’s fast drying and also has UV Protection. So I generally have been adding several coats of this to my colored pieces and it gives the pieces a nice clear shine to it. Says it protects for indoor and outdoor use as well but I would suggest putting a draft board out in outdoor conditions.
4 Likes
Thanks for the info! I have been trying to figure out the best way to seal these pieces.
2 Likes
I found them at Michael’s. I looked for them again when in Walmart and didn’t see that they carry them. So check and Art supply store.
1 Like
I also have a can of Acrylic Sealer Matte Finish spray (Aleene’s Brand) that I use on my Paper Engravings I’ve been doing on Heavy Water Color Paper. The images done on paper will smudge easily if you dont protect them. So this spray is good because it is fast drying, non yellowing and seals and protects the piece with out the gloss.
3 Likes
Also as a follow up on this. The center portion where the Blue, Red and Whites are, I’ve left the masking on and colored the red and blue, leaving the white portions natural. The rest of the board was demasked before coloring and one note about doing that is the colors darken a lot on the wood, so bright colors are hard to achieve unless you do those portions on the masking. Either way, the sealant helps seal both the coloring and the remaining masking.
1 Like
Whoa, this is pretty amazing!
If you want do do a project with subtle coloring, try colored pencils. Prismacolor look great on Draftboard, it has just enough tooth.
2 Likes
Nice job!
1 Like
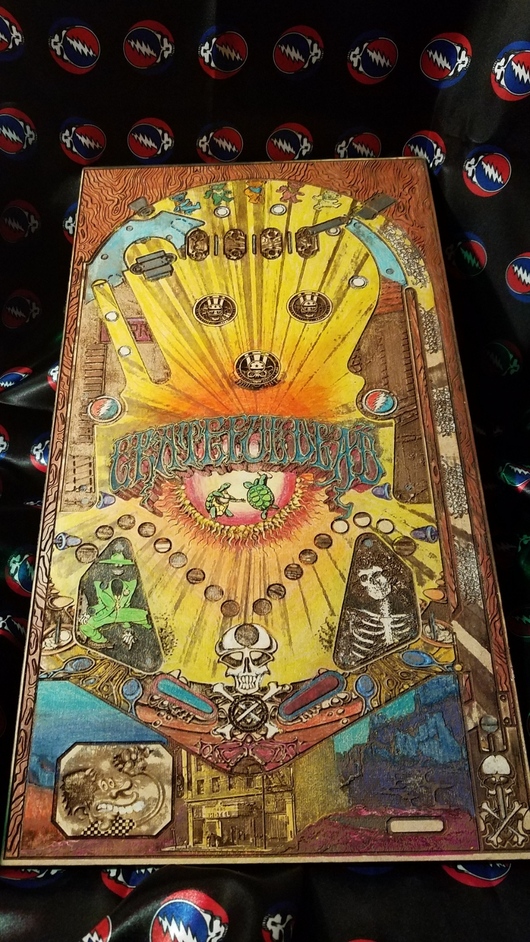
Actually that’s exactly what I was working with. I’ve always loved working with Prisma Colors on Paper so I thought why not the wood. Problem I was having was the rate I was using up the pencils on my pieces. When I tried the markers it was so much easier but much more difficult to blend the colors than it is with the pencils. I just was going through them too fast and Prisma color pencils aren’t cheap. This piece was done with pencils.
12 Likes
Ohhhhh, love it!
1 Like
That is sweet! Nice work! Do you happen to have a pic of the before coloring? Just curious how deep the engrave is and how smooth it is. It looks really smooth like paint. Did you use a high LPI?
Lovely piece! And good to know about the Sharpies with brush tips.
Oh my goodness  though my hand kinda hurts just thinking about all that coloring time. Fantastic work!
1 Like
Thanks
1 Like
Yeah, my sharpies don’t work like that… 
1 Like
You have tremendous talent.