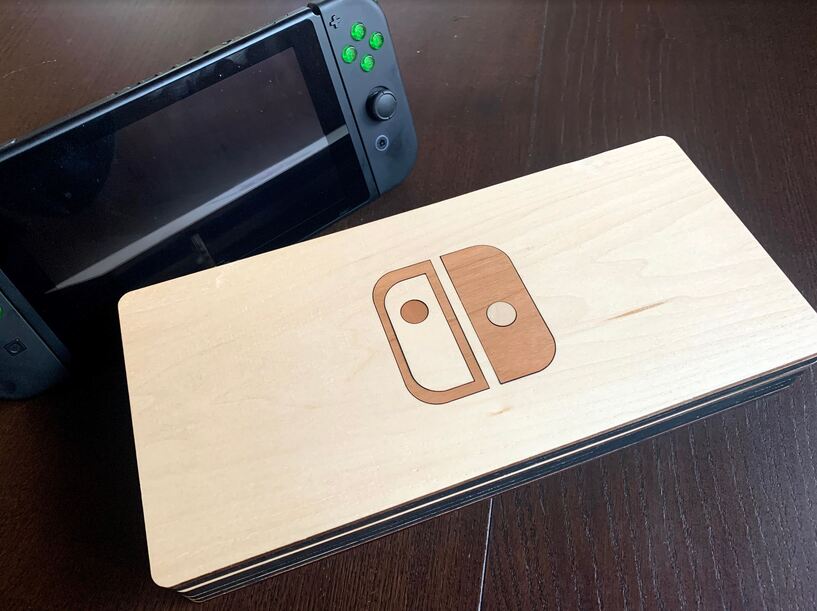
This is a case I made for my husband to hold his switch. Once he got the device I knew I had to try my hand at making something for it.
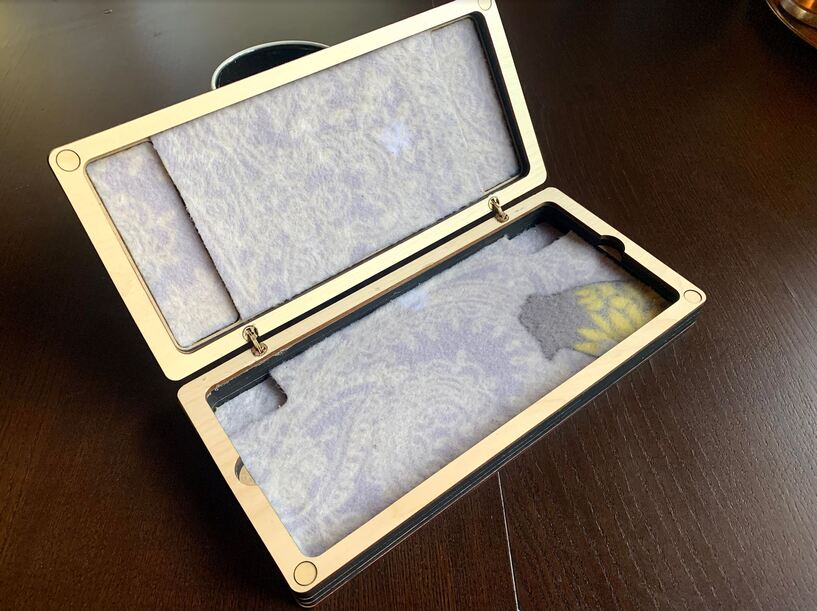
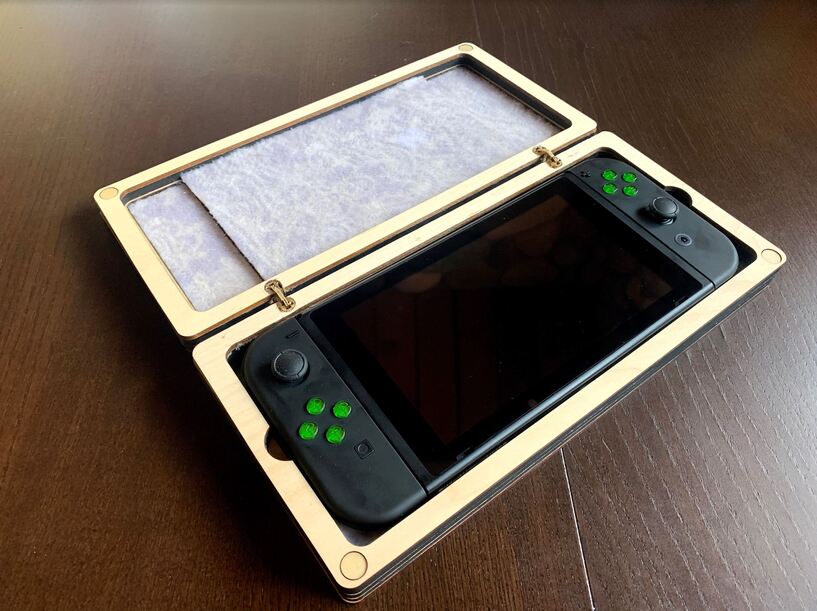
SO the case itself is made in layers, Nine actually. The outer most layers are beautiful plywoods while the middle bits are draftboard. The layers build up on top of each other to make the final needed depth for the Switch. My favorite part is the indents inside the case. The two smaller holes are for the Switch’s back buttons and the two rectangles are for all the buttons on the front that stick out. The whole thing is lined in fleece (chickens because that what my husband likes). The Fleece was also cut with the glowforge. First time trying it and while it was a learning curve I don’t think I’ll ever hand cut lining fabrics again. The accuracy of the Glowforge makes fitting my lining a breeze.
It should be mentioned that I tried to use Magnets to keep this thing tightly closed. And despite the aid of those fancy hinges the magnets could not do the trick so later, after these pictures were taken, I had to add a latch to the front of the case.
Very cool! So nice to have a custom case like that.
I’m surprised the magnets didn’t wok. It looks to me like the magnet recesses are a bit shallow. I wonder if deeper pockets and thicker magnets would do the trick? Next time, of course.
Just these small ones i got from home depot, i used two on each side to attract them to each other but when your dealing with a device that’s over $300, magnets just don’t instill enough confidence
That looks great! My sister in law just asked me to make one for her…I’ve still been in the brainstorming stage, and was thinking fabric…but now I might be shifting gears to wood…
Oooo!! Fantastic case! I am a huge fan of practical projects! I love the chicken print on the fleece - a perfect touch for personalization. Thanks for sharing that bit.
With the wood, despite having great glue they don’t like to stick together because of the finish. So i really recommend if your want to do layers like i did in this project, use draftboard for some of the layers. They take on glue way better then all the finished stuff. Also use supports driven through all the layers using a thin dowel or thin board from the hobby store. Check out this project i did where you can see that joining support on the outside.
Aren’t they just amazing! I saw them on pinterest and asked my dad what they were called (hes a cabinet maker and uses larger versions). They are called Barrel Hinges and are used to be hidden inside cabinets, boxes etc. and provide that strong flush connection.
If someone shares a print that they’ve made, please respect their sharing and do not ask for the source design or artwork. Designs take work and have value, and when you ask someone to give you that value for free, you undermine their work.