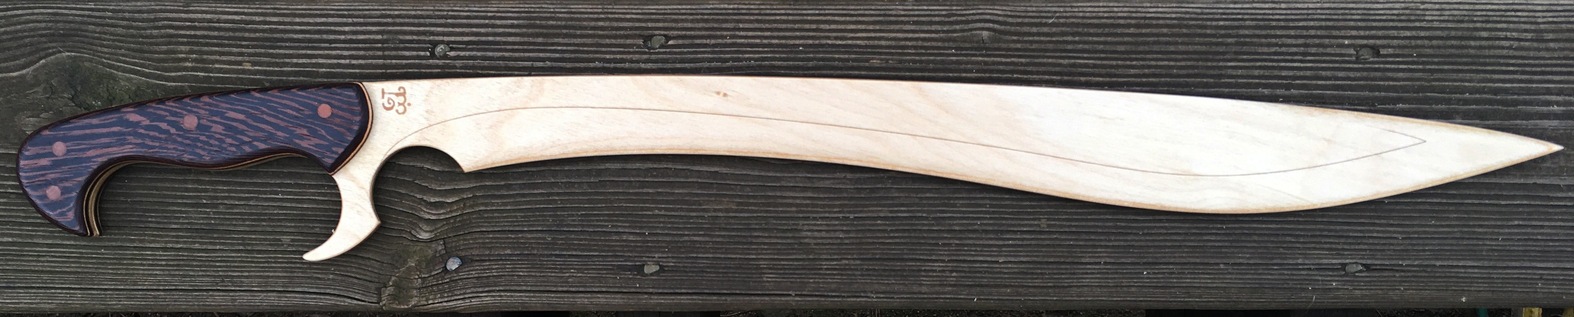
This is part of a three sword (so far) series that I’ve explored, a 26" LOA shortsword. I’m not going to get into process details, We’ve covered them a lot on the forum. Instead I’ll list a series of skills that you will need and you can search for them.
Things you’ll need to know:
Passthrough technique
Kerf Adjustment
Cutting and scoring techniques
Things it is good to know:
Wood staining
Wood finishing
Edge sanding/shaping techniques [search for my layered round boxes, I talk about it at length]
A belt sander is really nice to have for shaping the blade. It will save you so much time.
Hand sanding block is basically a requirement
A bench vise or a clever clamping solution (Far harder to try to hold this while you do detail sanding. A vise really helps)
Clamps. Lots of clamps. You’ll glue a lot of parts together, but the blade is two layers of 1/8" ply thick, and that requires a lot of clamps to keep it together while the glue sets.
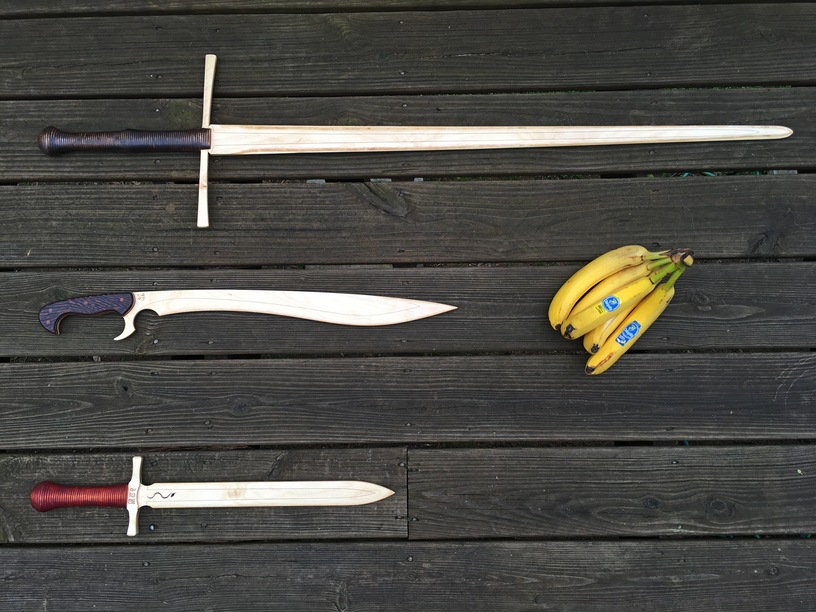
So, this is post 3, here’s your banana-scaled family portrait.
Aha, right, forgot that. They’re mahogany. The scales are actually wenge/veneer/wenge, the veneer is an unknown species but I suspect a mahogany. I should take a side view.
So it’s 2 layers of BB for the blade (which extends down the entire handle), 4 for the scales plus two thick-ish veneers. Total thickness… gets calipers… 0.76". I almost went with 2 more layers, but the person it’s for has smaller hands, so I figured this would work nicely.
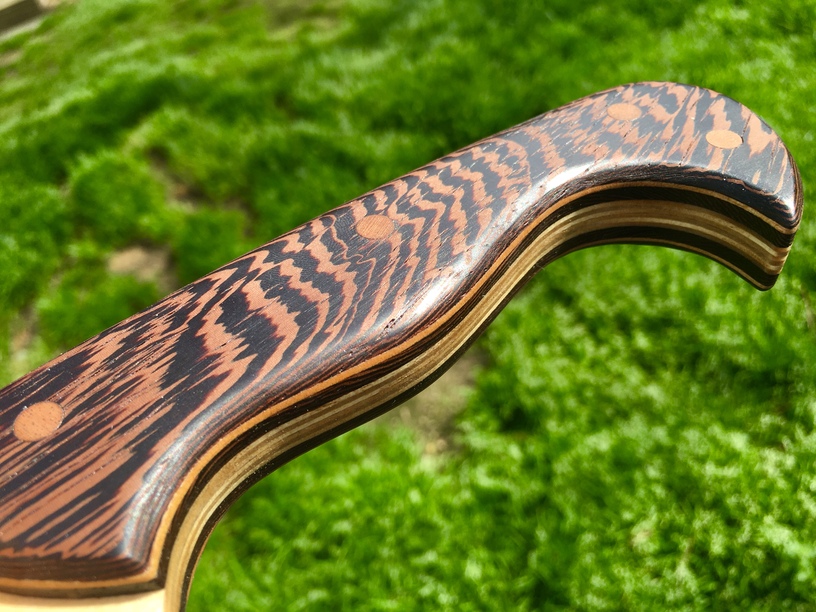
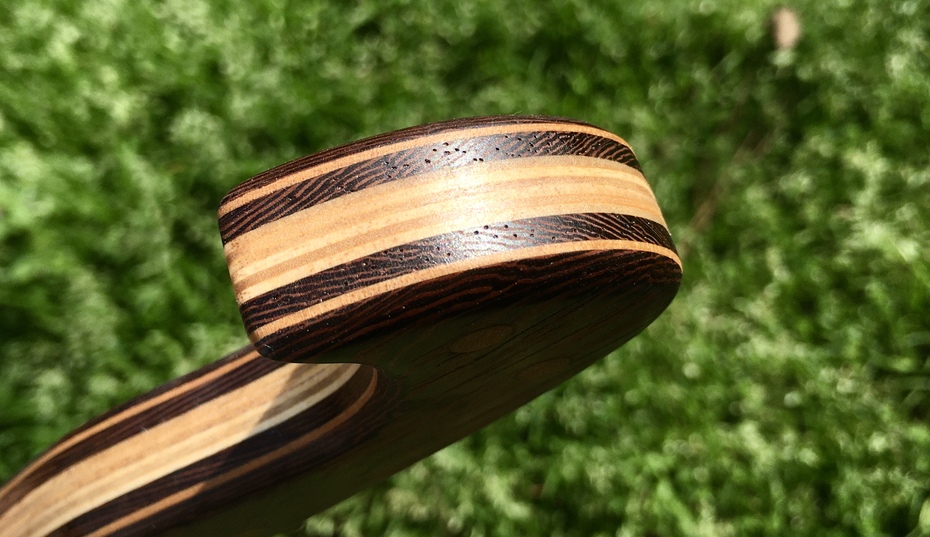
Since it’s two layers of 1/8" baltic, that’s six layers of wood in total. You can see them pretty clearly in the pictures of the handle:
With the two handed sword it’s even more, three layers of 1/8" ply, which means 9 total layers of wood for that one. The blades are pretty strong with 2 layers at the short sword size, and might even be ok at longsword length,but I decided I would rather it be overkill than underkill if that’s a word.