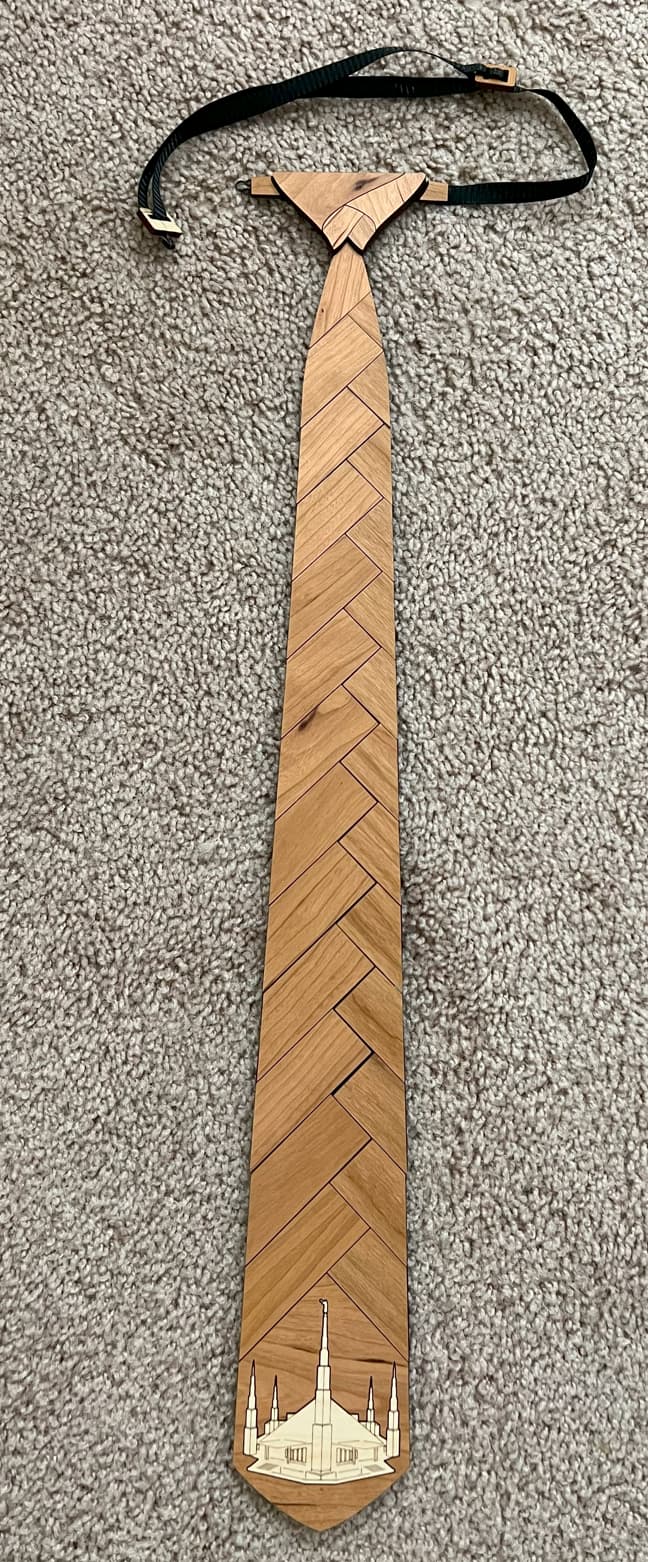
I wanted to try something kind of different for my husband for Father’s Day. Unfortunately, the storms knocked out my power and then the internet was down for two weeks. I finally got around to finishing my gift: A wooden necktie featuring the Dallas, Texas temple for our church.
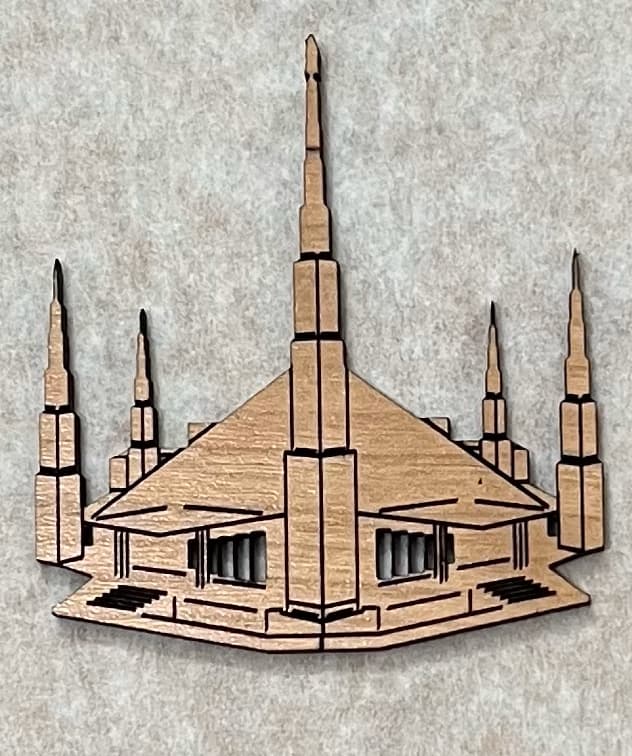
I had to design my own svg of the temple first because - out of the hundreds of versions of the Dallas Temple - they were all weirdly out of proportion, or lacking the detail that I wanted. I got the impression that other people must have used the exact same oddly angled photo for their designs (or they copied each other’s) because they were all kind of wonky in the same way. It’s a really unique and beautiful building (We think the profile looks like a spaceship!)and makes the perfect focal point for the tie!
While designing it, I remembered why I don’t do this very often. The more simple the design looks, the more complicated it really turns out to be! The symmetry for this one is stunning to look at, but frustrating to get exactly right! Honestly, it looks so basic, but the hours put into it to make all of the cuts correctly were immense!
My hats off to you regular file designers! ![]()
The tie itself has been an adventure! I designed this one on my own after searching for something online and not finding anything I really liked. They all seemed bulky, heavy, and stiff. I really wanted to make sure it was long enough too, since my husband is over 6’3." Also, I wanted to do something more fun and detailed at the neck. Most versions out there are just a flat geometric shape - kind of alluding to the idea of it being tied. I love cleverly tied ones in real life, so I used the Eldredge Knot design here.
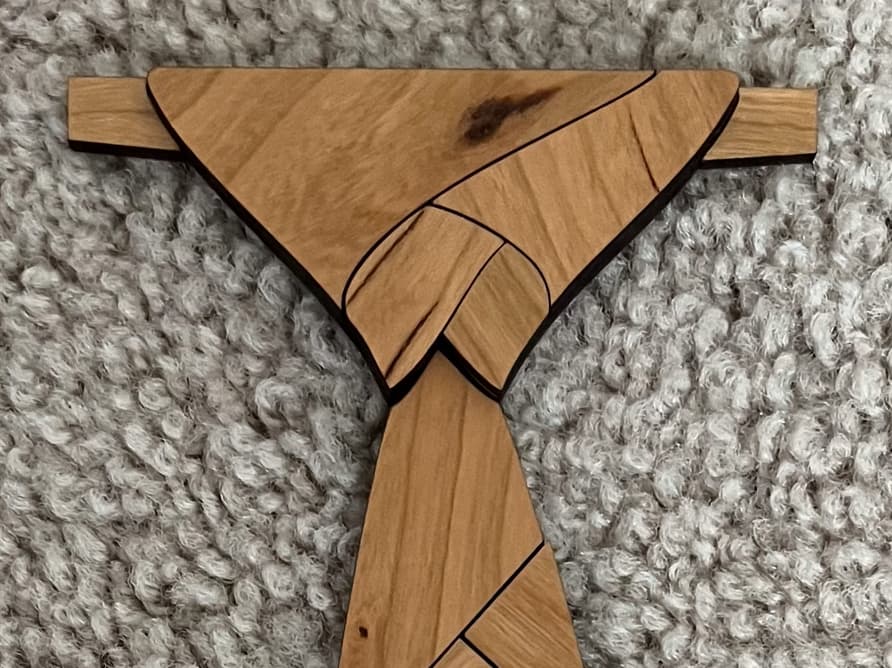
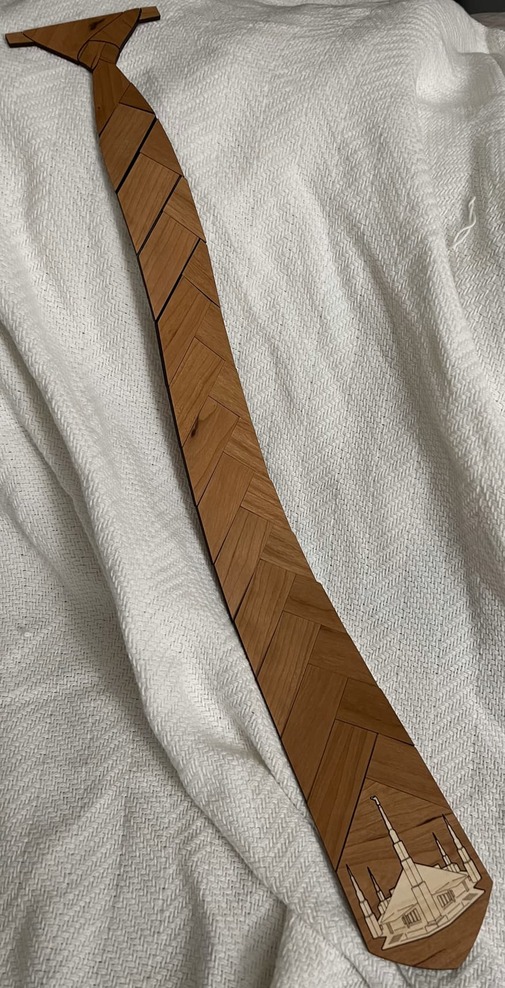
After printing all of the pieces and temporarily joining them, I wiggled it around to test for flexibility, and it has very natural movement! I really enjoyed using the grain of the wood as a design element. Just look at the way the grain works in that knot! ![]()
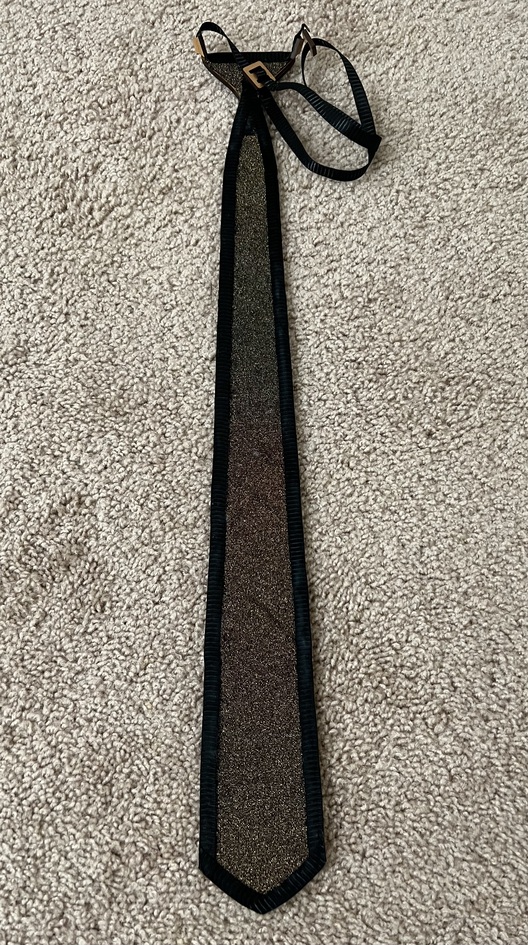
Now, for why I also labeled this a practical cut. I knew what I wanted for the neck attachment. (I don’t like the elastic strings versions.) I wanted something a little more substantial and classy; basically a bow tie-hook style.
But, of course, no one sells bow ties or bow tie hardware in local craft stores. I could buy a set of 100 on amazon, but I’m not even sure what I would do with that many! I’m not selling these ties, so I’m not trying to add even MORE stuff to my craft room! ![]()
Enter Glowforge, again, for the rescue! I realized that I could use cheap dress hooks from the sewing section if they had a “base” to attach to. I printed my own slides and made a wooden base for the hook attachments.
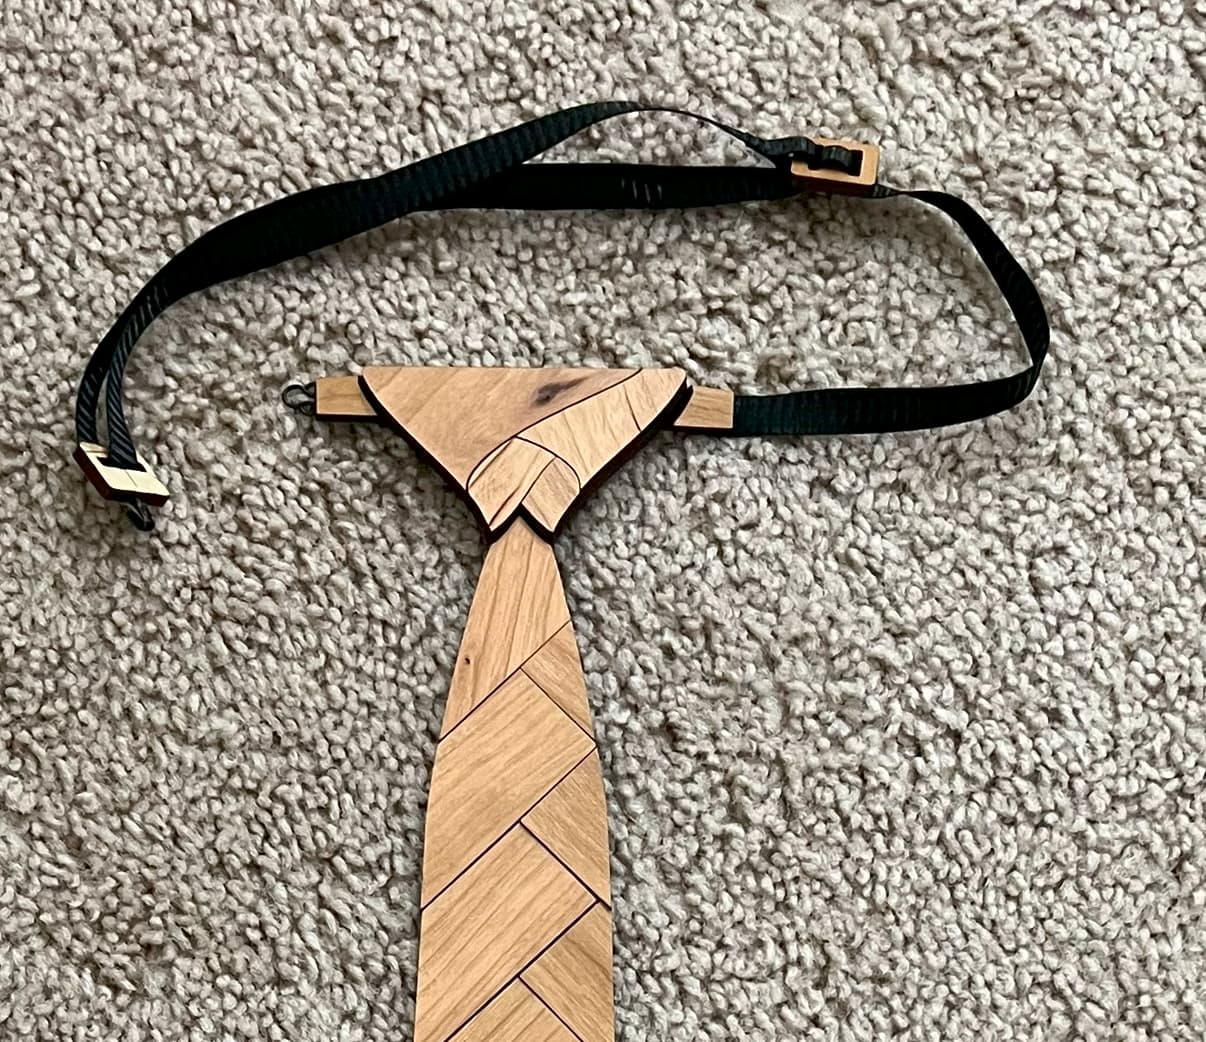
In the end, using wood for the neck connector really made it so much more classy! Seeing how it all worked together was a pleasant surprise. If I do make more, I am definitely using this practical cut again! Plus, custom sizing the slide to the ribbon I had makes it really secure so the tie will not slip down from its own weight throughout the day (Even light proof grade materials are significantly heavier than cloth - whatcha gonna do?![]() )
)
My husband loves it, and I hope you enjoyed reading about it too!