My son told me he needed some more y-shaped track junctions for his wooden railway. There is an OpenSCAD library called tracklib that you can use to generate models for tracks, and I was going to 3D print some, but my recent move jostled things and now I have to relevel the bed on my 3D printer, etc. etc. So I thought this might be a perfect opportunity to “discover” (fight with) the Fusion/Inkscape workflow and Glowforge some tracks. Should be quick and easy, right?
I modeled up some tracks using a combination of parameters from tracklib, measured dimensions on an exemplar, and Wikipedia knowledge. The trouble started when I started converting everything to vectors for cutting. I thought I had it figured out, but then as I was watching the Glowforge do its thing, I saw it do what looked like a double cut on a part. Look at each path in the objects list and make sure none got doubled up.
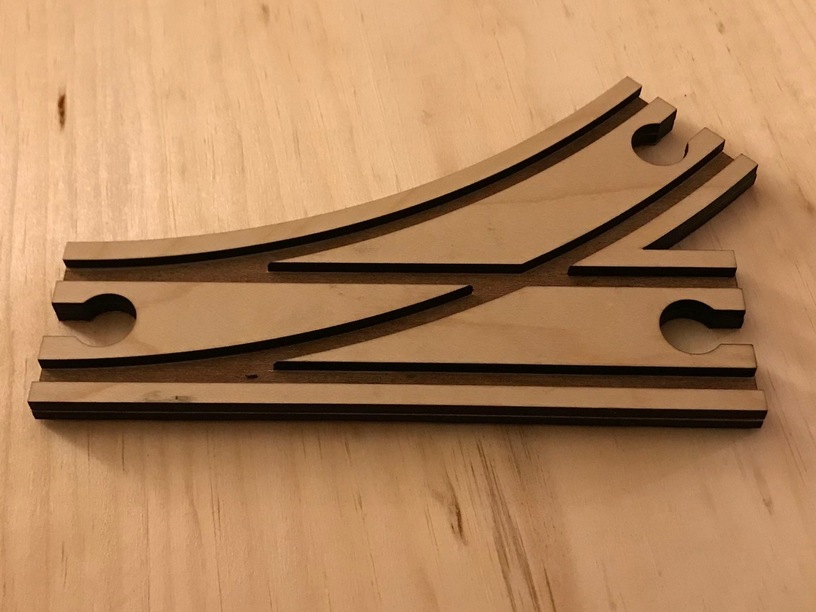
Anyway, here’s the result. I still need to mirror it and duplicate it for the bottom half so that it’s reversible. I plan on making all the pieces female and cut a bunch of dog bone connectors for flexibility.
I wish I’d had my back when my youngest son was into Thomas the Tank Engine. Being able to create some custom train track pieces would have made his day!
Thanks, I figured it out. Leafed through the paths in the Objects list in Inkscape. There was clearly a path doubled up. It came that way from the Fusion DXF export, so it pays to double check.
For each file, upload two copies to the UI (duplication via copy paste won’t work because you need to specify different operations for each). On one, score the insides and cut the outline, in that order. For the other, ignore the outline and cut the insides. Then glue the insides to the base using the scores as guides. Glue the two halves back to back to get a full height reversible track.
quick question, are the tracks engraved into the piece, or did you cut the tracks out and laminate the remainder to another piece? (Not sure if I’m making sense, guess I see if you can read my mind ) -
lol, didn’t realize I hadn’t read the whole thread. Thanks for the answer
 back when my youngest son was into Thomas the Tank Engine. Being able to create some custom train track pieces would have made his day!
