Kidding…you can mock up a blank with the shape of the vector art on it, (or just put a black silhouette of the shape of the art, have them sign it, and then scan that and replace the shape with the vector later.
The signatures will wind up being an embedded raster engrave in the vector file.
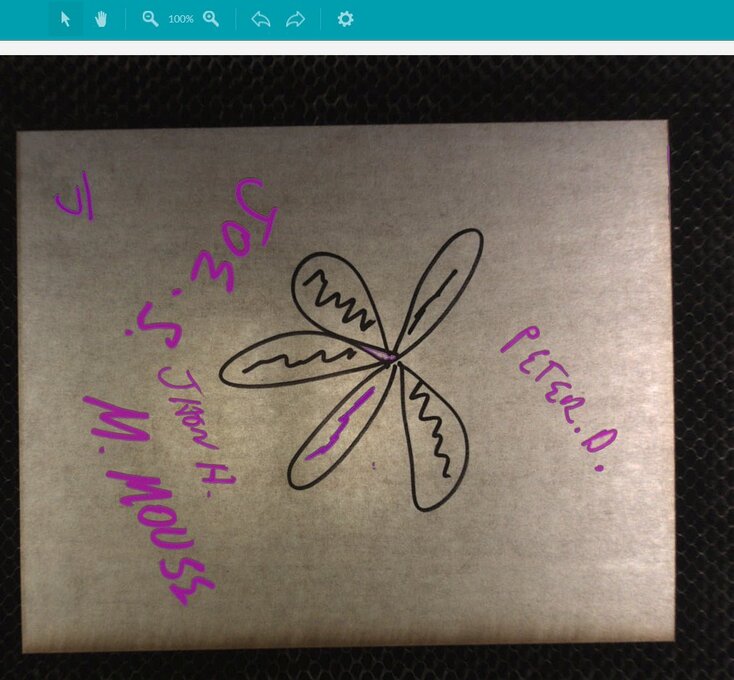
This is pretty much what I was thinking but was wondering if I had gone wrong in my thinking?
Also, what about doing the vector engrave, let them sign and the could I find a way to reject the pre-engraved when it is time to engrave the signatures?
You can certainly add the signatures to it later, using the Add Artwork button. Not sure how flexible that would be if resizing/reshaping were needed.
But you can combine the signatures with the vector in the file, and then just tell it to ignore the vector the second time around when you want to engrave the signatures.
Just build your vector file with a square shape around it, make the lines for that a different color, the vector shape a different color, and let them sign inside of the rectangle, but not on the shape.
(As long as you use different colors, you can set any parts of the operations to be ignored the second time around.)
We run the job then flip it over sign the back and do a trace. This will work for the front to. And there’s something “original” feeling about signing a piece directly.
One old trick that might work here is that some colors – like a light pale blue – print fine on paper but don’t show up when photocopying/scanning/etc. (think security printing on paper checks)
So… You might be able to print the vector art out and have folks sign that with black ink, then when scanned in GFUI the only thing that shows up is the black.
If that works, and you own or have access to an inkjet printer that has a pass-through for thick materials (some Epson printers have this), you could print the vector in the unscannable color directly onto the work material’s masking paper. Then sign that in black, register in GFUI and go! (Printing registration marks in black would help here, too)
I will most likely be trying things like this when I get my (got the “it’s ready” email, waiting on shipping) and will report back if no-one tries it in the meantime.
After I posted this I recalled seeing this done already with the GF… Several pictures and video examples from the post about the Mini Maker Faire a while back (they used yellow as the unscannable color)
So it seems like this technique works fine, just need a workflow to get your art done in this way.
I was hoping that the lid camera would work some magic for me so I could just ignore any previous work but I’m not finding it to work with my experiments. I think I’ll just cut a “no fly zone” mask, attach it, let them sign it, and then remove the extra mask. It’s more steps but guaranteed to work.
You could make the plaque, with the center vector graphic, and just leave the masking ON. Have them sign on the masking. Then take that into the glowie and just do a trace and engrave of the signatures.
This was my first thoughts but when I do the trace it will try to capture the first engraving as well. I know the second layer of mask cut into a no signature zone will work because I can simply strip away the second layer and go.
You know, you’re right about that not working so well. You could try covering the center graphic with white adhesive masking paper for the trace.
Should be enough contrast to allow you to just pick up the signatures the second time. Just make sure the paper is flat so there are no shadows around the edges.

 (got the “it’s ready” email, waiting on shipping) and will report back if no-one tries it in the meantime.