It won’t take long for you to develop a “feel” for different materials, but I had the opposite reaction when I wandered in here knowing nothing. Testing the different materials was like a treasure hunt to me, and I got great joy out of that journey. 
2 Likes
I tried your suggestion and it works!
You suggested I get to know a vector and raster software. I have more than 18 years with vector and raster imaging.
Here is some of my work: https://coldwhitefire.artstation.com/
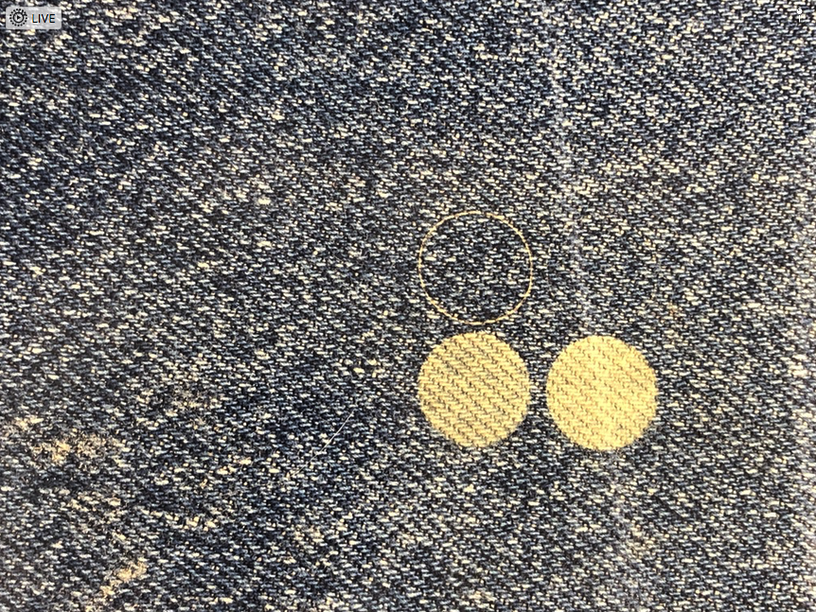
Here are my settings and an after product.
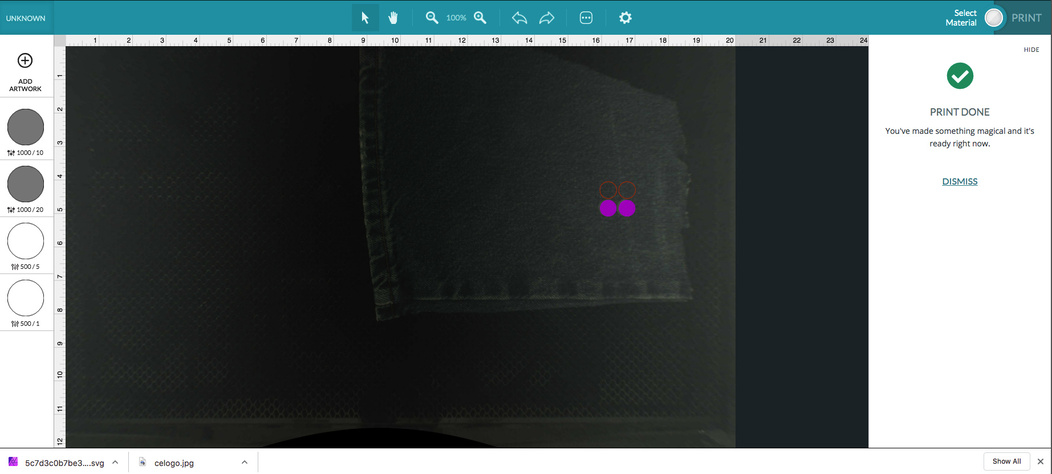
I don’t understand the colors between black and royal blue.
I have seen in some other posts there was a palette that had deeper cuts and the order of operations for each color, but not sure what they did. I also had seen in other posts where someone had different colors and depth of cut made a charcoal burn, and I’m not ready for starting fires.
I wish there was a screencast section where we could show our processes with screencasting and videos with the GF to show the steps of operation.
Thanks again for the suggestions.
Christopher
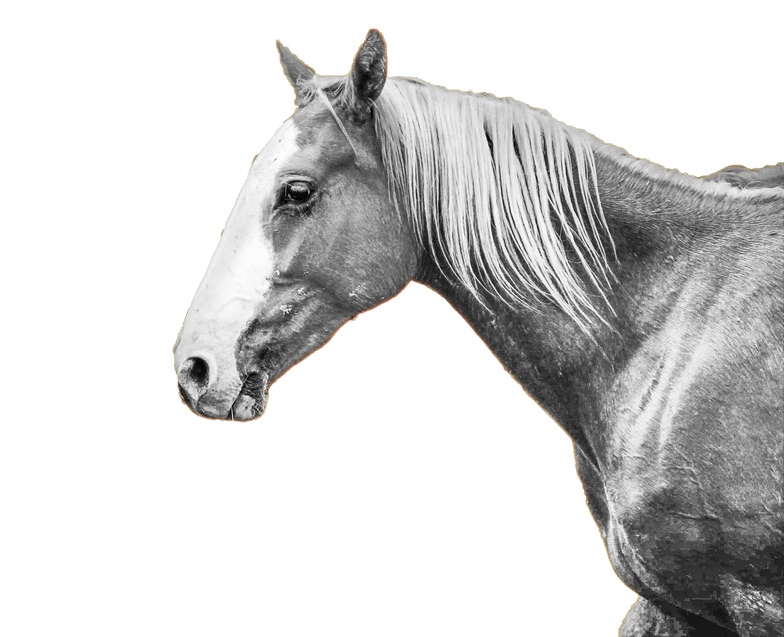
I was trying to use this to horse png to engrave with and wasn’t having any success as I would put in the settings and the laser wouldn’t engrave anything. I couldn’t even see it burning anything like it had with the circles.
Does the color matter when it comes to the filled circles? As I see the 1000/10 is lighter than the 1000/20 filled circle. Color meaning black or blue?
Sorry, I didn’t mean to imply that you didn’t. My wording was ambiguous for sure. I was generalizing with a few examples of folks who have gotten trapped by what looks like an easy process when in fact to get the most out of the Glowforge, one needs to develop many different skills. Many people arrive here and don’t know the difference between a vector and a raster.
In your case, you are struggling with understanding how the Glowforge translates a design into different operations. Color has nothing to do with the power or speed or LPI of the operation. Only that a different color comes in as a different operation. And the order of the colors from hex 000000 to FFFFFF determines the order that they appear in the operations panel.
You have two filled vector shapes that are different colors and that means two engraving operations.
You have two outlined vector shapes that have different colors and that means two cut/score operations.
One you have an operation, you have to set the power, speed and lpi for an engrave (assume autofocus) and power and speed for a cut/score.
Raster/bitmaps are a different issue since we are dealing with gradients and the Glowforge can deal with that in different ways, from varying power to the dithering pattern. I’m not the expert on engraving things like that horse, but it should come in great. I generally do pure vector designs with a rare png thrown in.
The 1000 is the speed. Faster means less dwelling on a spot means less laser burninating. the 10 or the 20 is the power of the laser. More power, higher number, more burninating.
That’s for raster engraving
For vector cuts, it only goes to 500 speed and 1 to max power. 500 speed and 1 power is as light as you can go for cutting/scoring a vector/ 120/full power will cut through thick acrylic. 250/60 will cut cardboard ok. Always watch it like a hawk.
2 Likes
Although to complicate things, a closed vector can also be engraved ![]()
2 Likes
Must remember to say “defaults to a cut” [but you can change it to an engrave]. Never sure when to spoon feed or fire hose it.
1 Like
The article is still there, they must have just reorganized the site structure. Here’s the correct link: https://makezine.com/2011/09/22/identifying-unknown-plastics/
I looked at your site. Wow! You have the hard part of this laser thing mastered. The other half of the equation has to be learned, but that will come a lot quicker than someone like me ever achieving the skill you demonstrate on your web site. So many times I come to the, “I see what I want in my mind, and I know how it has to go together in the software, but that’s not something I can do.” So I’m left to search the web for something that will do.
Because of the inherent physical properties of those materials and for manufactured materials you get to add the unknowns of each manufacturer’s manufacturing process. It won’t be long and you’ll be profiling your most commonly used materials and then you’ll be able to make solid guesses at what settings to start with for new materials to you.
You’ve probably already been directed to this post, but it is considered the place to start for photo engraving:
Given your skills with making images, you’ll probably pick it up very quickly once you learn the impact the laser settings have on the final outcome. Learning means experimenting a lot on scrap material. When I engrave every new image is a new adventure. I don’t expect it to come out perfect on the first try. And where cutting is just a matter of finding the settings you like best, different materials can react very differently to photo engraves. If this is what you want to do, be prepared to create a fair amount of scrap.
3 Likes