maybe i’ll bump mine to 75 and try it at 270. that’ll be faster.
3 Likes
I am curious if you are going Vary power or dots. I was kind of assuming dots with a screen printer.
3 Likes
dots. i’m not sure vary power makes a lot of sense for traditional screen printing. if i get to testing actual photos, i may test both ways.
2 Likes
Any info come with you have about what the screen material is and how one might change it out/reuse?
1 Like
nope. i think we’ll end up having to figure it out ourselves. i see no incentive for xtool to explain the process, since they want us to use the screens as consumables.
hopefully there’s someone out there more serious about it than me so we can learn from their mistakes.
2 Likes
You know, recoating is likely just going to be the process of clearing the whole screen then re coating the screens that you see for just regular screens on YouTube. I have enough screens for now for it not to be an issue, as i picked up the multicolor set. As for the speed, I really just didn’t want to melt the emulsion layer, but still wanted a clean design. You might be able to get away with power 70, only I got lazy and didn’t want to do two more tests.
My first print also was a distressed look pattern, so I wasn’t as worried at the end of the day. However, you can see when there are tiny pieces left over, and the print I ended up doing was reasonable from a time perspective printing.
3 Likes
i’m not sure it’s the same coating that they use on regular screens. it doesn’t need to be photosensitive. but it could work. i do have some old emulsion in a silkscreen kit i got as a gift, but it’s reeeeaaaallyyyy old, so not sure if age messes it up. but i can mess with it if i can figure out how to clean the existing emulsion (in a way that doesn’t include me doing a 2-3 hour engrave to remove it ![]() ). but it would be nice to be sure that the photo emulsion doesn’t have something in it that isn’t particularly laser safe. i’m not sure what all the ingredients are.
). but it would be nice to be sure that the photo emulsion doesn’t have something in it that isn’t particularly laser safe. i’m not sure what all the ingredients are.
1 Like
Thanks. Are the screens themselves metal mesh?
2 Likes
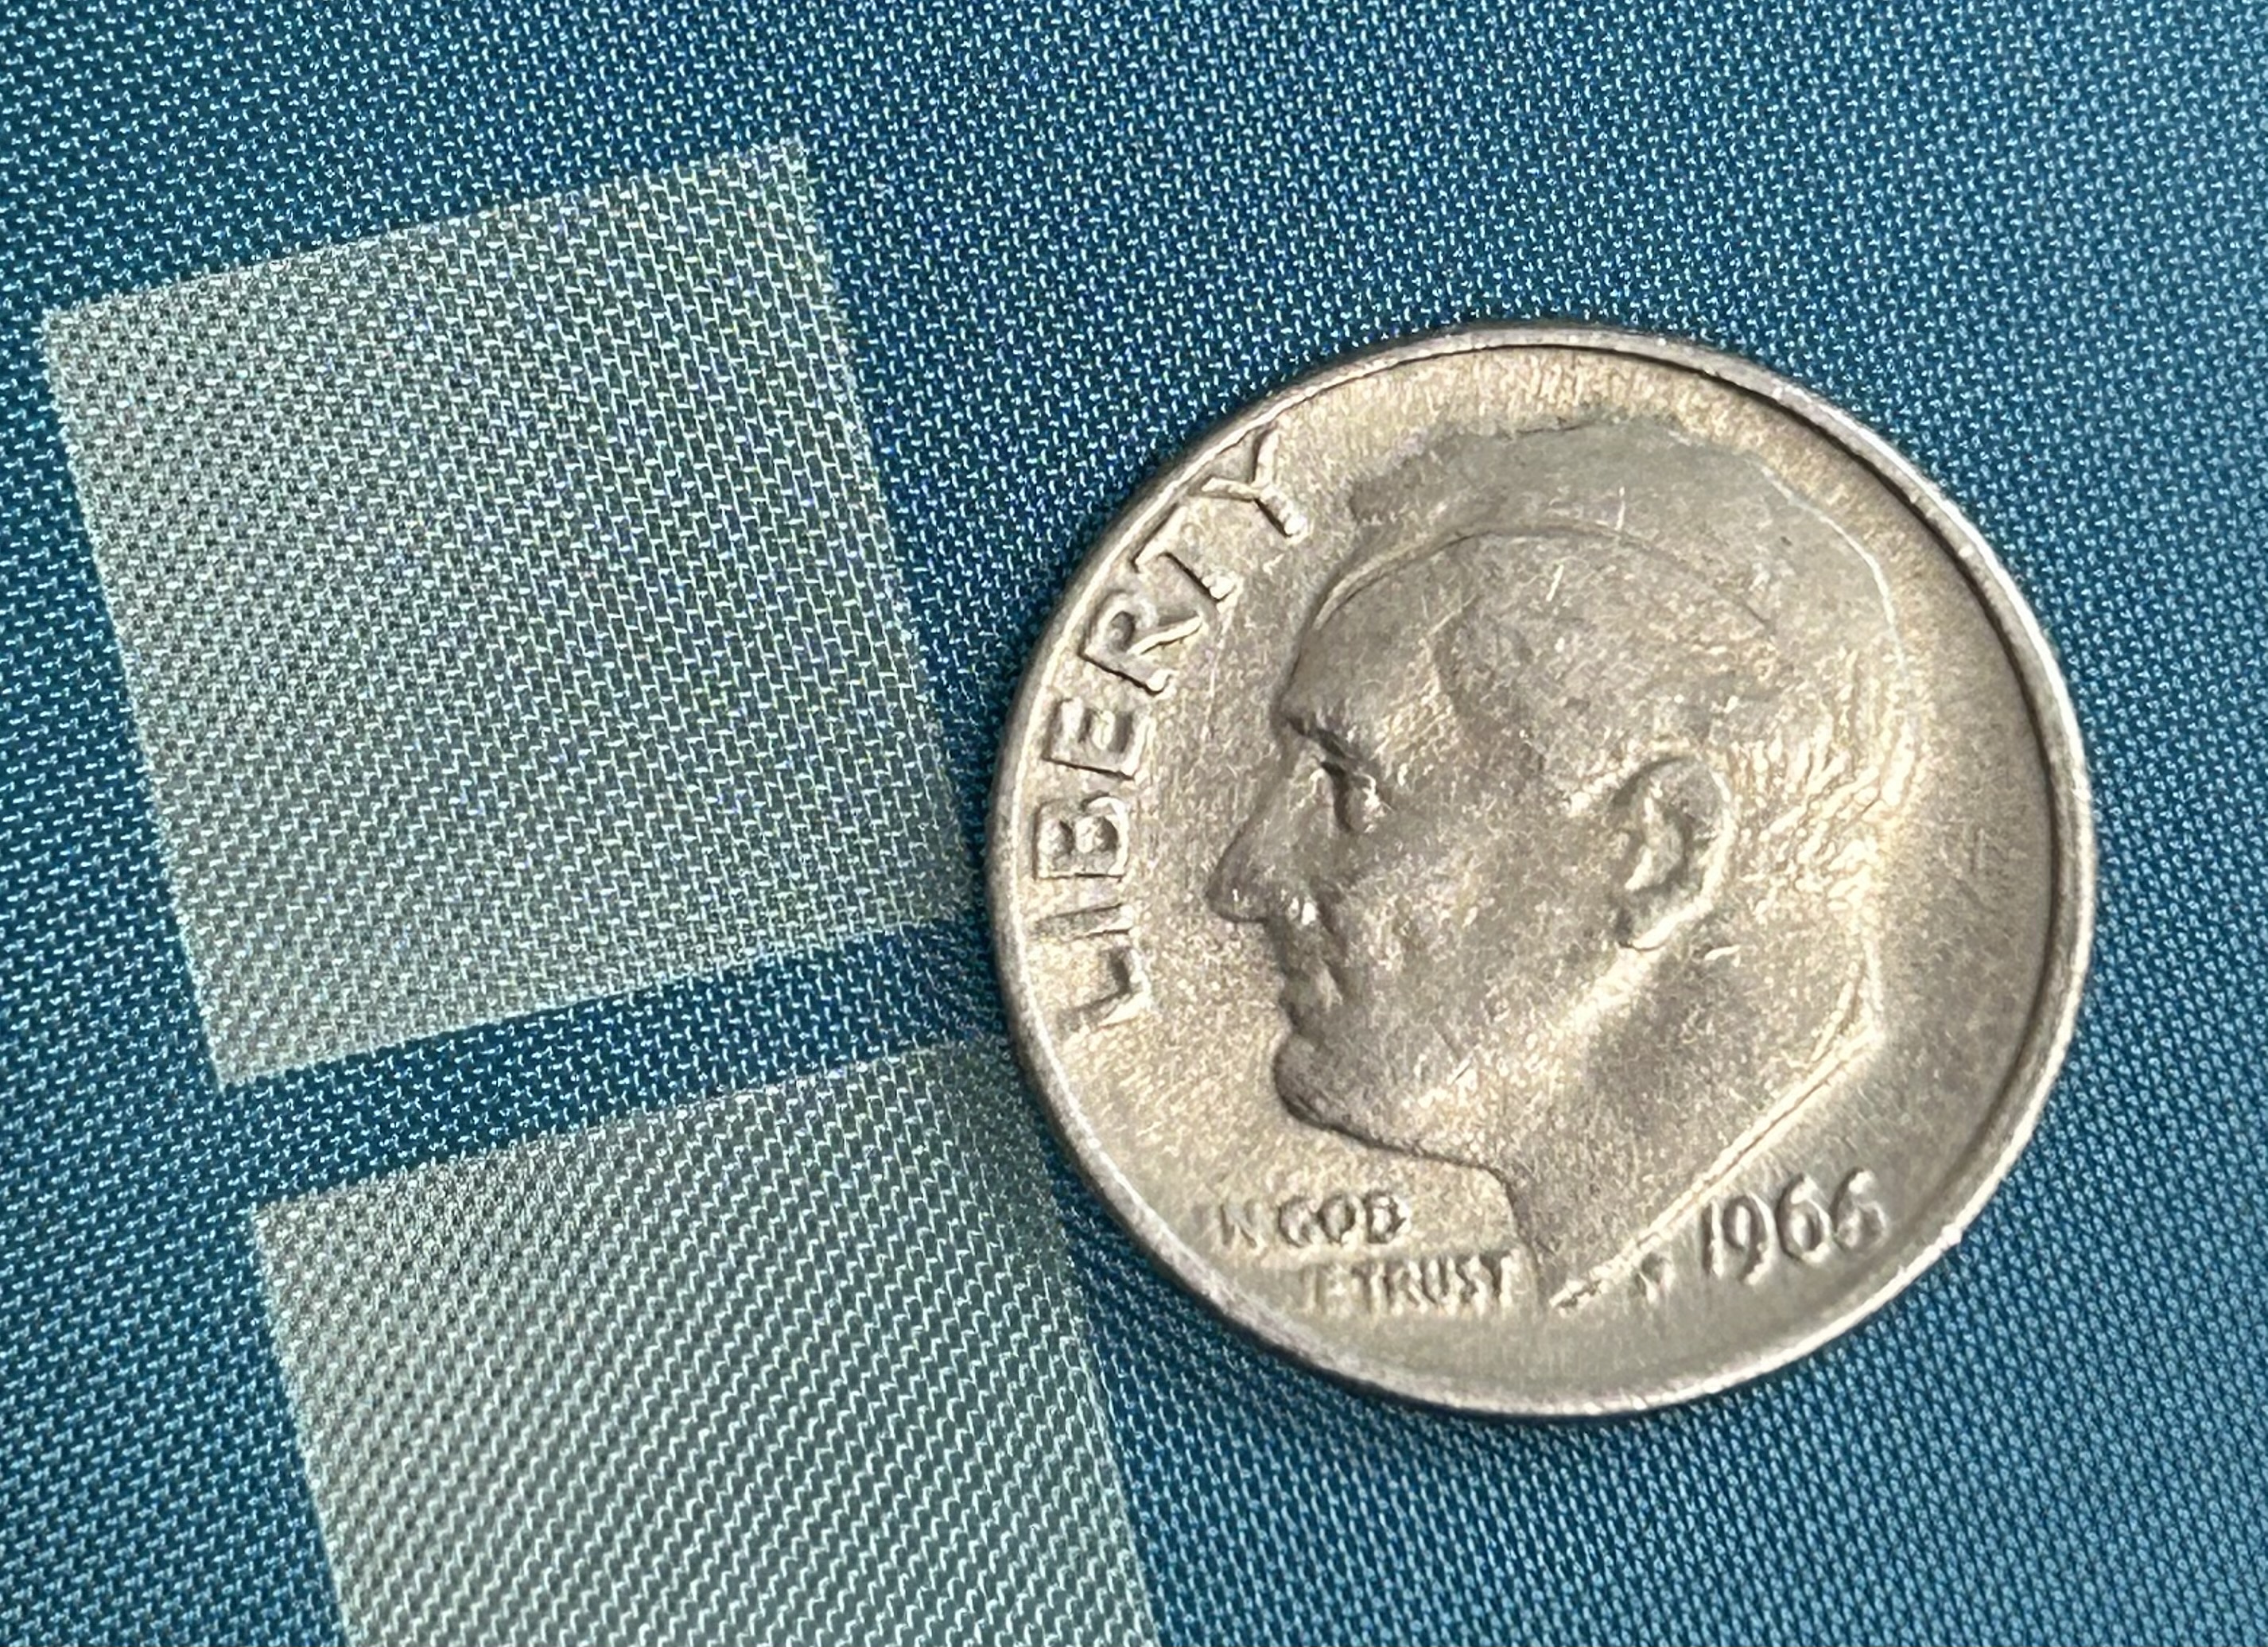
yes. it’s a very fine metal mesh. i’ll take some pics tomorrow with a coin for scale.
7 Likes
Thanks for all the testing and details. I’m in the middle of my first engrave on their screens now. Out of curiosity, how are you mounting the screen in the GF? I have mine pinned down to the crumb tray with magnets, but not for lack of trying several other ways first.
I had first mounted the screen in the XTool frame and found that it wouldn’t have clearance with the crumb tray in place. Then tried removing that, but it wasn’t tall enough for the GF to autofocus (or do any meaningful work).
3 Likes
i pulled the crumb tray out and put the full screen in there on top of a couple of blocks to get it in range of the lens. that’s what xtool shows in their videos. didn’t even think about just straight doing it on the crumb tray. is that working ok for you? it would actually be a little better because you can see more of the screen that way.
4 Likes
It worked out well enough. The print didn’t seem to suffer for it, but I did notice some back flash or smoke marks from where it was resting on the grid:
Front:

Back:

4 Likes
so to me, that doesn’t look completely burned thru. there’s a bit of halo around the edges and a few spots inside. there’s a tiny bit around my squares, but i think it’s a much smaller halo.
did you notice if that flashback affected printing?
4 Likes
I have no room in my life at the moment for a screen printer. But, I greatly appreciate your testing and sharing the results. It appears to be a fun addition / functionality.
Would also work for larger spray paint stencils, where you don’t have to worry about the inside masked areas.
5 Likes
So, after thinking about it, I’ve decided to sell or return this, lol. It’s still in the box. When I did the math, though, it made more sense to buy a printer that can print 13x19 transparencies. I wish you all luck with it. It is a very cool product for those that don’t want to deal with the curing process.
2 Likes
i’ve had my traditional screen printing starter kit for well over a decade w/o using it because i never really got into the screen creation part of it. that’s the main reason i went this way. i know i’ll do it in the GF, but my procrastination shows me i’d never have ever used that kit. now i could at least steal the inks and squeegee from that kit to use with this one. ![]()
6 Likes
I love the traditional method (once I figured out how to properly cure screens).
The biggest issue for me was getting the film. I would send the files to Office Depot for printing and then go pick them up. I have kind of a dark sense of humor, so couldn’t really make what I wanted to because you never know who’s going to be printing your stuff out. Also, they were limited to 8.5x11.
I bought this because it solved those problems, but a large engrave can take upwards of an hour. They touted 3 days to screen prep a screen using emulsion and curing, but that’s a gross overstatement. It only takes about 3 hours if you speed up the drying. I prep all my screens at once, too, so it really only takes me about 30-45 minutes from printing the transparency to production.
This is a great product, don’t get me wrong, but it’s hard to get a shirt just right on their tool. And there’s nowhere for the fabric to hang off the platform near the hinge.
Sorry for the rant, just wanted people to be aware before purchasing.
2 Likes
So I might be missing something here, but how do you handle multiple colors?
1 Like
You would have to print a screen for each color, and ensure they are aligned perfectly.
4 Likes