2-D trompe-l'oeil engravings that look like 3-D

To get pictures like 805LaserSpot makes, simply converting to grayscale isn’t enough. You need to add the shading and shadows that mimic a real 3D engraving, even though you’re not actually doing a 3D engrave, you’re doing a light engrave that adds shading but leaves it flat

That’s hard to do with regular photo tools, but easy with ChatGPT. Just ask for a bas-relief style, like this:
“Visualize as bas-relief: David fights Goliath.”

You can also ask it to convert your own picture to bas-relief. It will do so approximately, not exactly.

“Make this into a photo of a bas-relief”

38 Likes

This is an interesting concept I want to futz around with it now.

15 Likes

That is very interesting. A problem with that style is that things visually flat come out curved if deeply engraved. If you can get a grayscale depth map, that things farther away are darker. It would solve that issue. To experiment, there are a lot of such images on the web.

11 Likes

Those are great examples. Bing image creator also does great bas-reliefs and they are free, but you can’t start with an image (at least not right now), you have to describe completely the image. I’ve found that SculptOK converts those to depth maps really well, if 3D engraving is your ultimate goal.

12 Likes

Cool! Thanks for sharing. I’ve been considering attempting something but was on the fence.

8 Likes

Y’all need to stop it! I have to work on outside stuff before Texas gets too hellishly hot, and I don’t have TIME for new Glowforge obsessions! :stuck_out_tongue_winking_eye:

17 Likes

I’m not entirely sure I understand you, but from what I gather, he recommends engraving these images with settings that leave it actually flat and merely shaded. Note these are not depth maps

12 Likes

I realize they are not depth maps, but then a full range black and white image cannot be flalt like it was an inkjet print either. I have tried to do that on Luan plywood that the top layer is thin as paper but if thin enough not to go through, it goes to nothing fairly quickly. This is the box for my tablet after a year or so of use…

7 Likes

This will take some experimentation. I think it works for his images with a combination of sharpening and coarse dithering…

6 Likes

It might work with fine dithering as you need distance between holes, and you need some holes in the lightest areas. Under that circumstance you have only dots, but if the dots overlap, you are at the bottom of the dots rather than the top. And If there are areas with no dots the area is empty rather than a light shade. Then again like that box above the holes covered or lightened over time, the holes can be too small or need a clear coat.

4 Likes

To get back on track: we all know that these types of engravings are easily doable and quite successful in terms of faking the 3d aspect. We’ve seen many projects posted here on the forum that prove it out. There is no debate here.

We also know that by its nature the laser is a subtractive process. There will always be some loss of material to create contrast. It can’t be perfectly flat except in very specialized cases like anodized aluminum (and even then I’ll bet there’s an imperceptible depth to the engrave). Again, no debate here either.

It doesn’t surprise me that you’ve had mixed results with lauan, it’s cheap but that doesn’t mean it’s appropriate for every project. Lauan is usually faced with Meranti which is a fairly soft wood — it engraves dark enough but the laser digs deep and makes lots of loose char. Almost any other wood would be better: I’d even choose MDF over lauan for this and I really don’t like MDF.

Anyway. Using image generators to get decent faux 3d images is a nice trick — this isn’t the first time we’ve seen it but the state of the art keeps improving and prompts get more coherent. These are some of the best results I’ve seen with by far the simplest prompts. Nice work, @purplie, and thanks for taking the time to write it up.

10 Likes

Does the ChatGPT phot then need to be made black and white?

5 Likes

Color isn’t a problem. Glowforge will automatically convert it to grayscale. But if you look at805LaserSpot’s images you can see large scale dithering patterns, which I think help make the image look sharper, better than Glowforge’s automatic dithering. I’m still experimenting

7 Likes

Case in point… lovely depth to this engrave:

8 Likes

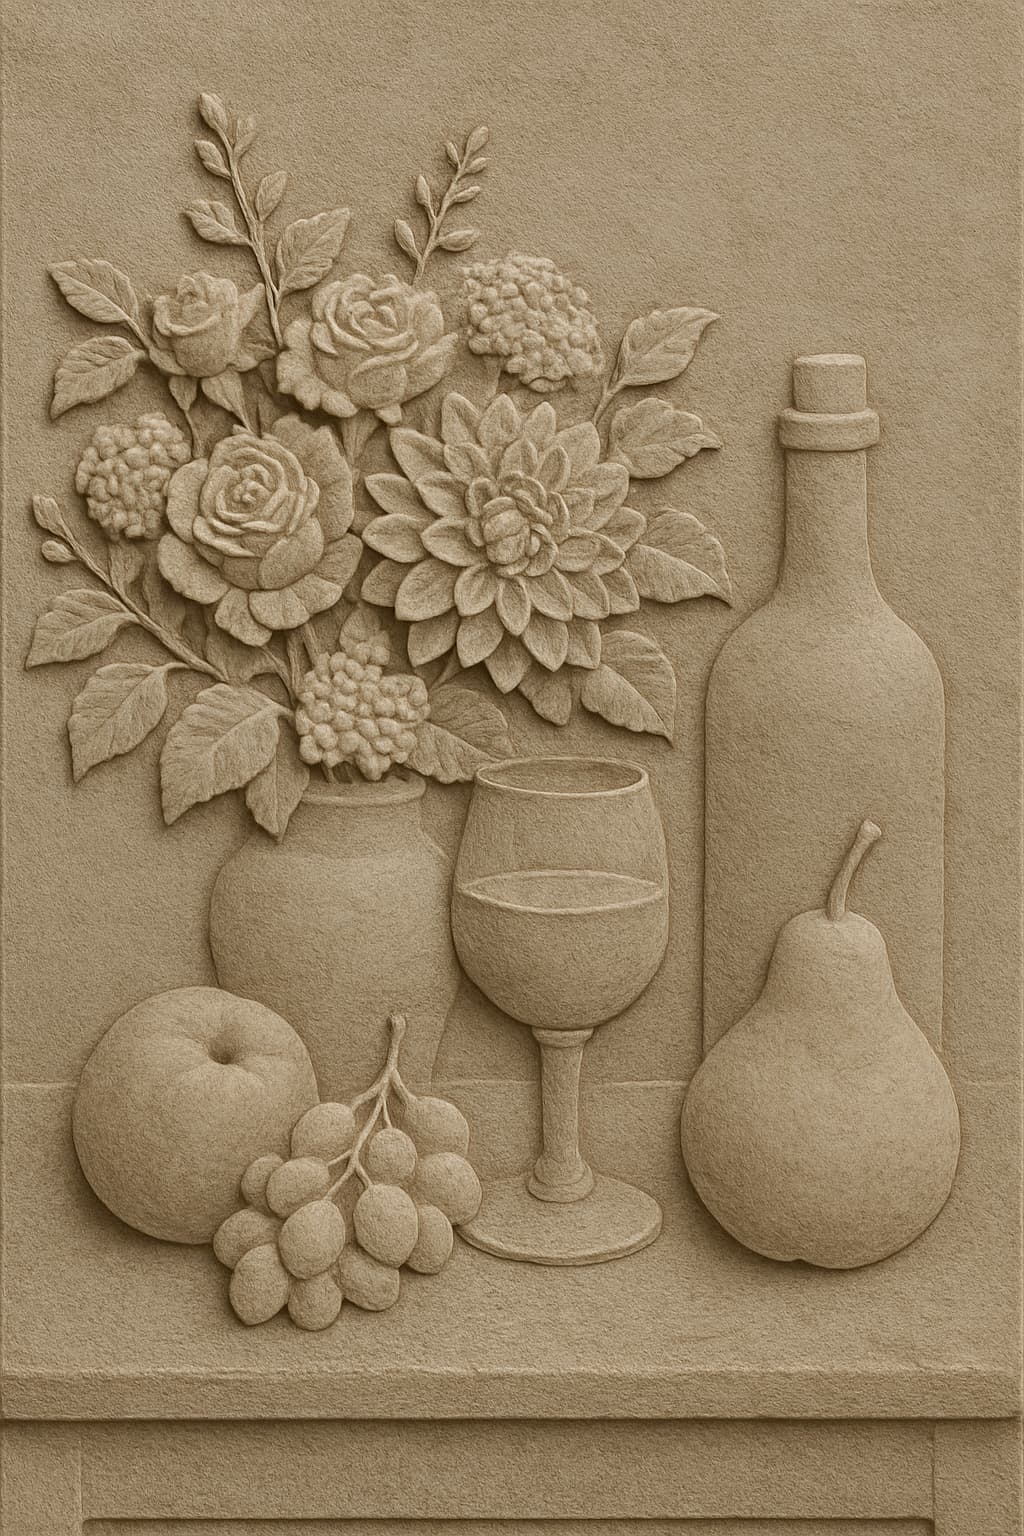
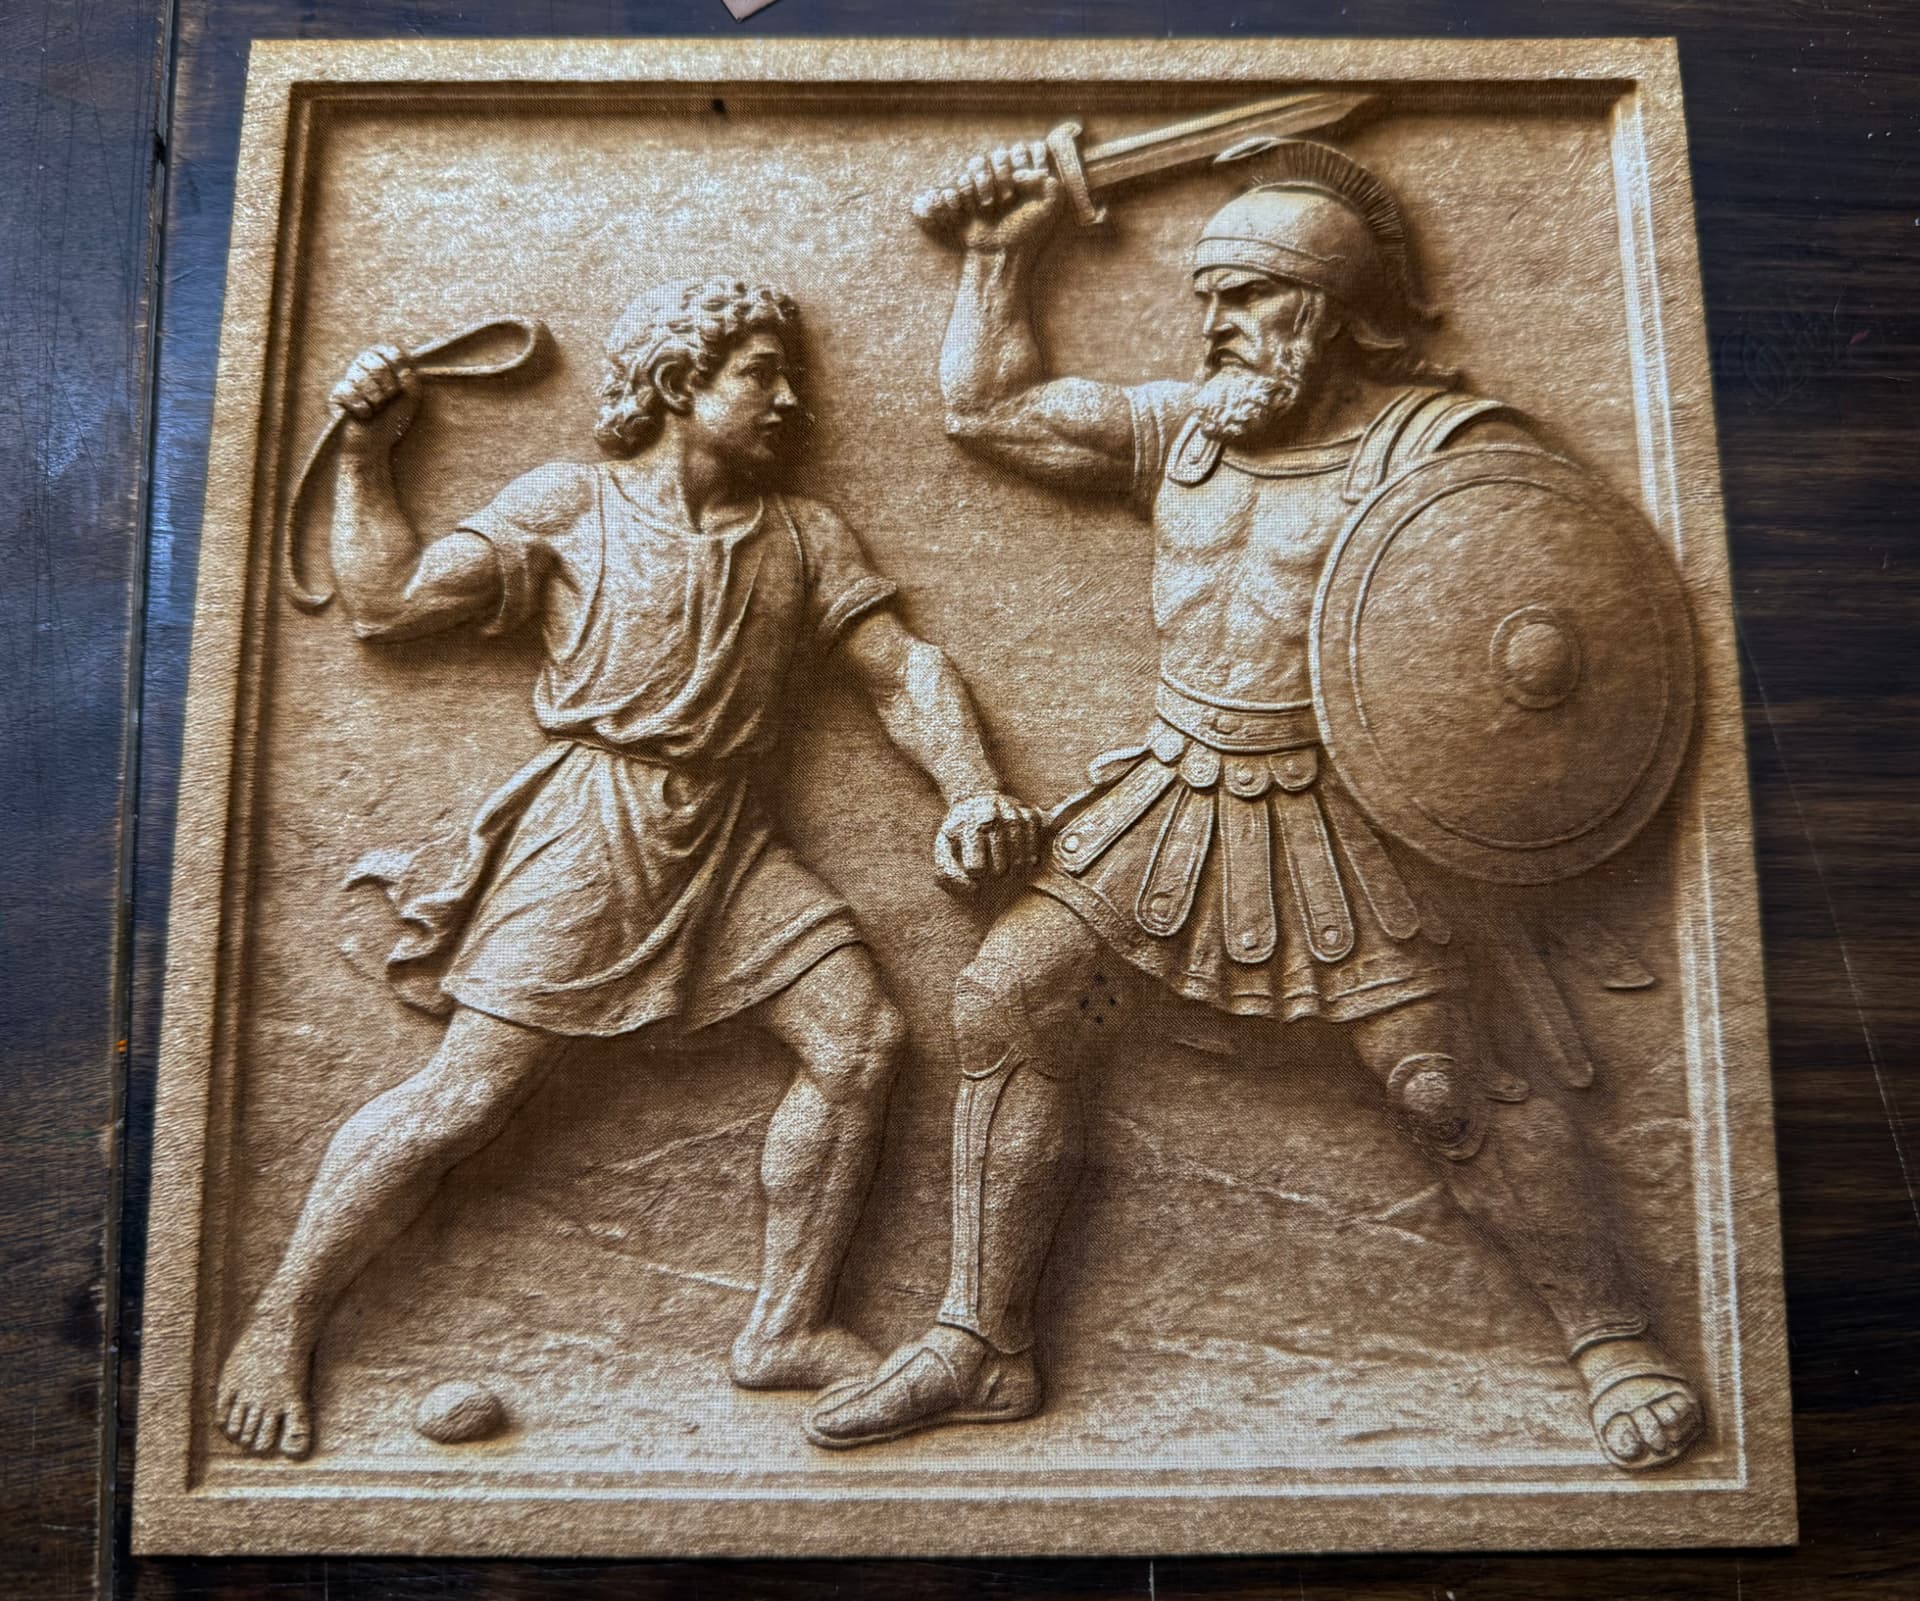
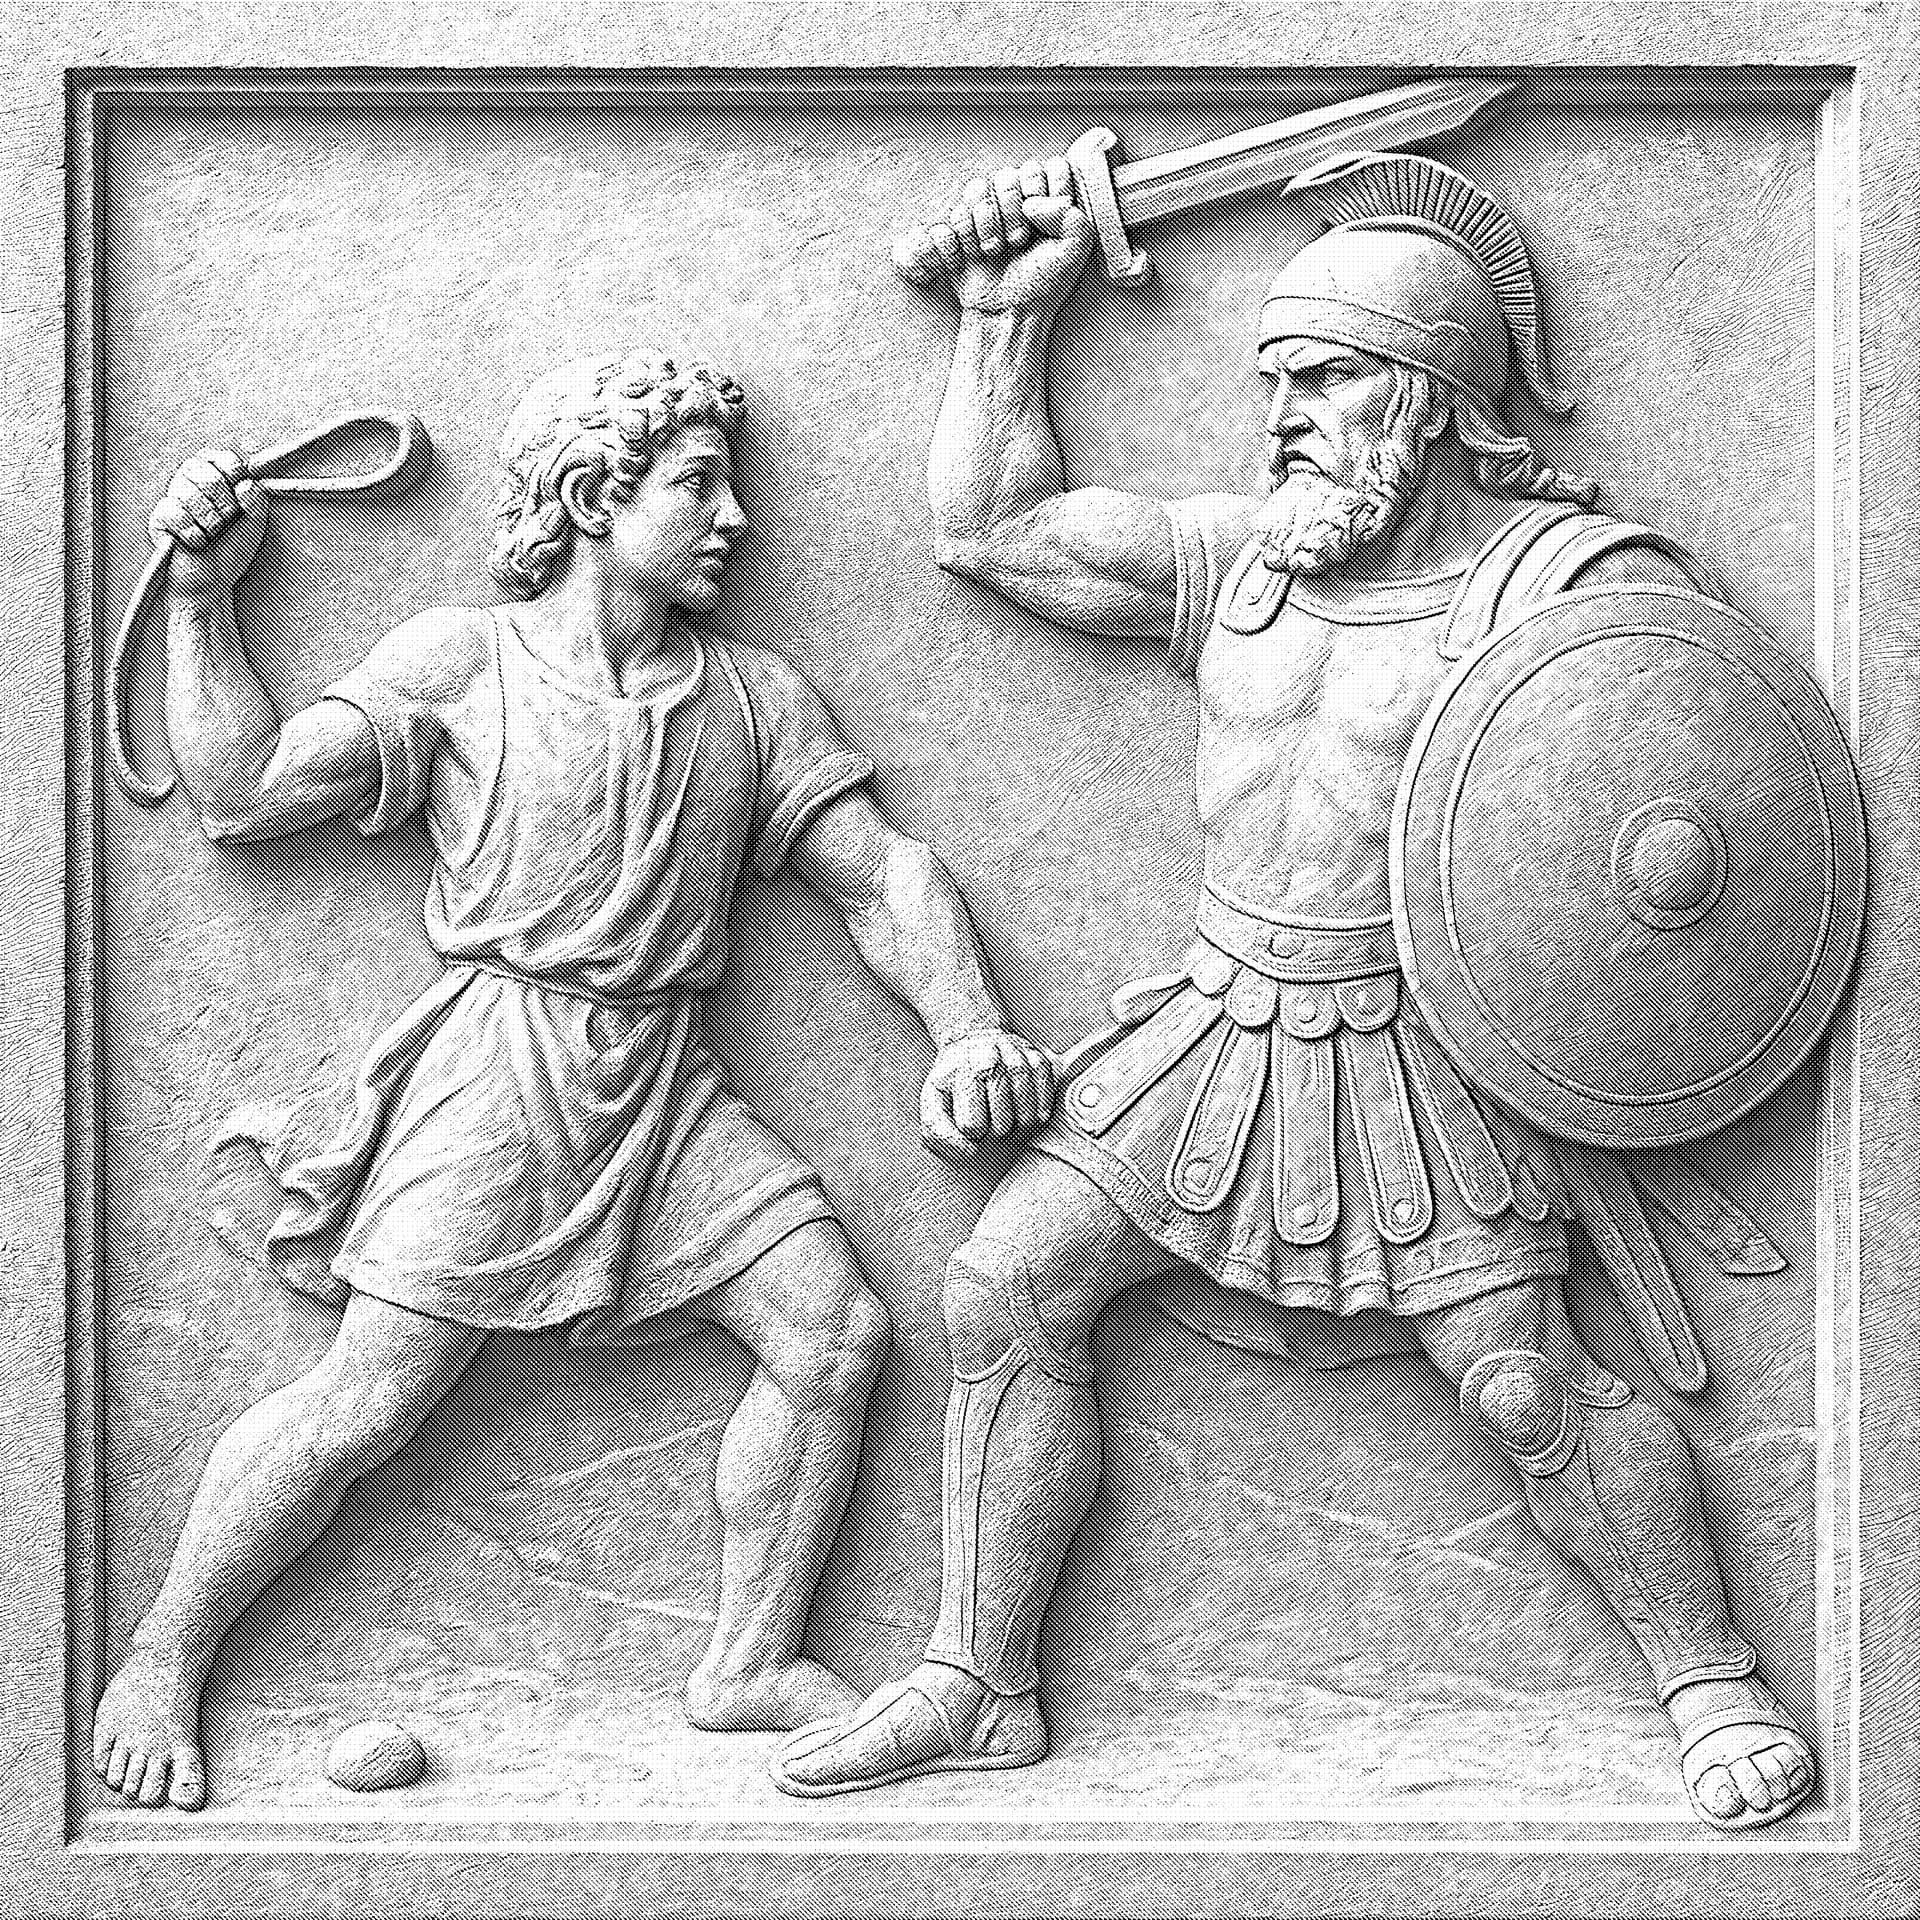
OK, I played around with the dithering. (I’m still an engraving newbie.) I used images with resolution 540dpi (an even multiple of the 270 lines per inch) and settings

speed:1000
power: 90
Vary power
270 lines per inch

Lots of dithering options:

A. Glowforge’s dithering
B. Halftone filter
C. 805LaserSpot’s style of dithering I don’t know what tool they used. Notice the aggressive edge enhancement.
C2. My attempt to get something similar to C. (I had to write a script, see below.)

Result:

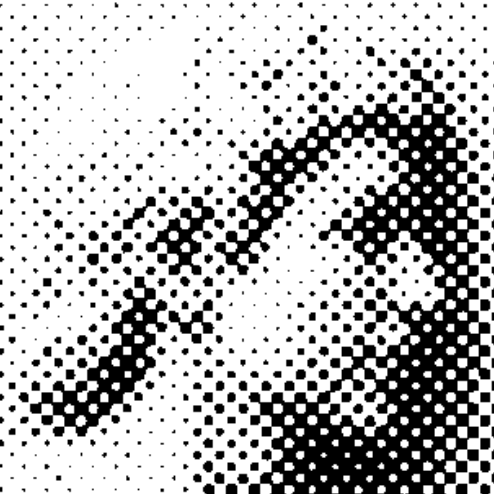
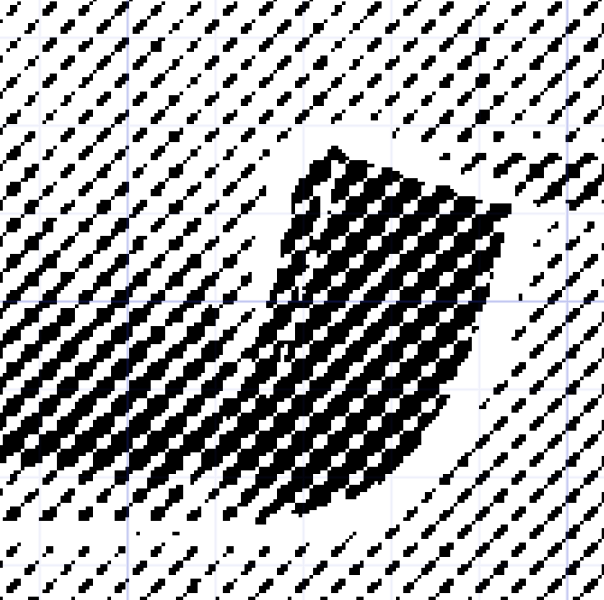
Glowforge’s dithering was worst. 805LaserSpot’s style (and my imitation) were best, showing detail much better than Halftone. (That might just be that the Halftone grid is a little larger.)

Here’s the best pipeline I’ve come up with in my tiny experiment:

  1. Get your 1024x1024 image from ChatGPT
  2. Use the AI upscaler of your choice to upscale it 4x
  3. Convert to grayscale
  4. Apply an unsharp mask, radius 20, to enhance edges.
  5. Make a “levels” or “curves” adjustment to widen its dynamic range so that it contains both full black and full white.
  6. Apply dithering with a 10px transform matrix designed to produce that linear pattern; maybe a 8px halftone would also work.
  7. Scale it at 540dpi. (For a 4000x4000 image, this makes it around 7.4 inches).
  8. Engrave with the above settings.

Here’s my final result on basswood plywood, using my dithering pattern:

Show my dithering script
import argparse
from PIL import Image
import numpy as np
import os

parser = argparse.ArgumentParser()
parser.add_argument("-in", dest="input_path", required=True, help="Input TIFF file")
parser.add_argument("-out", dest="output_path", required=False, help="Output file path (optional)")

args = parser.parse_args()

input_path = args.input_path
if args.output_path:
    output_path = args.output_path
else:
    base, ext = os.path.splitext(input_path)
    output_path = f"{base}-dithered{ext}"

size = 10

threshold_matrix = np.array([
    [0, 10, 66, 128, 180, 231, 198, 157, 110, 115],
    [15, 5, 20, 77, 139, 190, 236, 208, 167, 126],
    [72, 25, 30, 36, 87, 149, 200, 242, 218, 177],
    [133, 82, 41, 46, 51, 97, 159, 211, 247, 229],
    [185, 144, 92, 56, 61, 103, 118, 170, 221, 252],
    [234, 195, 154, 108, 113, 2, 12, 69, 131, 182],
    [193, 239, 206, 164, 123, 18, 7, 23, 79, 141],
    [151, 203, 244, 216, 175, 74, 28, 33, 38, 90],
    [100, 162, 213, 249, 226, 136, 85, 43, 48, 54],
    [105, 121, 172, 224, 255, 188, 146, 95, 59, 64]
], dtype=np.uint8)

img = Image.open(input_path).convert("L")
arr = np.array(img)

# Tile threshold matrix to match image size
h, w = arr.shape
tiled = np.tile(threshold_matrix, (h // size + 1, w // size + 1))[:h, :w]

# Apply ordered dithering
dithered = (arr > tiled).astype(np.uint8) * 255
Image.fromarray(dithered).save(output_path)
13 Likes

The dithering is interesting but I’m wondering why not just use vary power? I tend to prefer the results aesthetically.

4 Likes

In my own test, that was the worst outcome. So I wonder what factors influence that.

But note that with dithering, coarse dithering larger than the laser beam, you’re at least going to get a linear amount of darkening. (For most dithering patterns.)

That generally won’t be true for the vary power mode; darkening is not a linear function of power.

4 Likes

There are several things there.

  1. There are adjustments on that pattern density line. Initially at each end, you can grab it and move it inward. At the light end you increase the number of dots, getting at least some dots where you have large light areas. Likewise where dots overlap at the dark end one can lessen the effect by moving the dark end toward the middle.
  2. The dot levels commonly used in routine engraving and the impression of time taken tends to skew what is considered extreme. I find that 640 -1355, while taking longer the result is much smoother. This effect is much greater in the dot matrix. This can make it hard to even see the image at the dot level. While the math between DPI and LPI is straightfprward, the result is not. This can be most easily seen at low DPI made into a higher DPI what was a sharp dropoff is greyed so the dropoff is much smoother. I use this effect frequently when creating a vector from pixel image conversion.
3 Likes

Image prep can counter this if you’re using curves. Also I’m not sure you need a linear gradient.

Lasering is an analog process at the end, it’s more akin to photography and traditional development than to digital printing. Trying to be too precise with engraving (or cutting) will make you crazy.

5 Likes

That was my original point I have made frequently. To use variable power, the gray scale needs to match the depth. In some cases there is little or no color effects, but the depth changes. If you are hand carving a relief, that is what you are emulating.

4 Likes