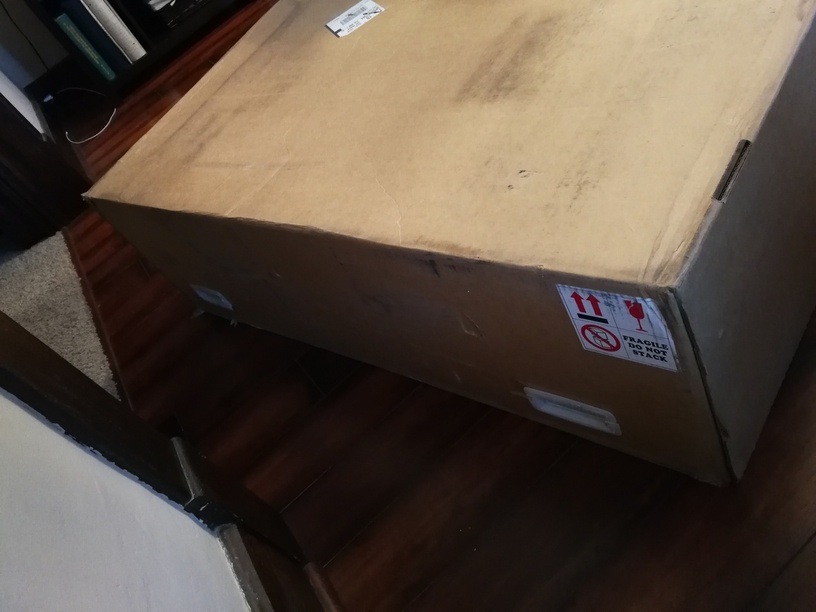
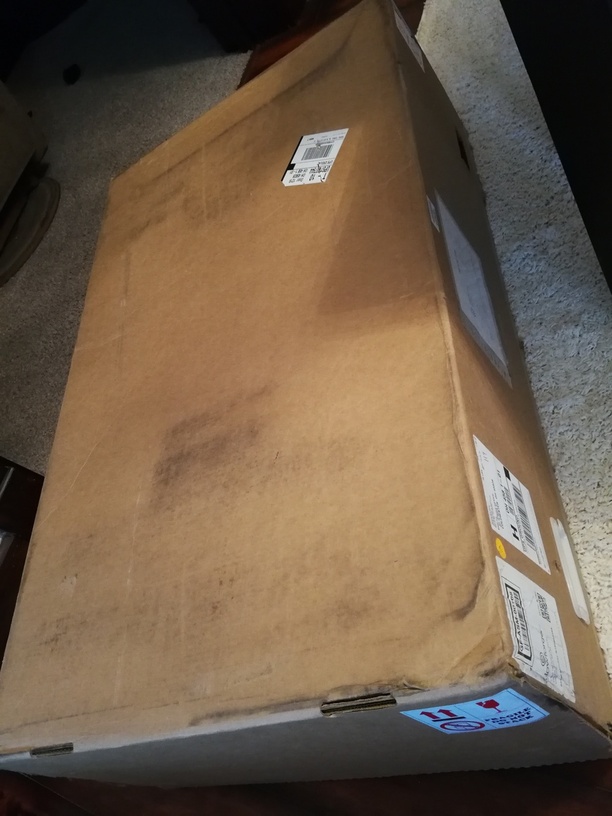
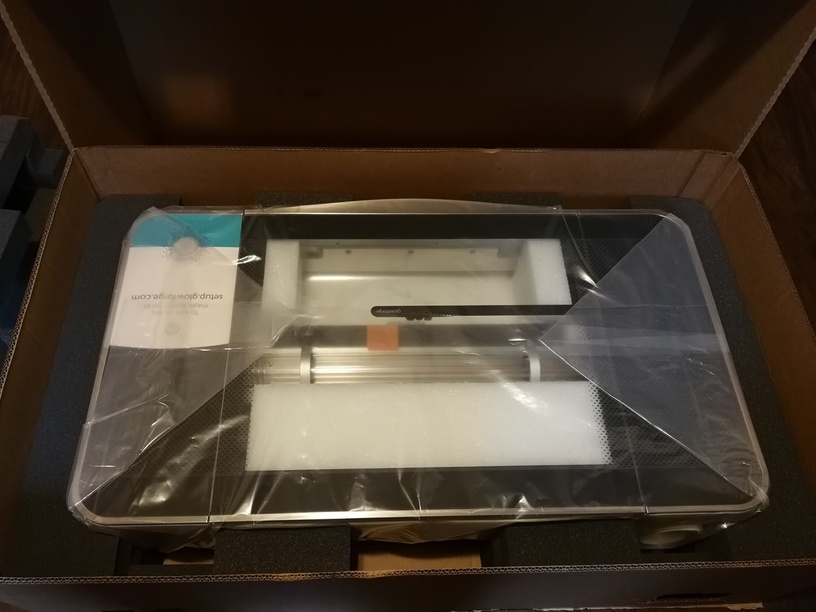
“Friday” <–glowforge name, has arrived! Now everyday is friday, because I can only laser engrave on friday. My original intent was to name it Jarvis but someone had that so Ironman’s backup computer AI in age of ultron was friday so it works both ways you look at it. She came in pretty good shape too i’d say. (I purposely ordered a bunch of ups items the week I knew it would ship and told the ups guy every day, Hey theres going to be two really big boxes coming, please don’t try and lift it on your own, ill help you and try and take care of here or we will be doing it all again if its damaged. lol sorry for the story he got a kick out of it. only one handle missing and no tears.
I have had two days to engrave so far, I had done absolutely no research into learning illustrator until two days before it arrived. So pretty steep learning curve but wasn’t all that bad since I have used photoshop a lot in the past and with some help from forum members for shading issues all and all I am getting the hang of the basics, I would like to find good tutorials for some more none basic stuff like making hinges or joints, and not sure if there is some kind of easy way for figuring out kerfs or not but thats later on. If anyone know anything for any of those 3 hit me up.
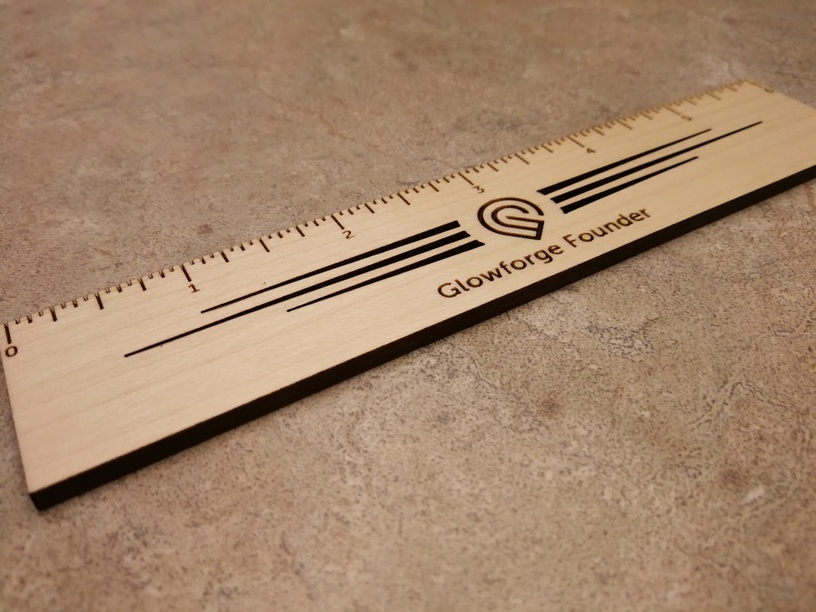
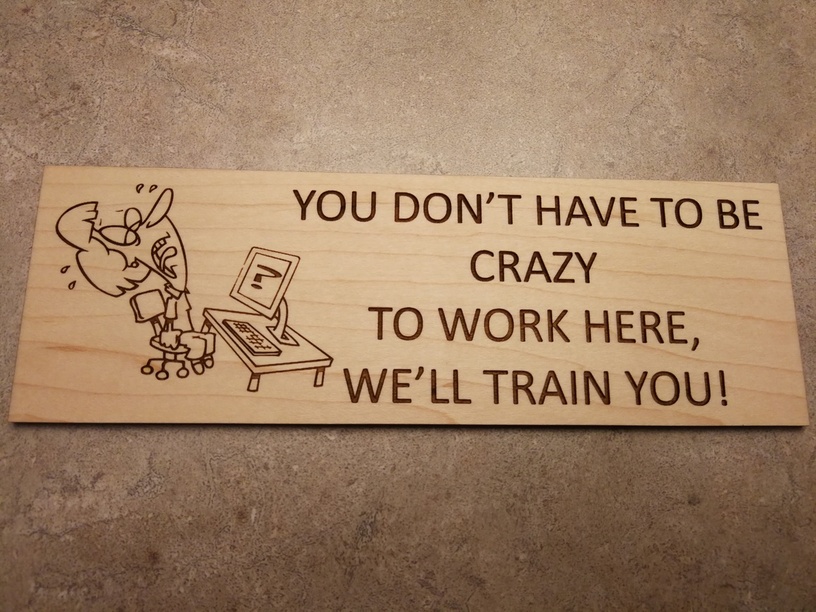
The ruler and plaque cuts first thoughts:
ruler came out great, alignment on the machine when centered seems really good, I have yet to try outer edges on a big sheet yet only used the smaller sheets so far, kinda nervous for all the stories I’ve seen.
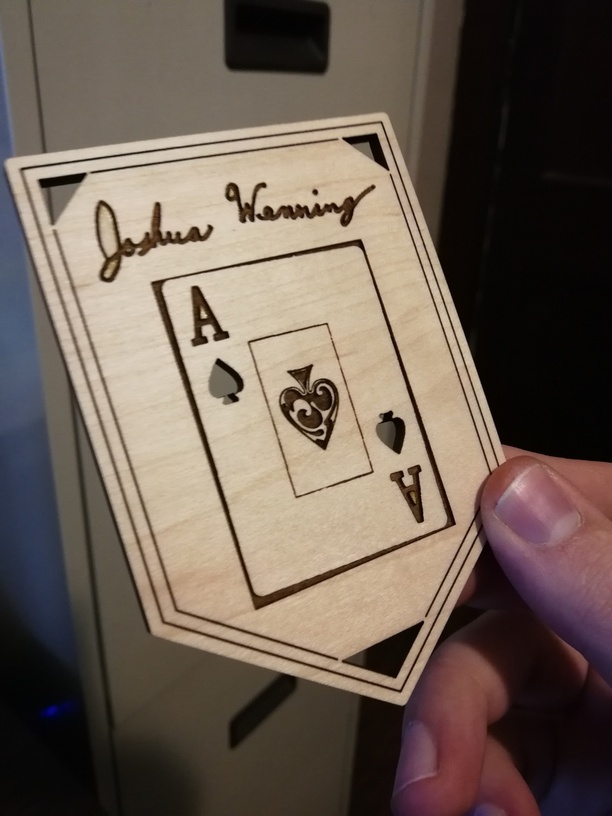
The Plaque, it said to draw something I suck at drawling, so instead I chose to do 2 test in one, I signed my name to test that portion of the trace and I stuck the ace of spaces from a deck of cards that was sitting by me at the time to see how it would do with premade paper designs which will lead me to a cool discovery I haven’t seen any one do yet! I will get to this later.
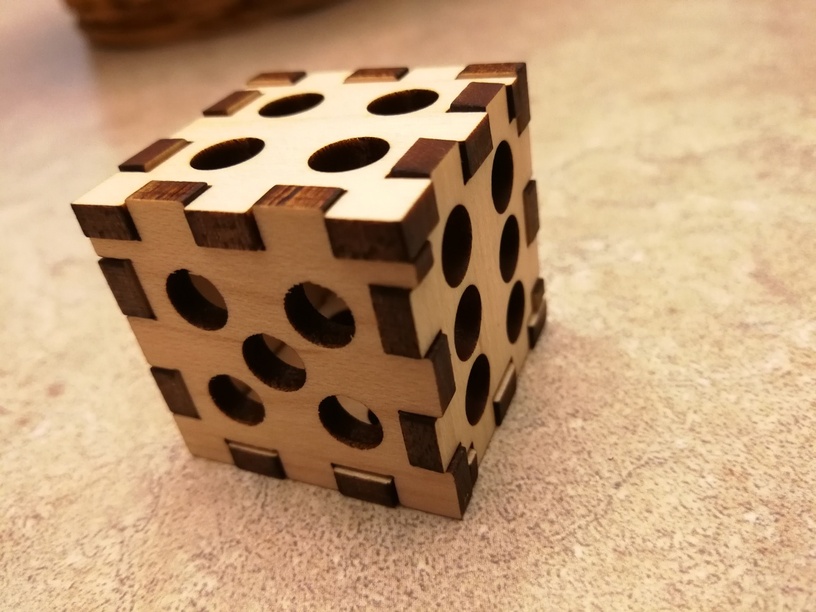
First real cut:
A premade designed dice I got on the laser library site just because I didn’t know what to do. This turned out great even after I shrunk the file but not a tight fit enough for no glue hence the kerf question earlier.
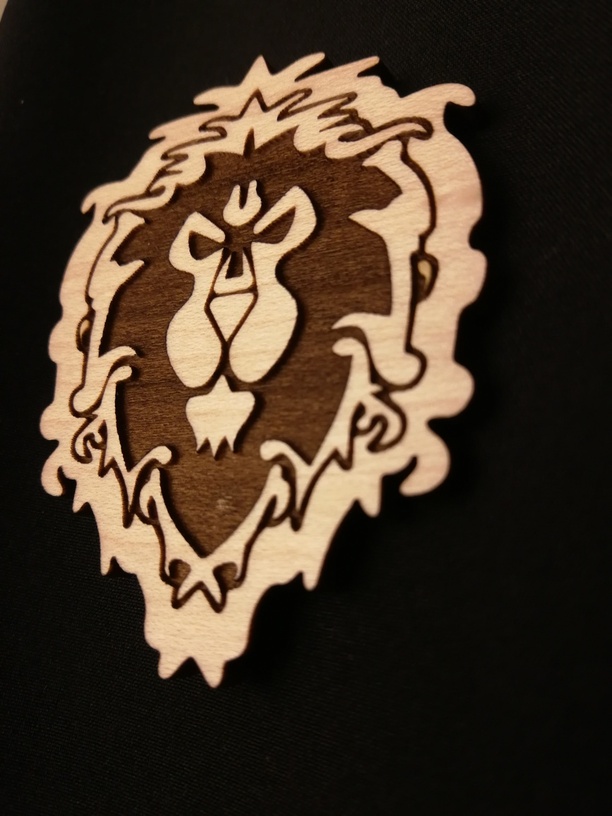
Second cut but first project I designed to make it work:
I was in awe… “I made this?”
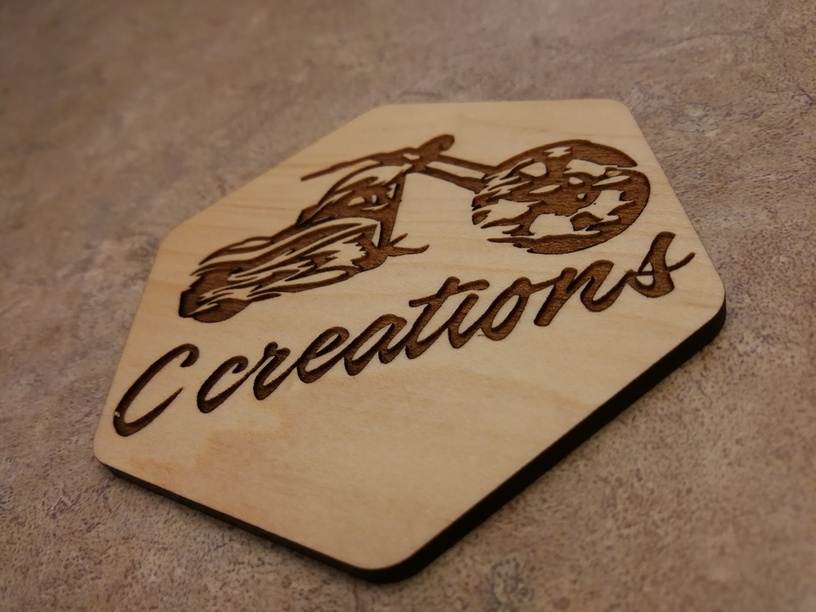
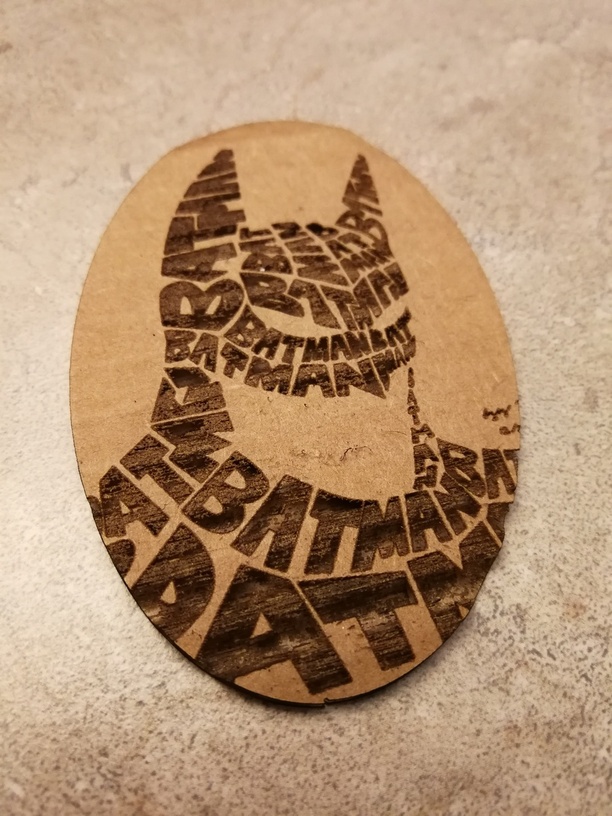
Then my father found out I had it in after I posted ^that to facebook and he said hey can you make me a coaster for my business? (I previously made this design for him on the cricut cutter machine for a sticker for his go cart.)
This is the cool part that I told you about earlier with the ace of spades that gave me the idea
I took said design and opened it in the cricut cutter app on my iPad because I didn’t have the file saved anywhere else, I turned the brightness to max and removed the grid placed the iPad in the machine face up with design open and traced the image right from the iPad!!! AND THIS HAPPENED!!!
Then this blew up into a full on family laser night:
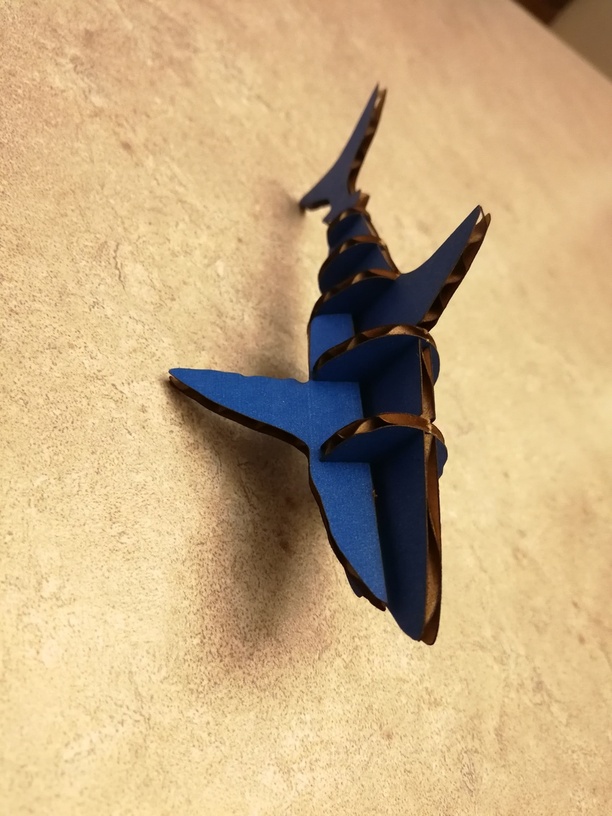
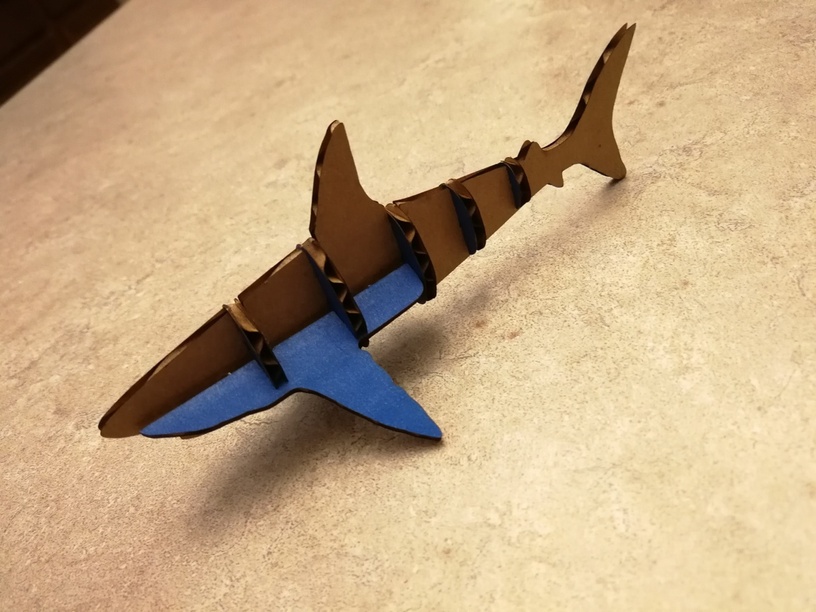
My card board settings that work for me,
180 speed 50 power =cut for 0.091 card board
1000 speed 55 power = engrave for 0.091 cardboard
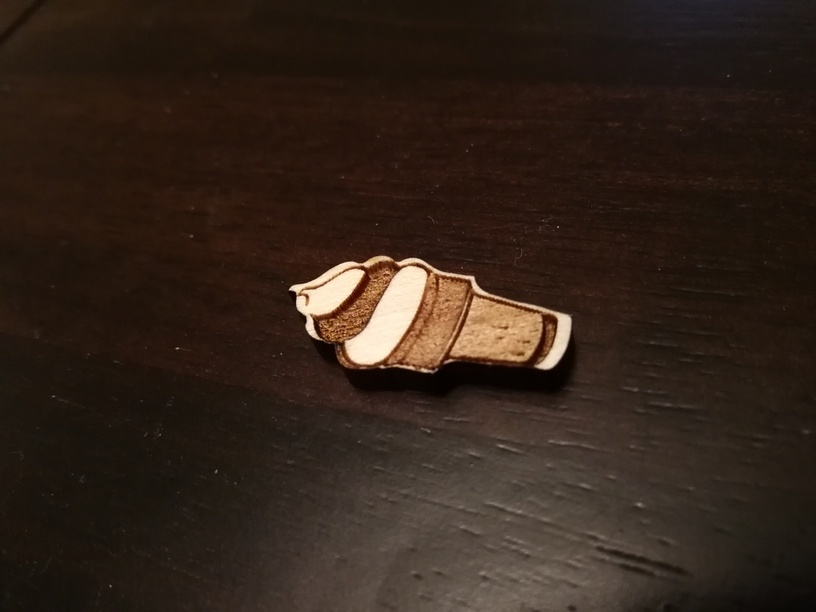
Then I went into the shading questions and with the help on some fellow members I got it:
This ice cream cone was my test subject (as small as my thumb nail), first time was all heavy fully black in dark spots, then did manual engrave for each shade and came out like this as well but I said thats a lot of work no way I have to do that every time so to the forms I went and help I got. If you are looking for help on this make sure the image is rasterized and embedded in your svg file.
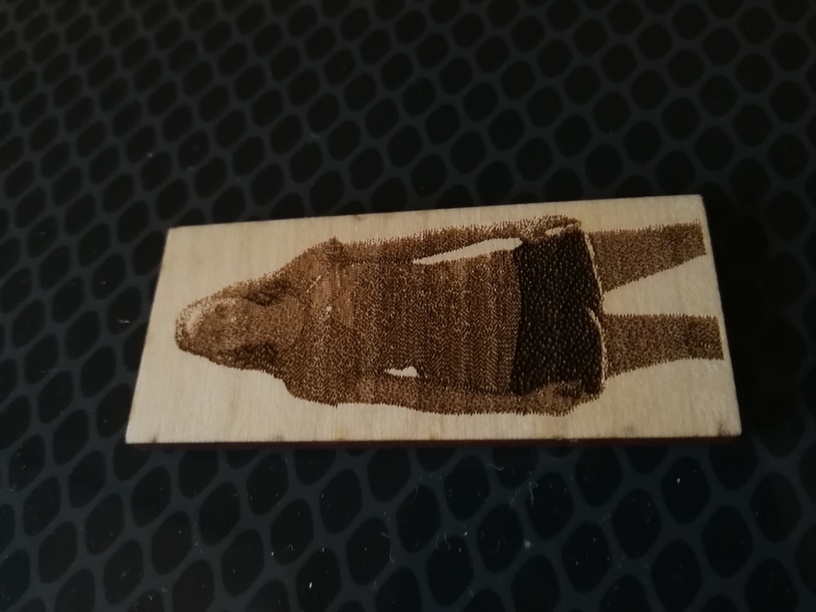
Then I finally tested the photo engrave feature, not to bad but will have to test with that, this is a very small cut, I assume it will get better detail the bigger it goes.
Then the moment I bought all the stuff to test on came:
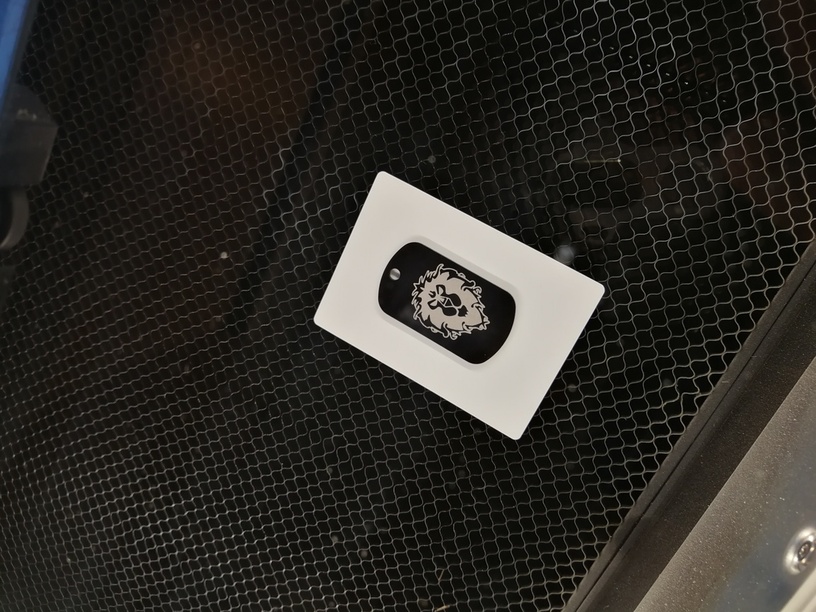
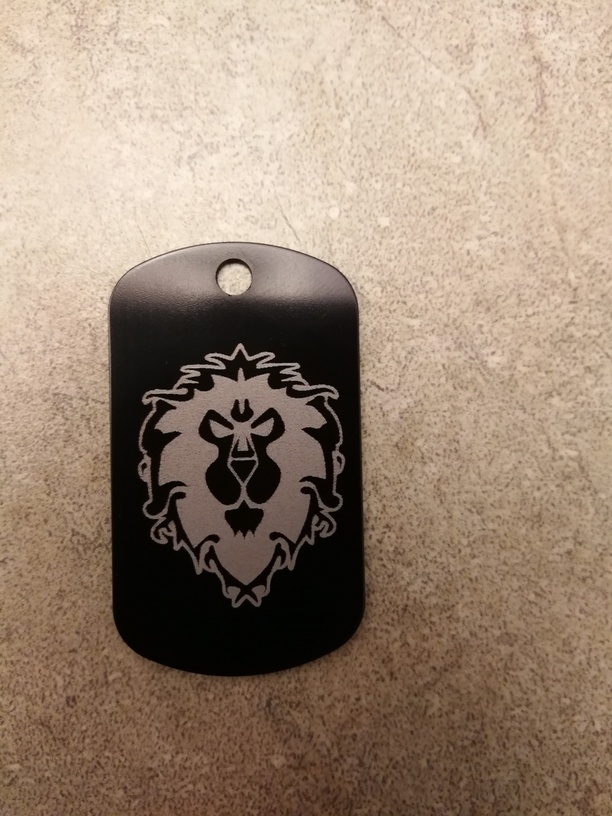
DOG TAGS! awesome!
I tried the settings I found on the forum from a pre release unit, they didn’t work it was two light and like went in and out.
The second settings I tried is basically perfect, write this down:
Speed 300
Power 50
lines 450
height of mine was 0.051 but that shouldn’t matter just type in your height.
I also layed in a white blank card underneath so it showed up better in the glowforge system.
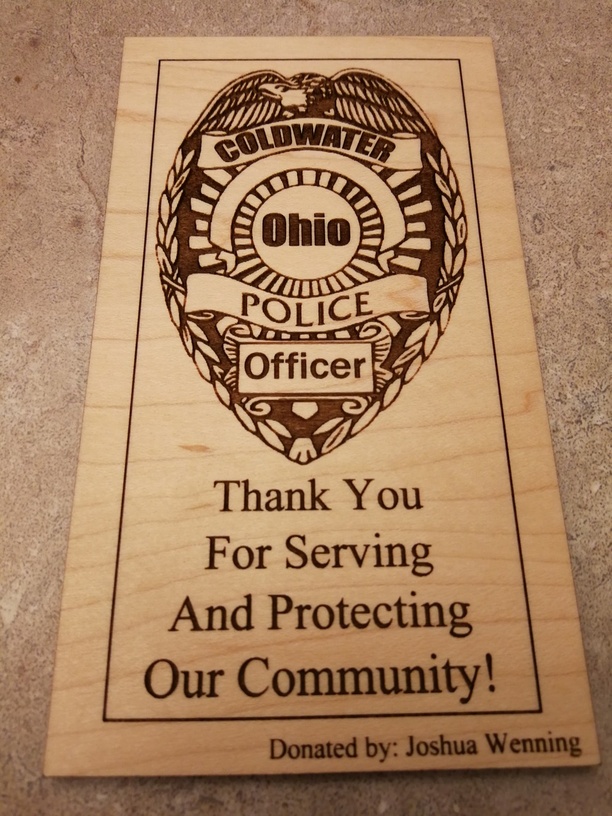
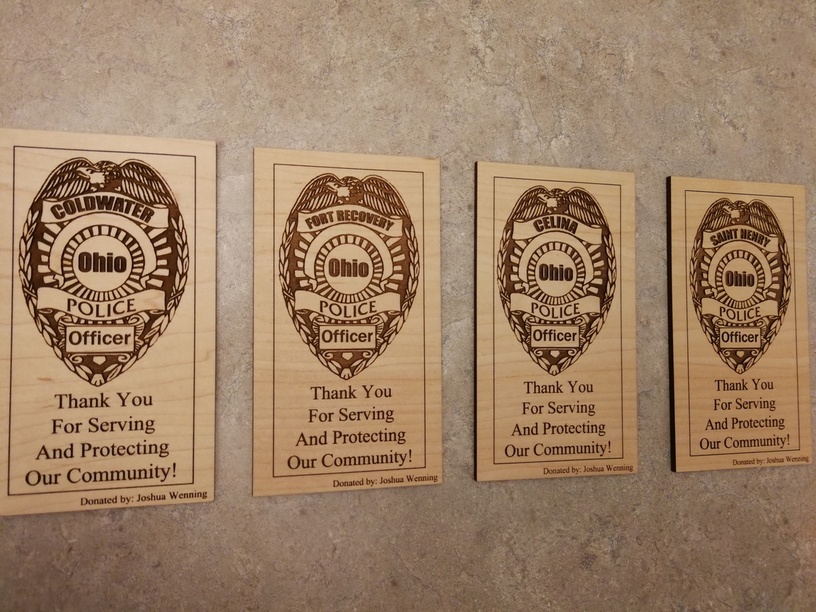
Which leads me to the final project yesterday and why I didn’t laser today:
I made these for donation to our local police departments to show my support and I was out all day today driving around dropping them off.
Pro tip on something like this, if you rasterize all three imaged as one image it saved me about ten mins of engraving time.
Not sure how this movie will look it was 47 mins at 3000% speed and image quality reduced twice to fit here.
 ).
).

