Return to the common questions index
This is a long post with a fair amount of technical information. If you find any part of it confusing please leave a comment and I’ll make it more clear.
What is a jig?
Jigs help you align your art to the material you’re trying to laser.
Why would I need one?
Usually it’s when you’re trying to cut/engrave something that already exists, like a store-bought coaster, a cutting board, or metal dog tags.
The Glowforge camera is a great tool for approximating a cut/engrave position, but in order to get perfect positioning you need to use a jig. There are several ways to do this, I’ll discuss four techniques to make them and compare each method.
How do you make a jig?
The basic process of making a jig is as follows:
- Draw an accurate outline of the object you’re trying to print or cut. This outline must be in its own color so it’ll be a separate step from the rest of your job.
- Add whatever cuts/scores/engraves you want, aligned with your jig outline
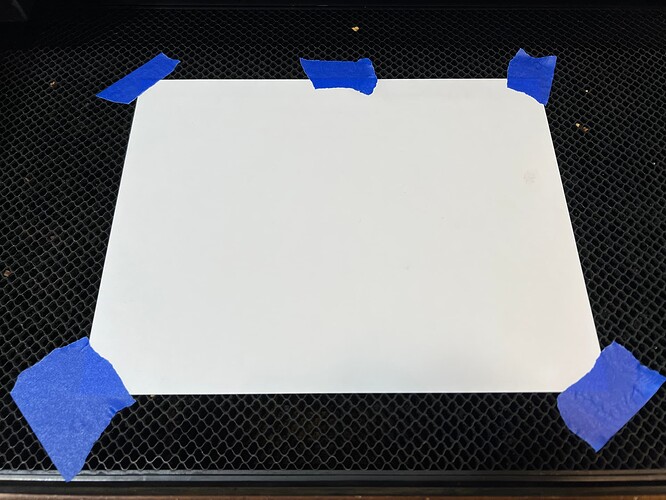
- Insert your jig material into the Glowforge. You usually choose an inexpensive material like cardboard. It is very important that you secure the jig material in place so it can’t move. Pins or tape are generally the best methods here, but whatever you do, make sure it’s secure.
- In the Glowforge interface, align your jig+art to be on the jig material. You can use the camera for this, as alignment isn’t critical yet.
- Cut (or score, depending on your method) the outline of your jig. Ignore the rest of your project for now.
- Carefully insert the material you’re going to cut or engrave into your newly created jig. Take your time to place it accurately and do not move the jig – The more accurate you are here, the better your end result will be.
- In the Glowforge interface, ignore the jig outline, and turn on the main cuts/scores/engraves. Ignore the camera view from this point on – we know the camera is inaccurate, but the placement of that jig is perfect. Trust the process, do not move the art or the material even if the camera view looks wrong.
- Run the job and complete your project with perfect alignment.
That’s it! The process is really simple. Now here’s how you can use these techniques in a few ways to handle different types of projects.
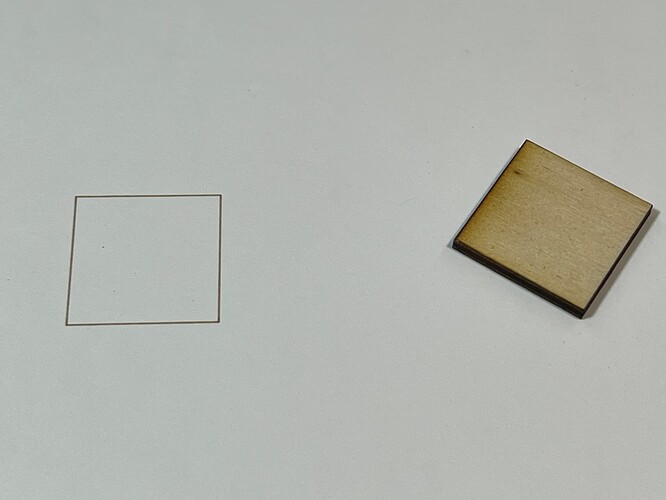
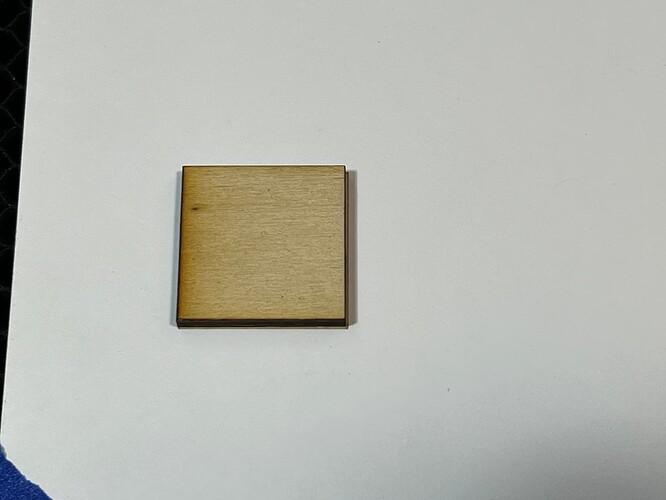
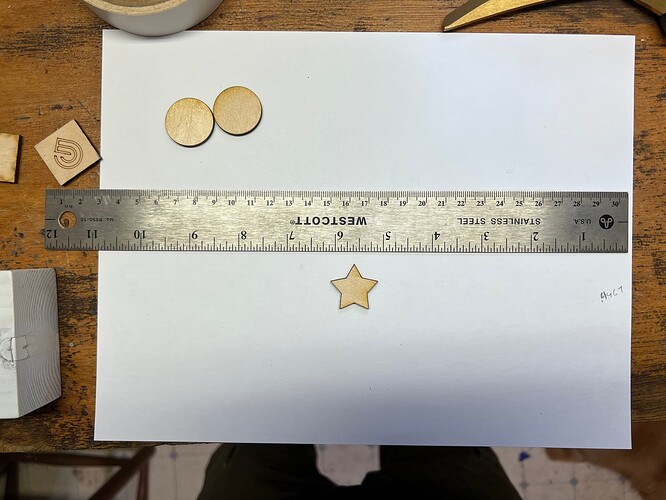
I cut a few shapes to score onto.
Now let’s align some scores to center on these shapes. This guide is meant to be read in order, e.g. details in method #1 will be referred to in the other methods.
Method #1: Score jig
Click to read method 1
In this method you simply score the outline of your material and lay it on top of the score lines. This is the quickest and simplest type of jig.
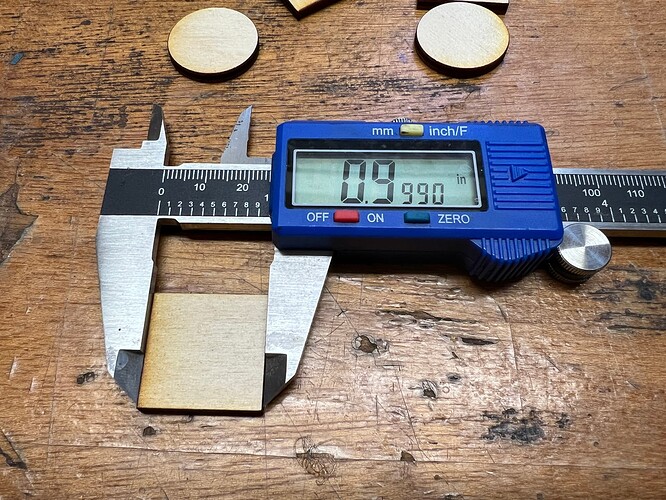
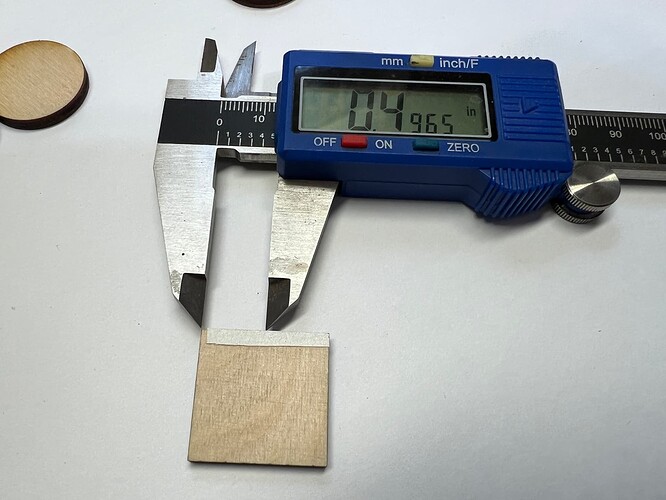
Since this is just a square object, the jig is easy. Carefully measure your object:
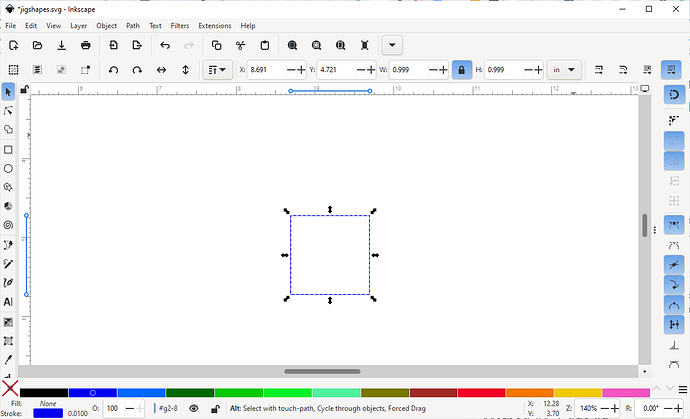
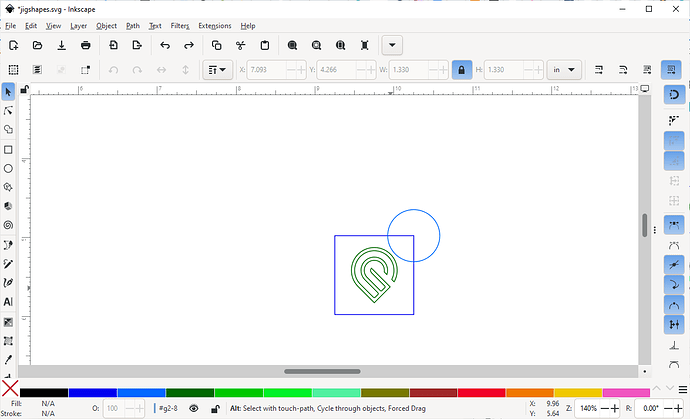
Then draw a corresponding square of the same size.
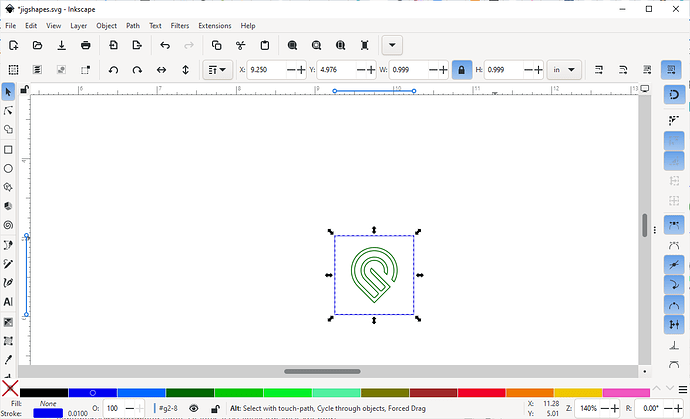
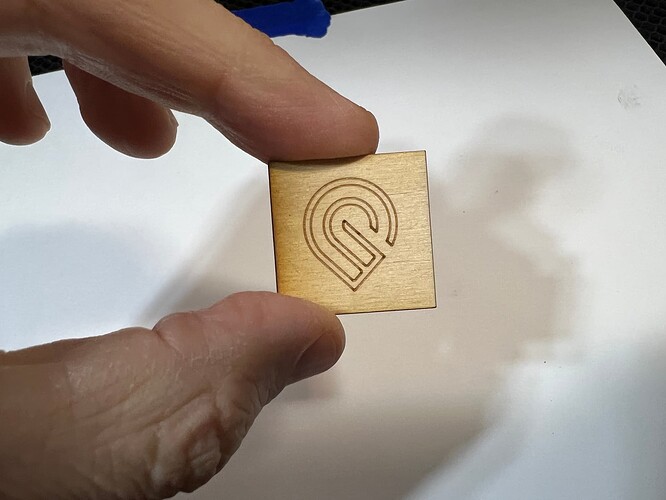
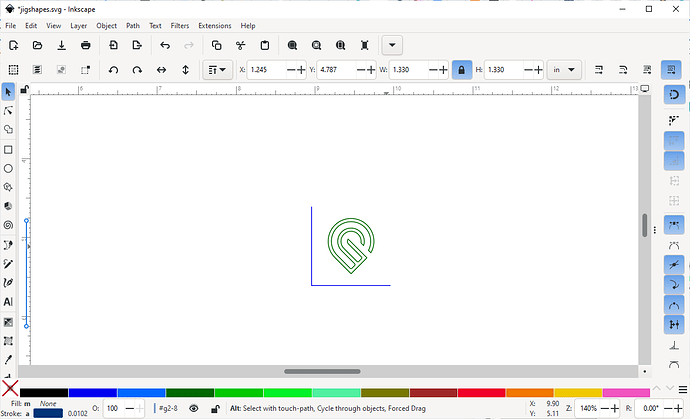
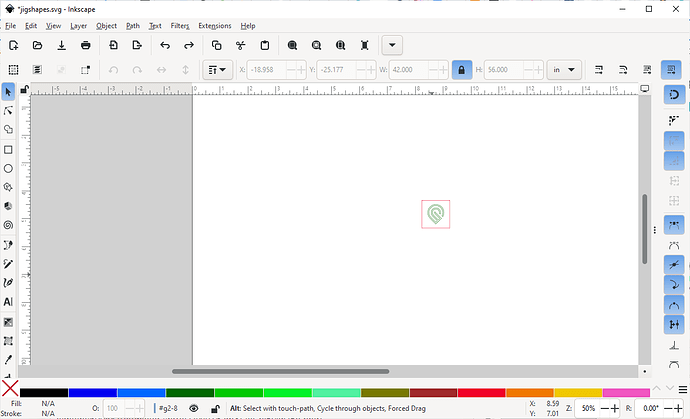
Align your art to the jig outline. I chose to use the Glowforge logo in these examples.
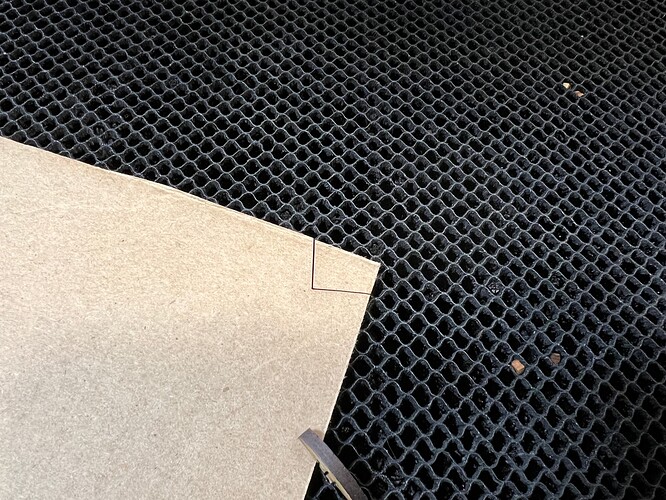
Import this into the Glowforge interface and place the jig over your jig material. In this case, I used cardstock, but you can do it on almost anything that you can mark – paper, cardboard, even tape stuck to the tray will all work.
Once you’ve scored the jig, carefully align your item to the scored lines.
Go back to the Glowforge interface. Ignore the jig outline, and turn on the other cuts/scores/engraves. Do not move anything in the interface, even if the camera preview looks wrong. (It will look wrong.)
Run your main job, and enjoy the alignment.
Pluses: It’s quick and simple. Can use almost any material.
Minuses: It’s not as accurate as other methods. There’s nothing to prevent you from slightly rotating your item and getting off-angle. Not a problem if your item is round, but if your item is a different shape that may be a problem. Requires dexterity to carefully place the item, no firm edges to place against.
Method #2: Pocket jig
Click to read method 2
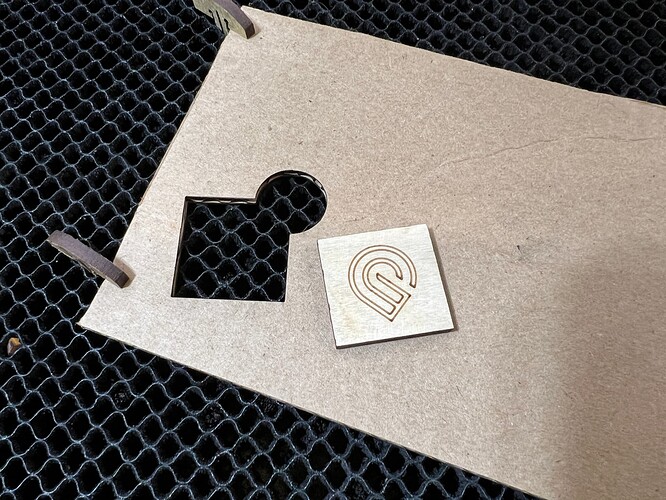
Now that you know how a score jig works, a pocket jig is essentially the same thing, except that we’re cutting a hole for the material to slot into.
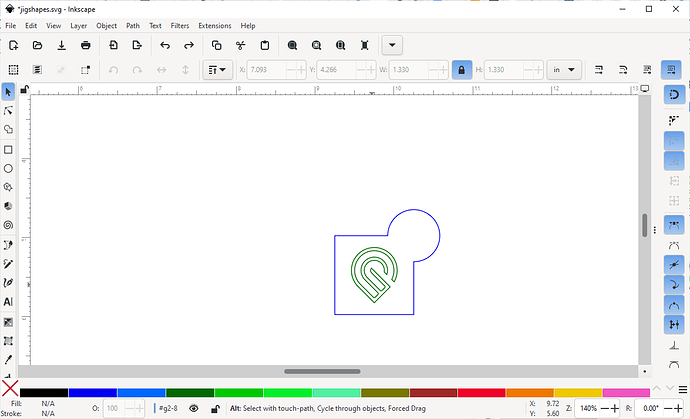
Create your jig as described in the score jig section, but add a small cutout in a corner so that you can remove your material when the job is done. I chose a small circle:
And after joining the shapes:
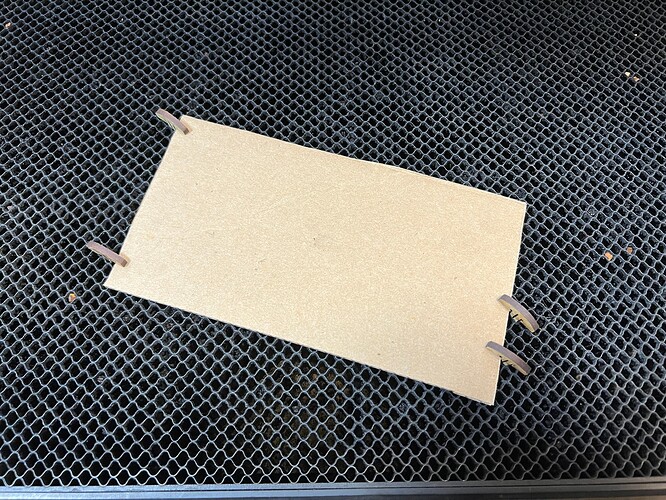
Do the same procedure as before. Put your jig material in place, I used cardboard here. Be sure to secure it, the jig must not move after this point. I used 4 pins to hold my cardboard material in place:
Side note: why is the cardboard inserted off-angle?
With cardboard, the corrugated layer has a direction, and you’re better off cutting across the corrugation so you don’t get a “soft” edge in any one direction. Cutting diagonally like this ensures a strong jig. Other materials like plywoods or MDF don’t have this caveat.
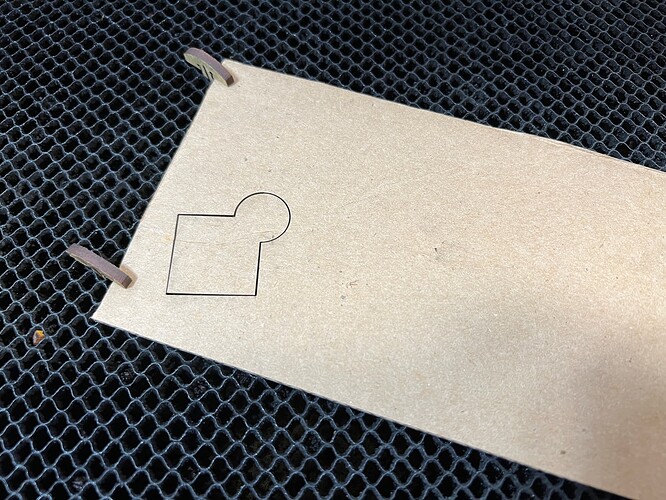
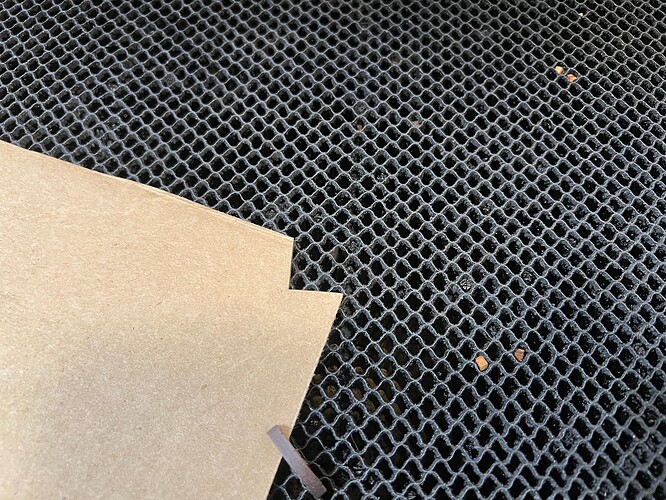
Now, cut the jig shape out of your jig material.
Use a small piece of tape to carefully lift the cutout. Video of removing the cutout this way:
https://www.youtube.com/watch?v=5NjtkDl4Nco
YOINK!
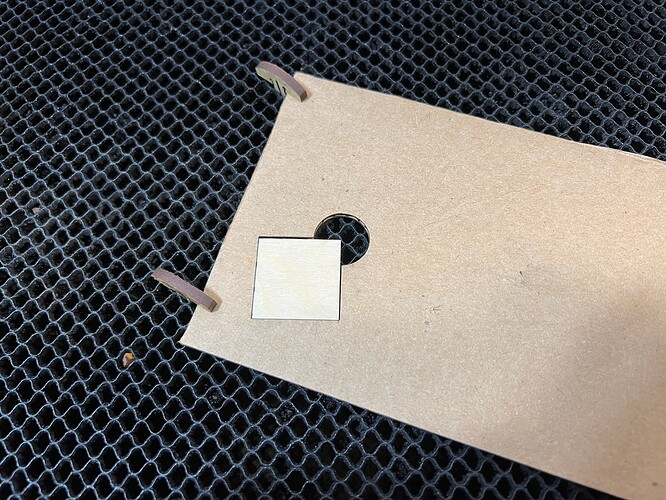
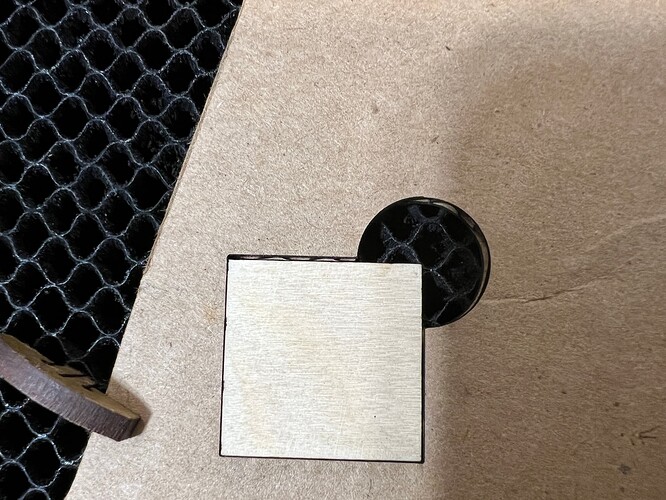
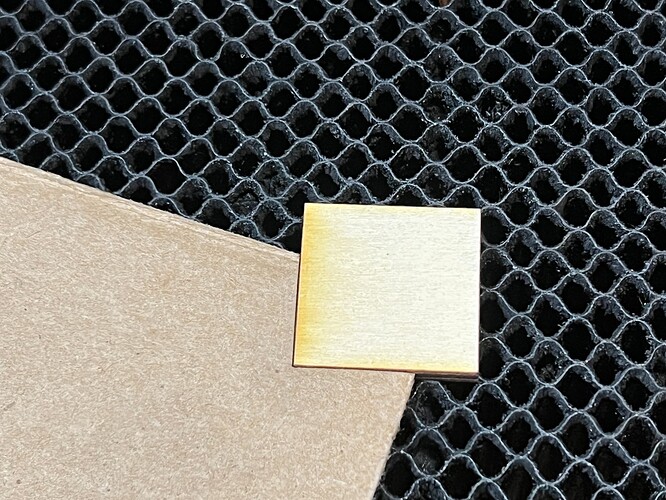
Insert your material:
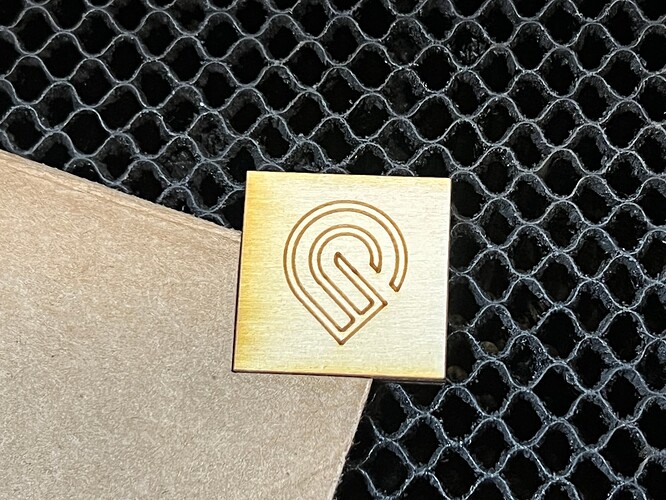
Complete your job and enjoy the alignment.
Click here for advanced alignment techniques for when you need extreme accuracy.
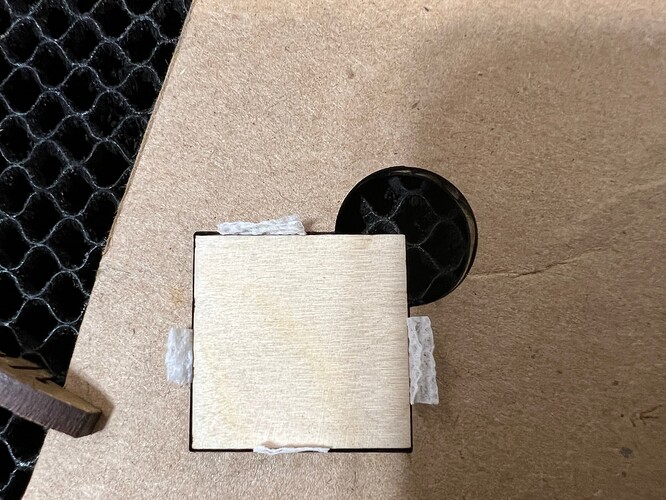
In this example you might have noticed some gaps around the material and the jig. These can be uneven and frustrating if you’re going for a super precise fit. Kerf adjusting would solve for this, but it’s a lot of work compared to the paper towel trick.
The problem: there is a small uneven gap around your material inside the jig. Note the wider gap at the top.
The solution: use tiny bits of paper towel around the edges to act as a shim to get the gaps much more even. Lay them across each edge and then press your piece into the jig:
You can see that the paper towels keep the gams much more even. For larger pieces you can use multiple bits of paper towel, just be sure to use small pieces that don’t stick up too far. You don’t want them to interfere with the laser.
Pluses: Great accuracy. Can lock in position and rotation.
Minuses: Requires a thicker more durable material like cardboard/wood compared to scoring. Can be difficult to remove the cutout from the jig material. Can be difficult to remove your material if it is a tight fit. Uses more material than other methods.
Method #3: Corner jig
Click to read method 3
Similar to a pocket jig, we will be cutting a place for the material to slot into. The trick here is that we’re only going to use one corner, thus saving a lot of jig material.
Create your jig as before, but you can remove two sides of the square jig hole:
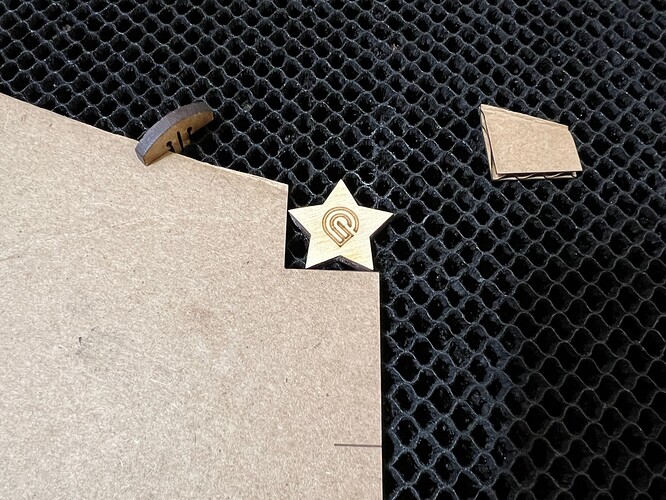
Now place that on your jig material and cut off a corner:
…Remove the waste corner
…Place your material
… Score, and be extra pleased with yourself
… Because look how little material you used to get this done compared to the pocket jig:
You can keep cutting little corners off. One chunk of cardboard might last you months of jig jobs if you’re being really stingy.
Pluses: Great accuracy. Can lock in position and rotation. Easy to remove jig material and your finished item. Uses less material compared to a pocket jig.
Minuses: A single corner may not be enough support for a larger item. For large items, a larger (or wider) corner may need to be cut to be sure that it’s at the right angle.
Method #4: Edge jig
Click to read method 4
So taking this idea even further, you can make a jig just with one edge. This can be useful if you’re trying to engrave a large object, such as a cutting board.
Make your jig as normal.
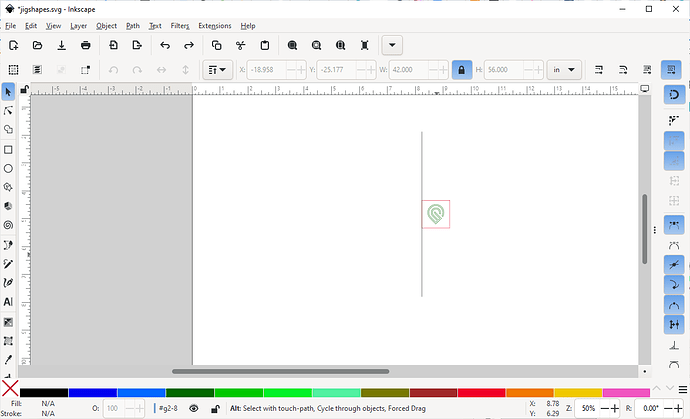
Add a long vertical line to the side (this is your edge).
Make a score line at the center point. Note it needs to be a different color from your edge, which will be a cut.
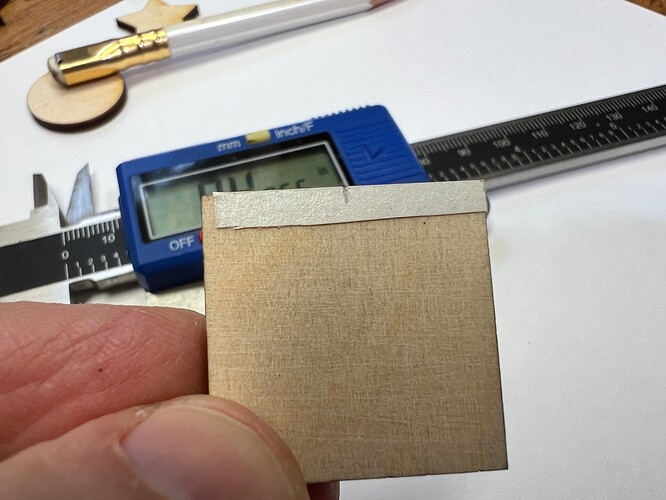
Now take your material and measure it carefully. I put a small piece of tape on the edge, so that I can mark it at its midpoint:
A quick pencil slash:
Now cut and score your jig, you’ll end up with something like this:
How well this works depends on how well you measure and place your material against your jig:
That’s pretty good! In practical terms, if you’re working on a large piece this will probably be more than accurate enough.
You can see this technique in action here, with a large slate cheese board.
Pluses: Great rotational accuracy. Easy to remove jig material and your finished item. Uses less material compared to a pocket jig.
Minuses: Positional accuracy depends on your physical measurements of your item. Requires dexterity to align the mark on your material to the jig score line. Usually uses more jig material than a corner jig.
Which method should I use?
Click to find out which technique works for you
That depends on a few factors. How accurate do you need it to be? If you’re ok with +/- 1mm and +/- a few degrees of rotation, the score jig is perfect.
If you want really good accuracy, one of the other methods is probably better. Which of those methods will depend the specifics of your item. The most accurate method will be a kerf-corrected Pocket or Corner jig – it’s possible to get within +/- 0.002" and much less than 1 degree of rotation using those techniques.
That covers jigs for rectangular items. What about other shapes?
How to use jigs with other shapes (not squares)
A quick warning: This gets a little complicated, and assumes that you have a good working knowledge of a vector editor. I use Inkscape in this example, but the basic steps are the same regardless of which program you use.
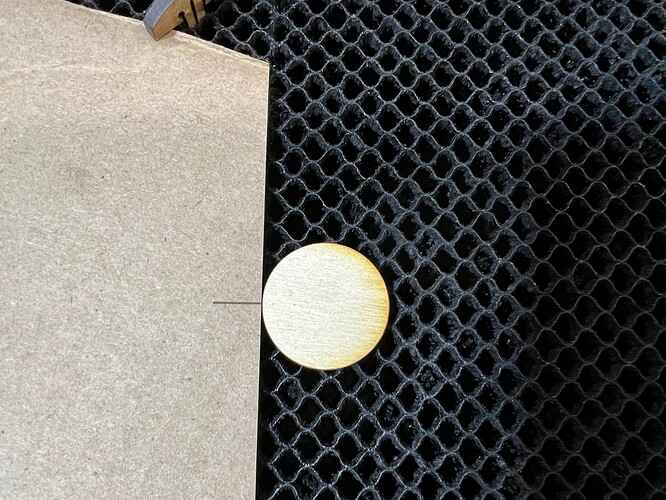
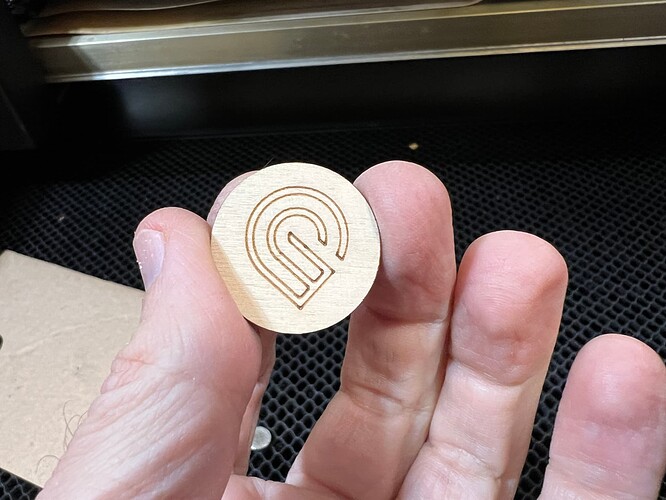
What about the other shapes like the circle or star? These techniques work with those shapes too. The circle is fairly easy, you can draw a circle-shaped jig or even use a square to place it in. You can even use an edge jig:
The star is more complicated. You can easily measure it and make a corner jig that the star would fit into, but let’s assume that it’s an irregular shape and explore the more difficult but thorough way to make a jig for any arbitrary shape. The basic idea is that you take a photo of your item, scale it precisely, then build your jig on top of the photo.
This is a relatively complex workflow, but will work with pretty much any shape. Pictures will help illustrate the idea:
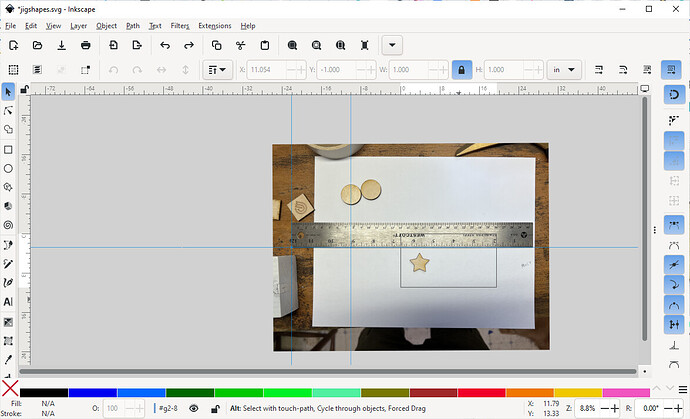
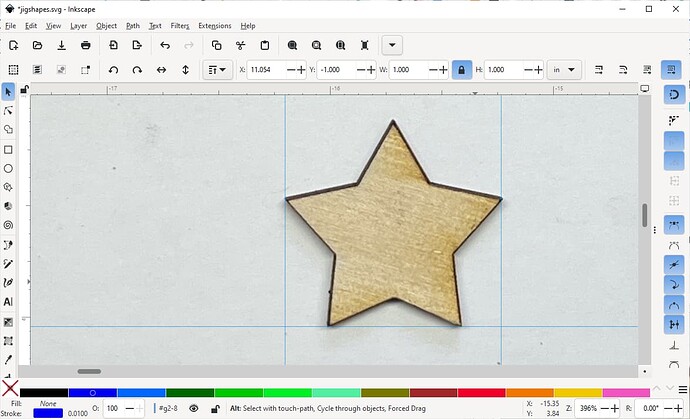
Lay a ruler down next to your item. You’ll use that ruler to scale things in your vector editor. Take your photo with good lighting and as straight and level as you can get it.
This is pretty good, but we’re going for accuracy, so we’ll make sure it’s correct. First we make sure the photo is level.
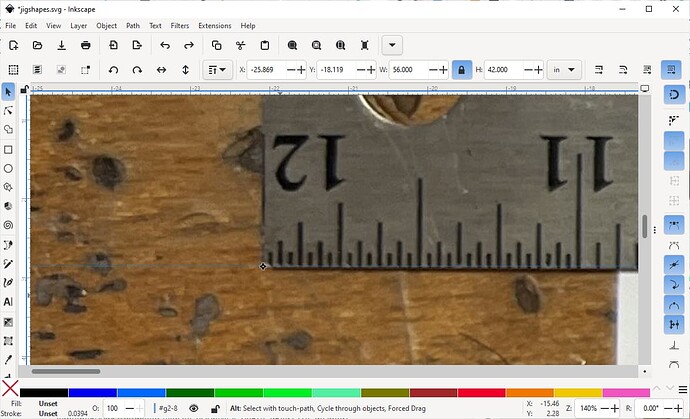
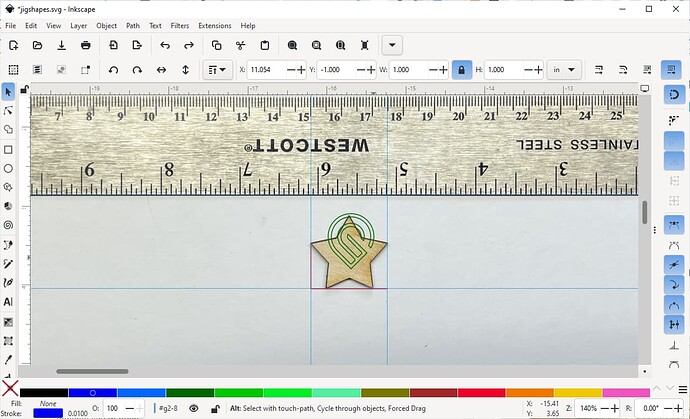
Place a guide (in Inkscape guides are blue lines by default) on the corner of the ruler, and then move the photo’s rotation point to be on that corner too.
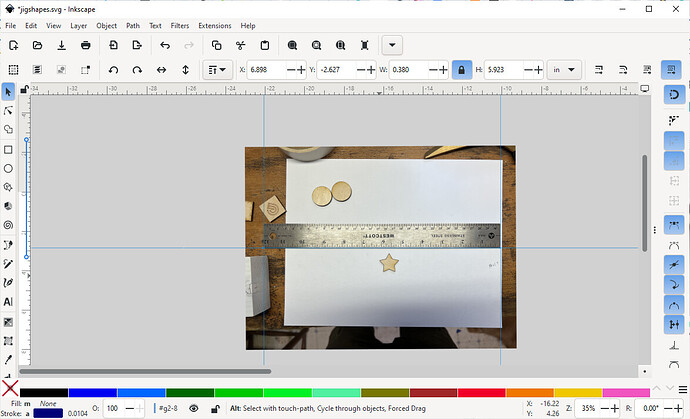
Now go to the other end of the ruler and see how it looks:
You can see that it’s not 100% level, the ruler extends below the light blue guide. Rotate the photo to place that corner of the ruler on the guide:
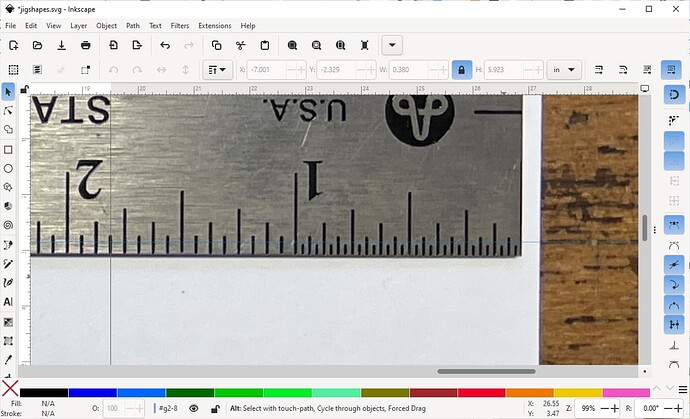
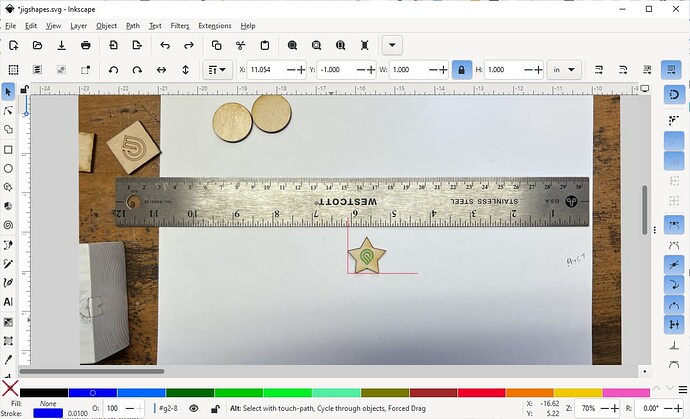
Now we make sure that the photo is scaled accurately. I make a guide at the left side of the ruler, and then make another 12" to the right. I scale the image until the ruler is as close to exactly 12" as I can get it:
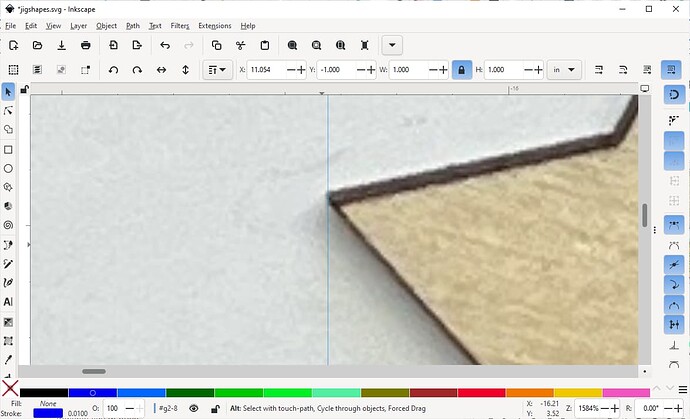
Once I have that I can build a corner jig around my star. I start making guides around the edges of my shape:
And continue the process:
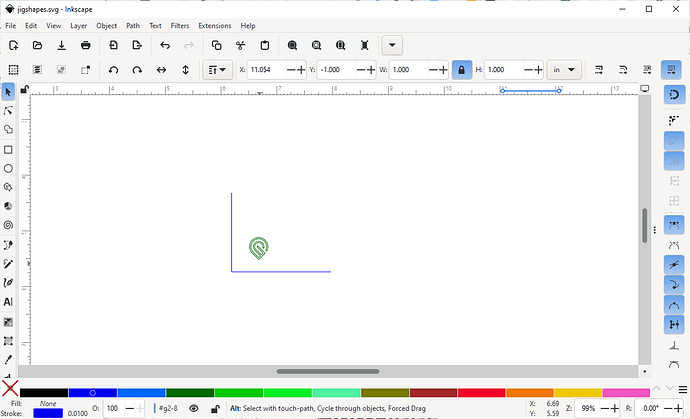
Now draw your corner. I like to start by making the corner as wide as the item, so I can use the alignment tools to center my art in the corner jig. Here it is centered in place:
After a little scaling of the logo to fit on my star, I then extend the corner lines so that they’ll cut my jig material:
Move or delete the photo from the SVG, we don’t need it.
Ready to go! Enjoy the spoils:
Jigs are a big topic, there’s more to explore:
Click here for even more about Jigs.
Jigs are complex and this is really just a primer for the main types. There is a way to use a jig to align almost anything you need to laser, covering every situation is difficult to do – if it’s even possible at all.
Here are a few topics I didn’t include but that may give you ideas about the ways you can use jigs in your workflow.
Reusable jigs
Engraved jigs
Multiple jigs at once
Elevated jigs for thicker materials
Large-object jigs
Permanent/semi-permanent jigs
Passthrough jigs
I may revisit these topics as time allows.

